The last few days have been a bit slow. I have assembled the rear lights now, including a new, laser-printed, STOP mask for the stop light.
I also fitted the beading and face plate to the number plate box and trial fitted the bulbs and lights.
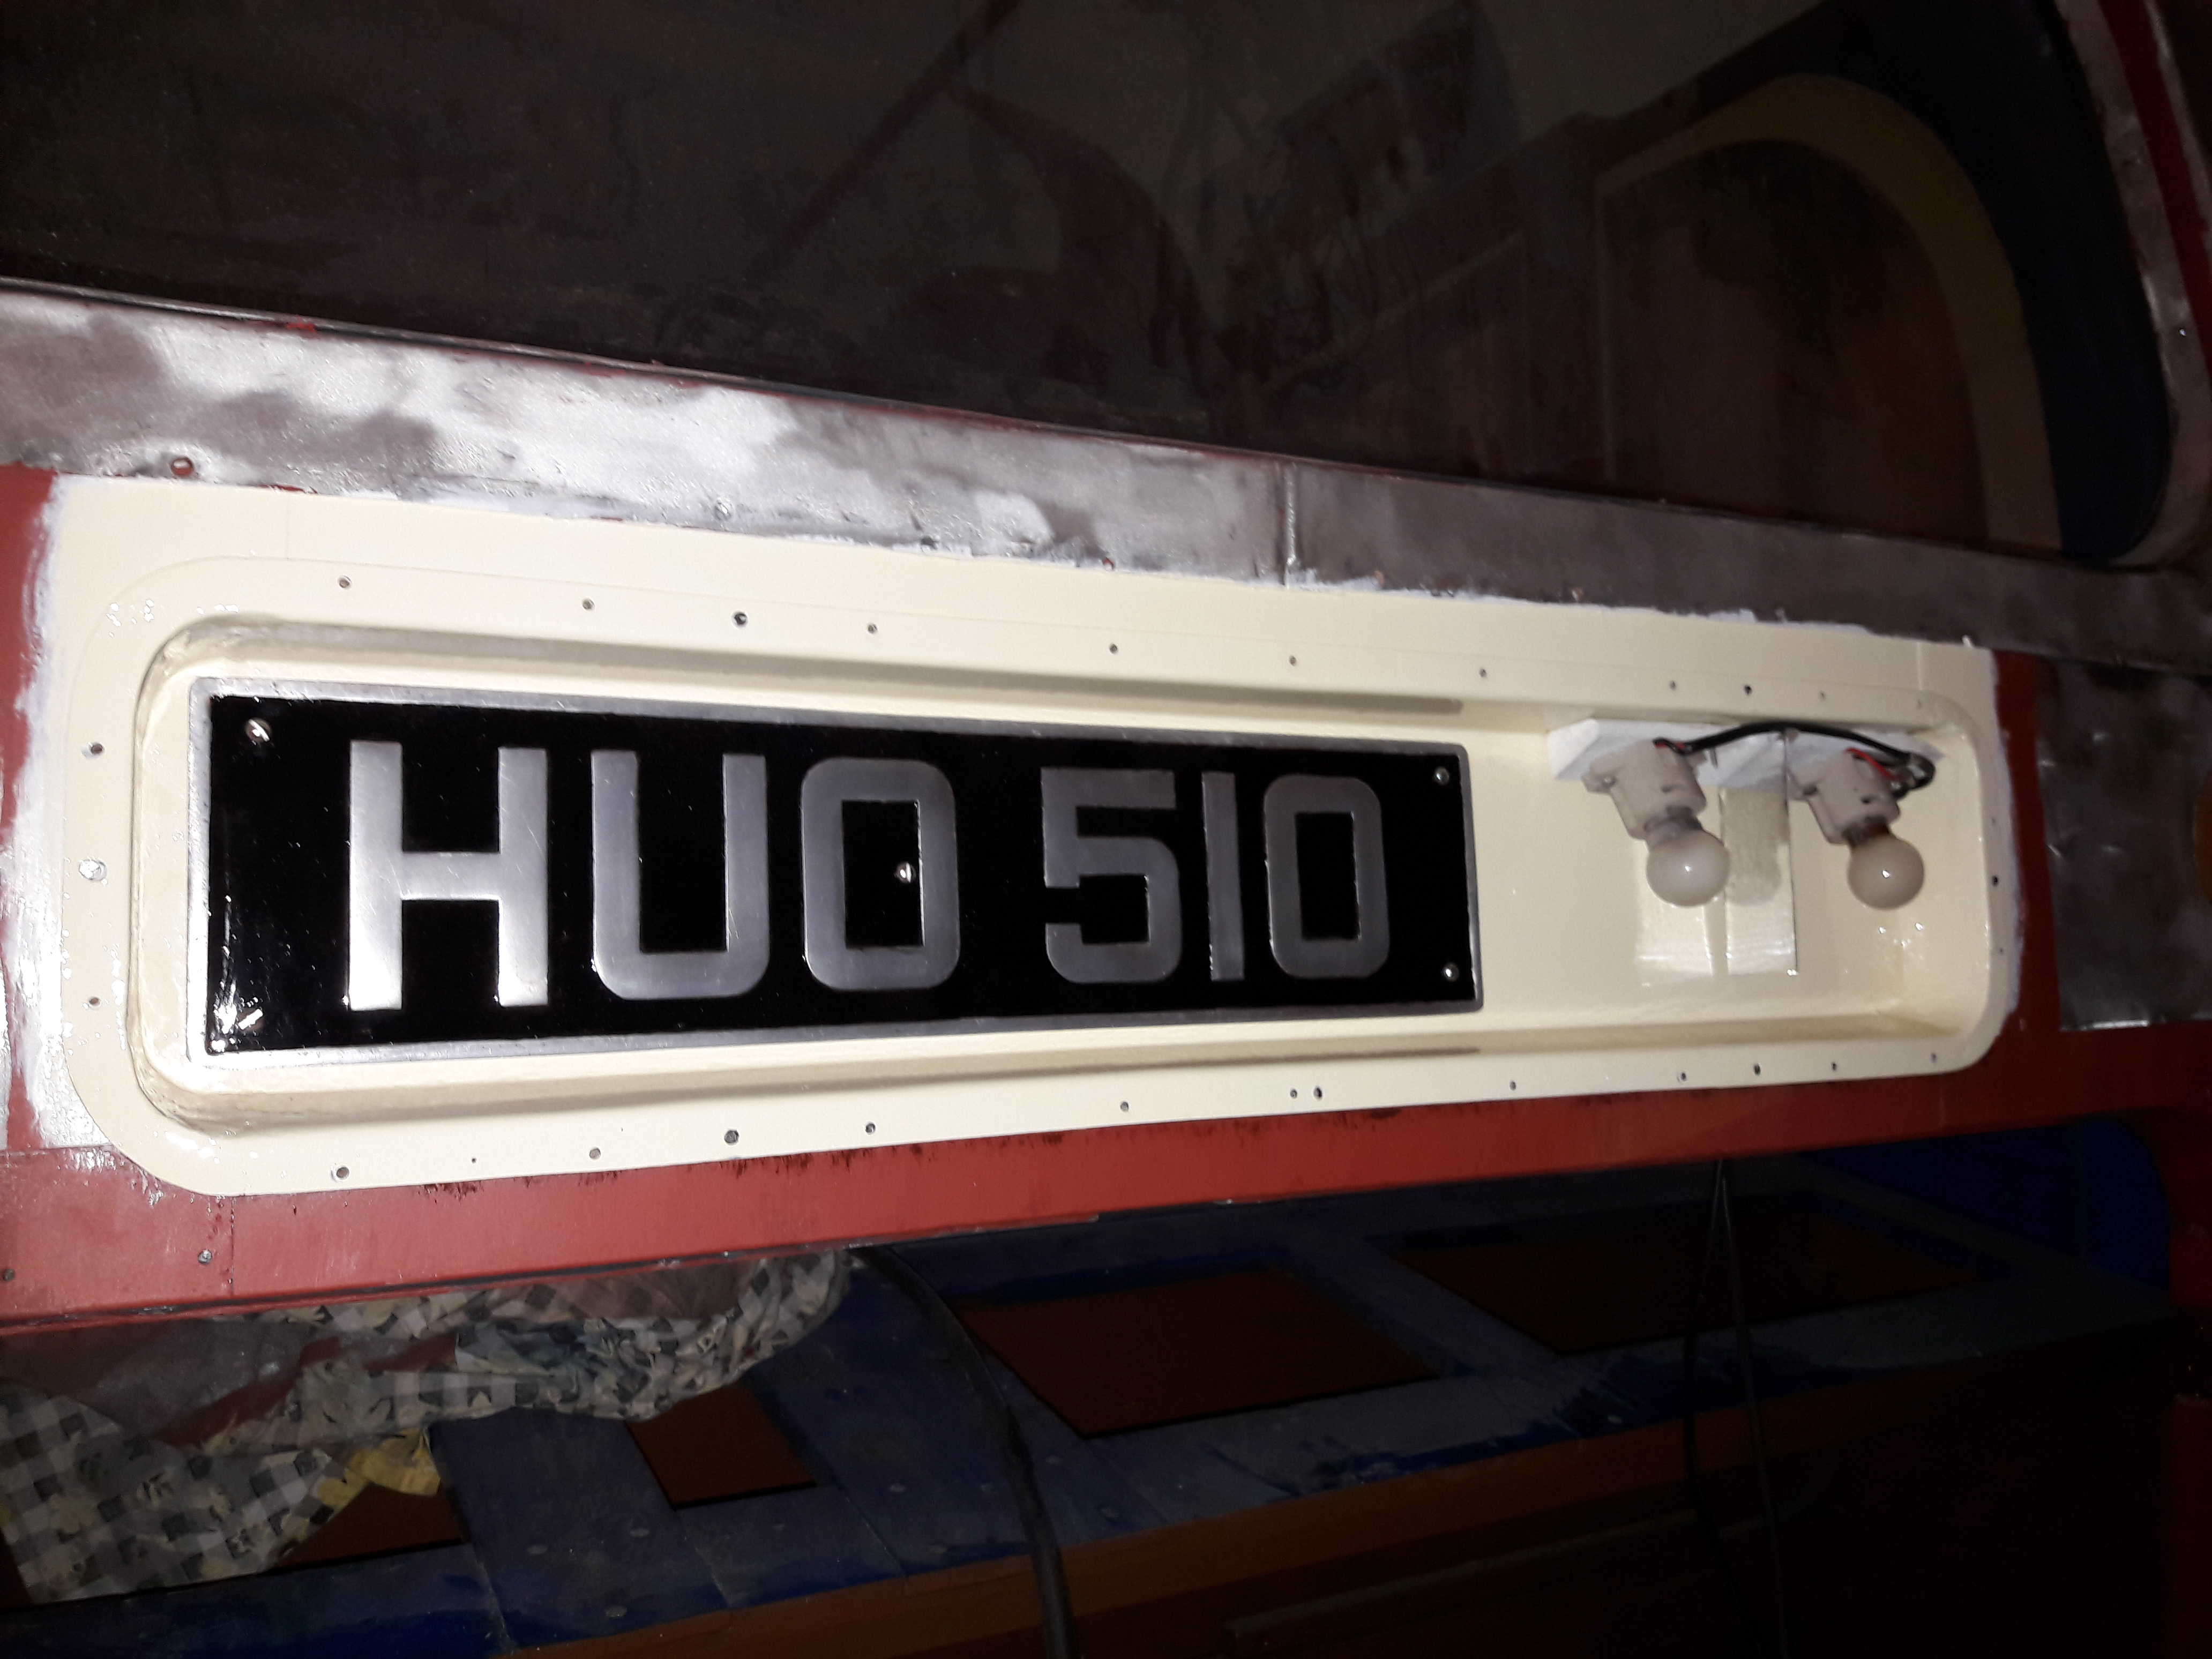
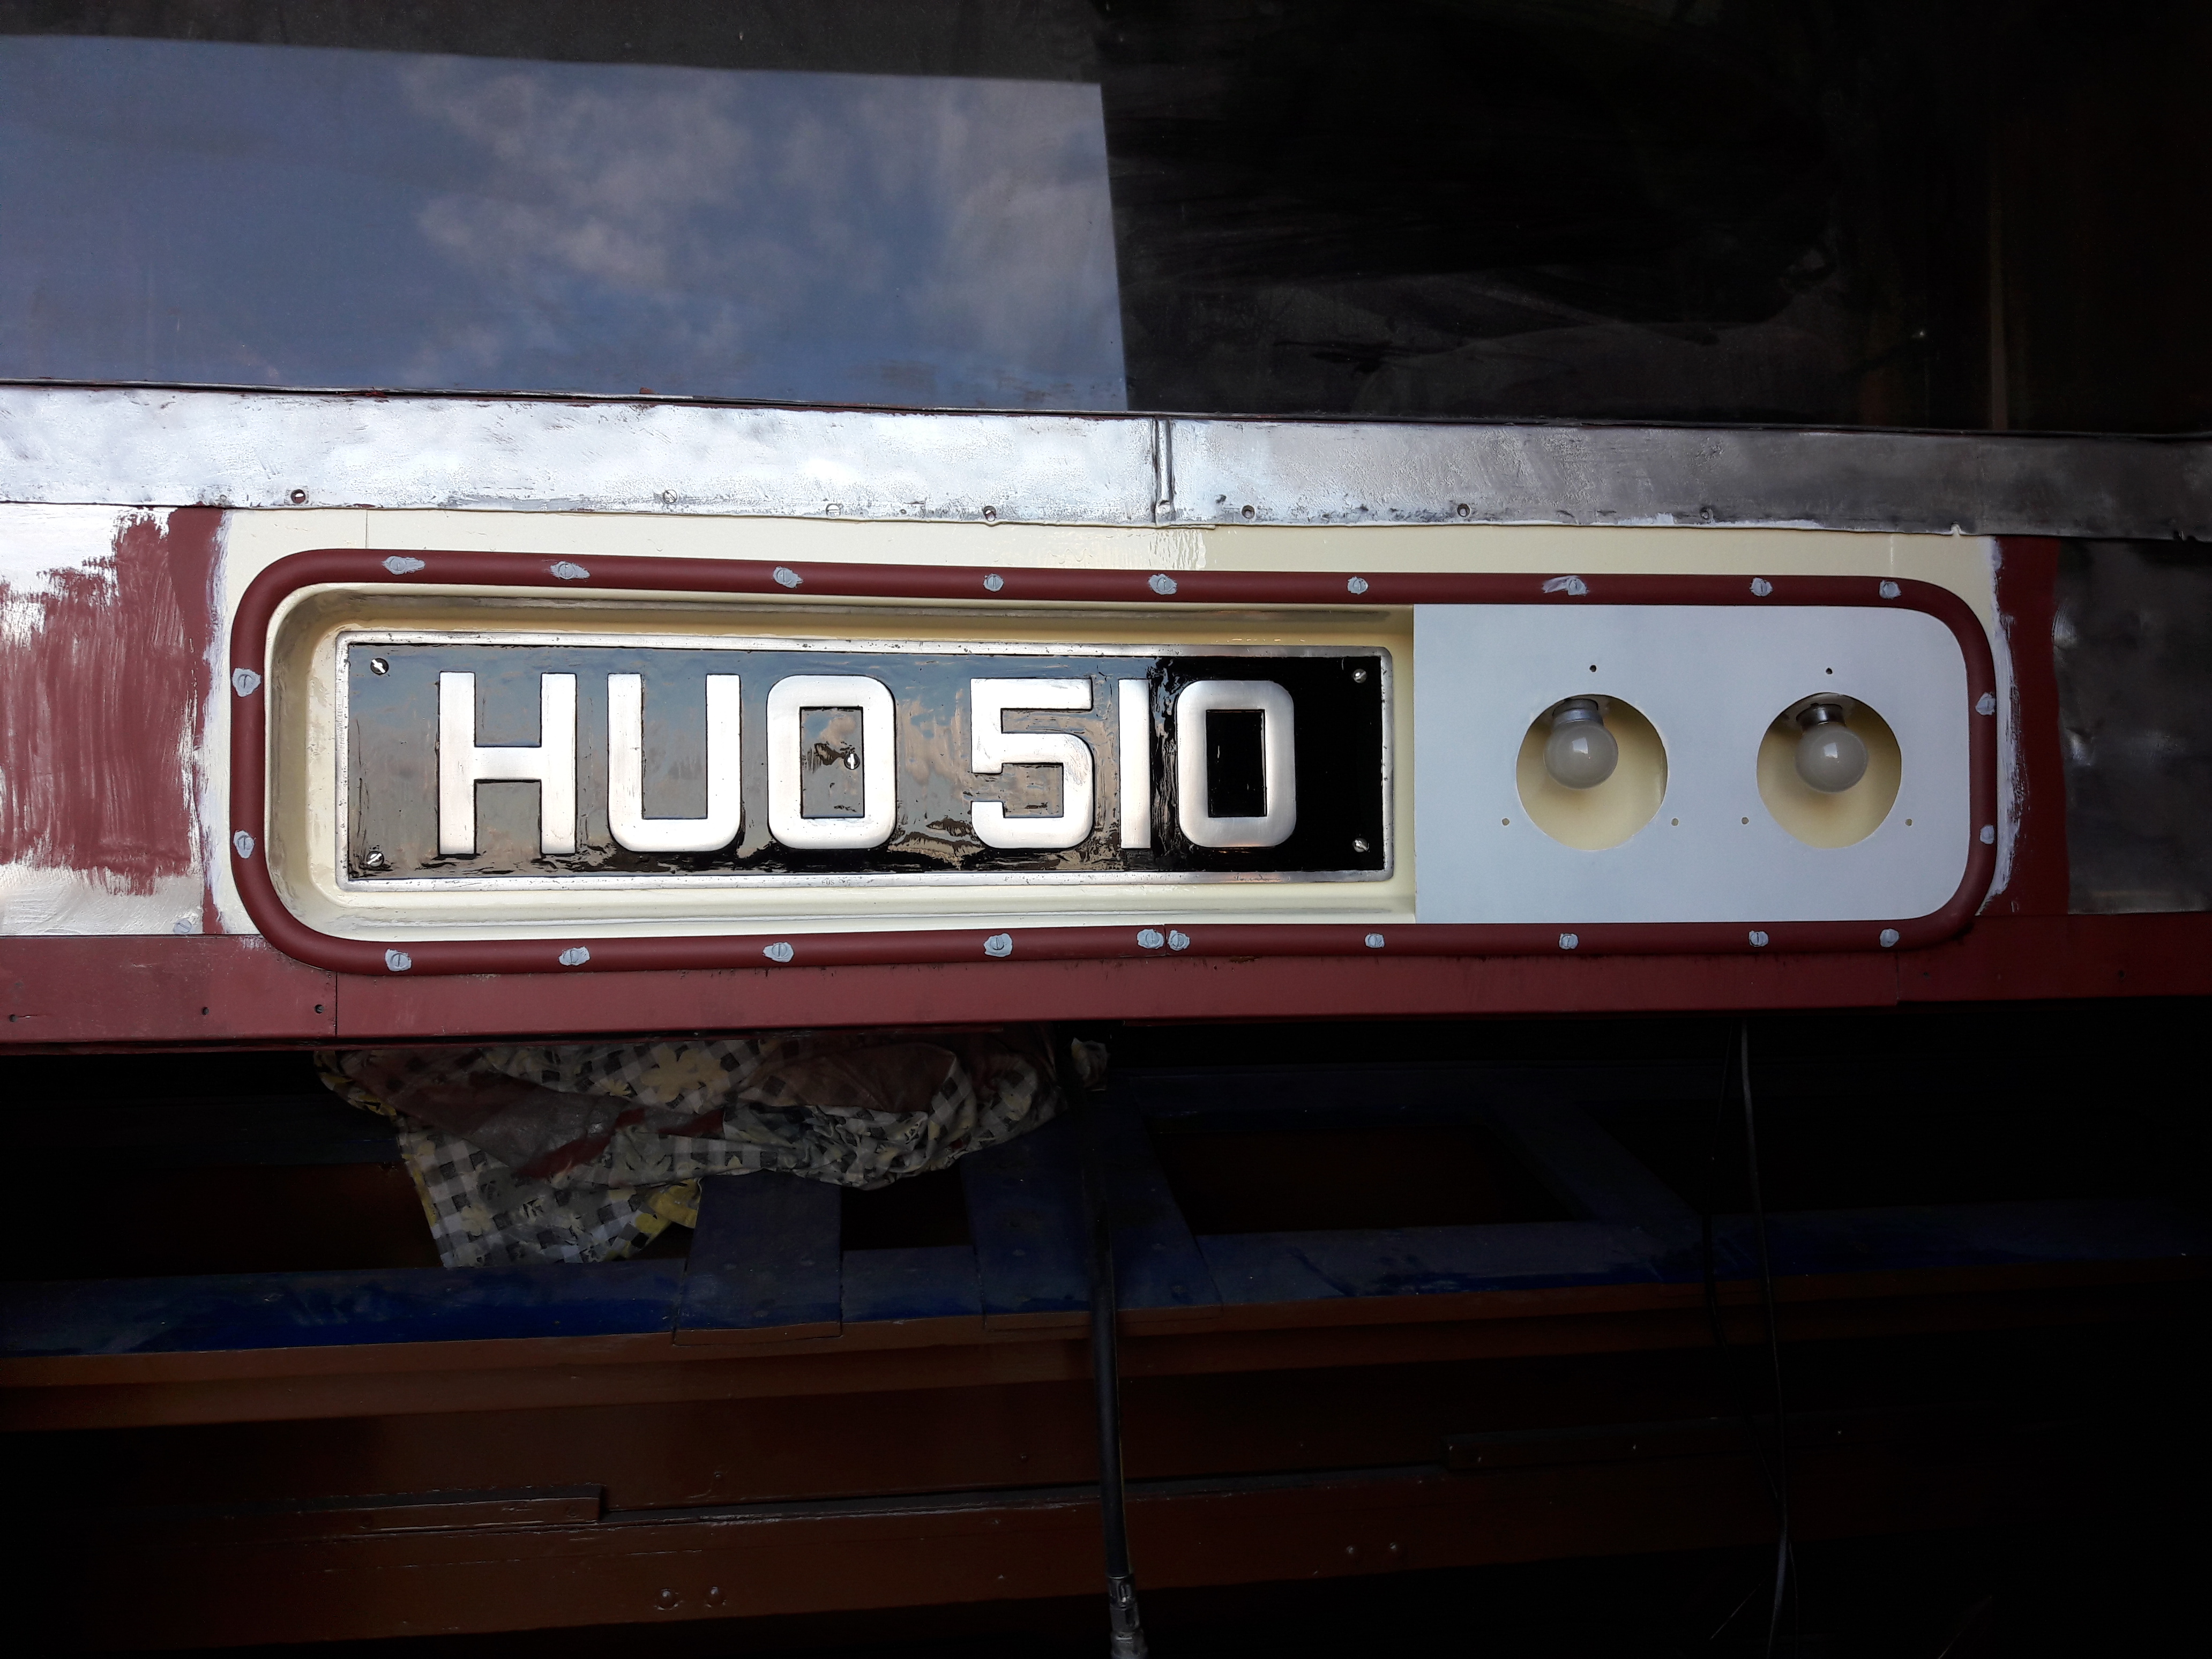
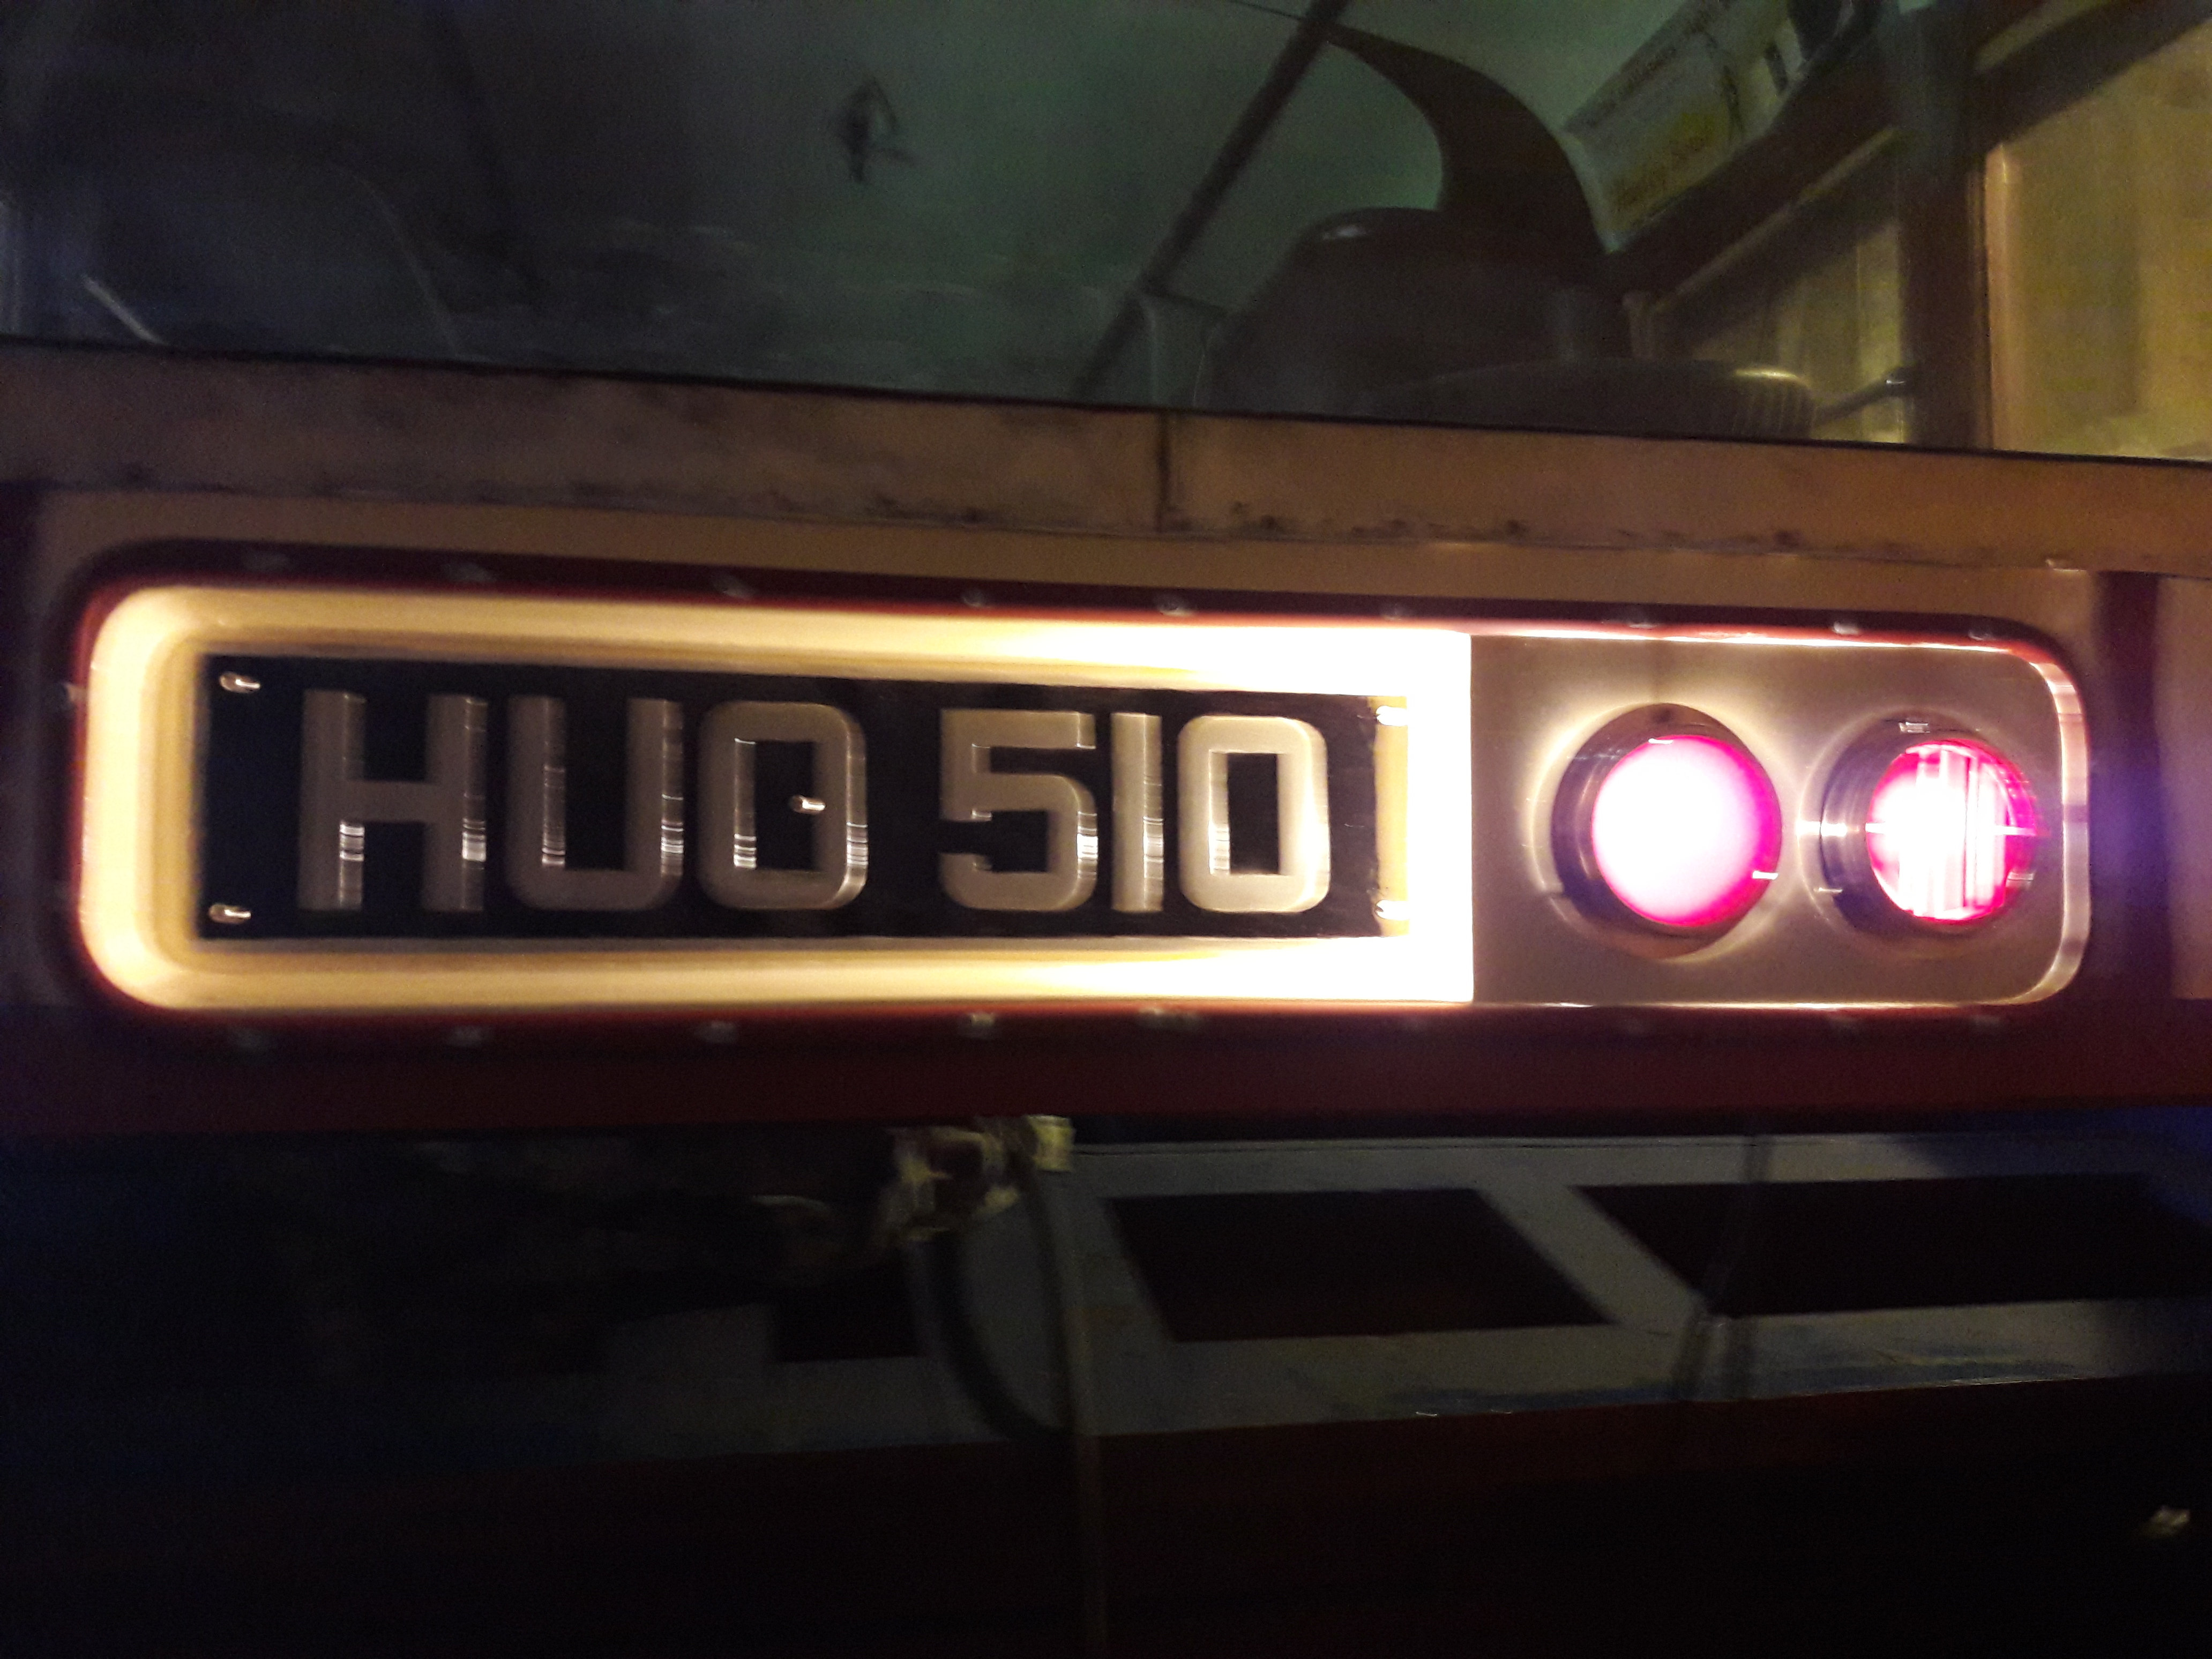
These photos show the development of the number plate and rear light box:
Numberplate box trial assembly
Number plate box installed into the body aperture
Lens face-plate and beading fitted.
Testing the number plate illumination.
Next, I spent some time drawing up a new project plan to keep me going for the next few months and hopefully to complete the nearside as soon as possible.
Included in the planning session was a wiring schedule for the boot, to include two additional low-level S&T lights as well as indicators and the single S&T mounted on the numberplate box.
The long gap between the previous entry and this one is largely due to the time it has taken to complete the rear number plate box that incorporates the single rear stop light and the combined tail light/number plate light. The work comprised the following tasks:
stripping the chrome off the brass porthole light lens holders and then polishing the brass to a good shine
Drilling the steel box for the mounting screws
Making a new face plate to hold the portholes
Fitting new lampholders to the wooden batten that is screwed inside the box behind the face plate
Painting and wiring the batten
Making and fitting a reflector to the batten
Mounting the batten in box
Painting the box, cream on the outer side and blue on the inside
Forming the beading that surrounds the number plate box
Drilling and countersinking the screw holes in the beading
In order to wire the batten I had to consider the wiring in the boot in general so devised the circuit and cable layout for all the rear lighting and the boot light. I also drilled the large holes for the rear indicators in the waist rail either side of the number plate box.
Whilst waiting for paint to dry on the number plate box project, I stripped and primed the beading for the front destination box. I also removed the rear reflectors from the old boot door skins and salvaged the actual reflectors for reuse. I removed the scratches from these on the polishing machine and then prepared and spray painted black two new frames for the glasses.
Today I was able to install the new number plate box in the opening in the frame above the boot doors. The beading and face plate need to be fitted and painted before the job is complete.
This week has seen a lot of activity but not much progress. The boot floor is complete, three reinforcement blocks were needed to pull the floorboards down level with each other and some final sanding to get them smooth for the lino.
Next job was to remove the remaining rotten plywood from the inner curved corner lining, ready for replacement from material on order. This work included removing the remains of the wiring to the S&T lights (see reference photos) and the junction box mounted on the door frame outer pillar. A replacement identical junction box was sourced from Classic & Vintage spares but with six instead of for terminals to allow for additional wiring. I will add in a separate switch for the boot light at some point.
Work then moved on to replacing the rotten horizontal timber that sits above the rear number plate box and below the rear window. The damaged sections of this needed to be cut away with surgical precision to avoid damaging the rear window glass. A separate piece of timber with a forward facing rounded moulding sits under the glass on top of the horizontal frame timber to provide a seat for the glass and to provide an abutment inside the window frame for the glass.
Restoration diary of a 70-year old AEC single-deck bus and the trials, tribulations and adventures of our 1966 Bristol bus.