
(Reference photos are here)

At Knowstone, ready to leave for Essex

Arriving at Mill Hill Farm.
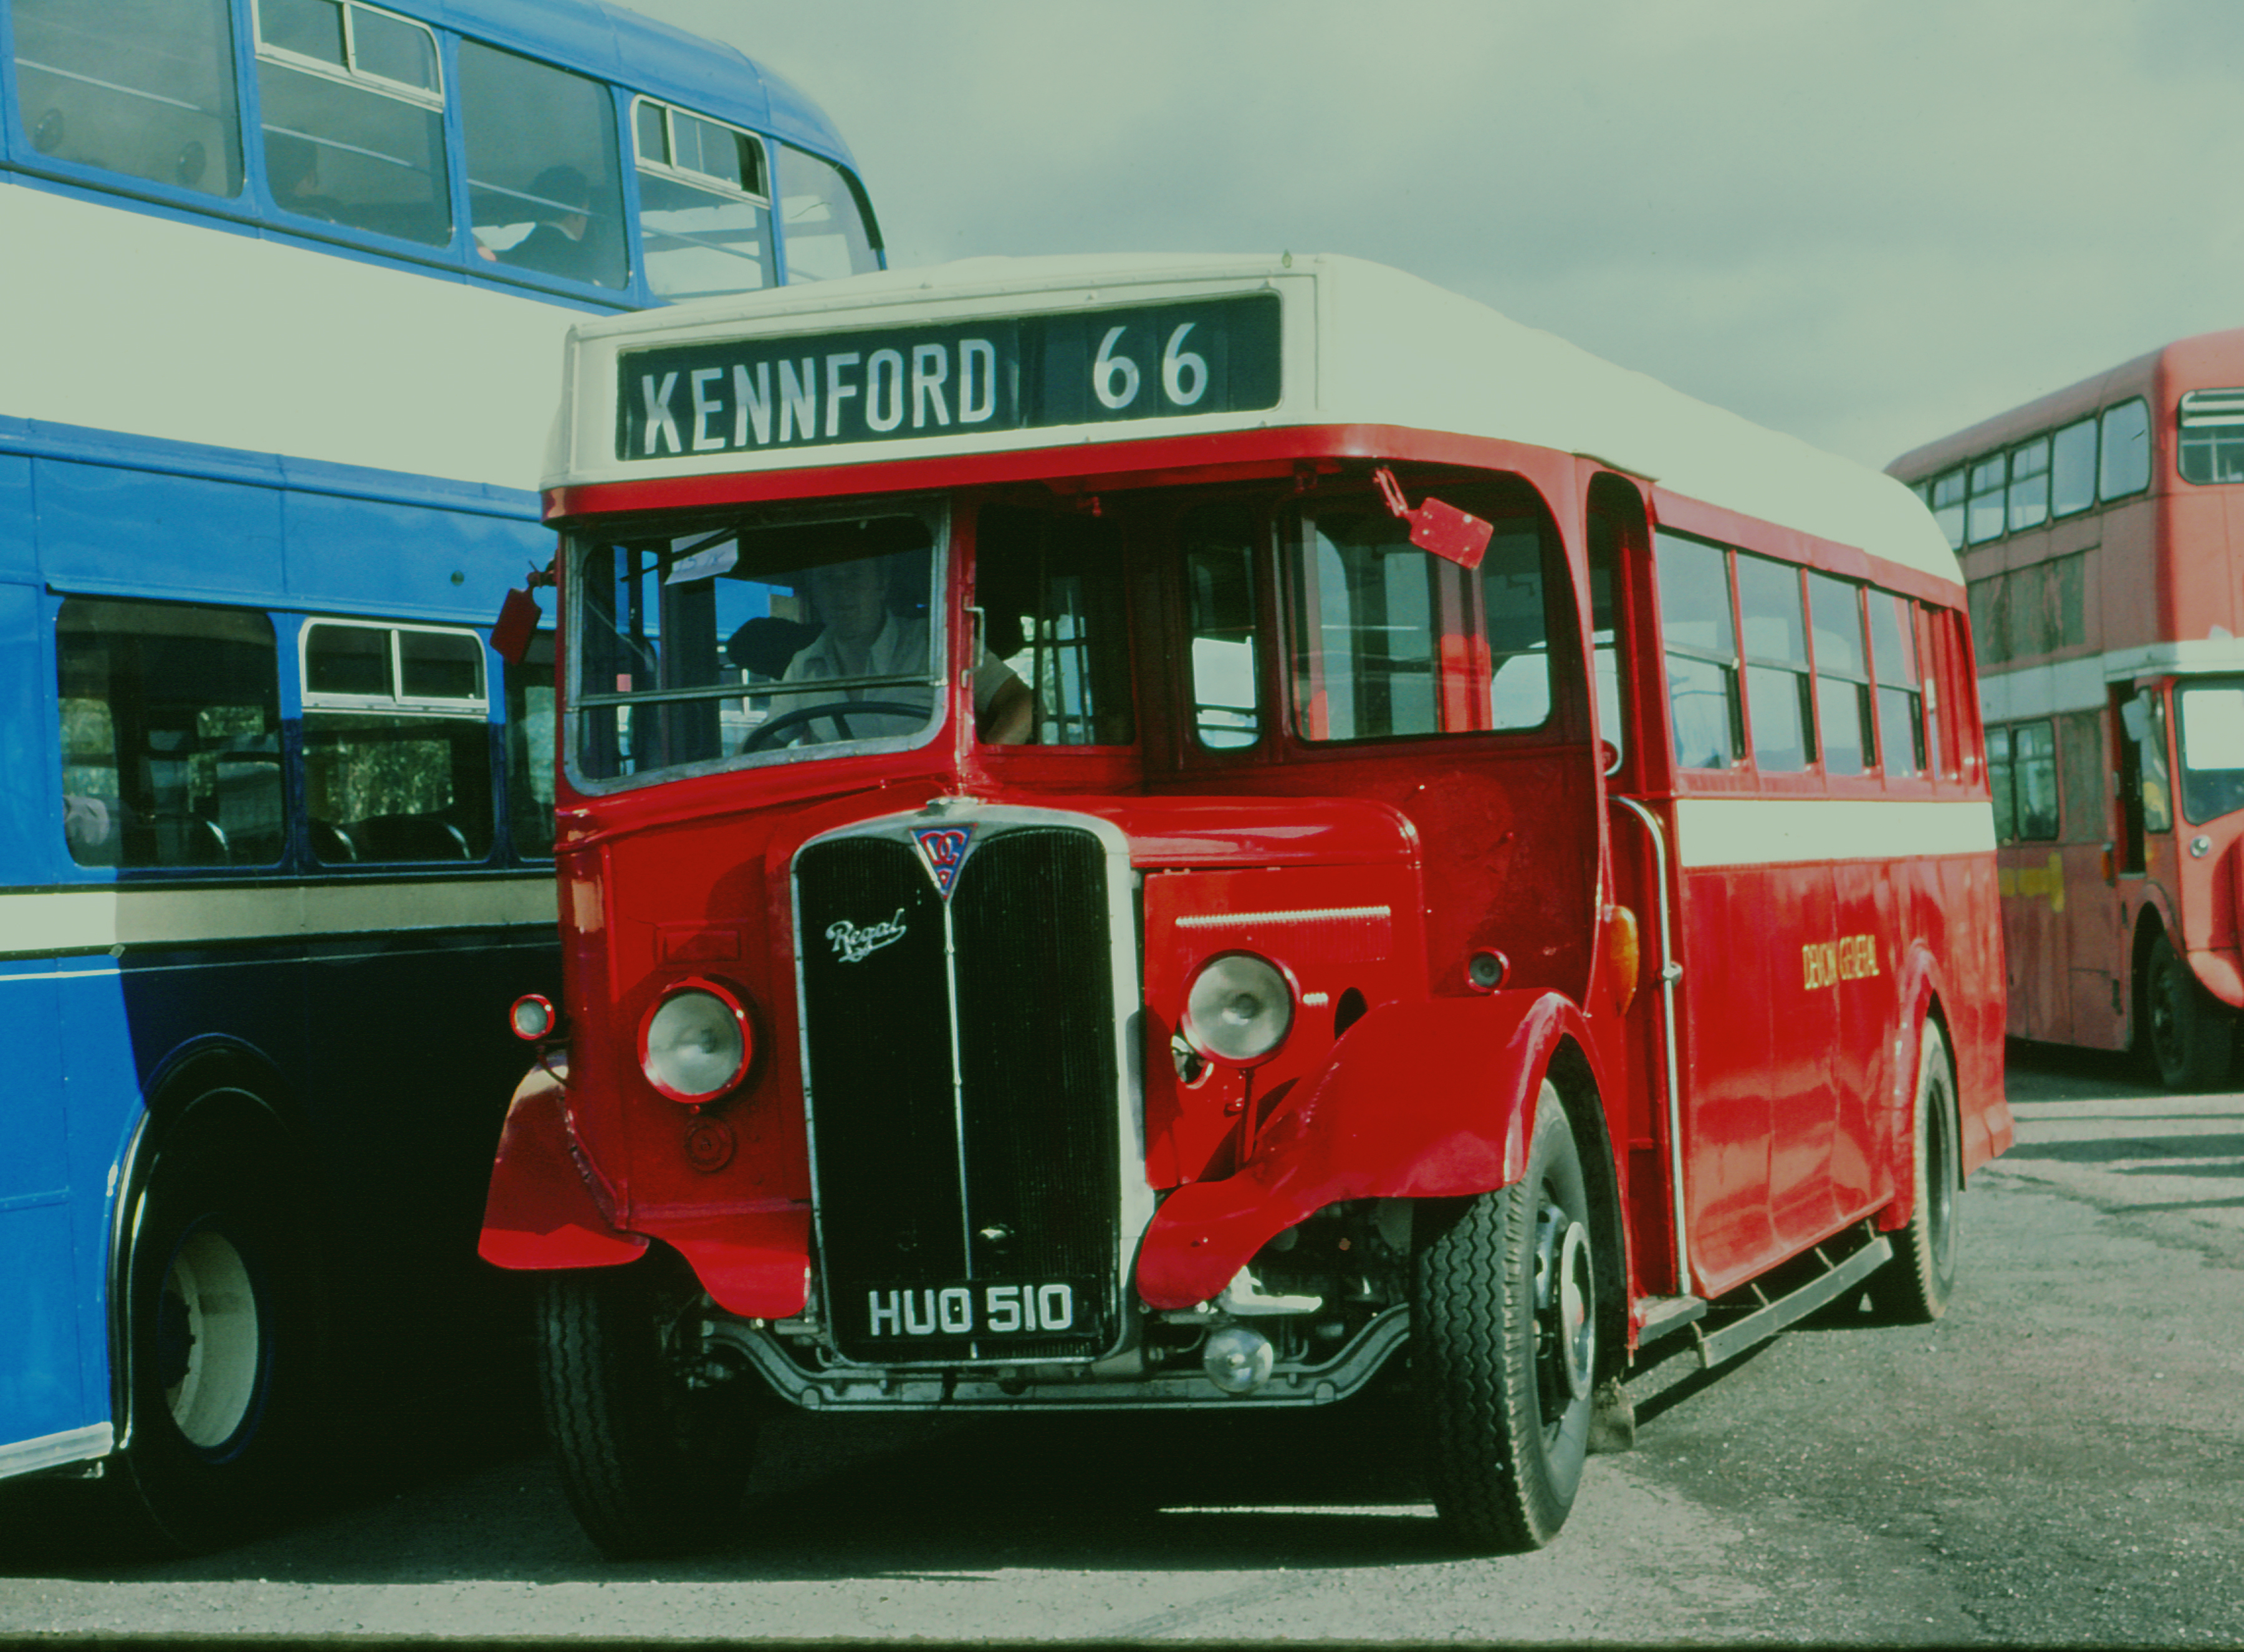
Photo taken 2nd October 1983
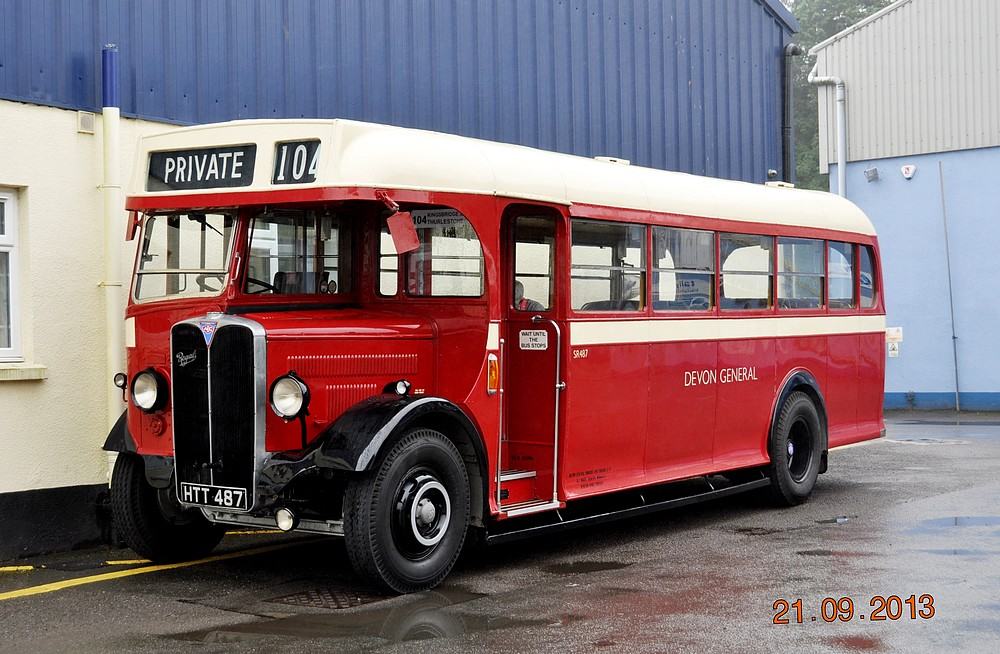
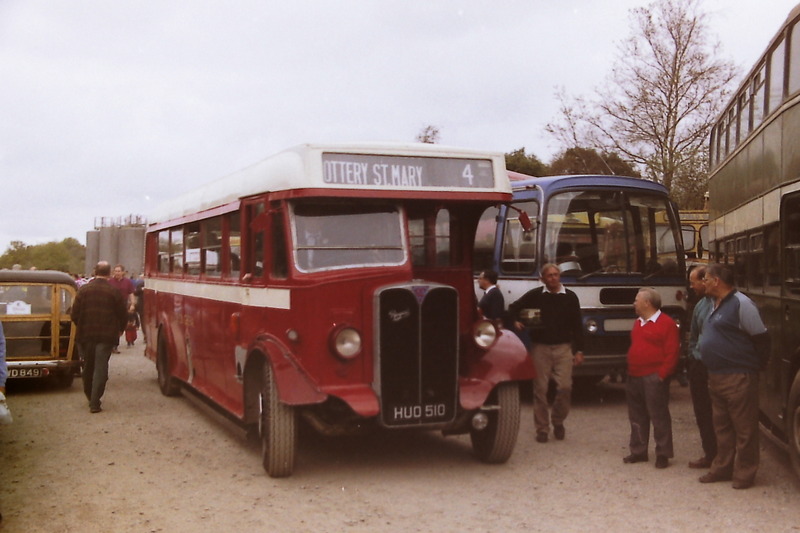
HTT 487 – This is one of two other survivors of this type of Devon General single decker.
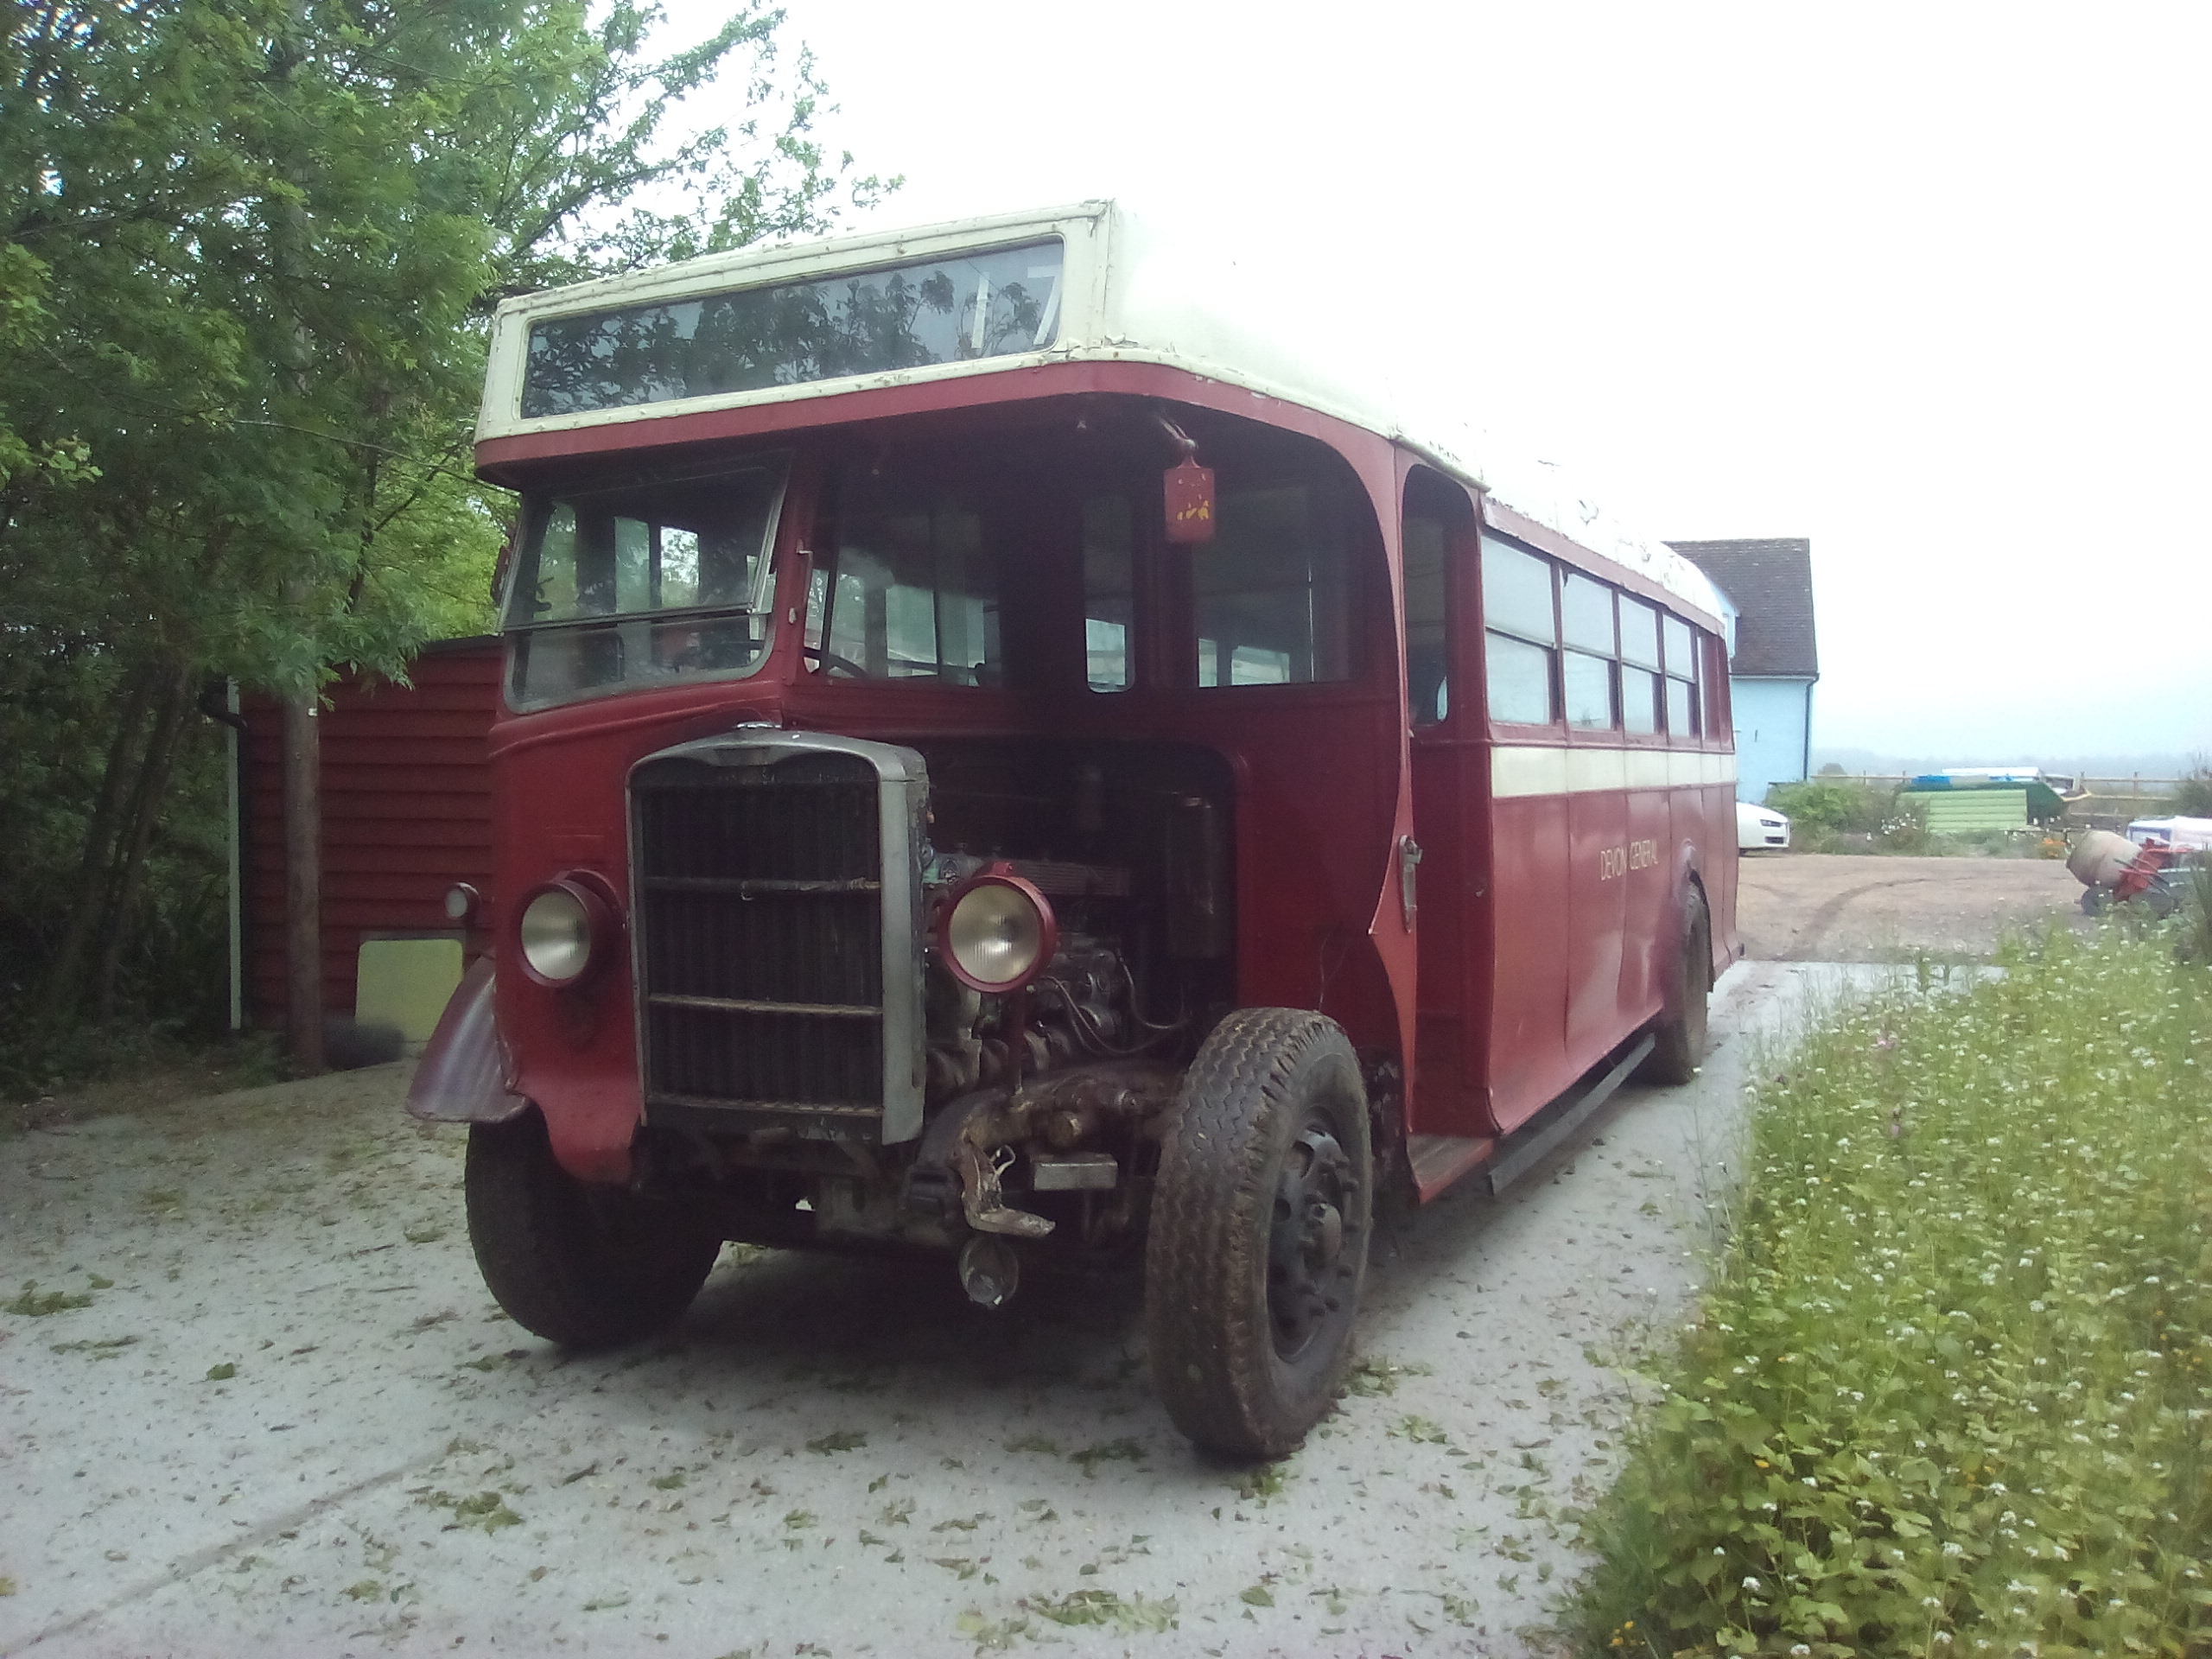
In front of the bus shed, awaiting its turn for restoration
Undated rally picture
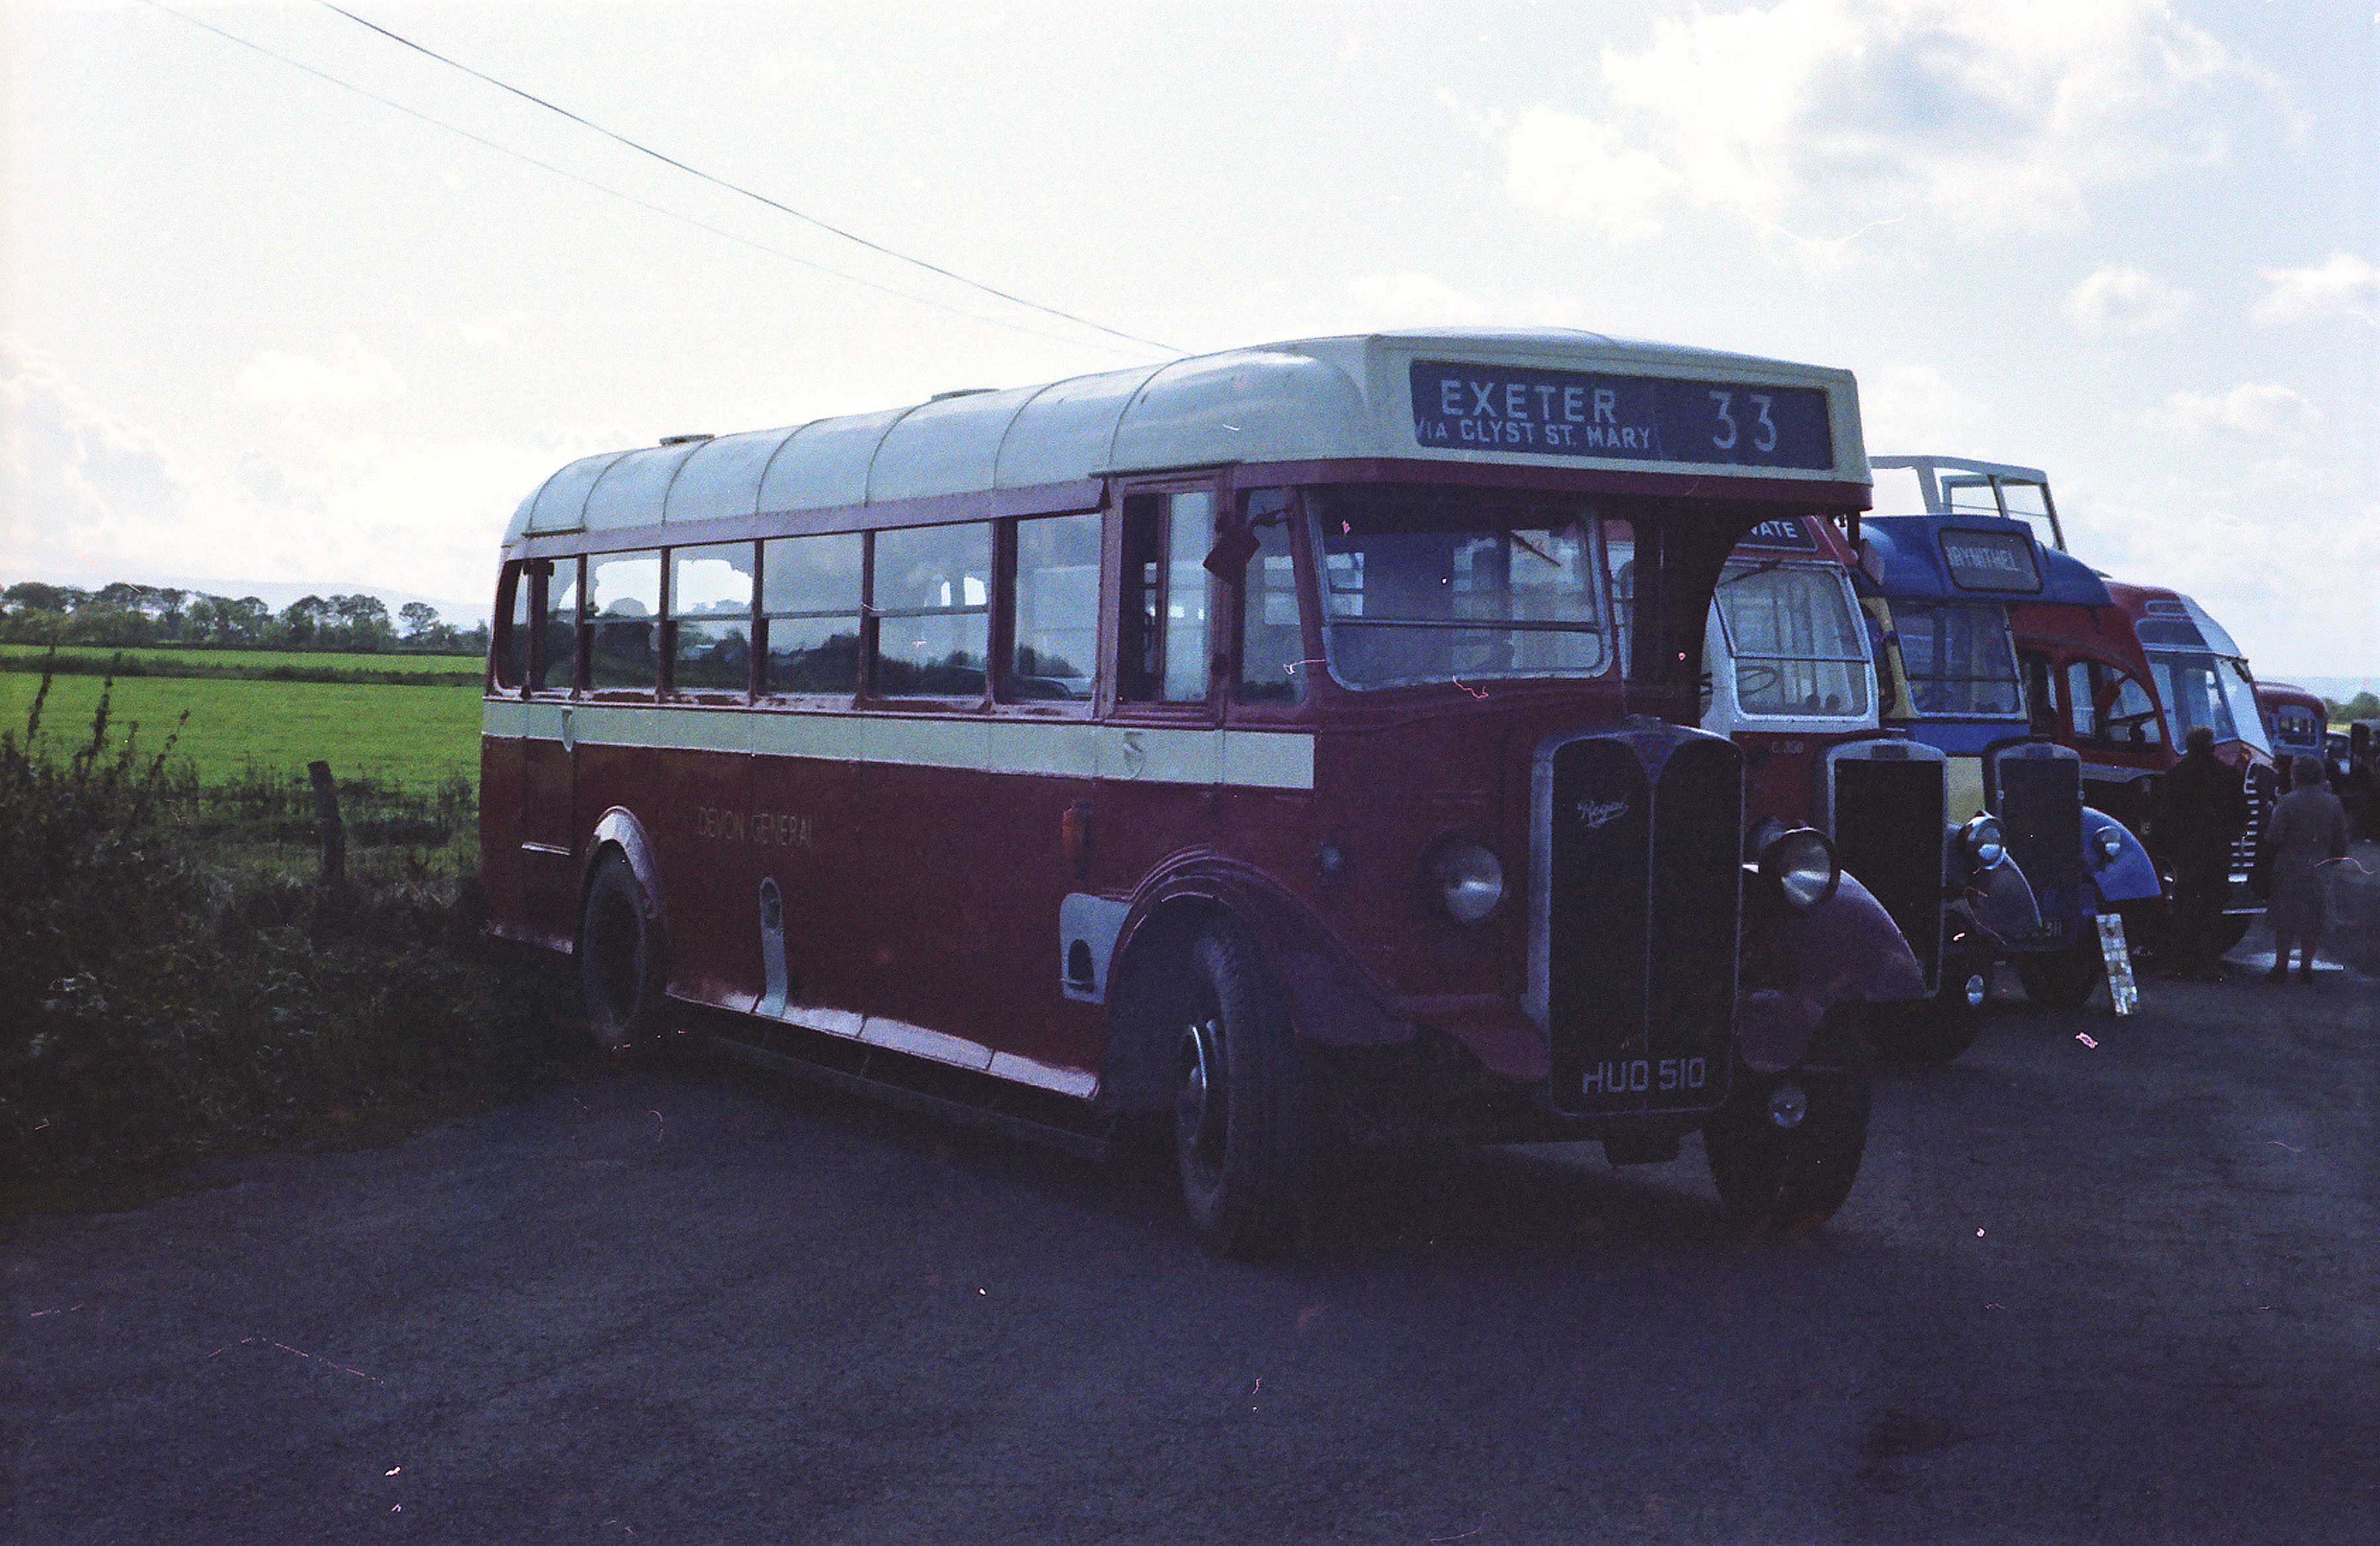
Undated open day at Winkleigh
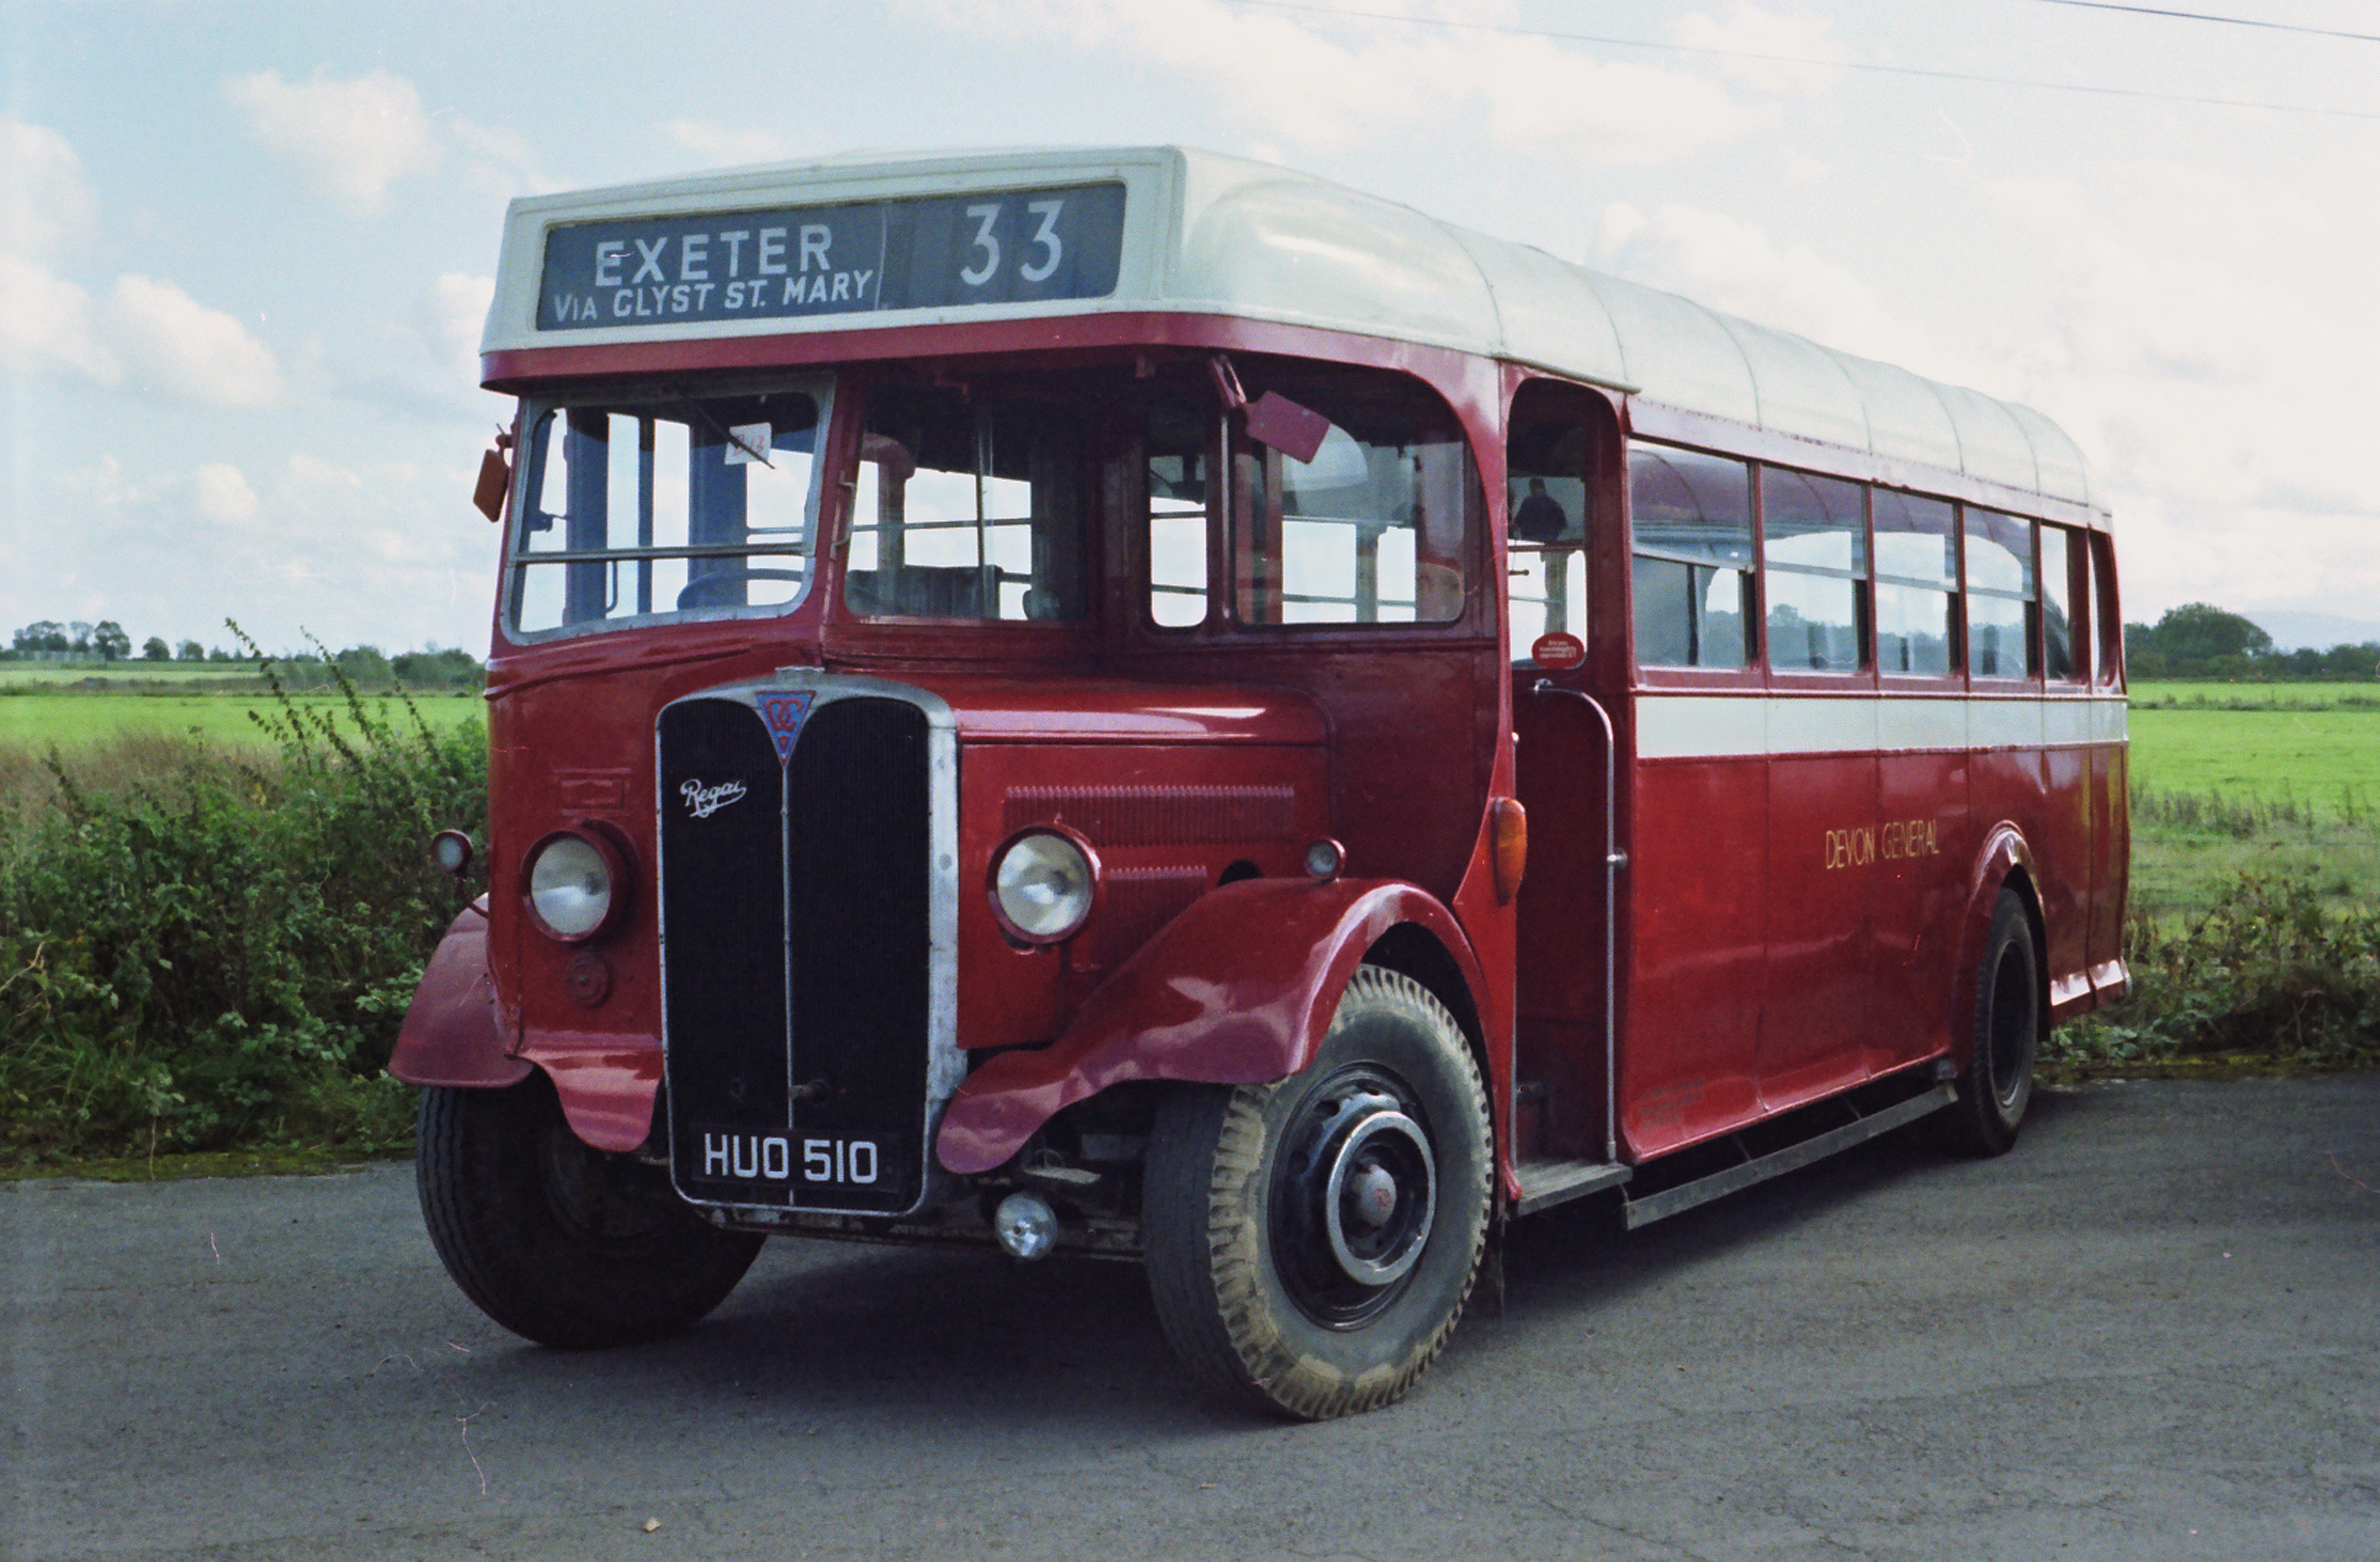
Undated rally at Winkleigh
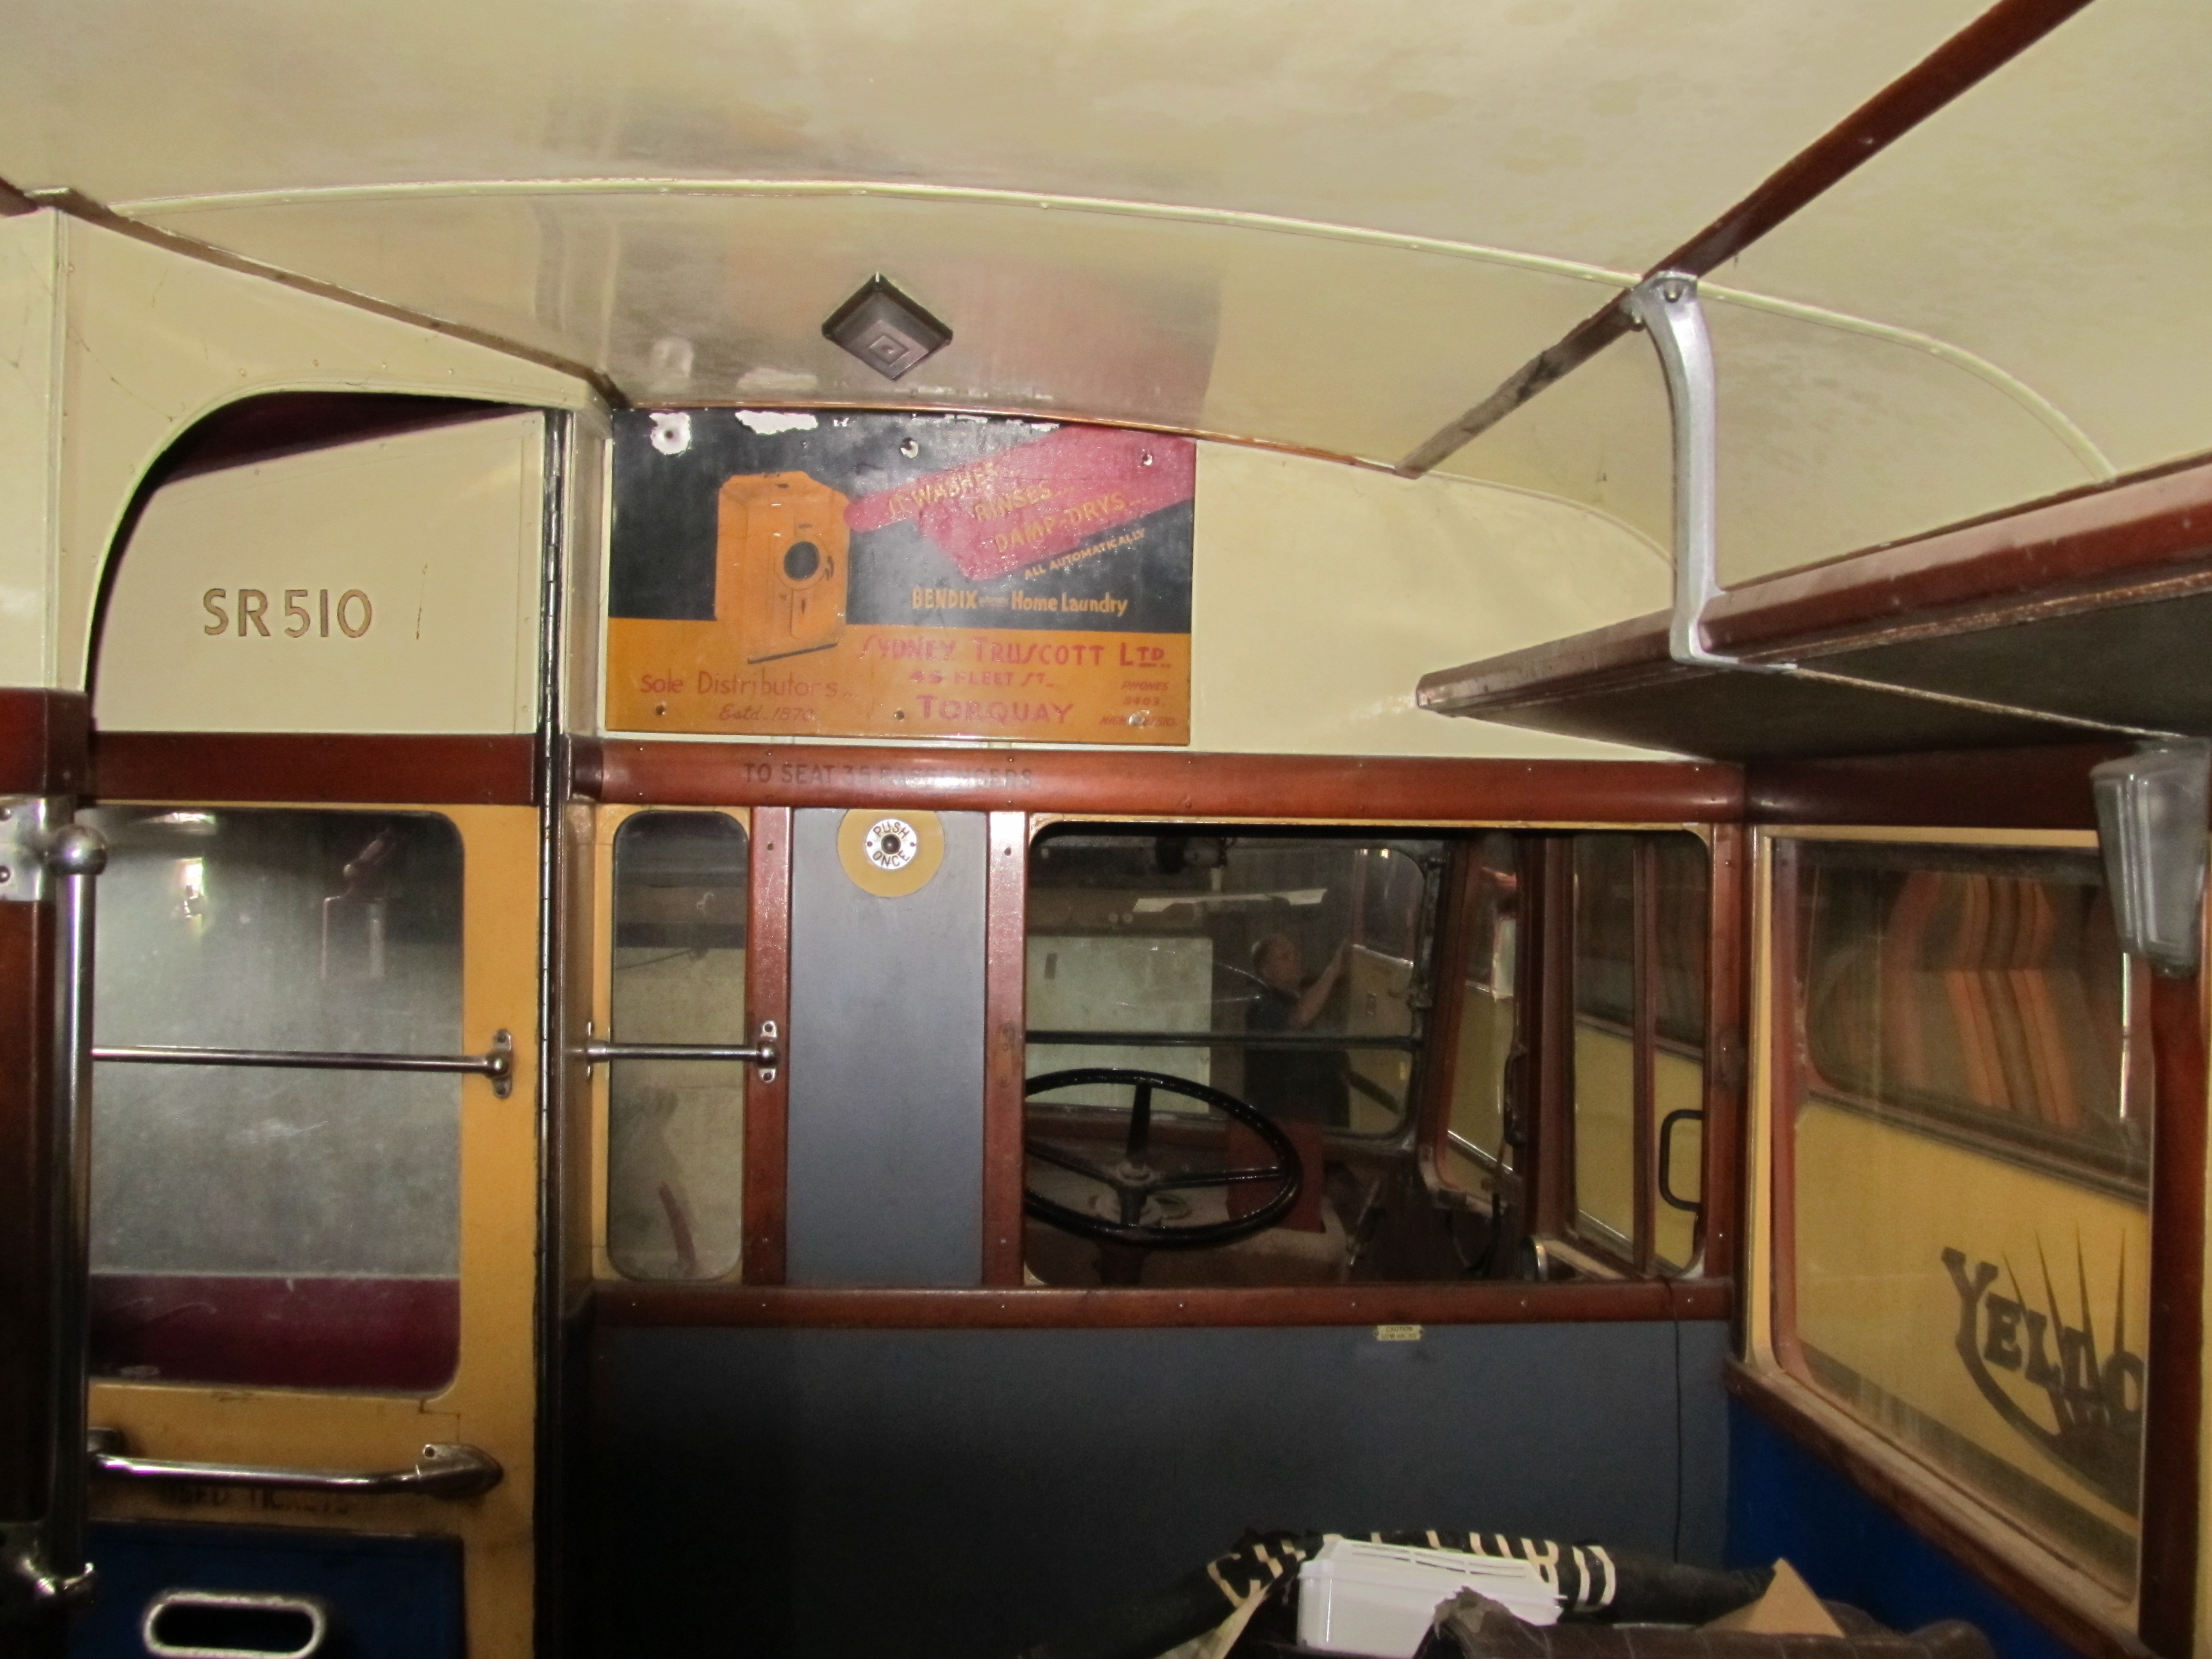
Interior, looking forward
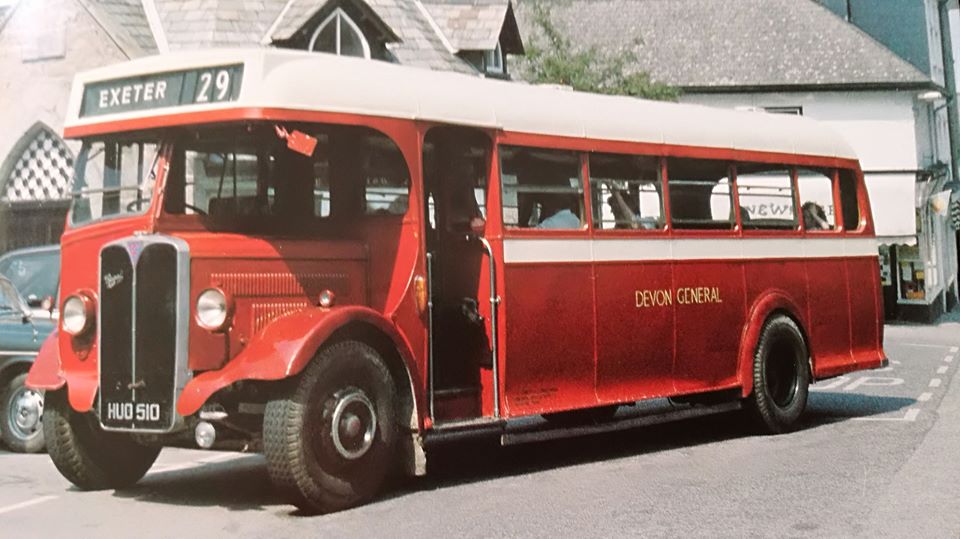
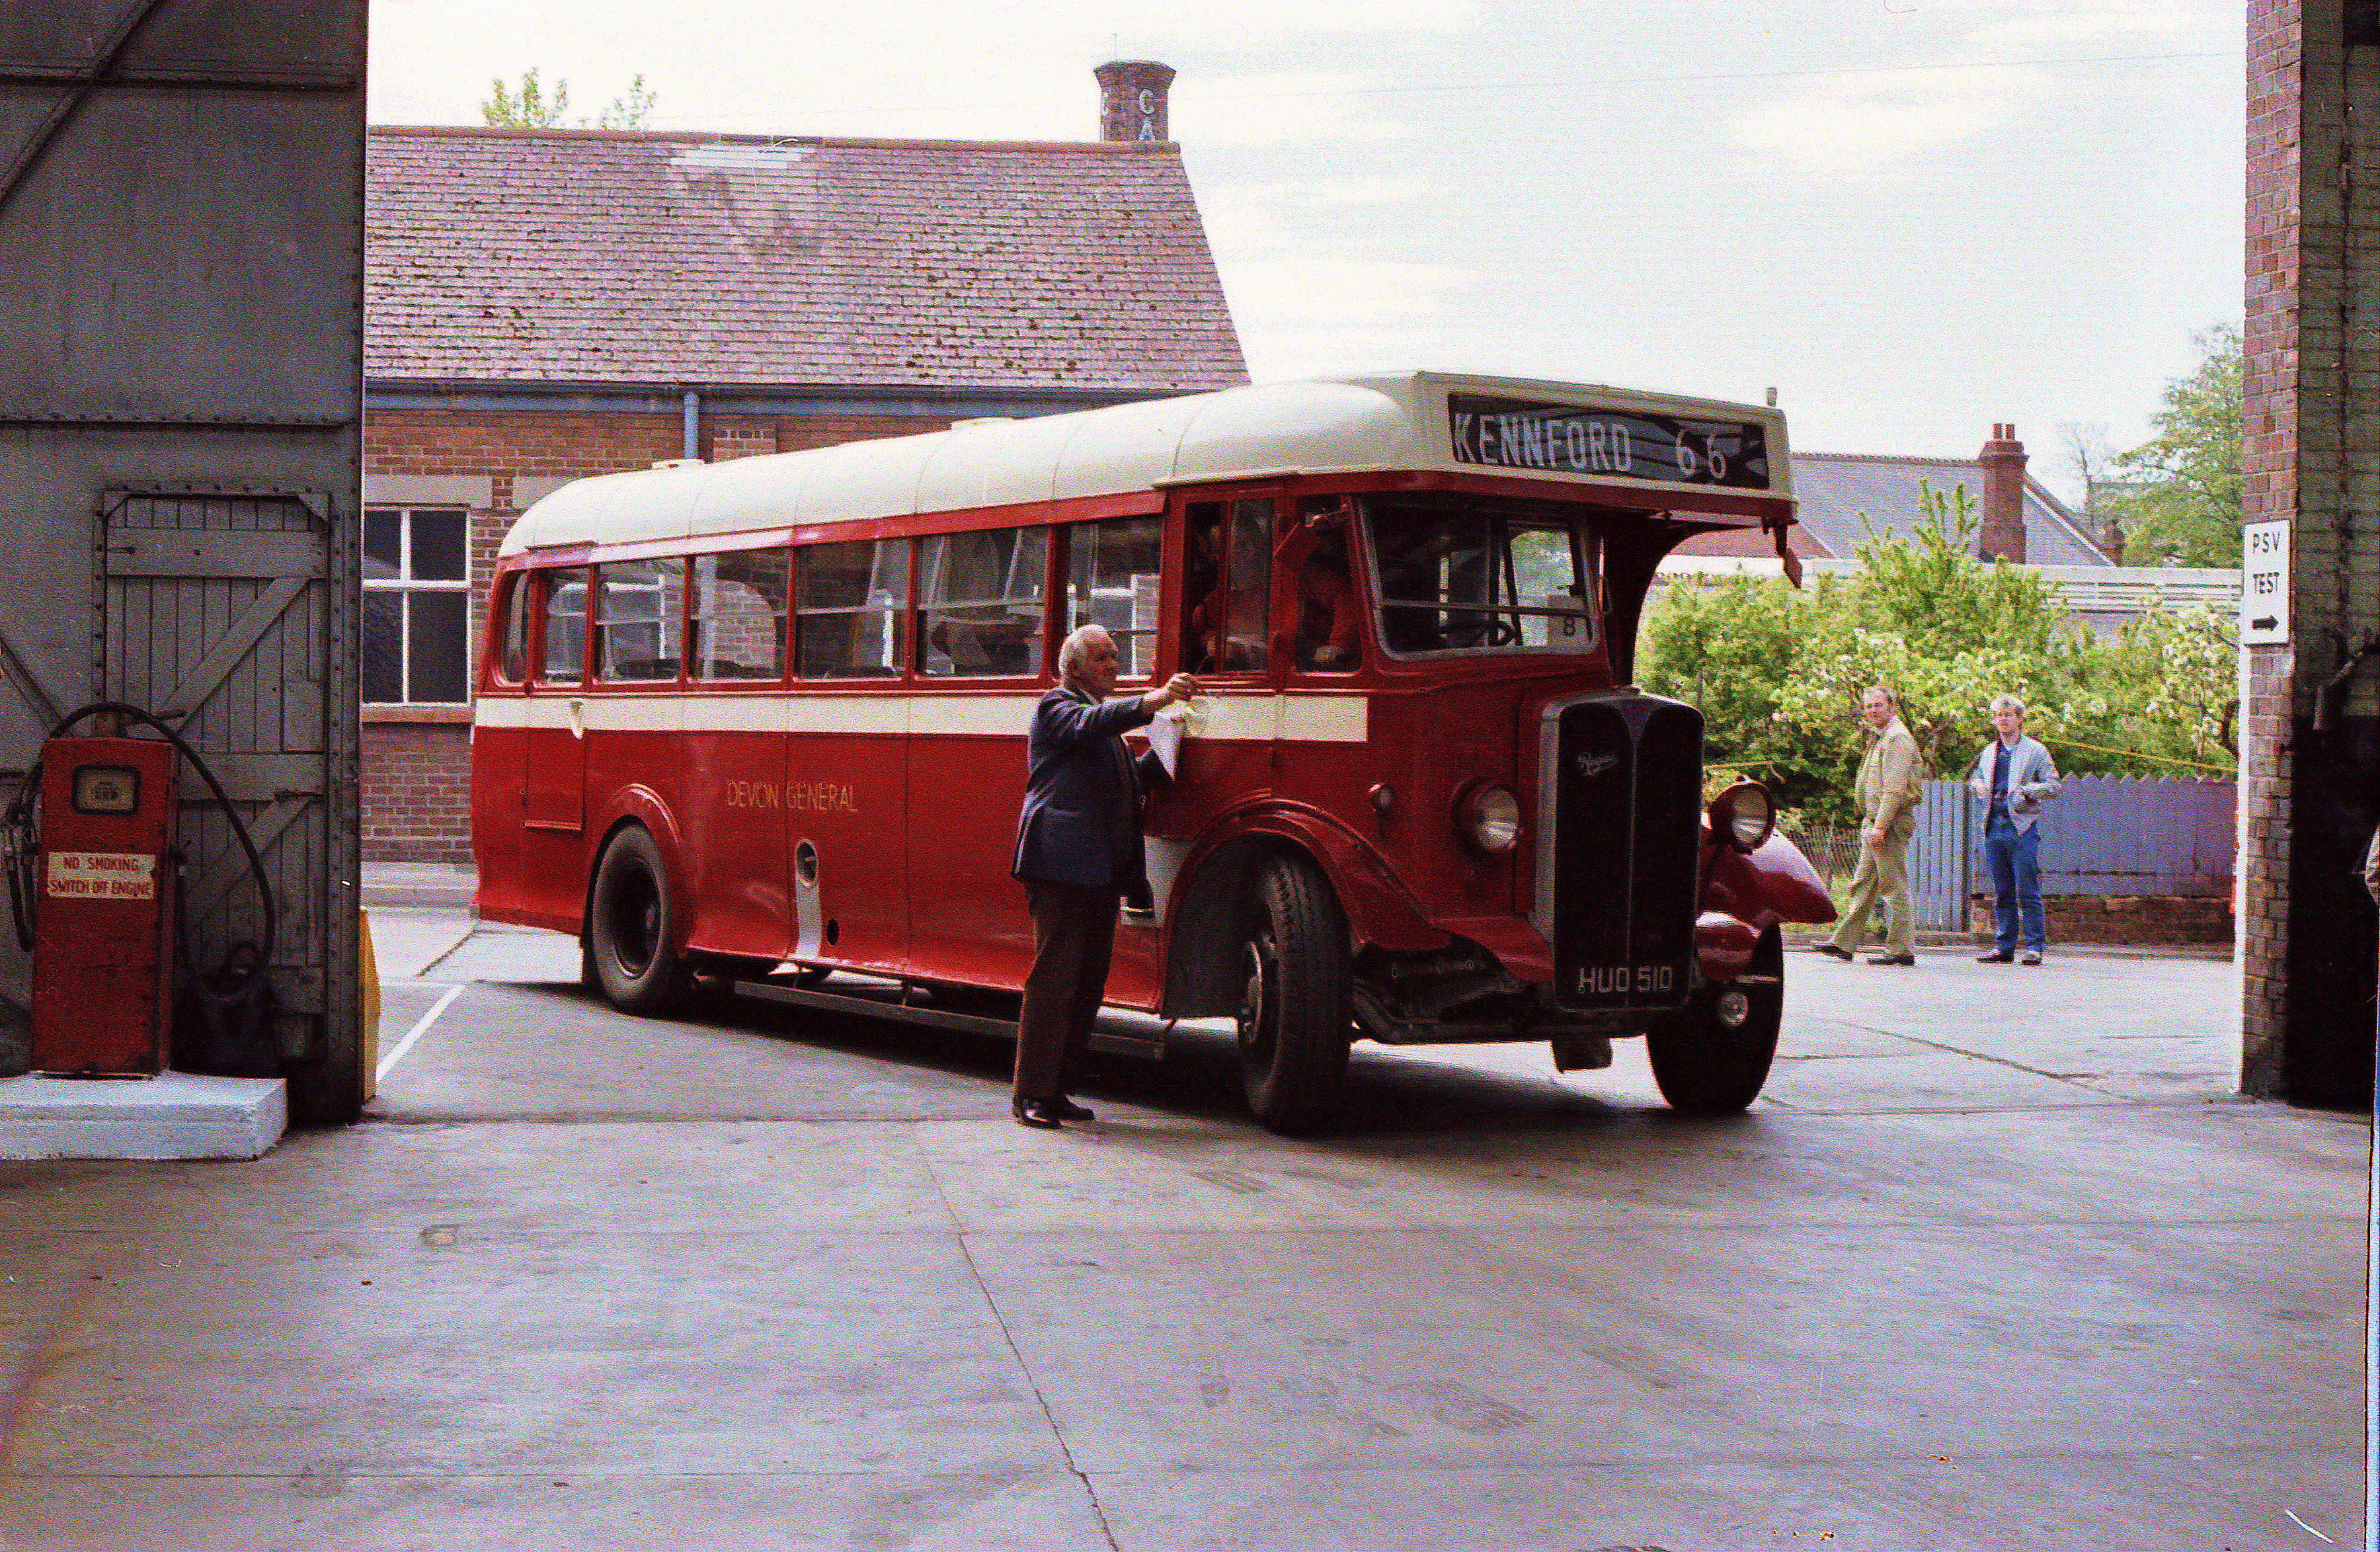
Devon General Society trip, 1992 – G. H. Truran
At a Winkleigh open day many years ago
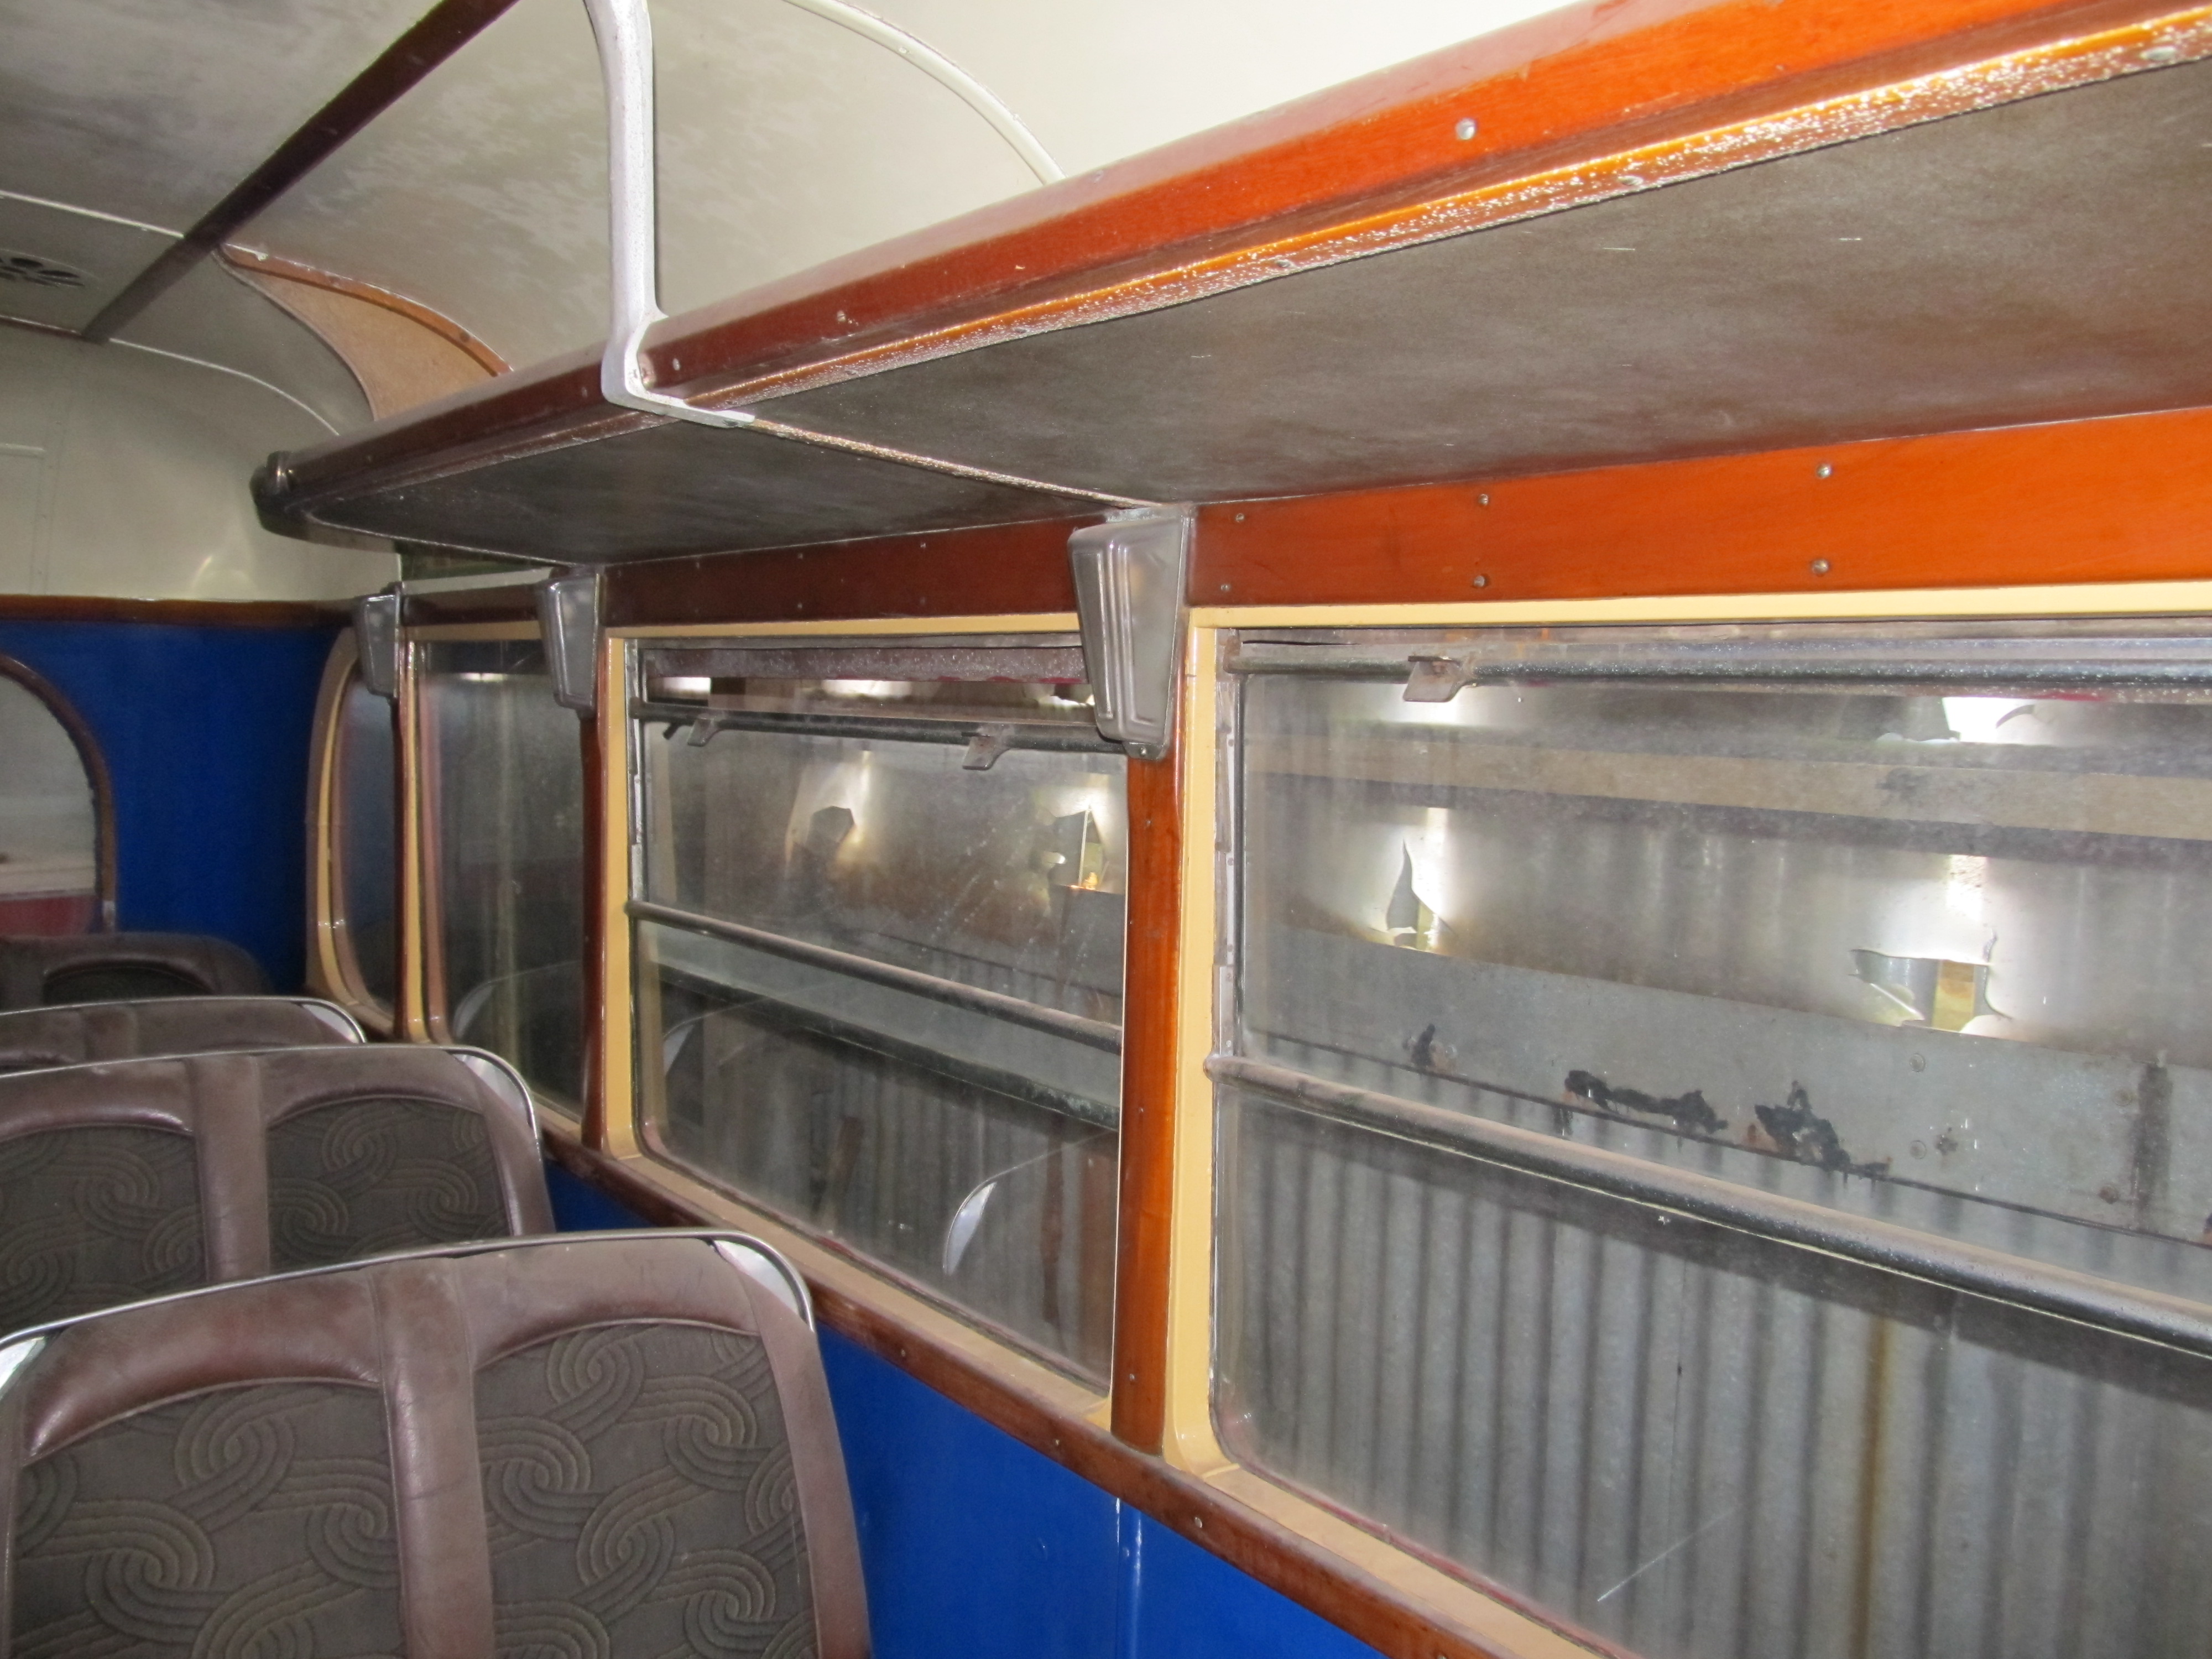
Interior, nearside looking to the rear
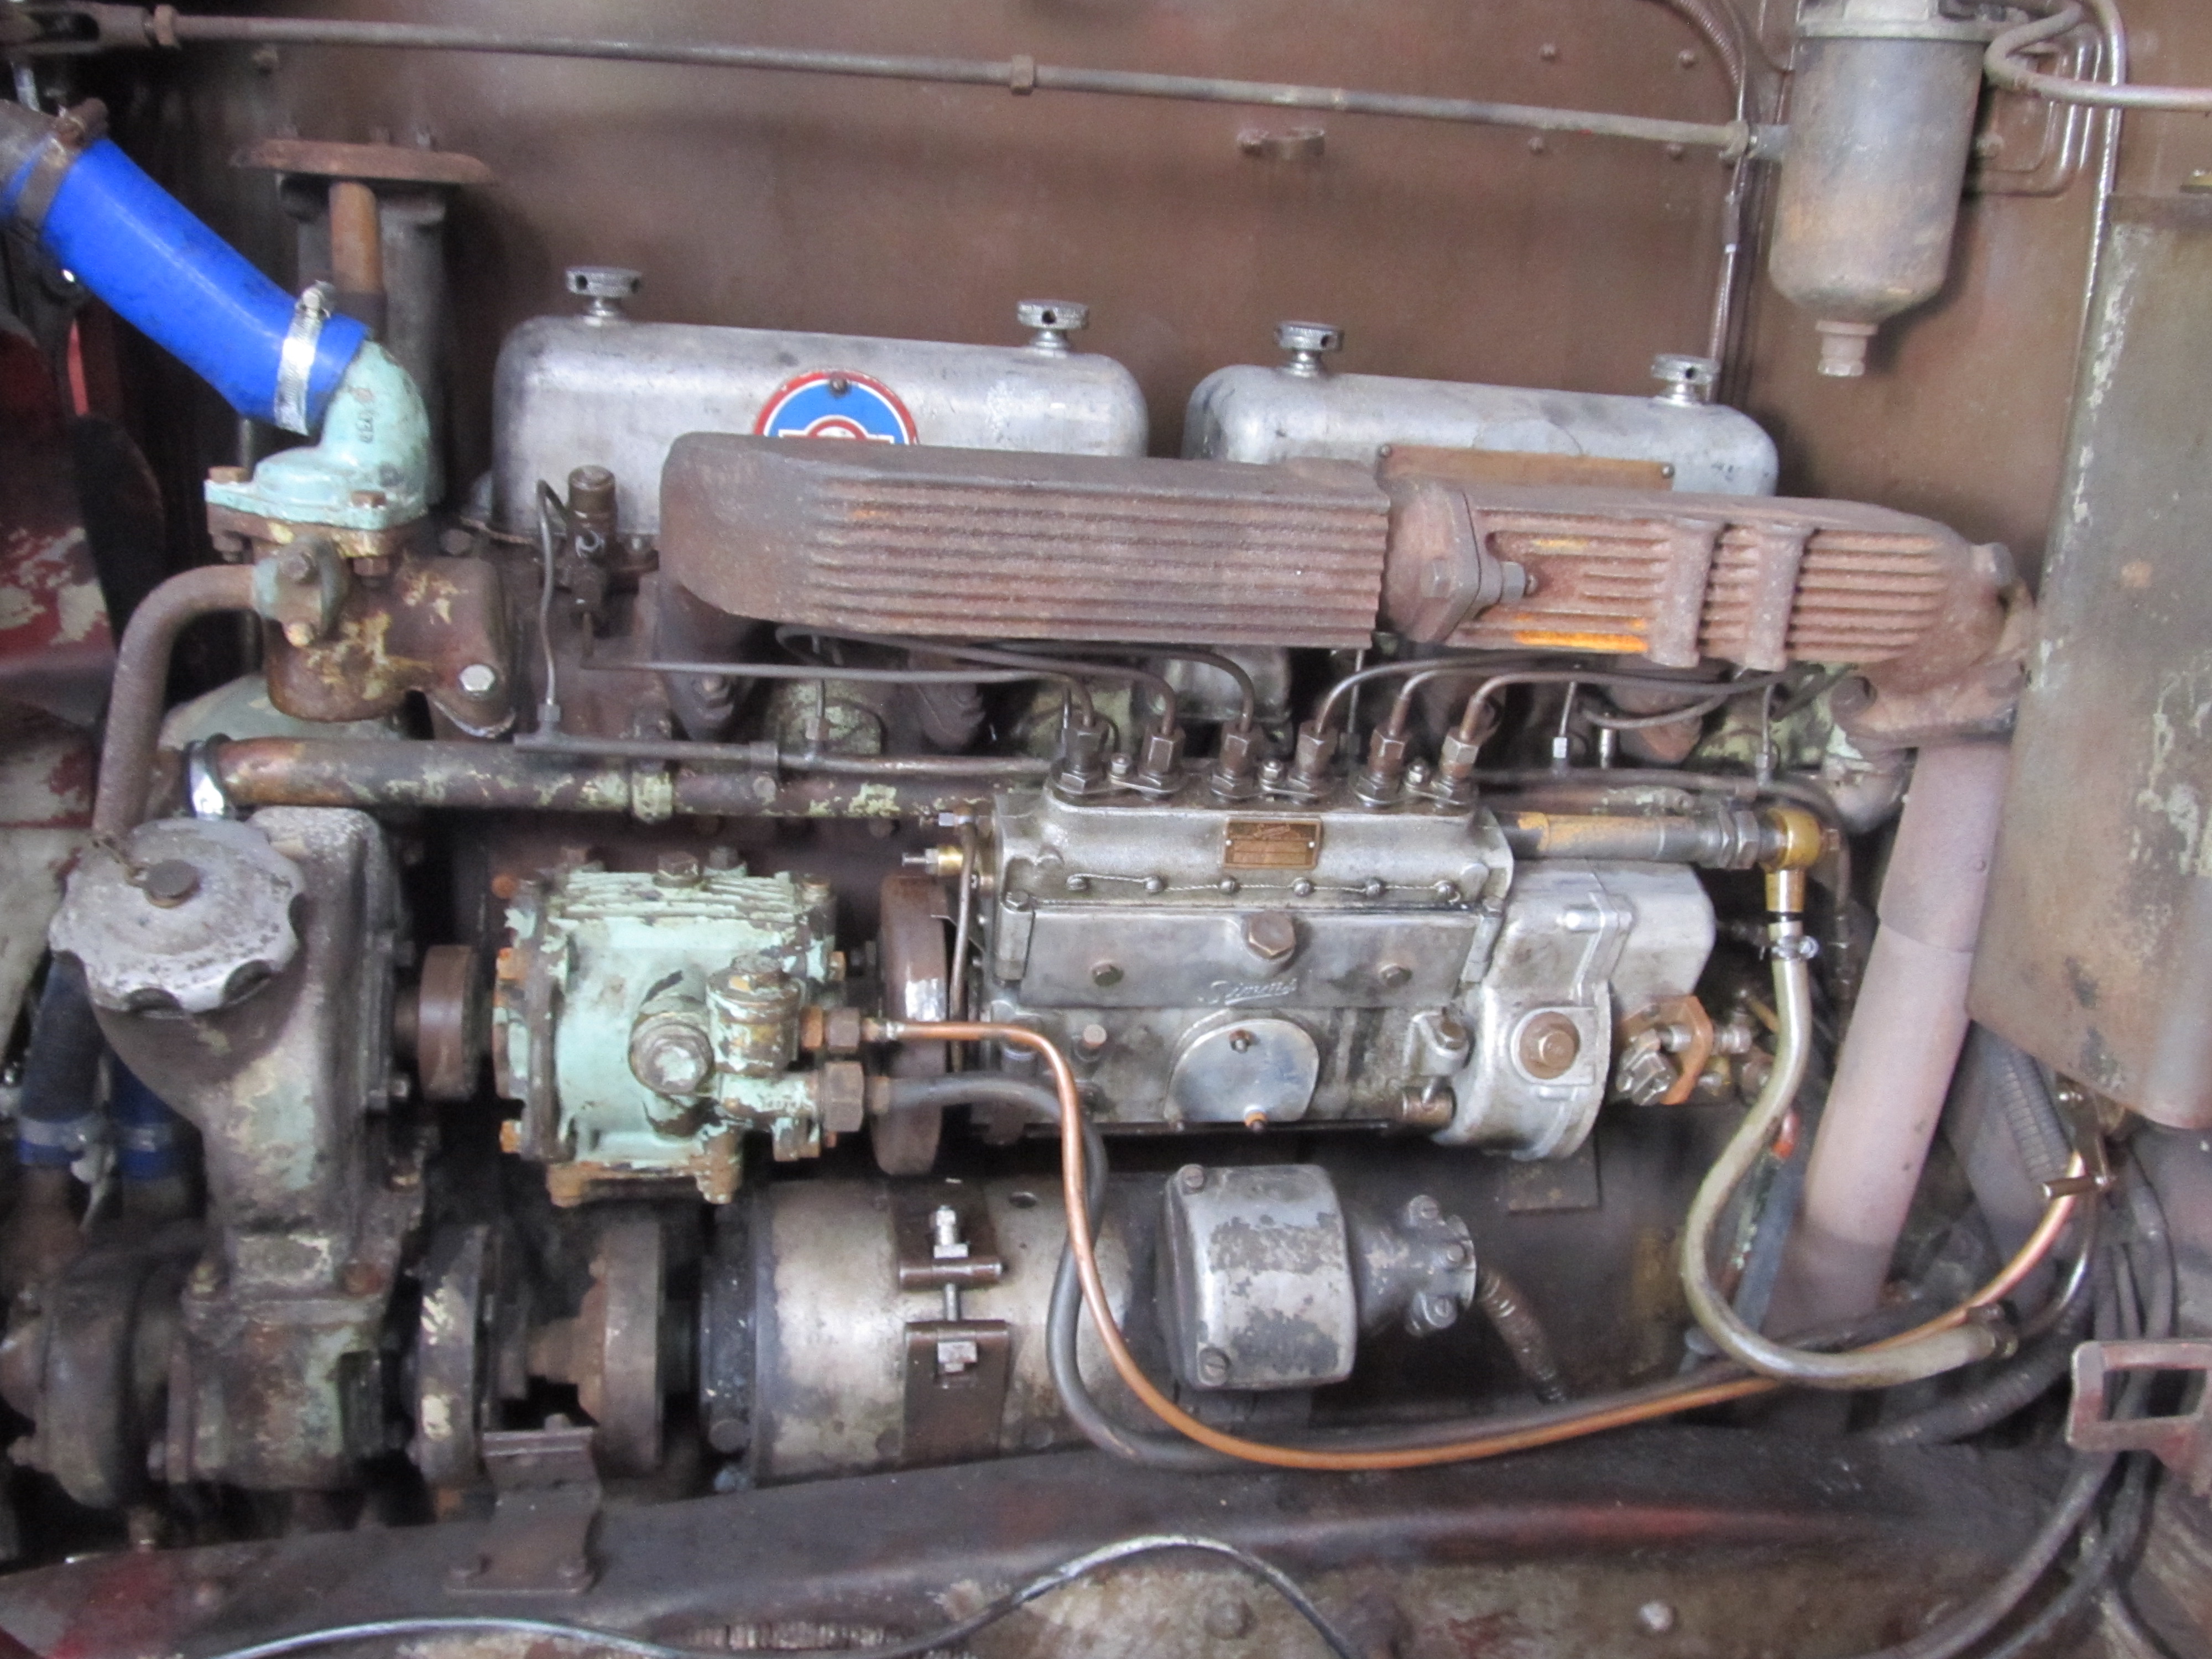
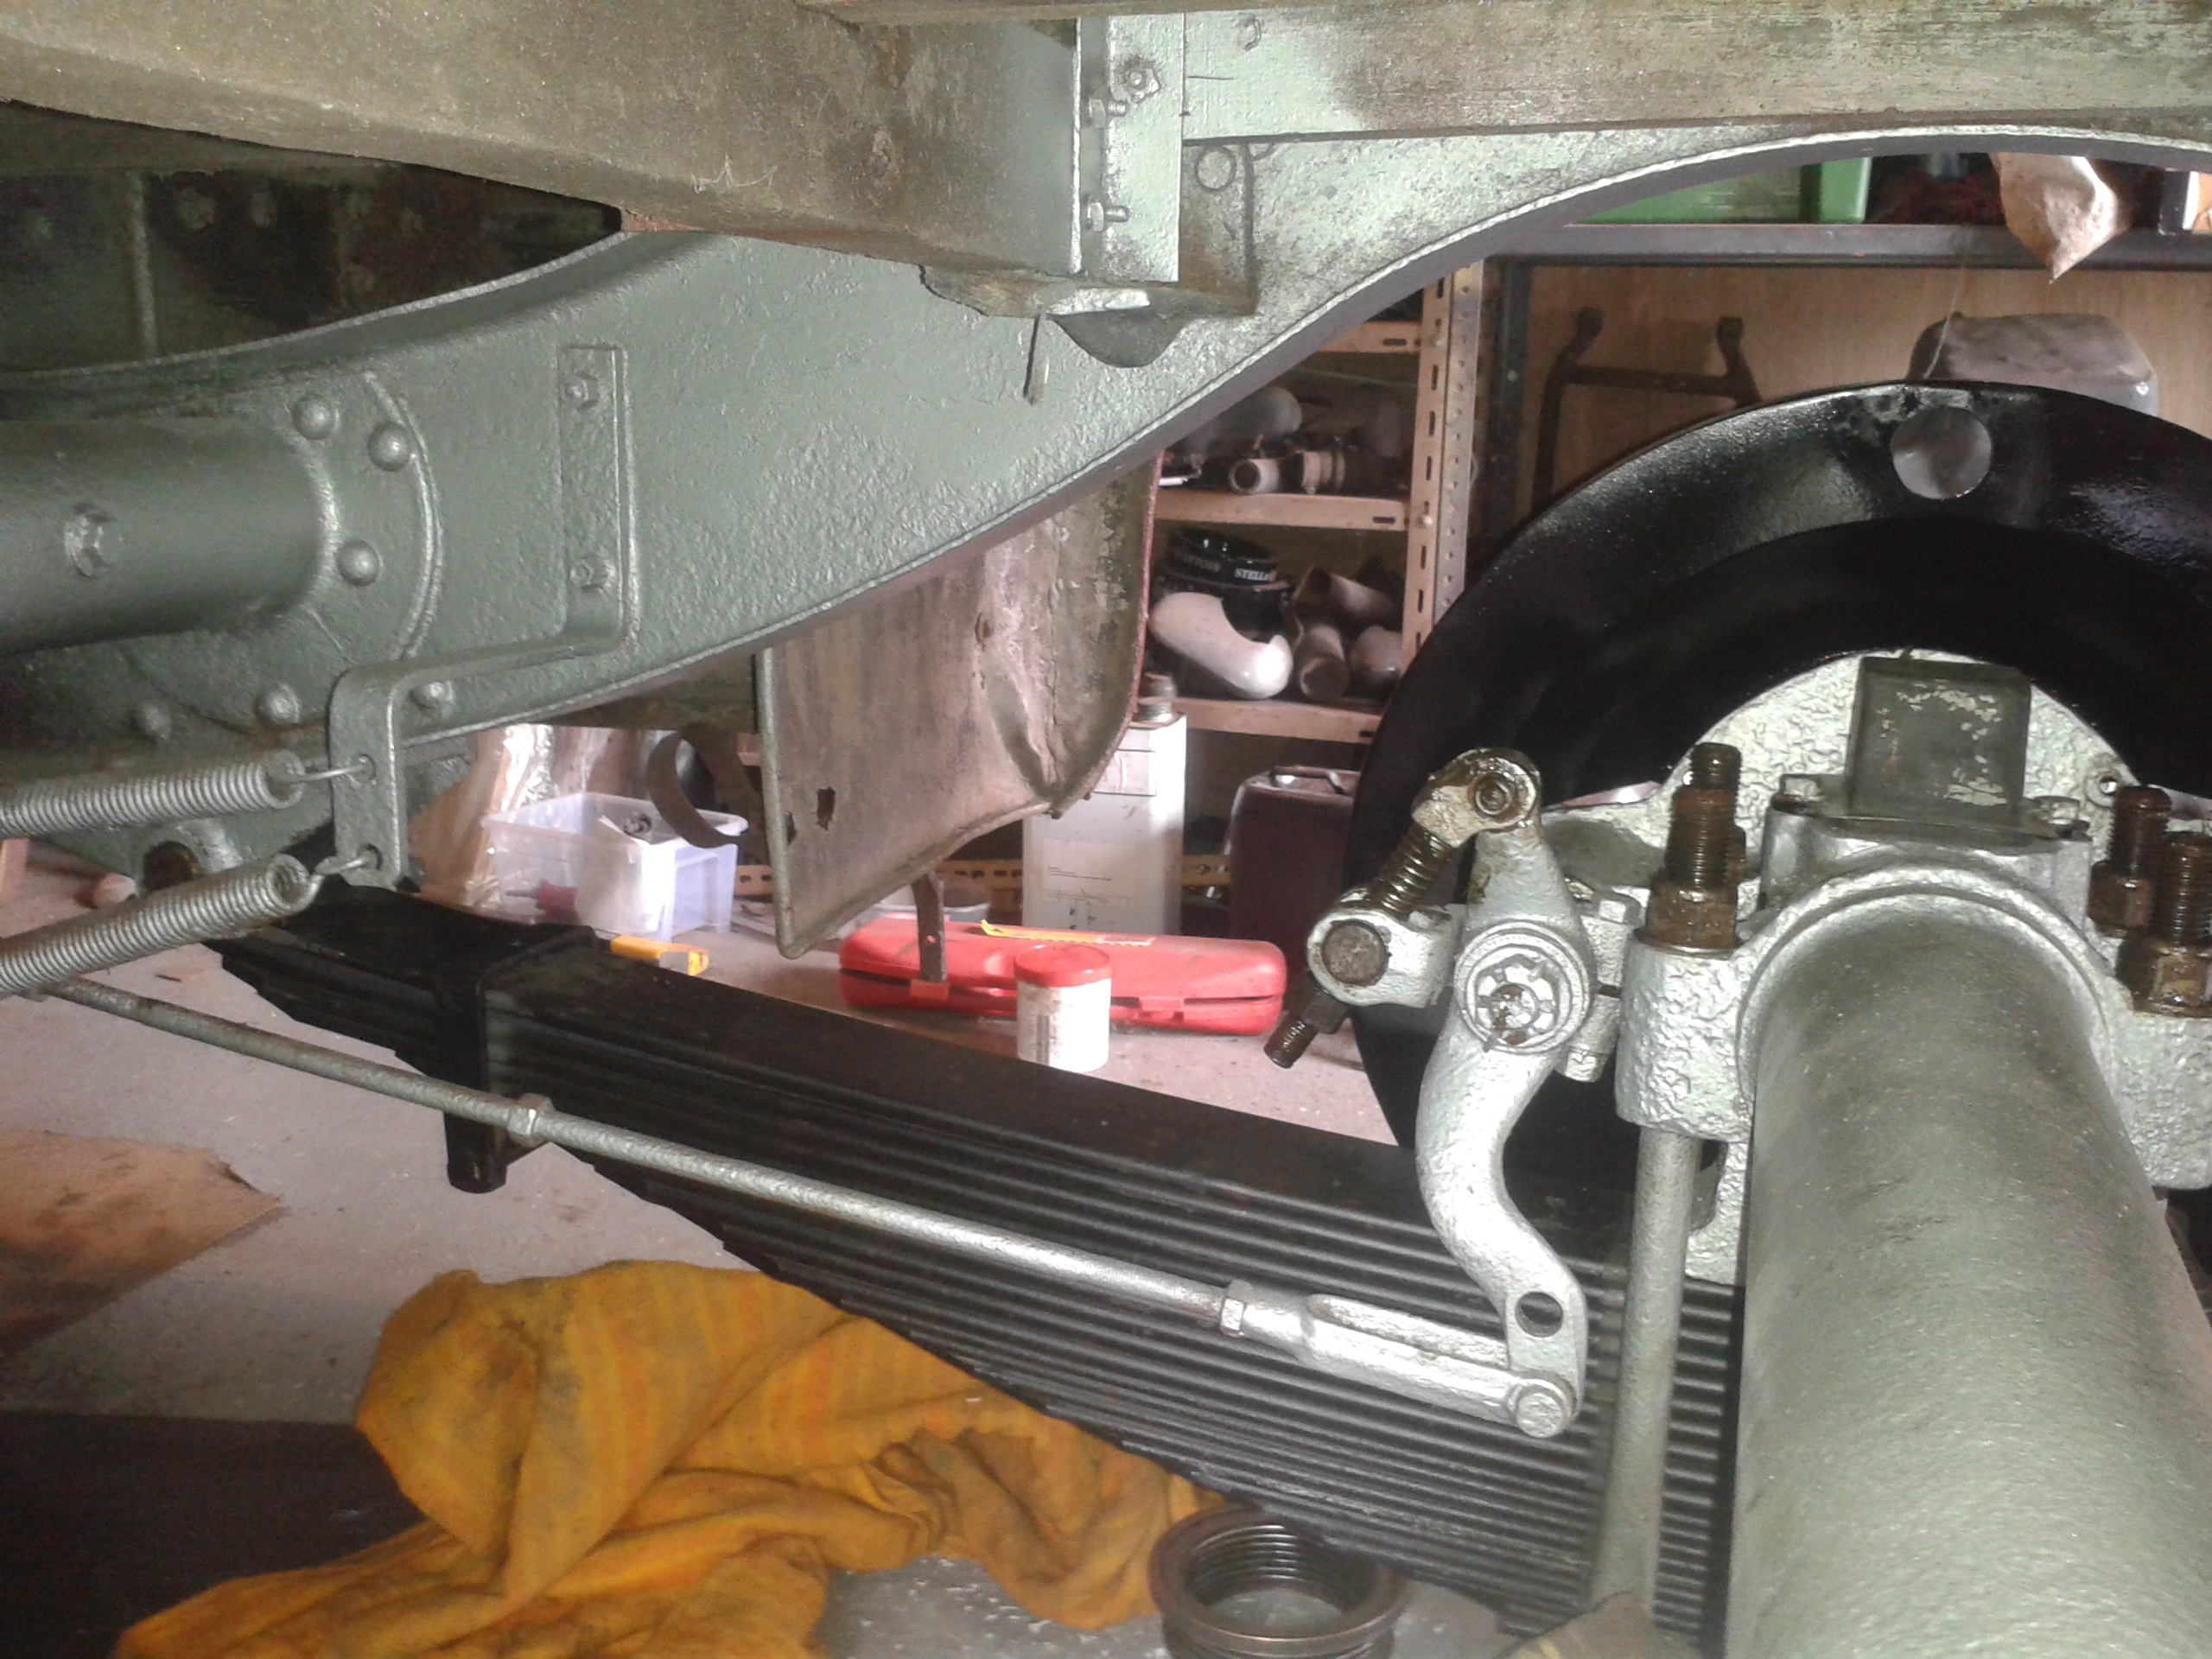
Engine exposed
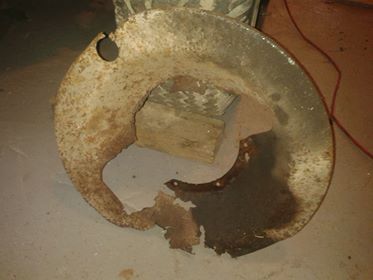
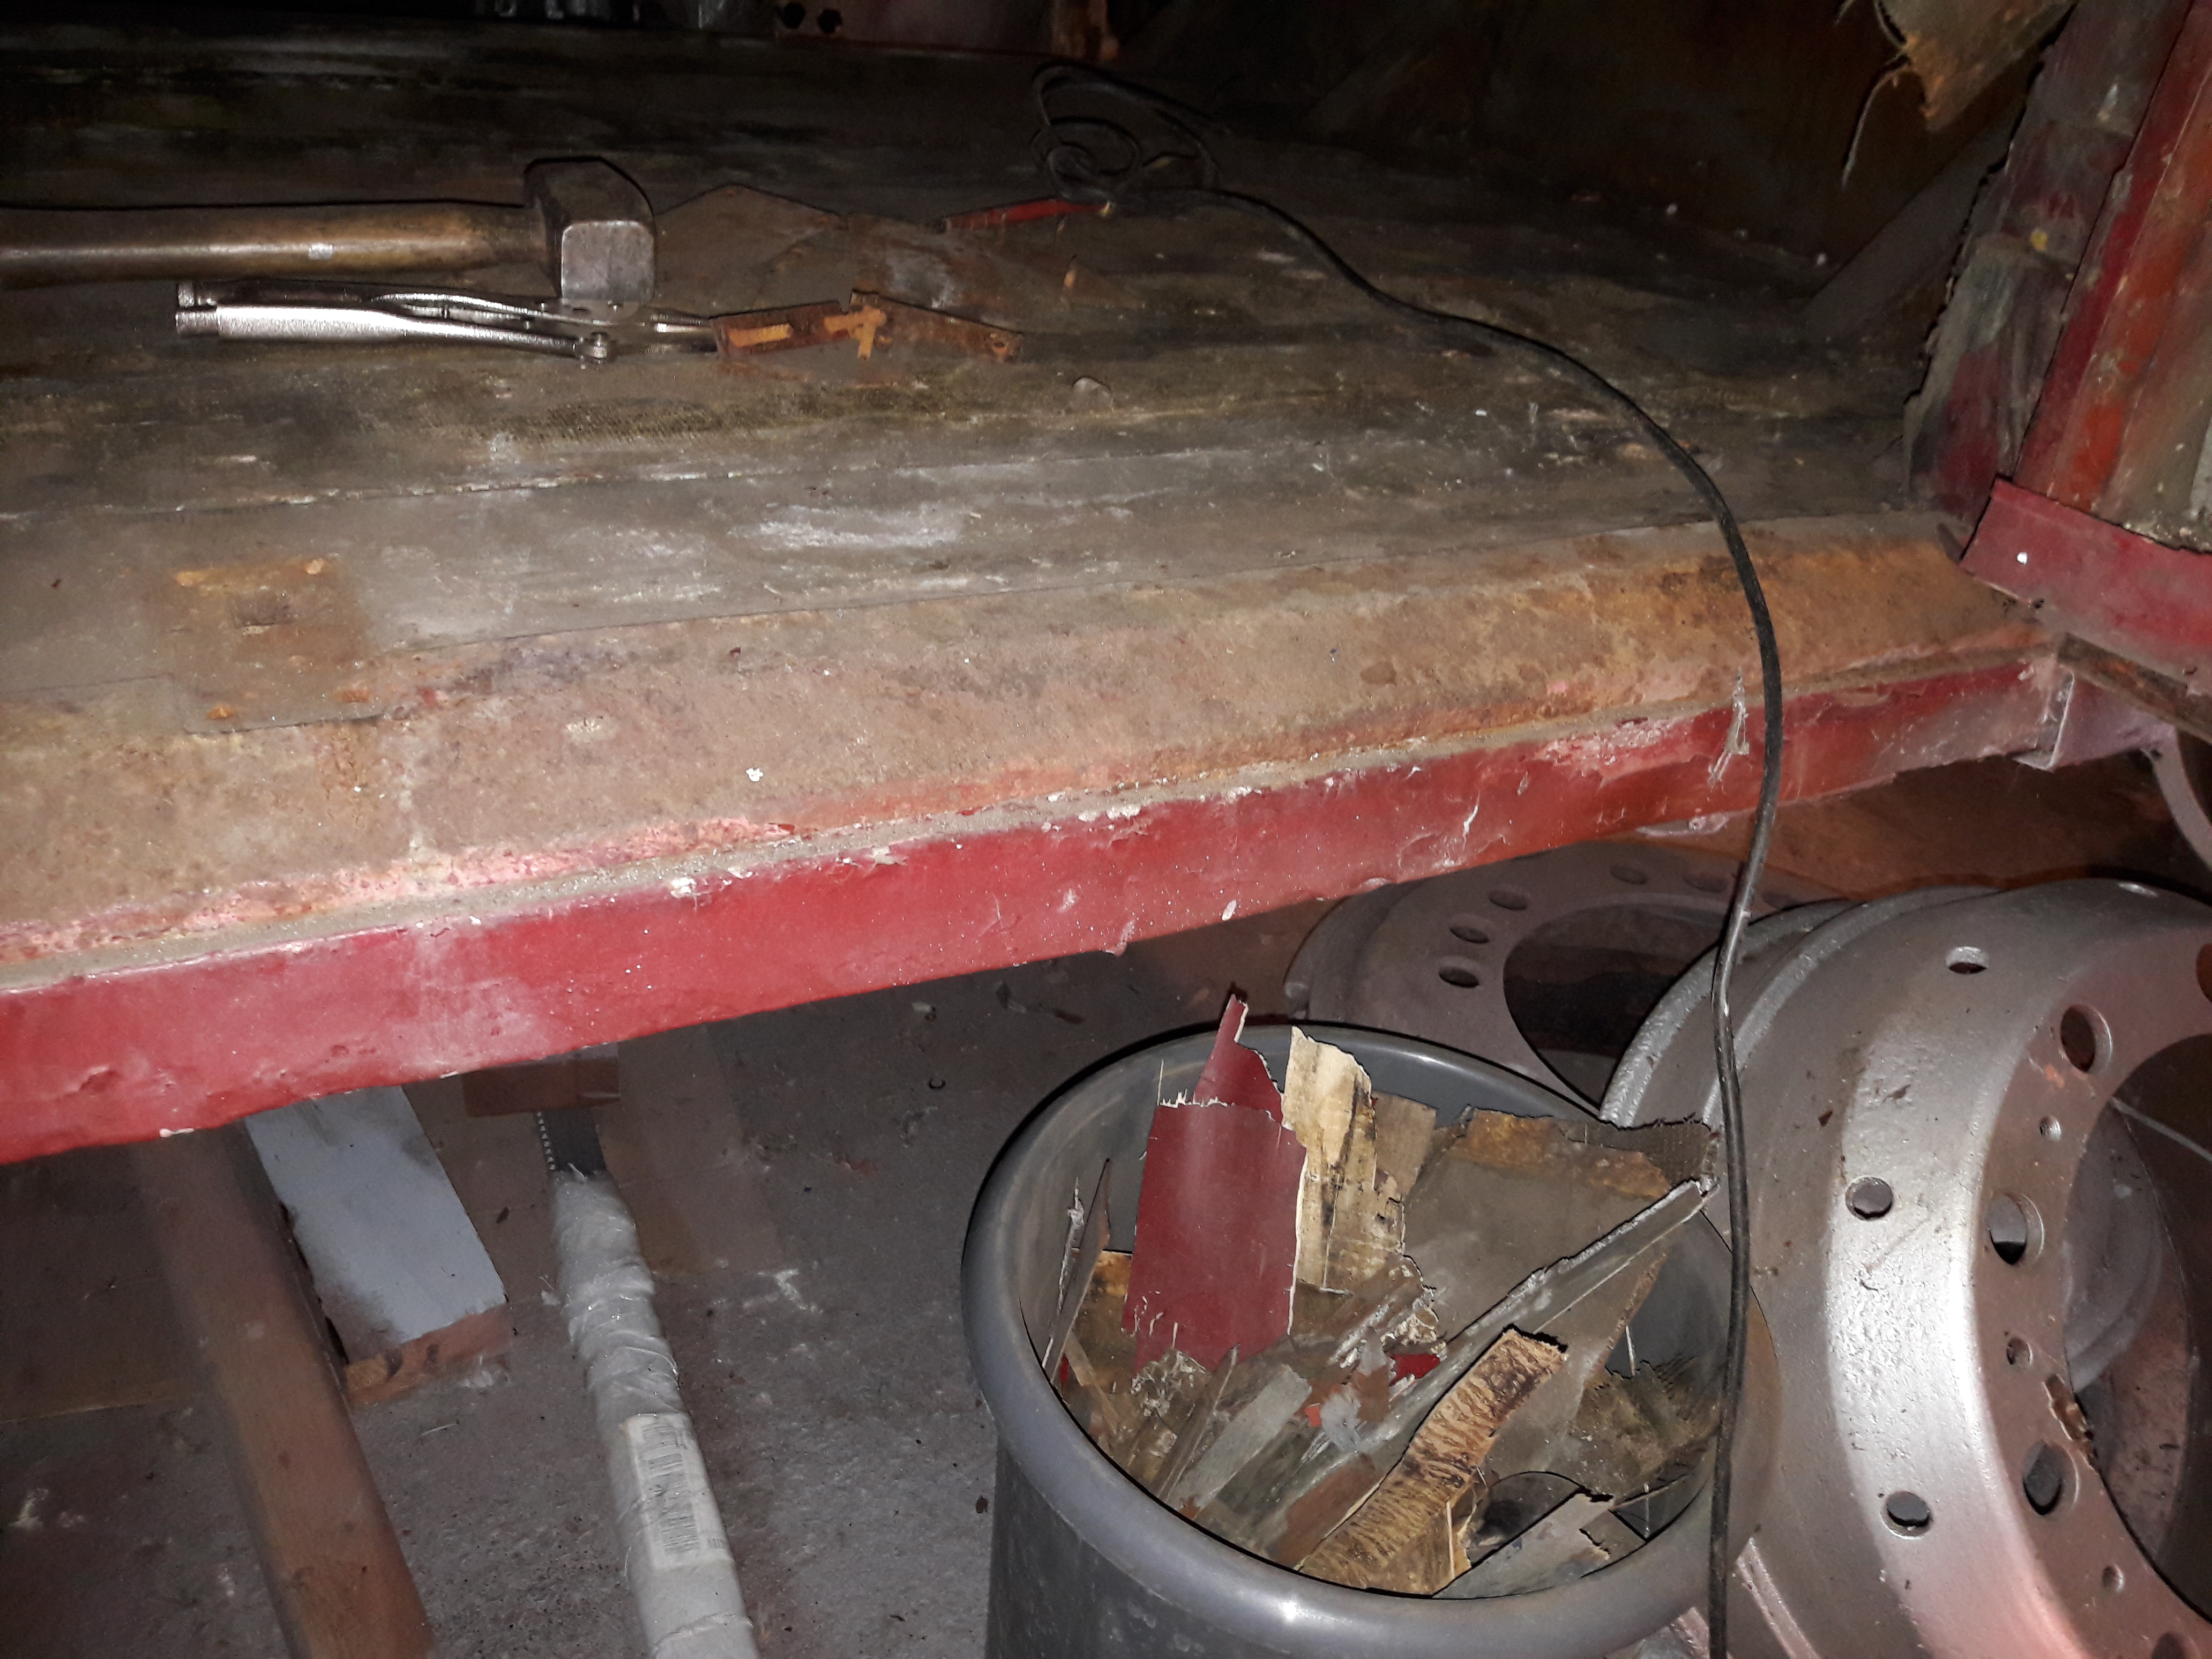
Where we started work: the rotted remains of one of the rear brake dirt shields.
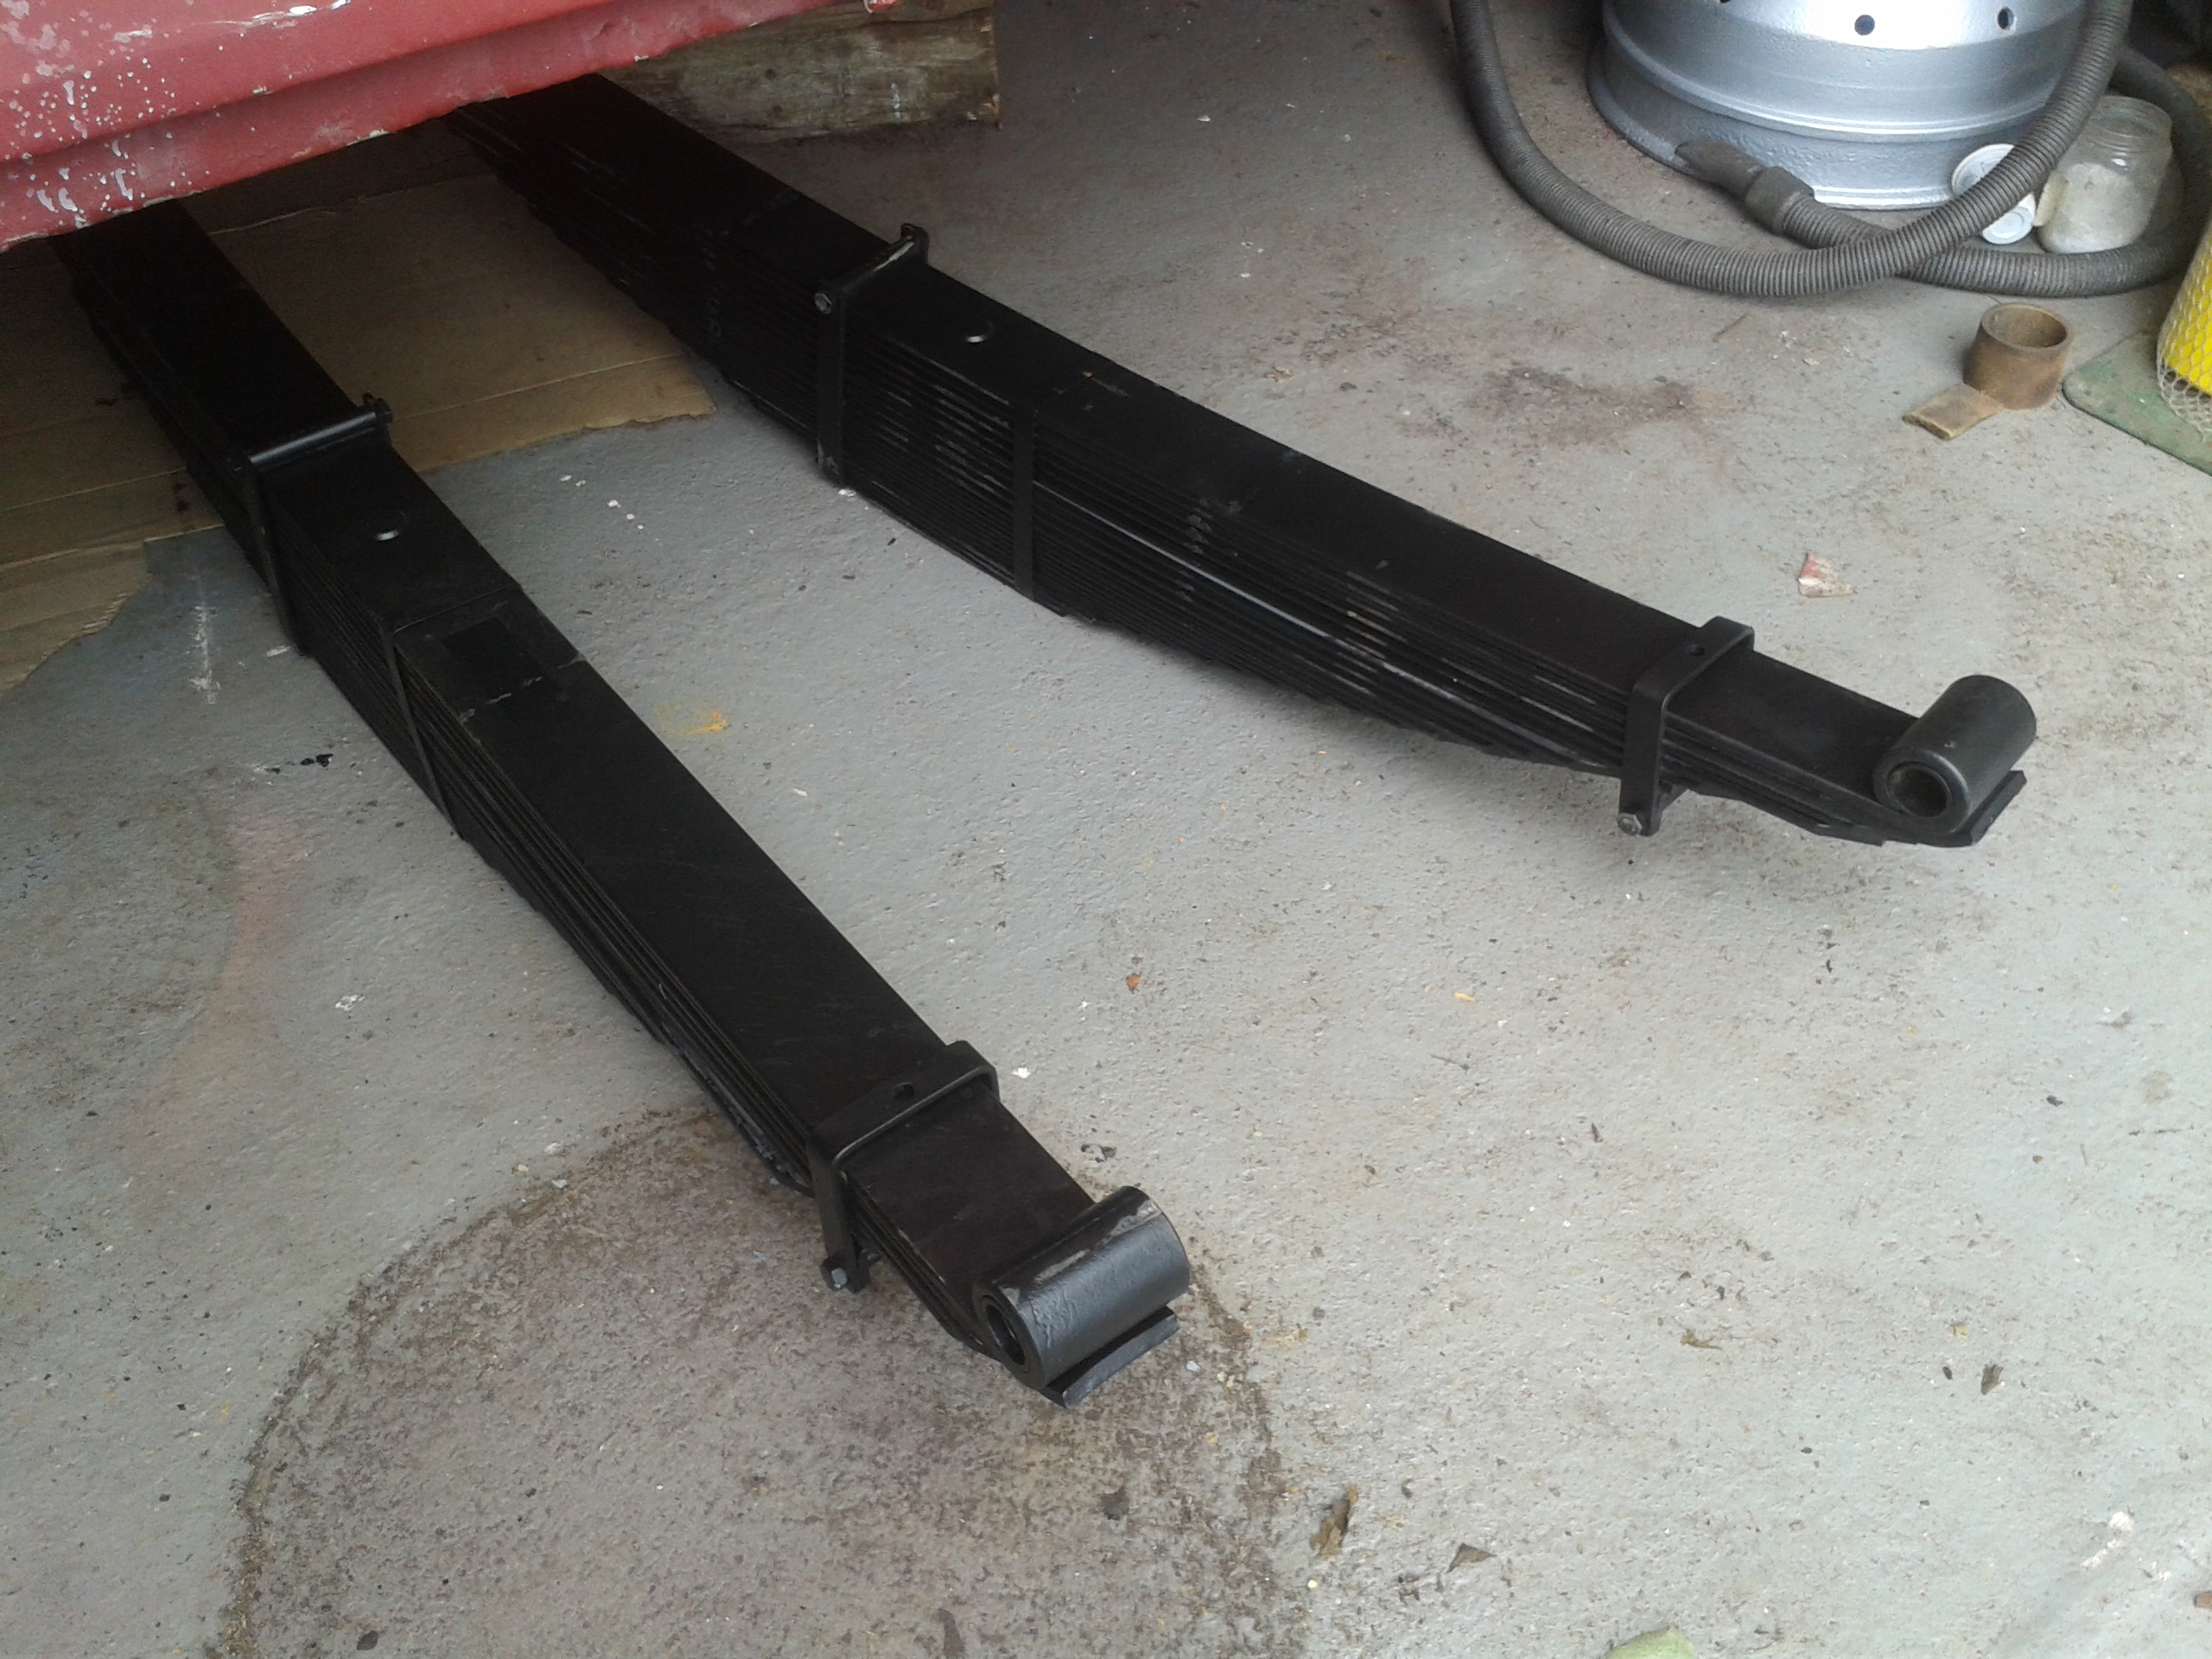
New springs, waiting to be fitted, made by Paddington Springs at enormous expense.

Newly painted brake dirt shields, fabricated by me from zintec sheet.
Spring fitted and new dirt shield in place
New bump stop rubber, cast in my workshop.
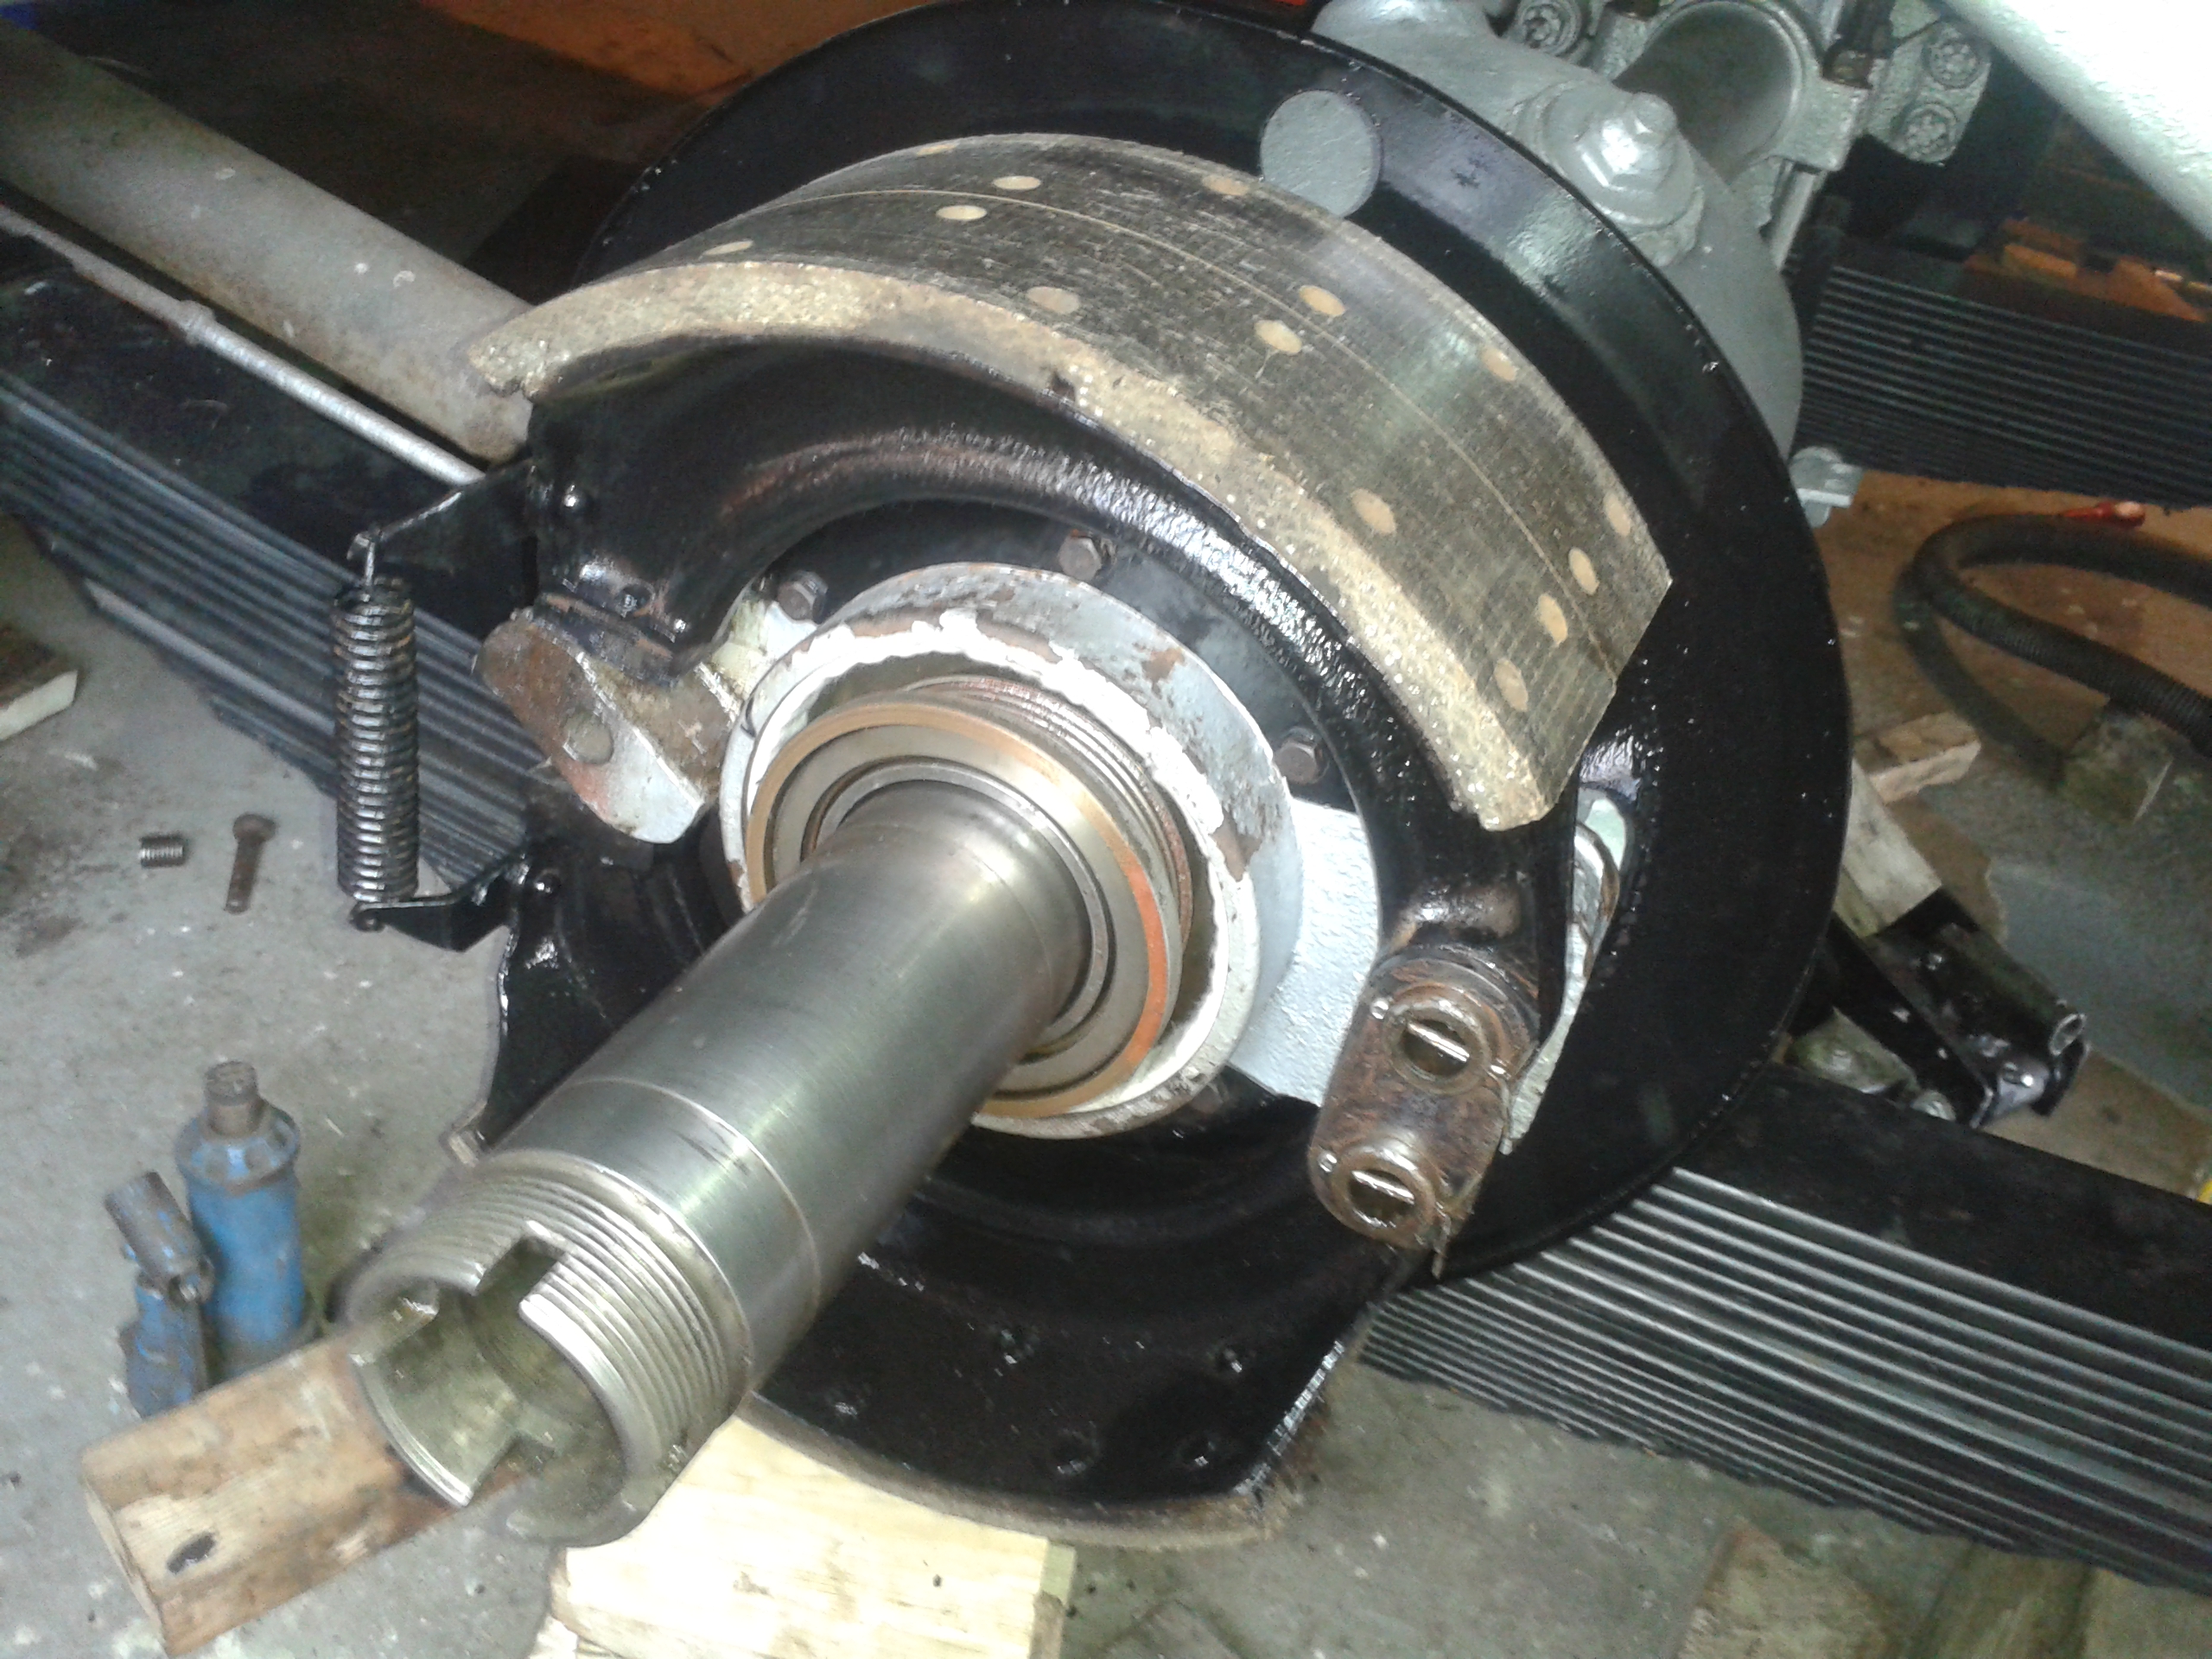
Brakes assembled, awaiting refurbished hub, bearings and oil seal.
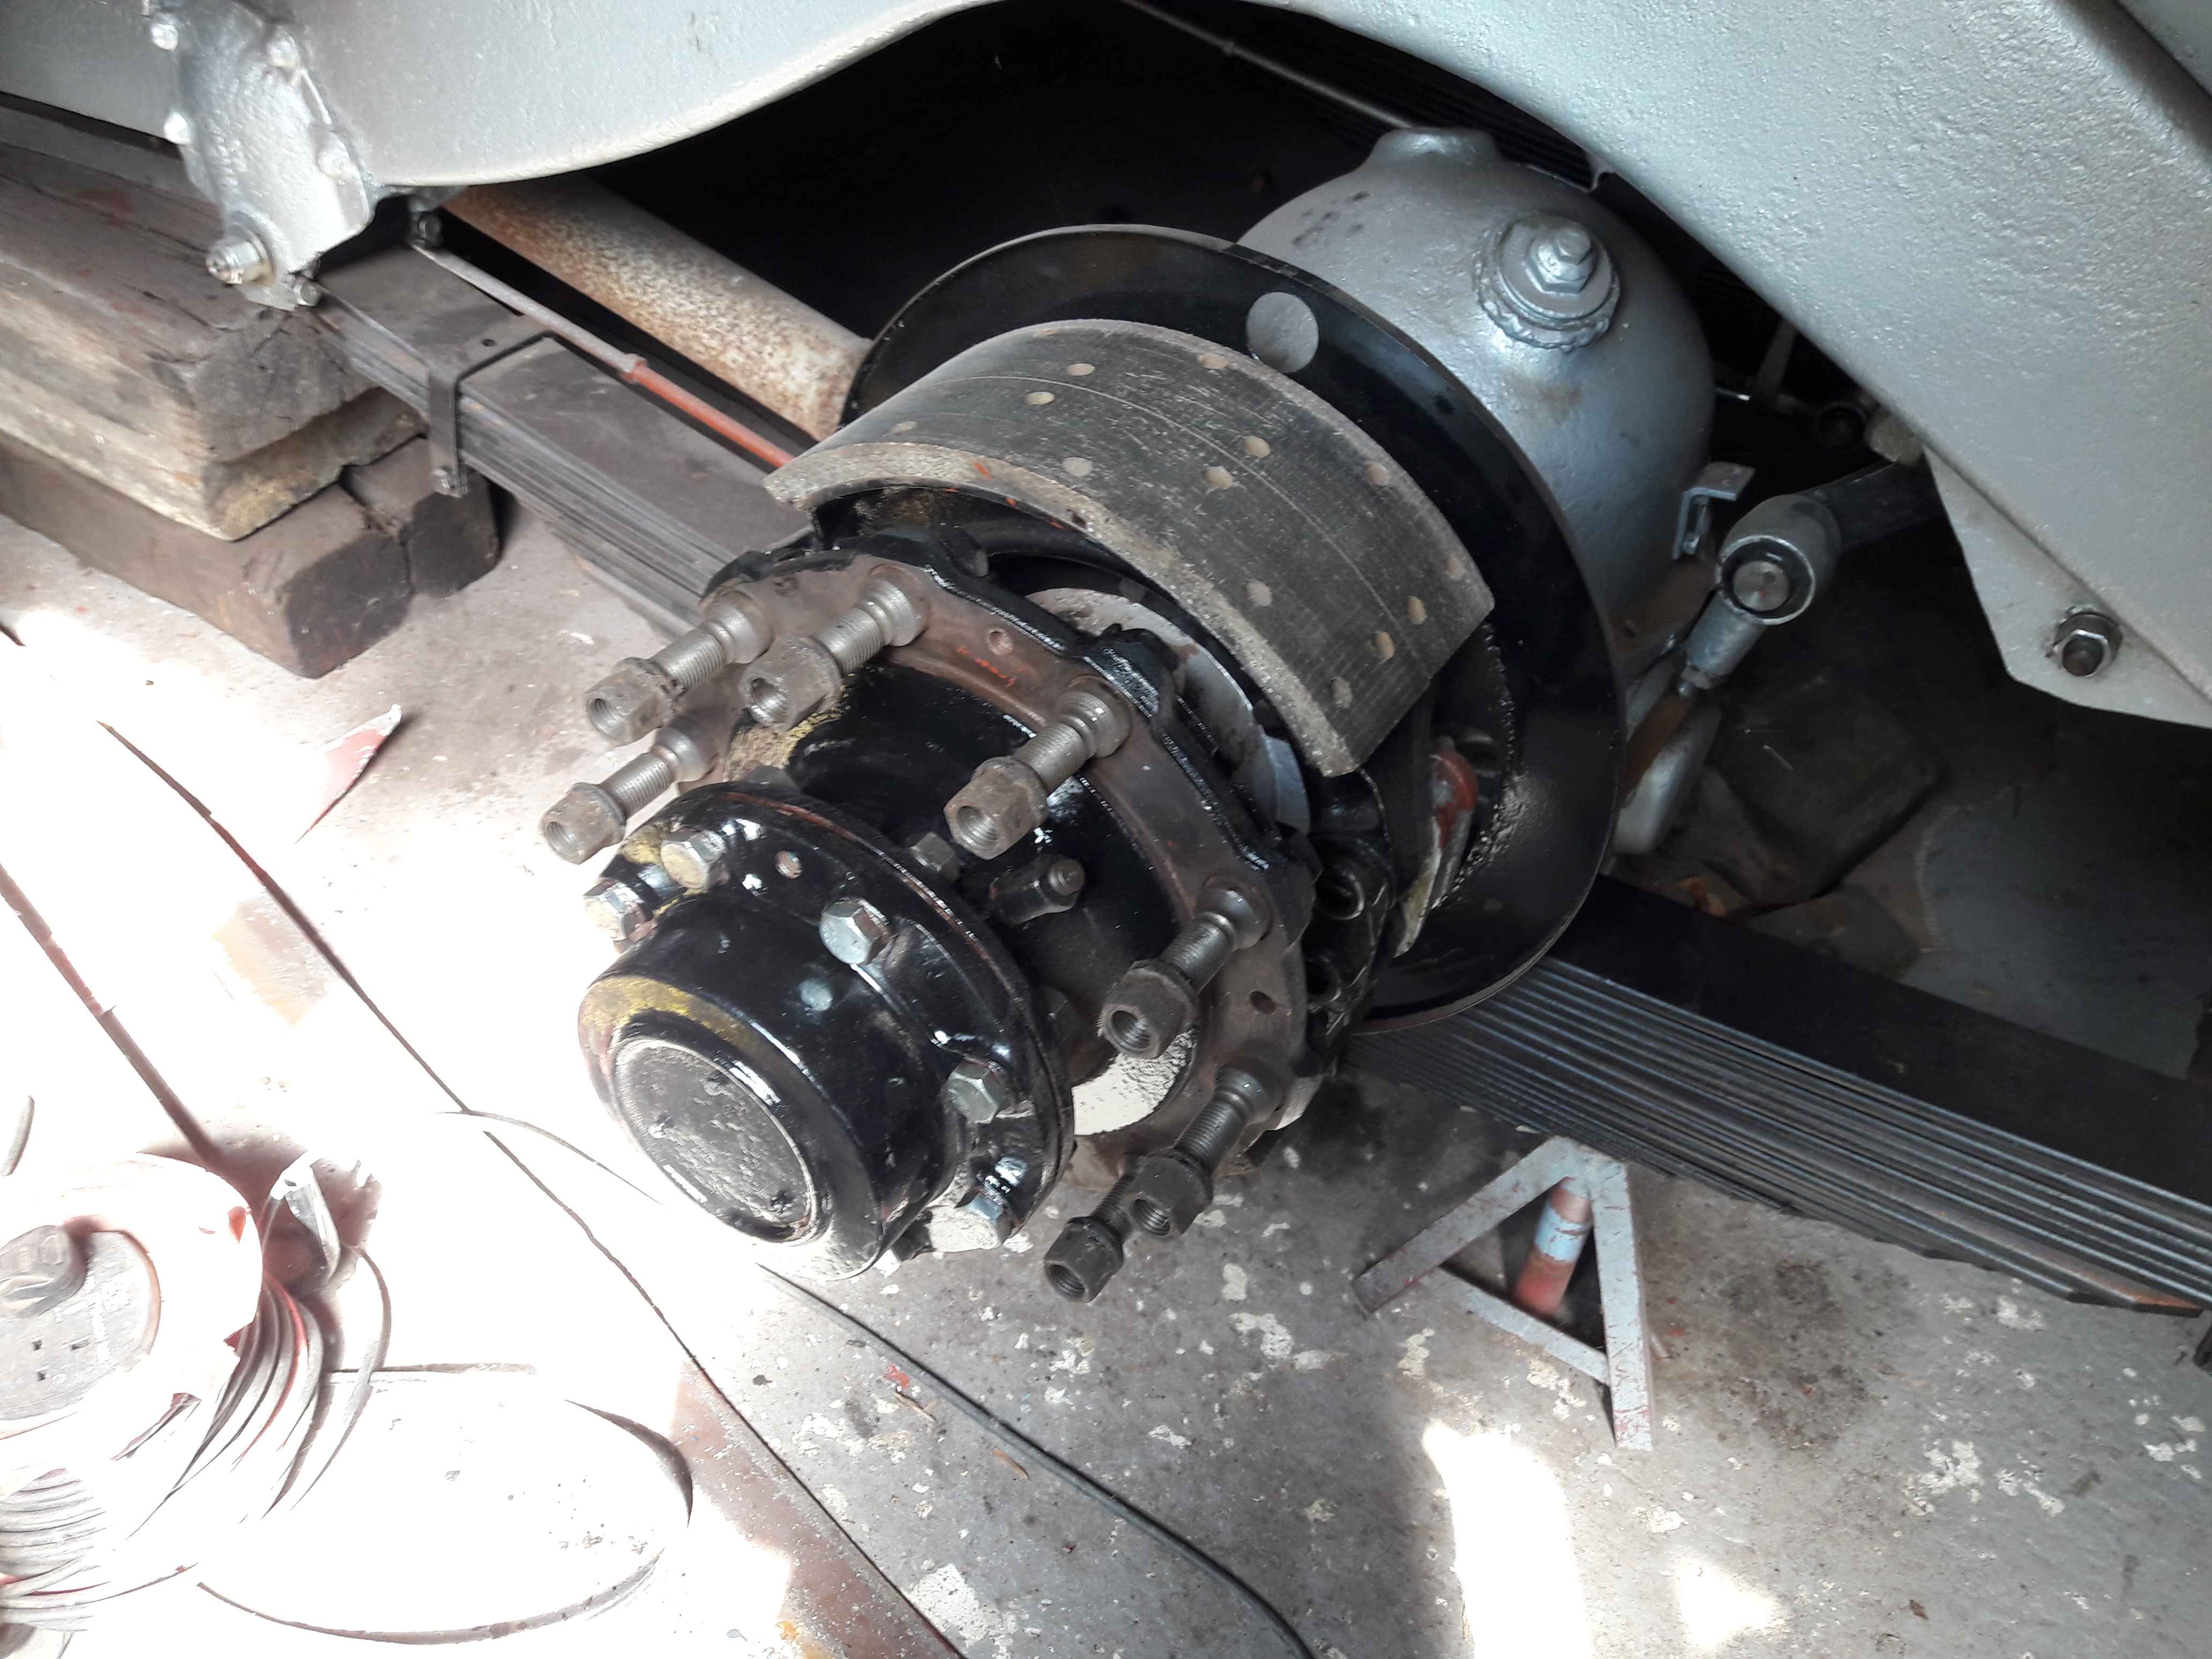
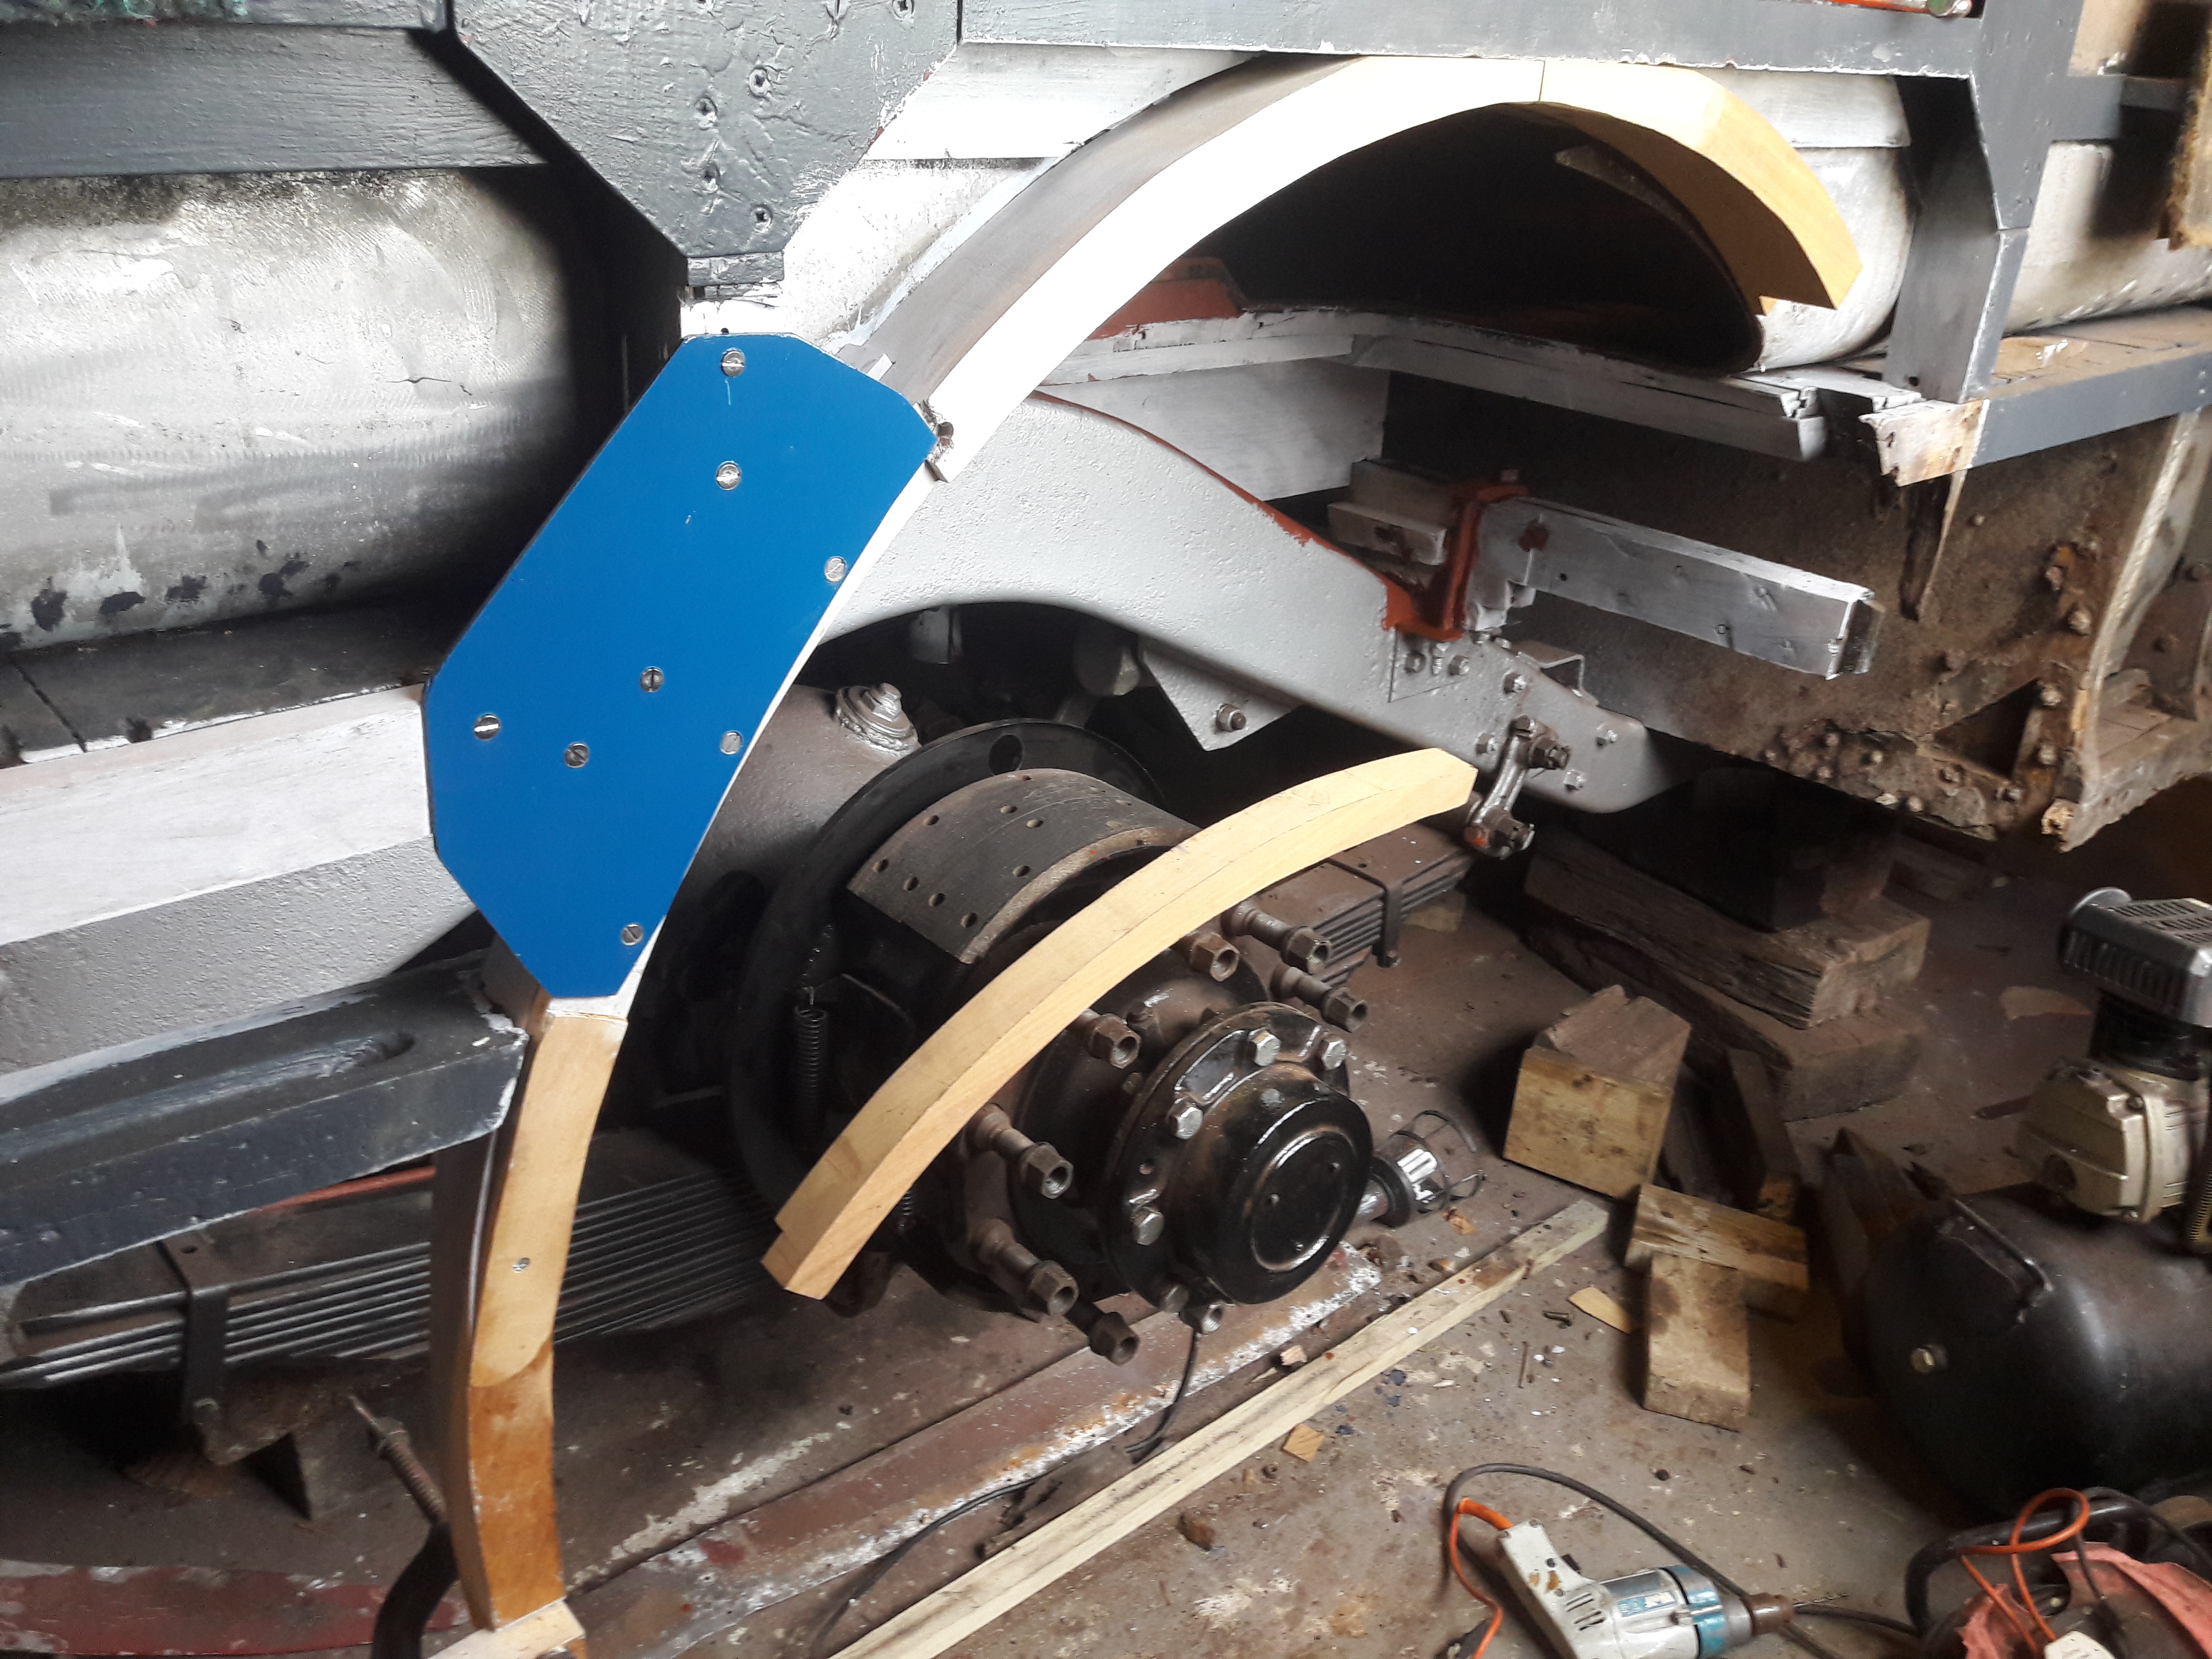
Axle after reassembly of the halfshafts, hubs and brakes.
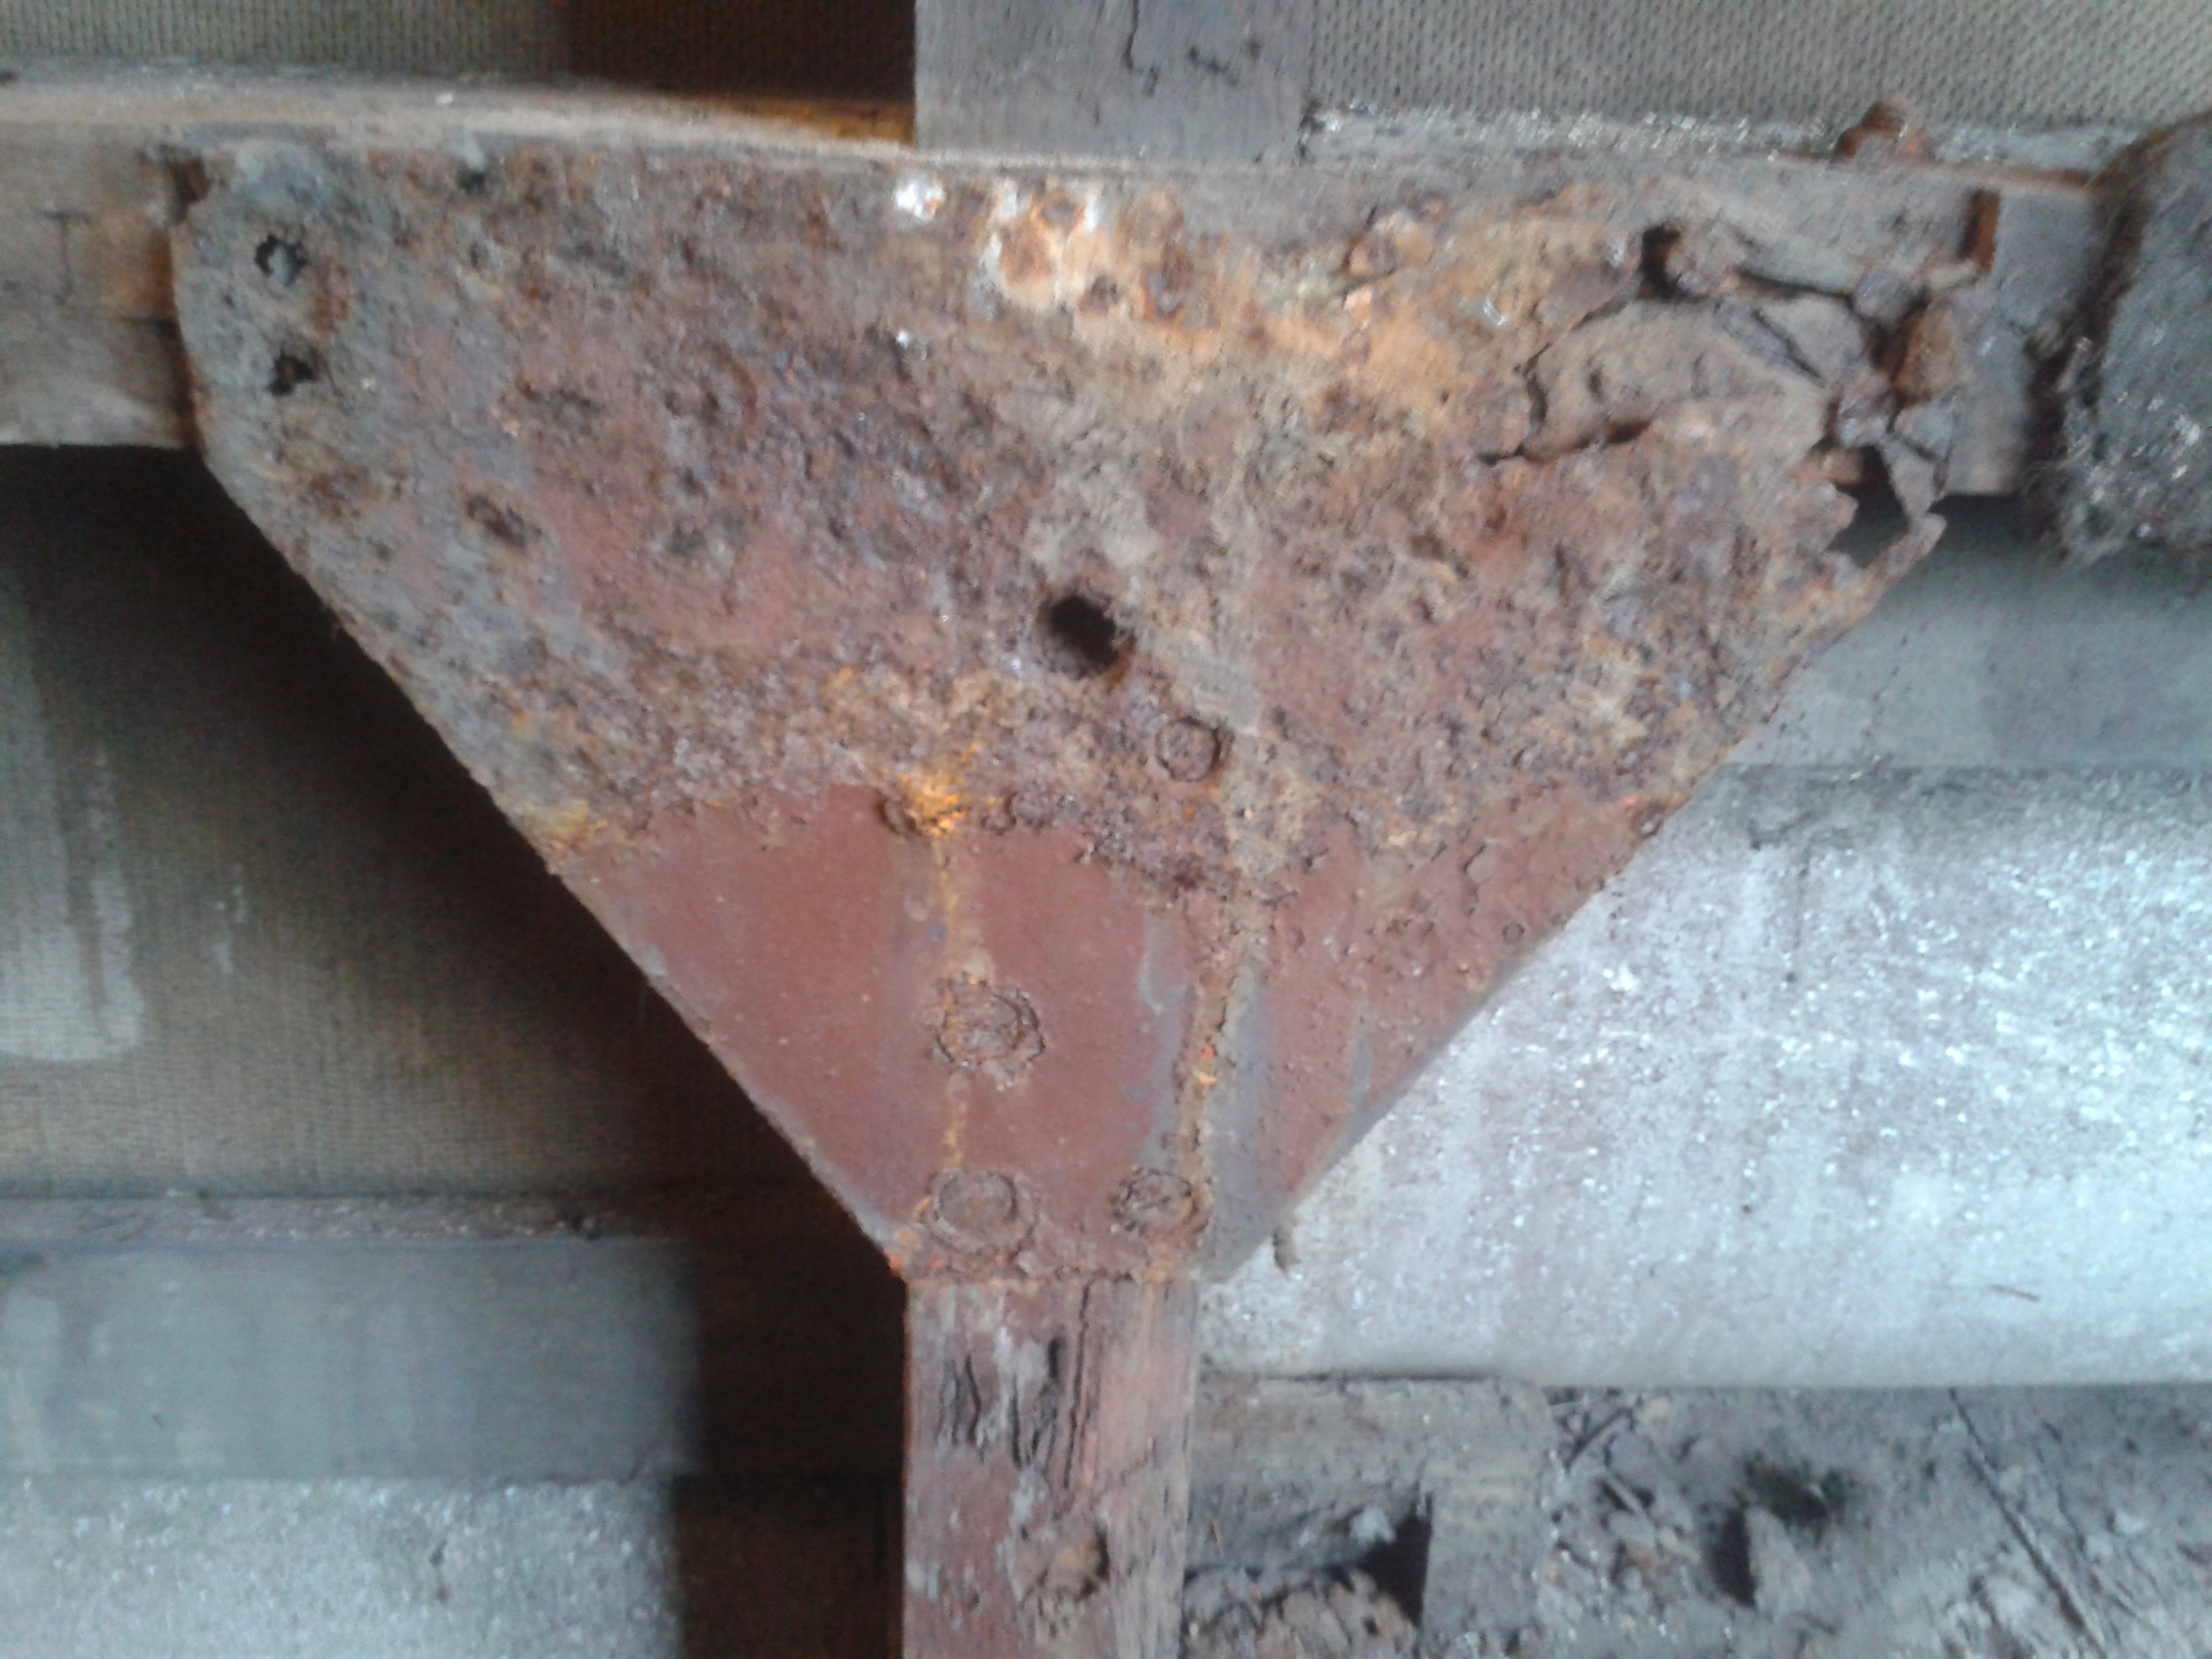
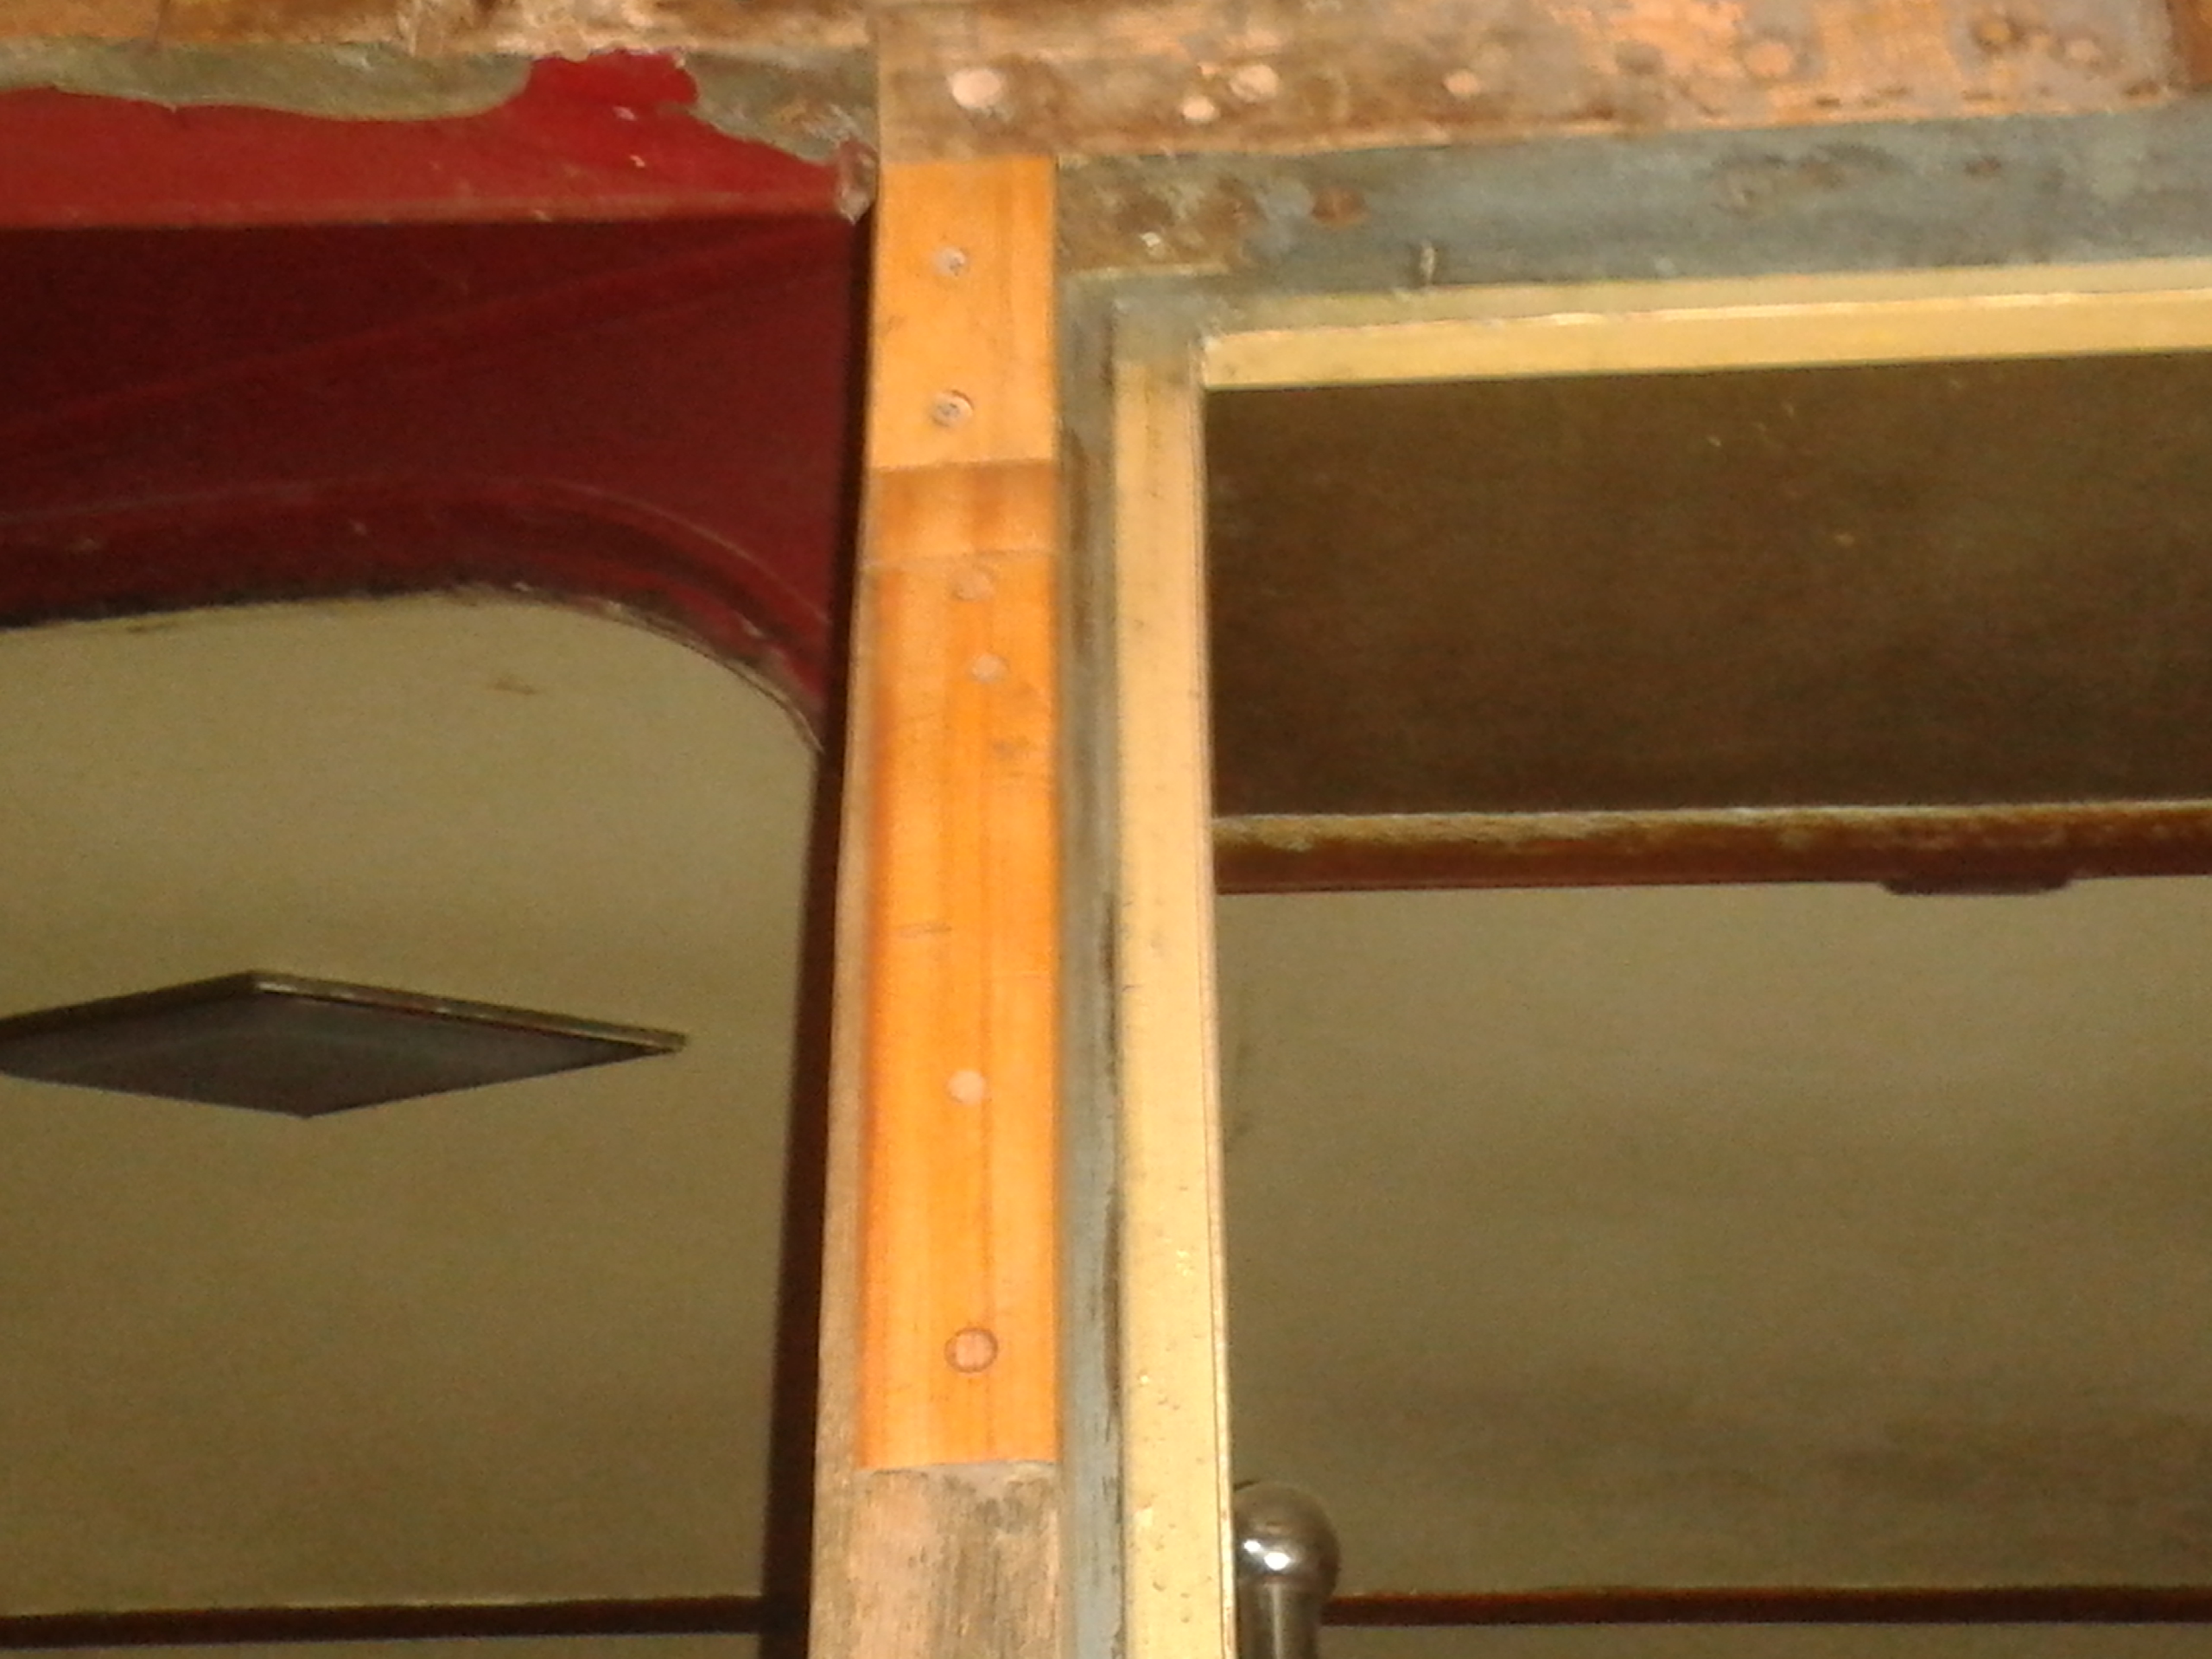
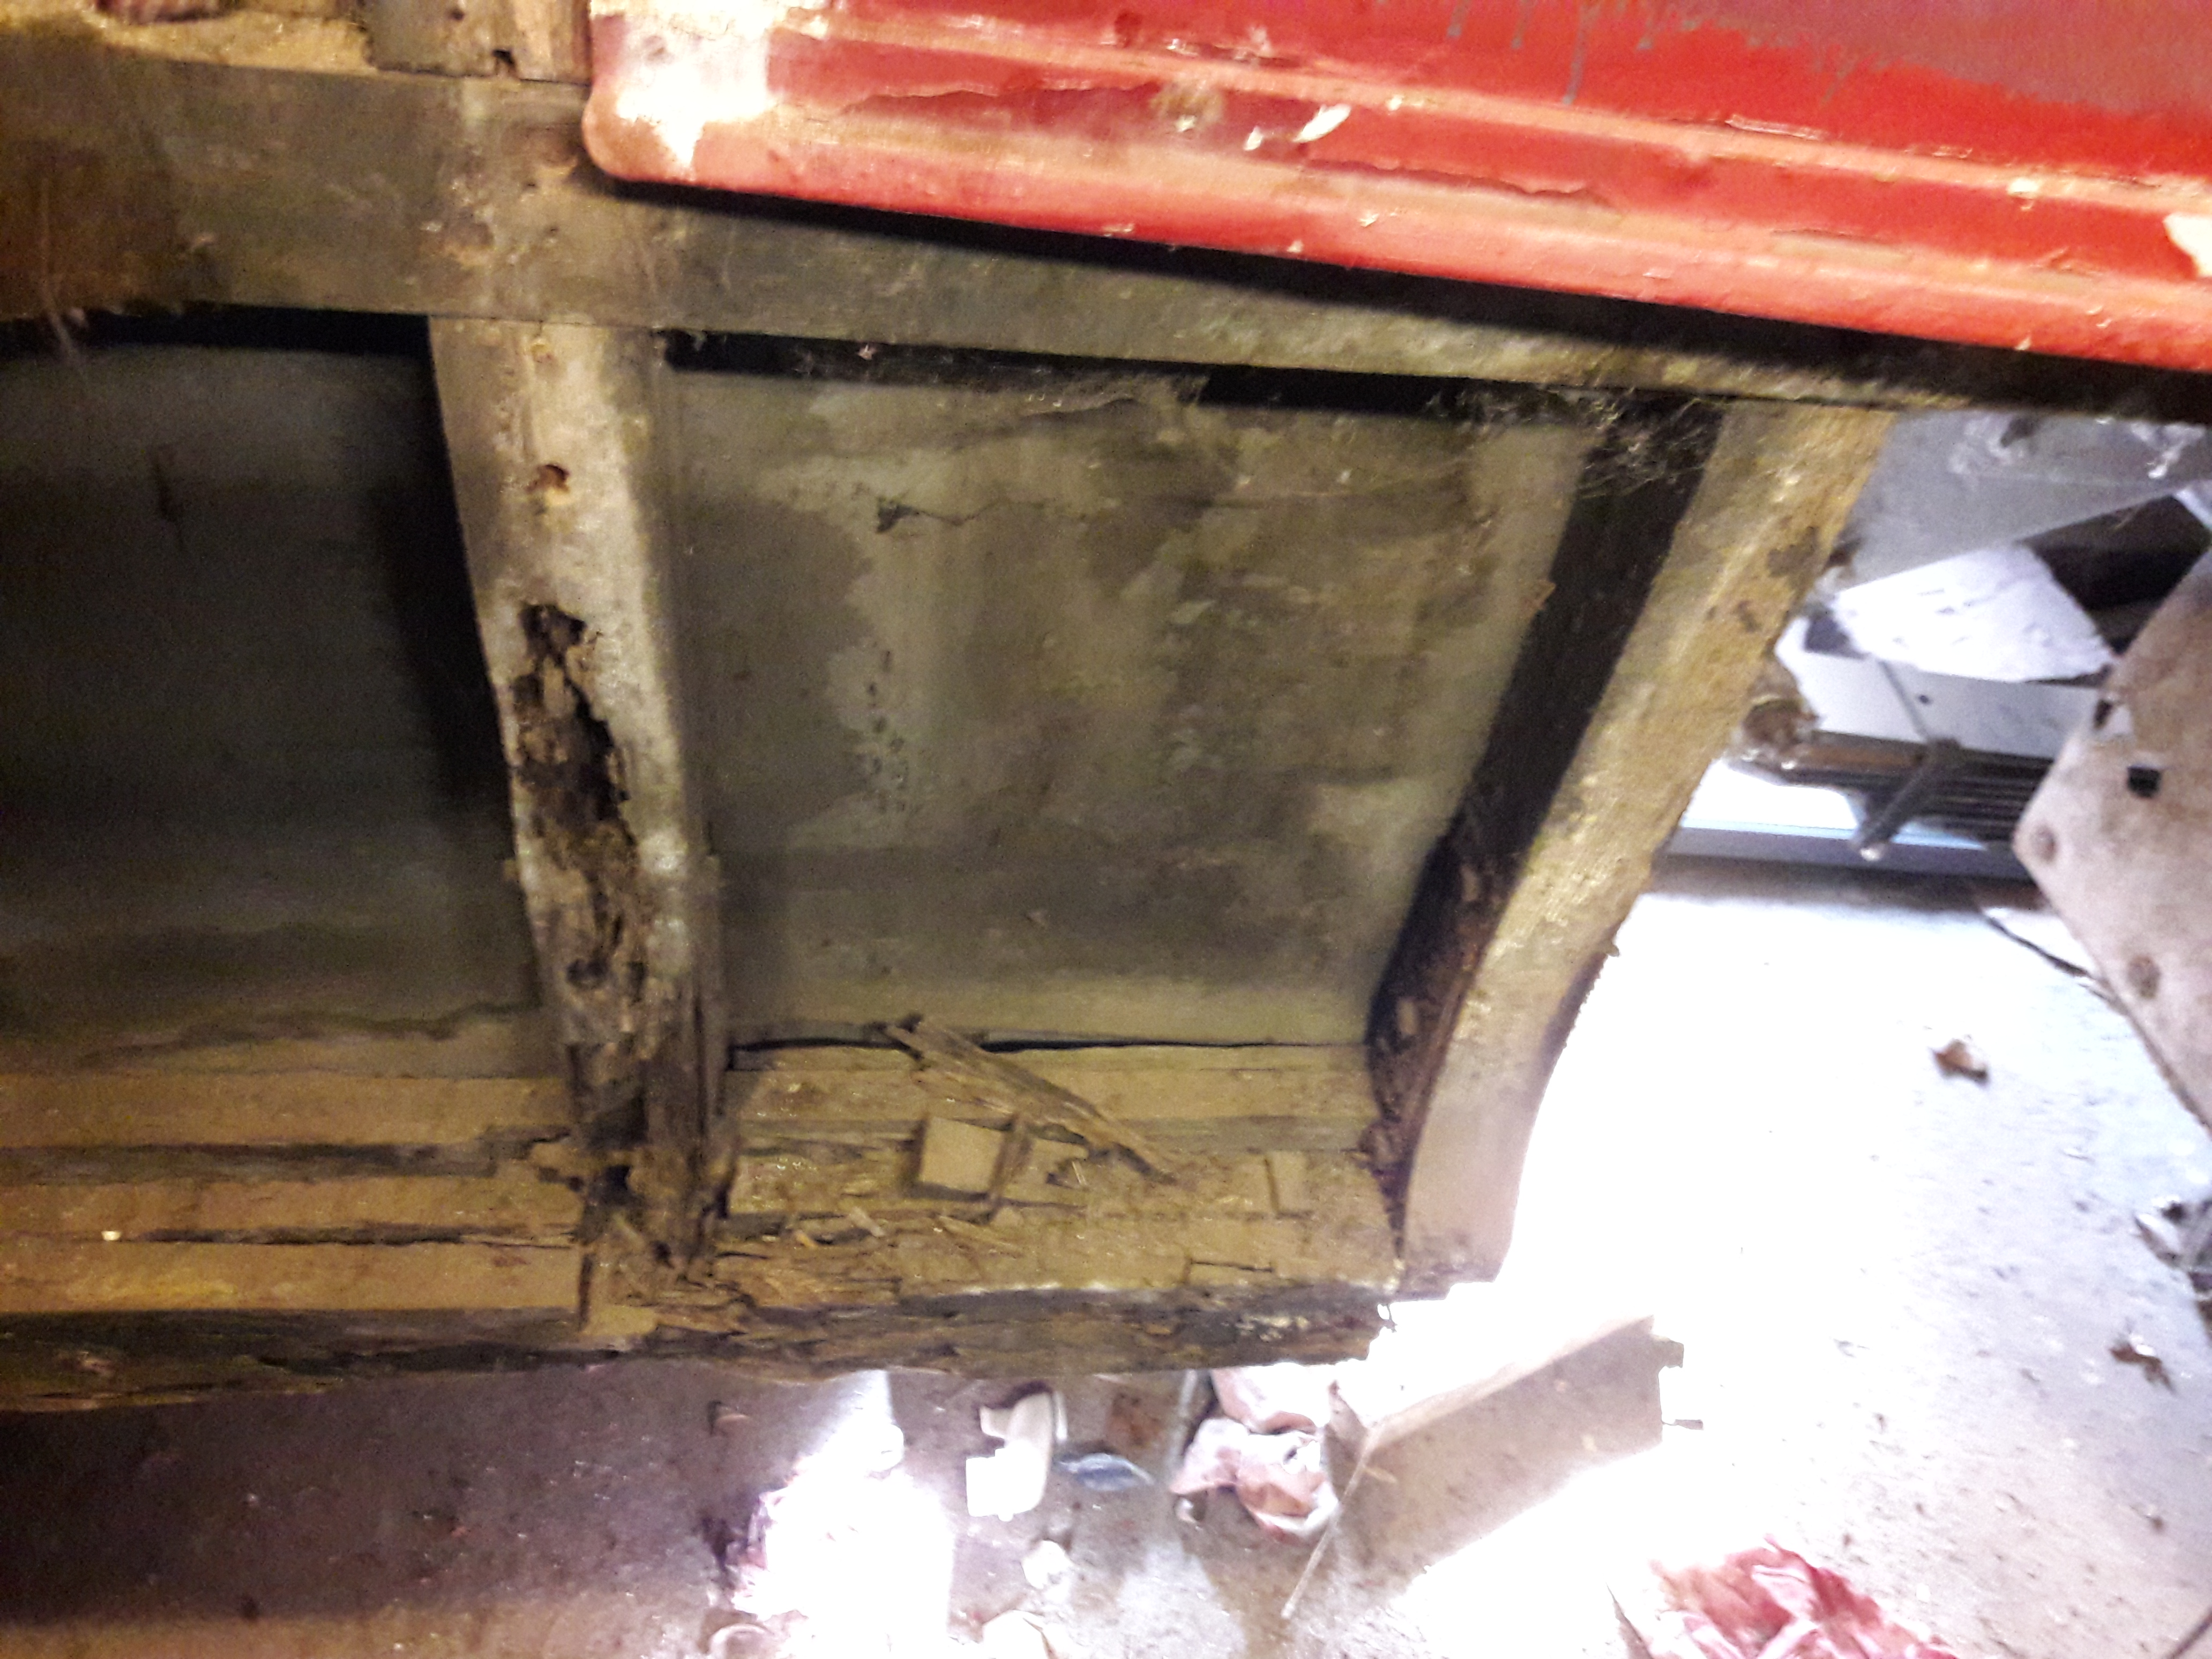
Typical example of rotted steelwork that had to be replaced
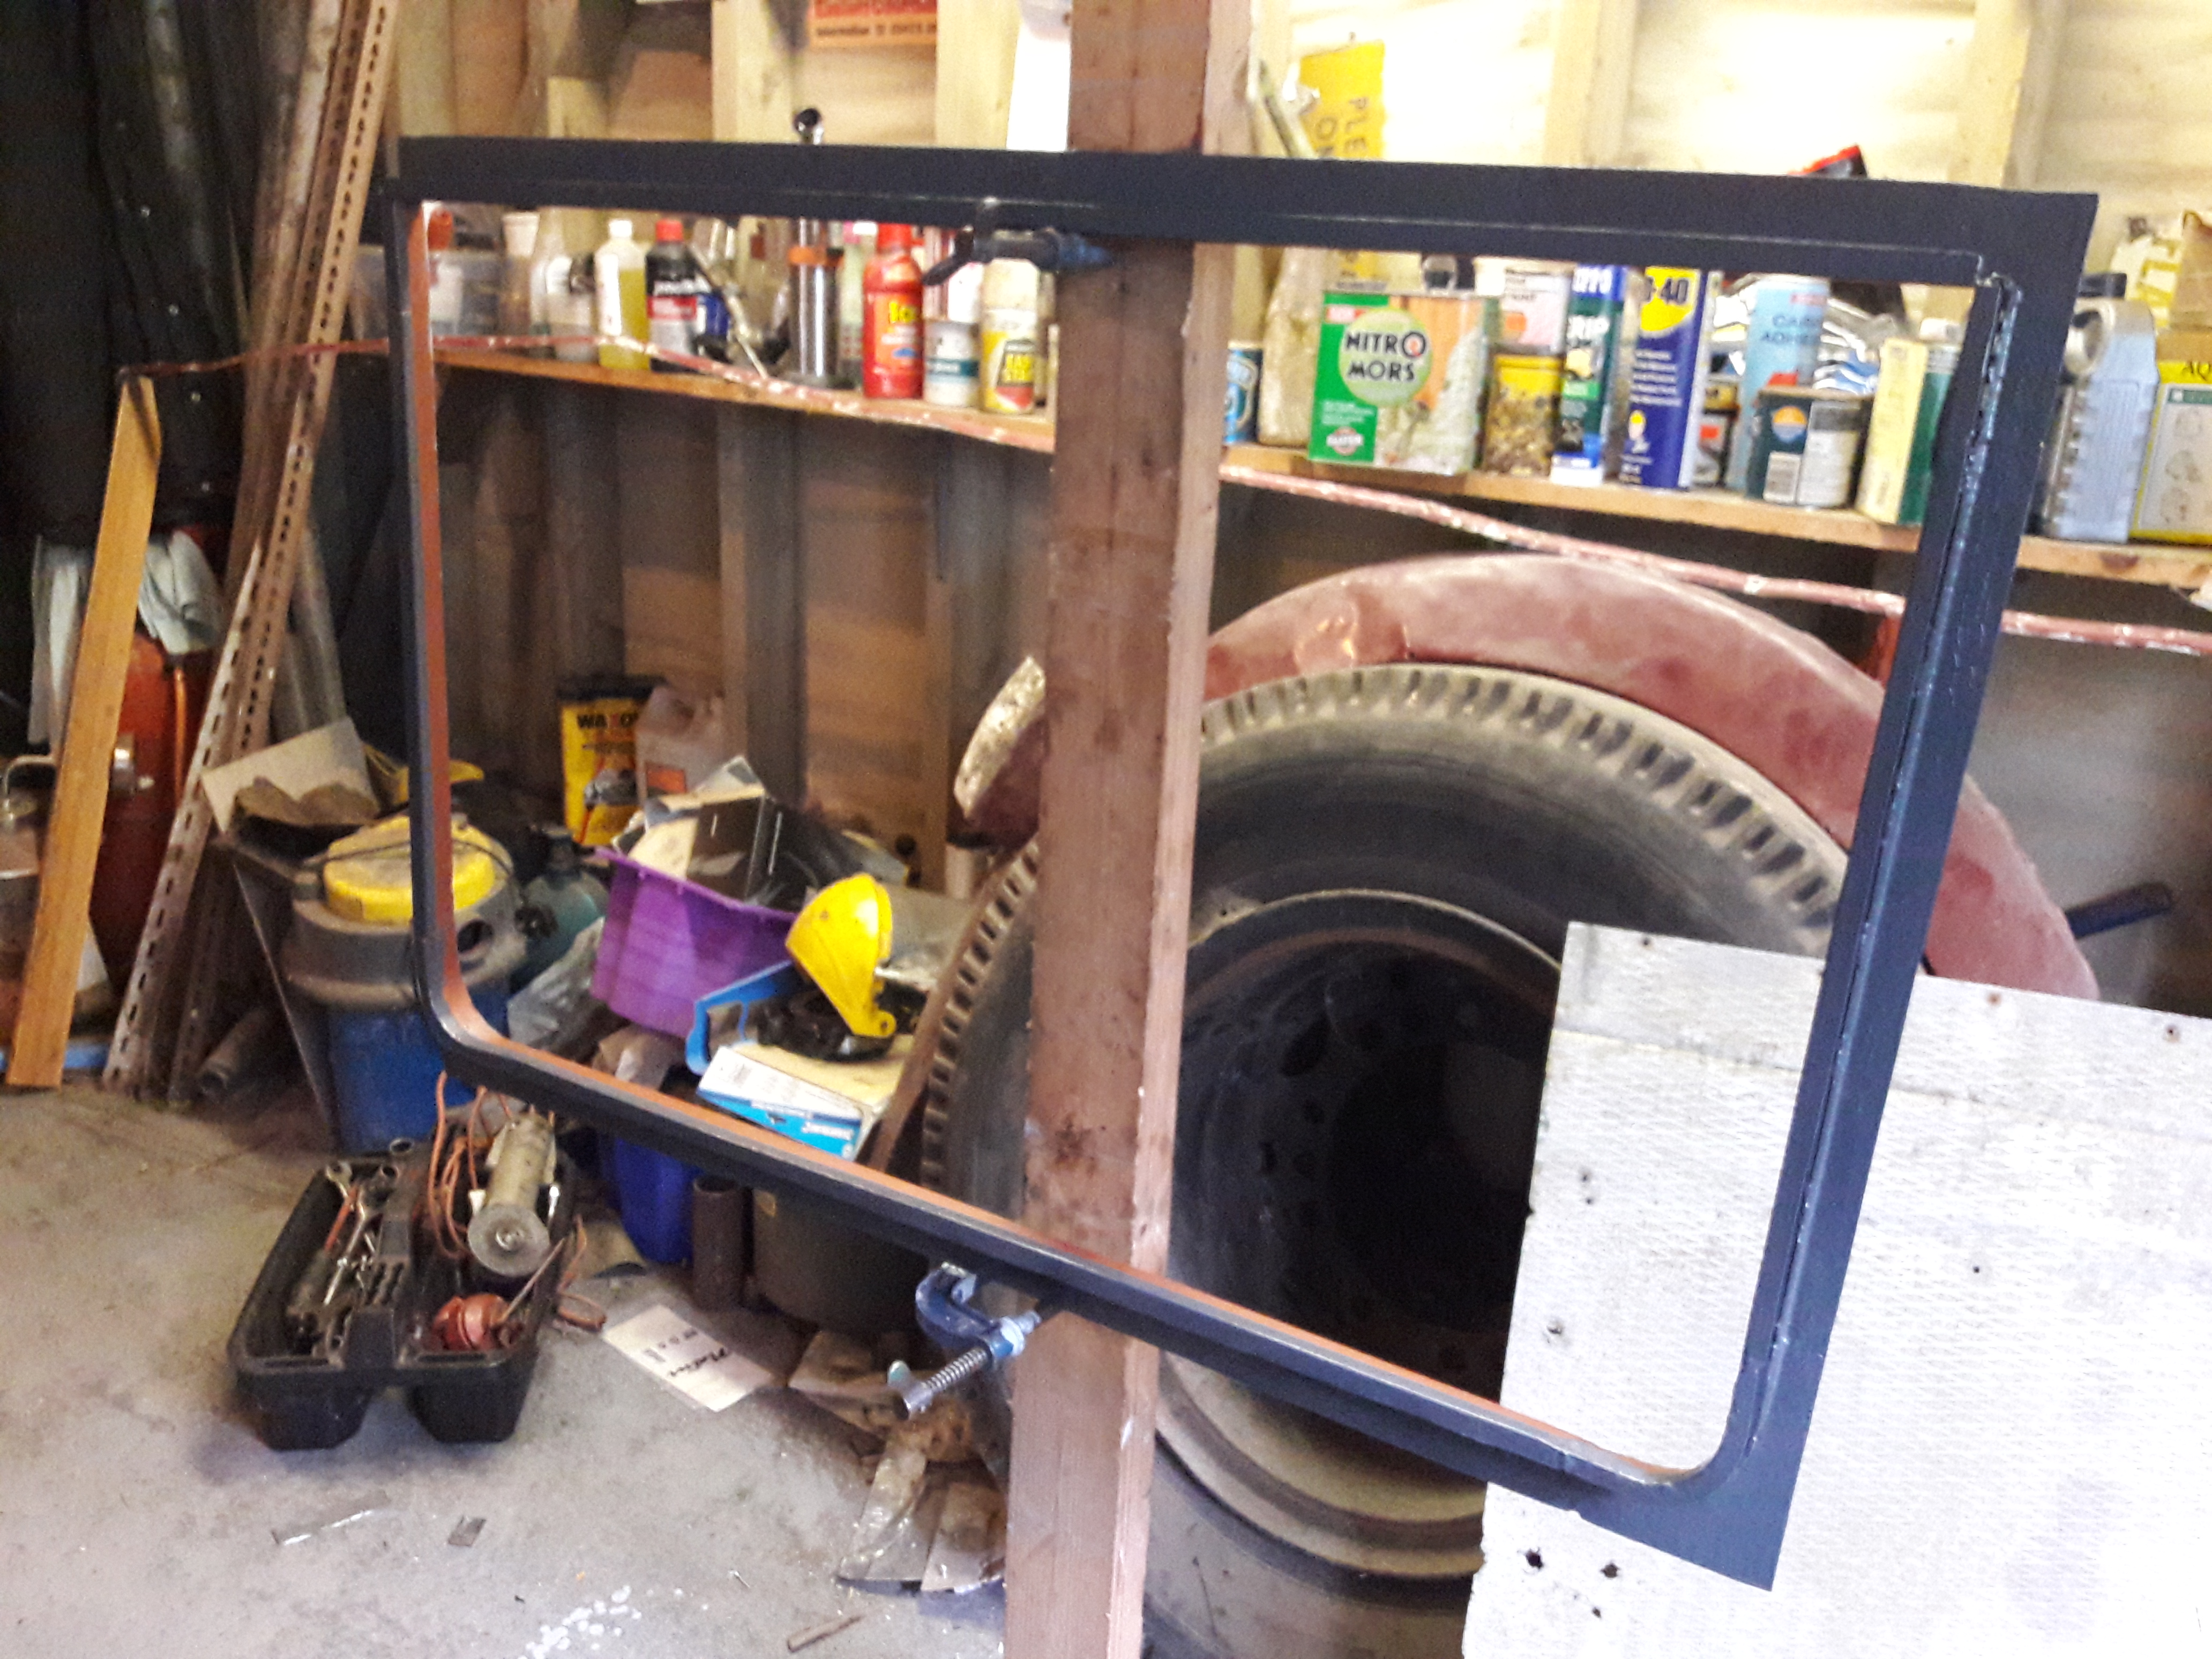
Repairing the first window
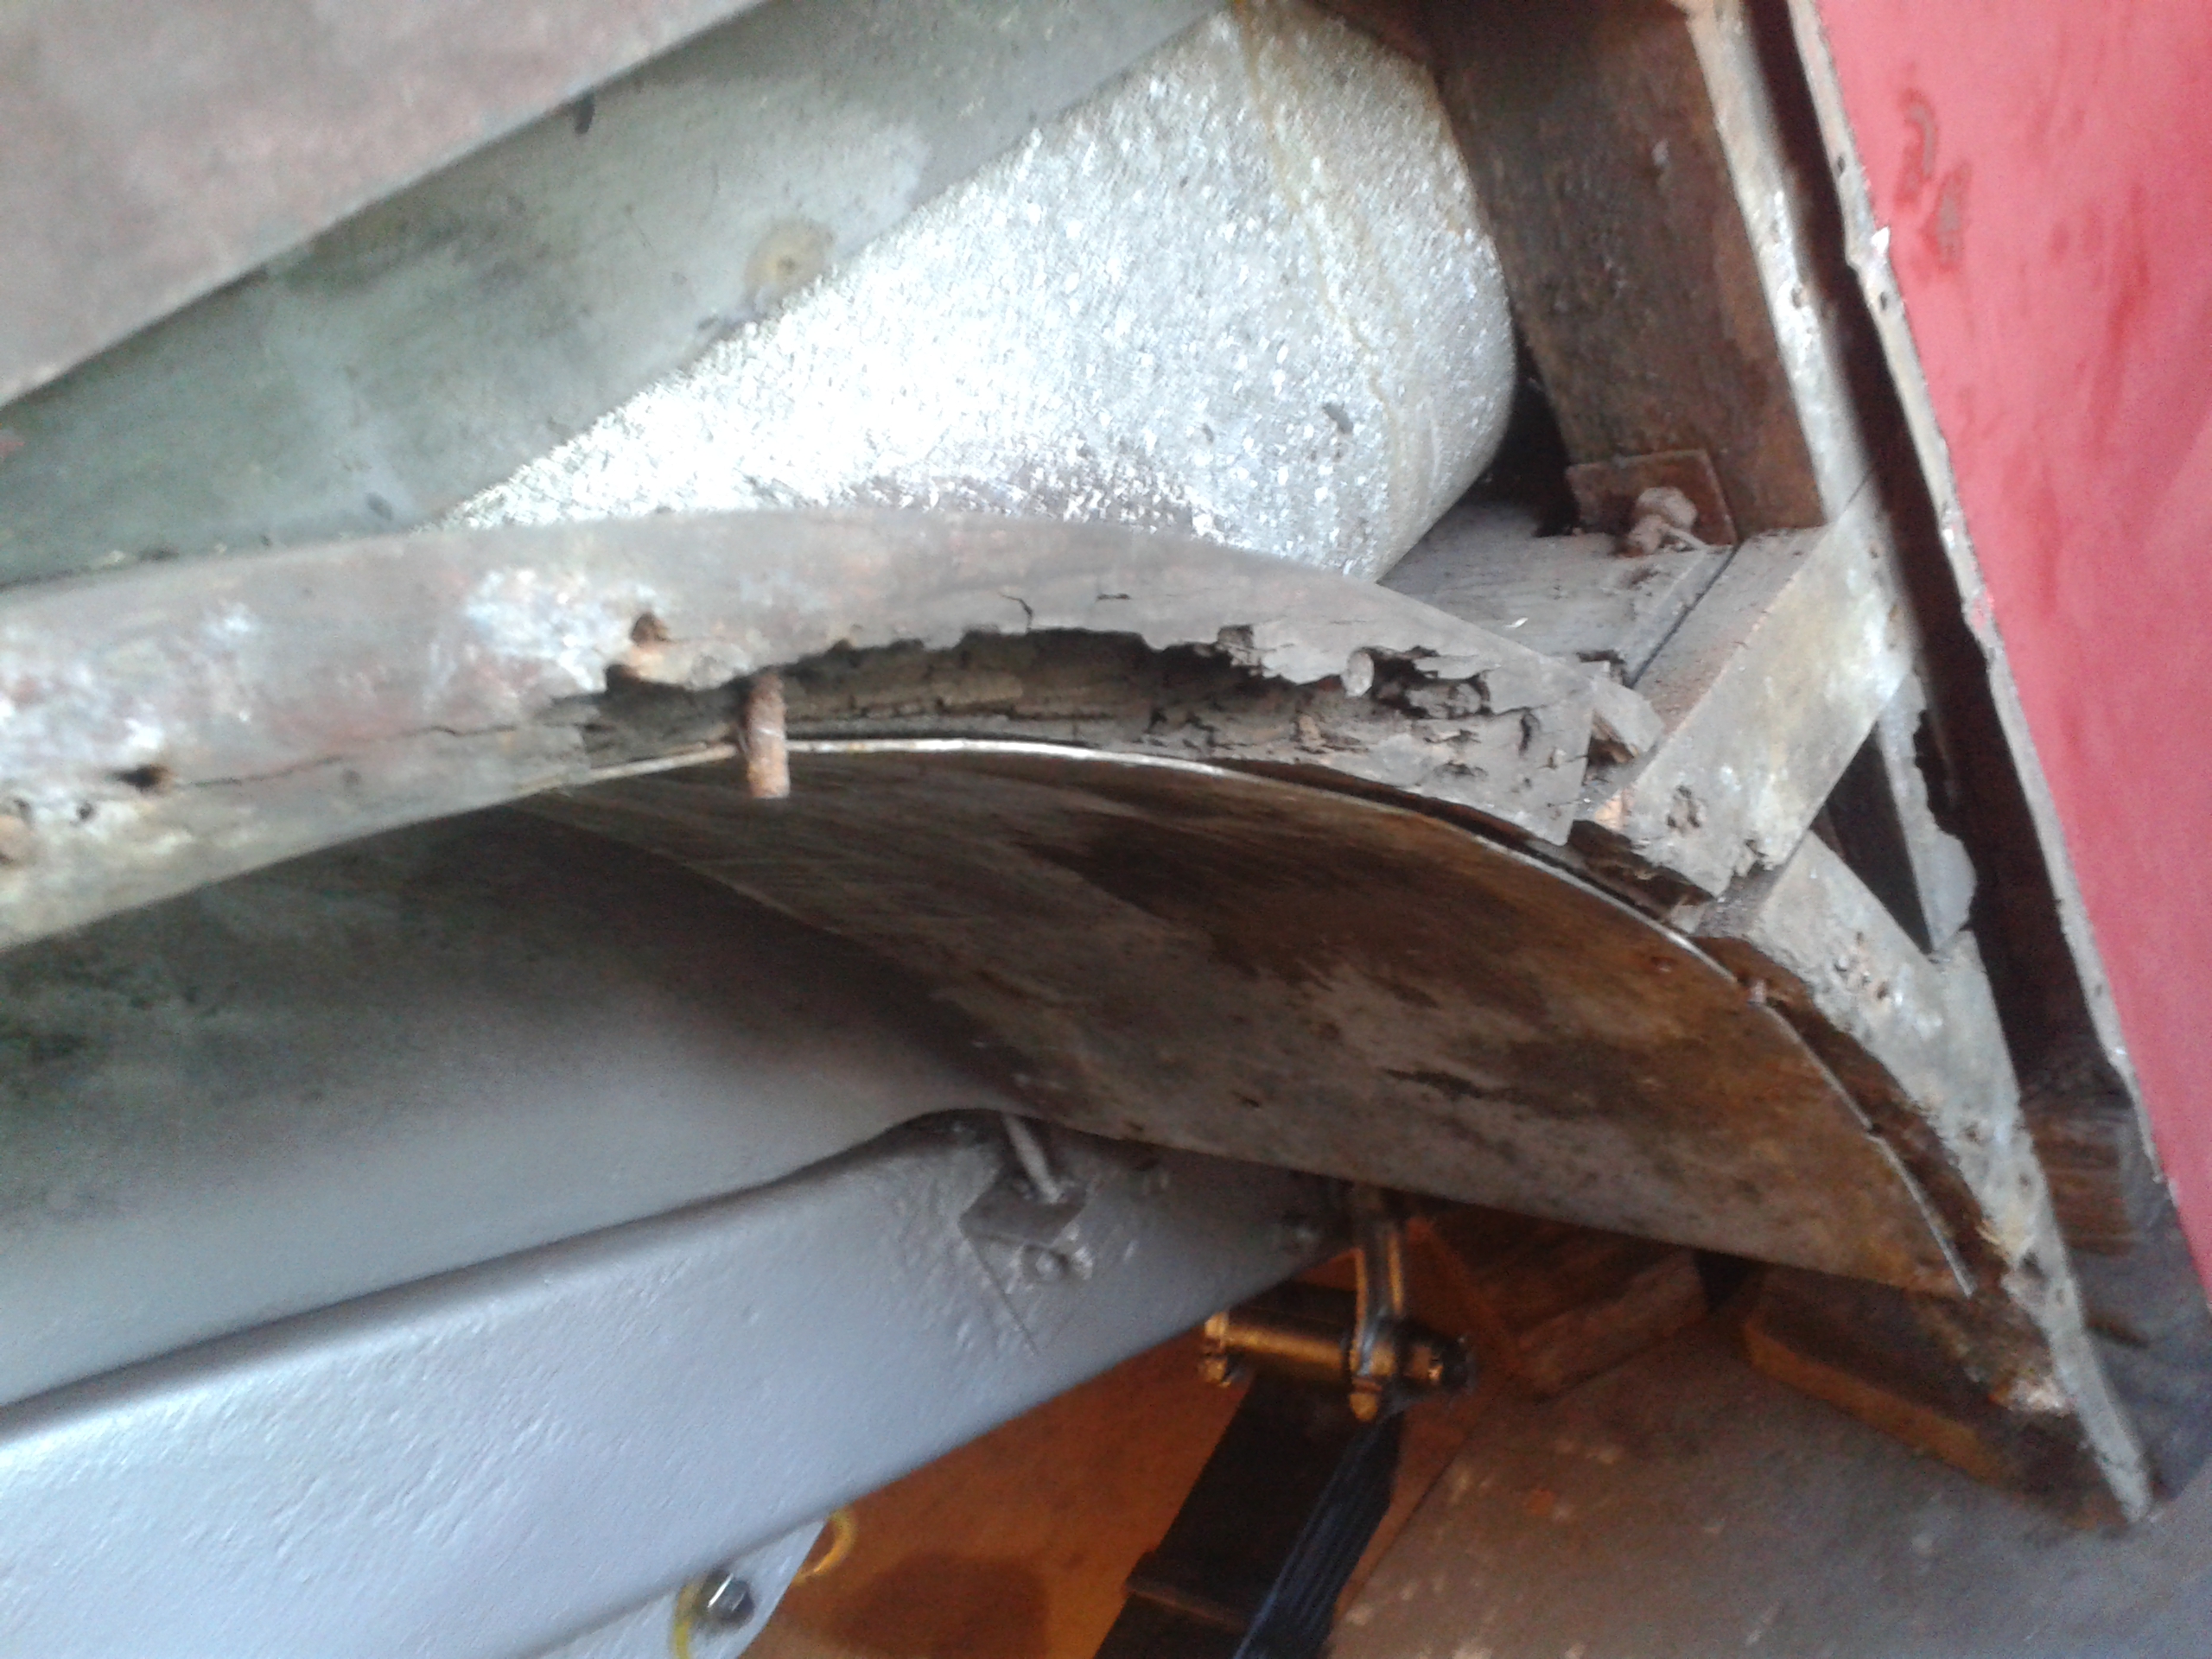
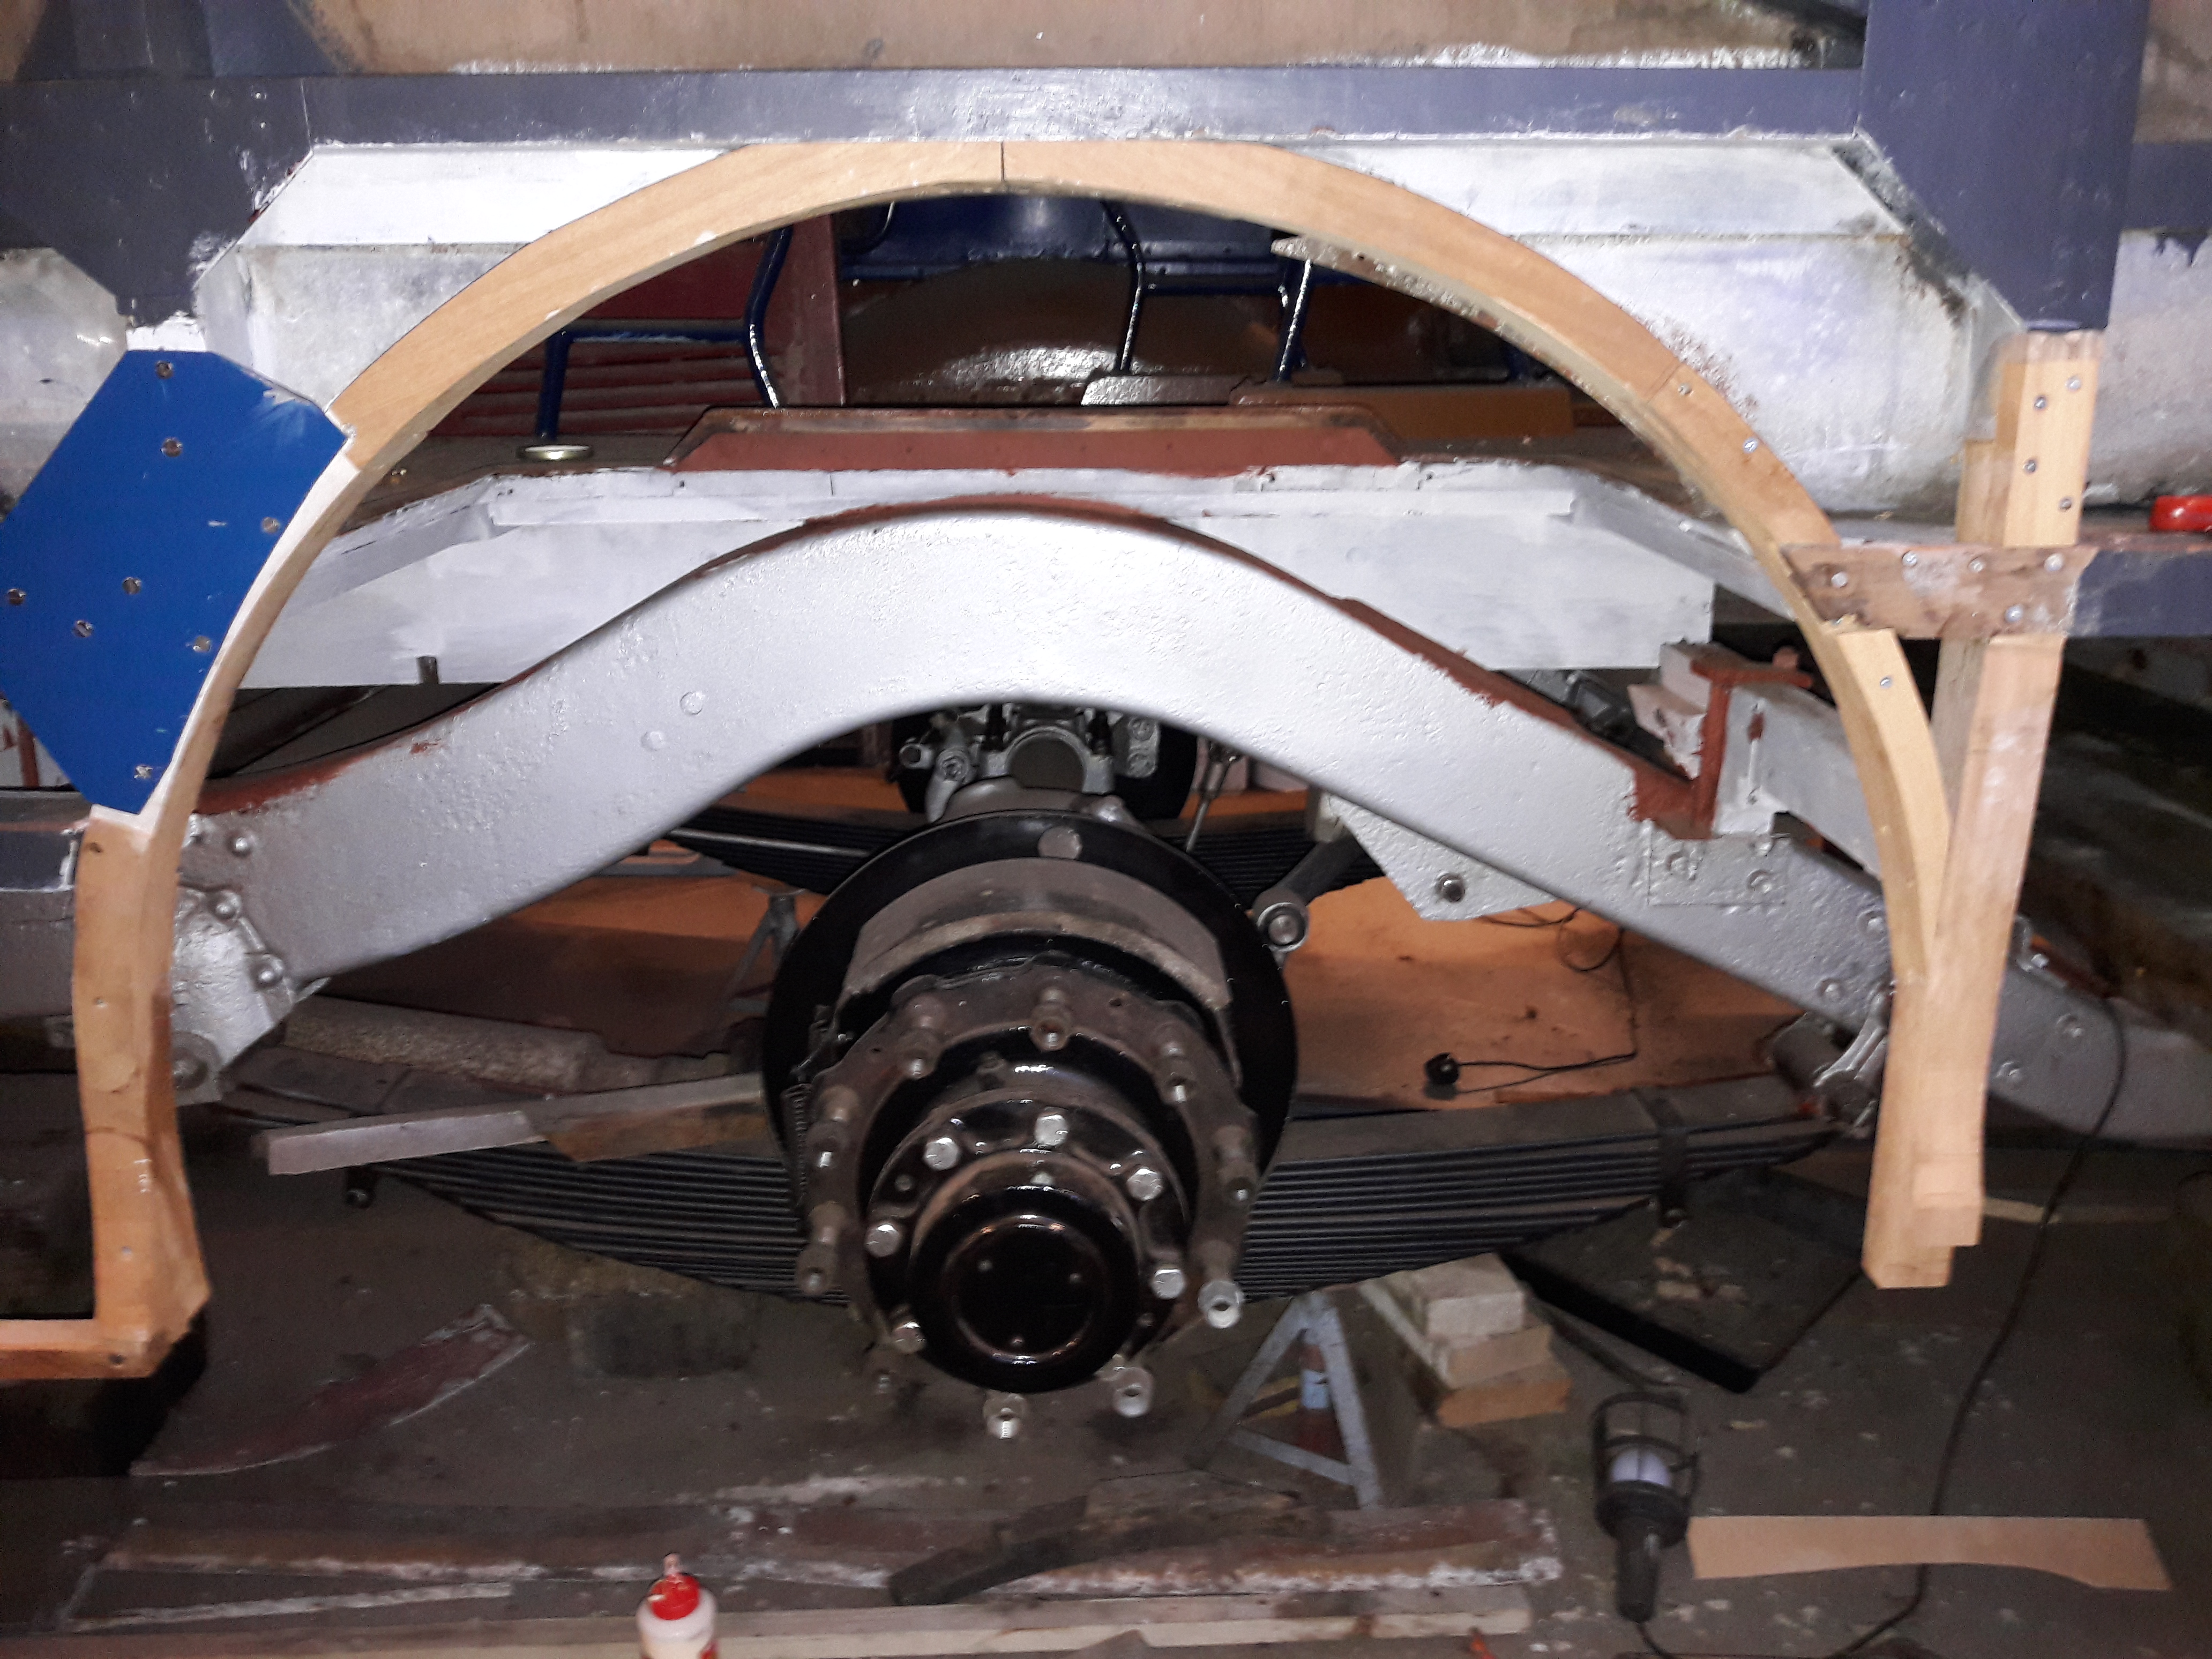
Lots of rotten wood. This is the nearside rear wheelarch.
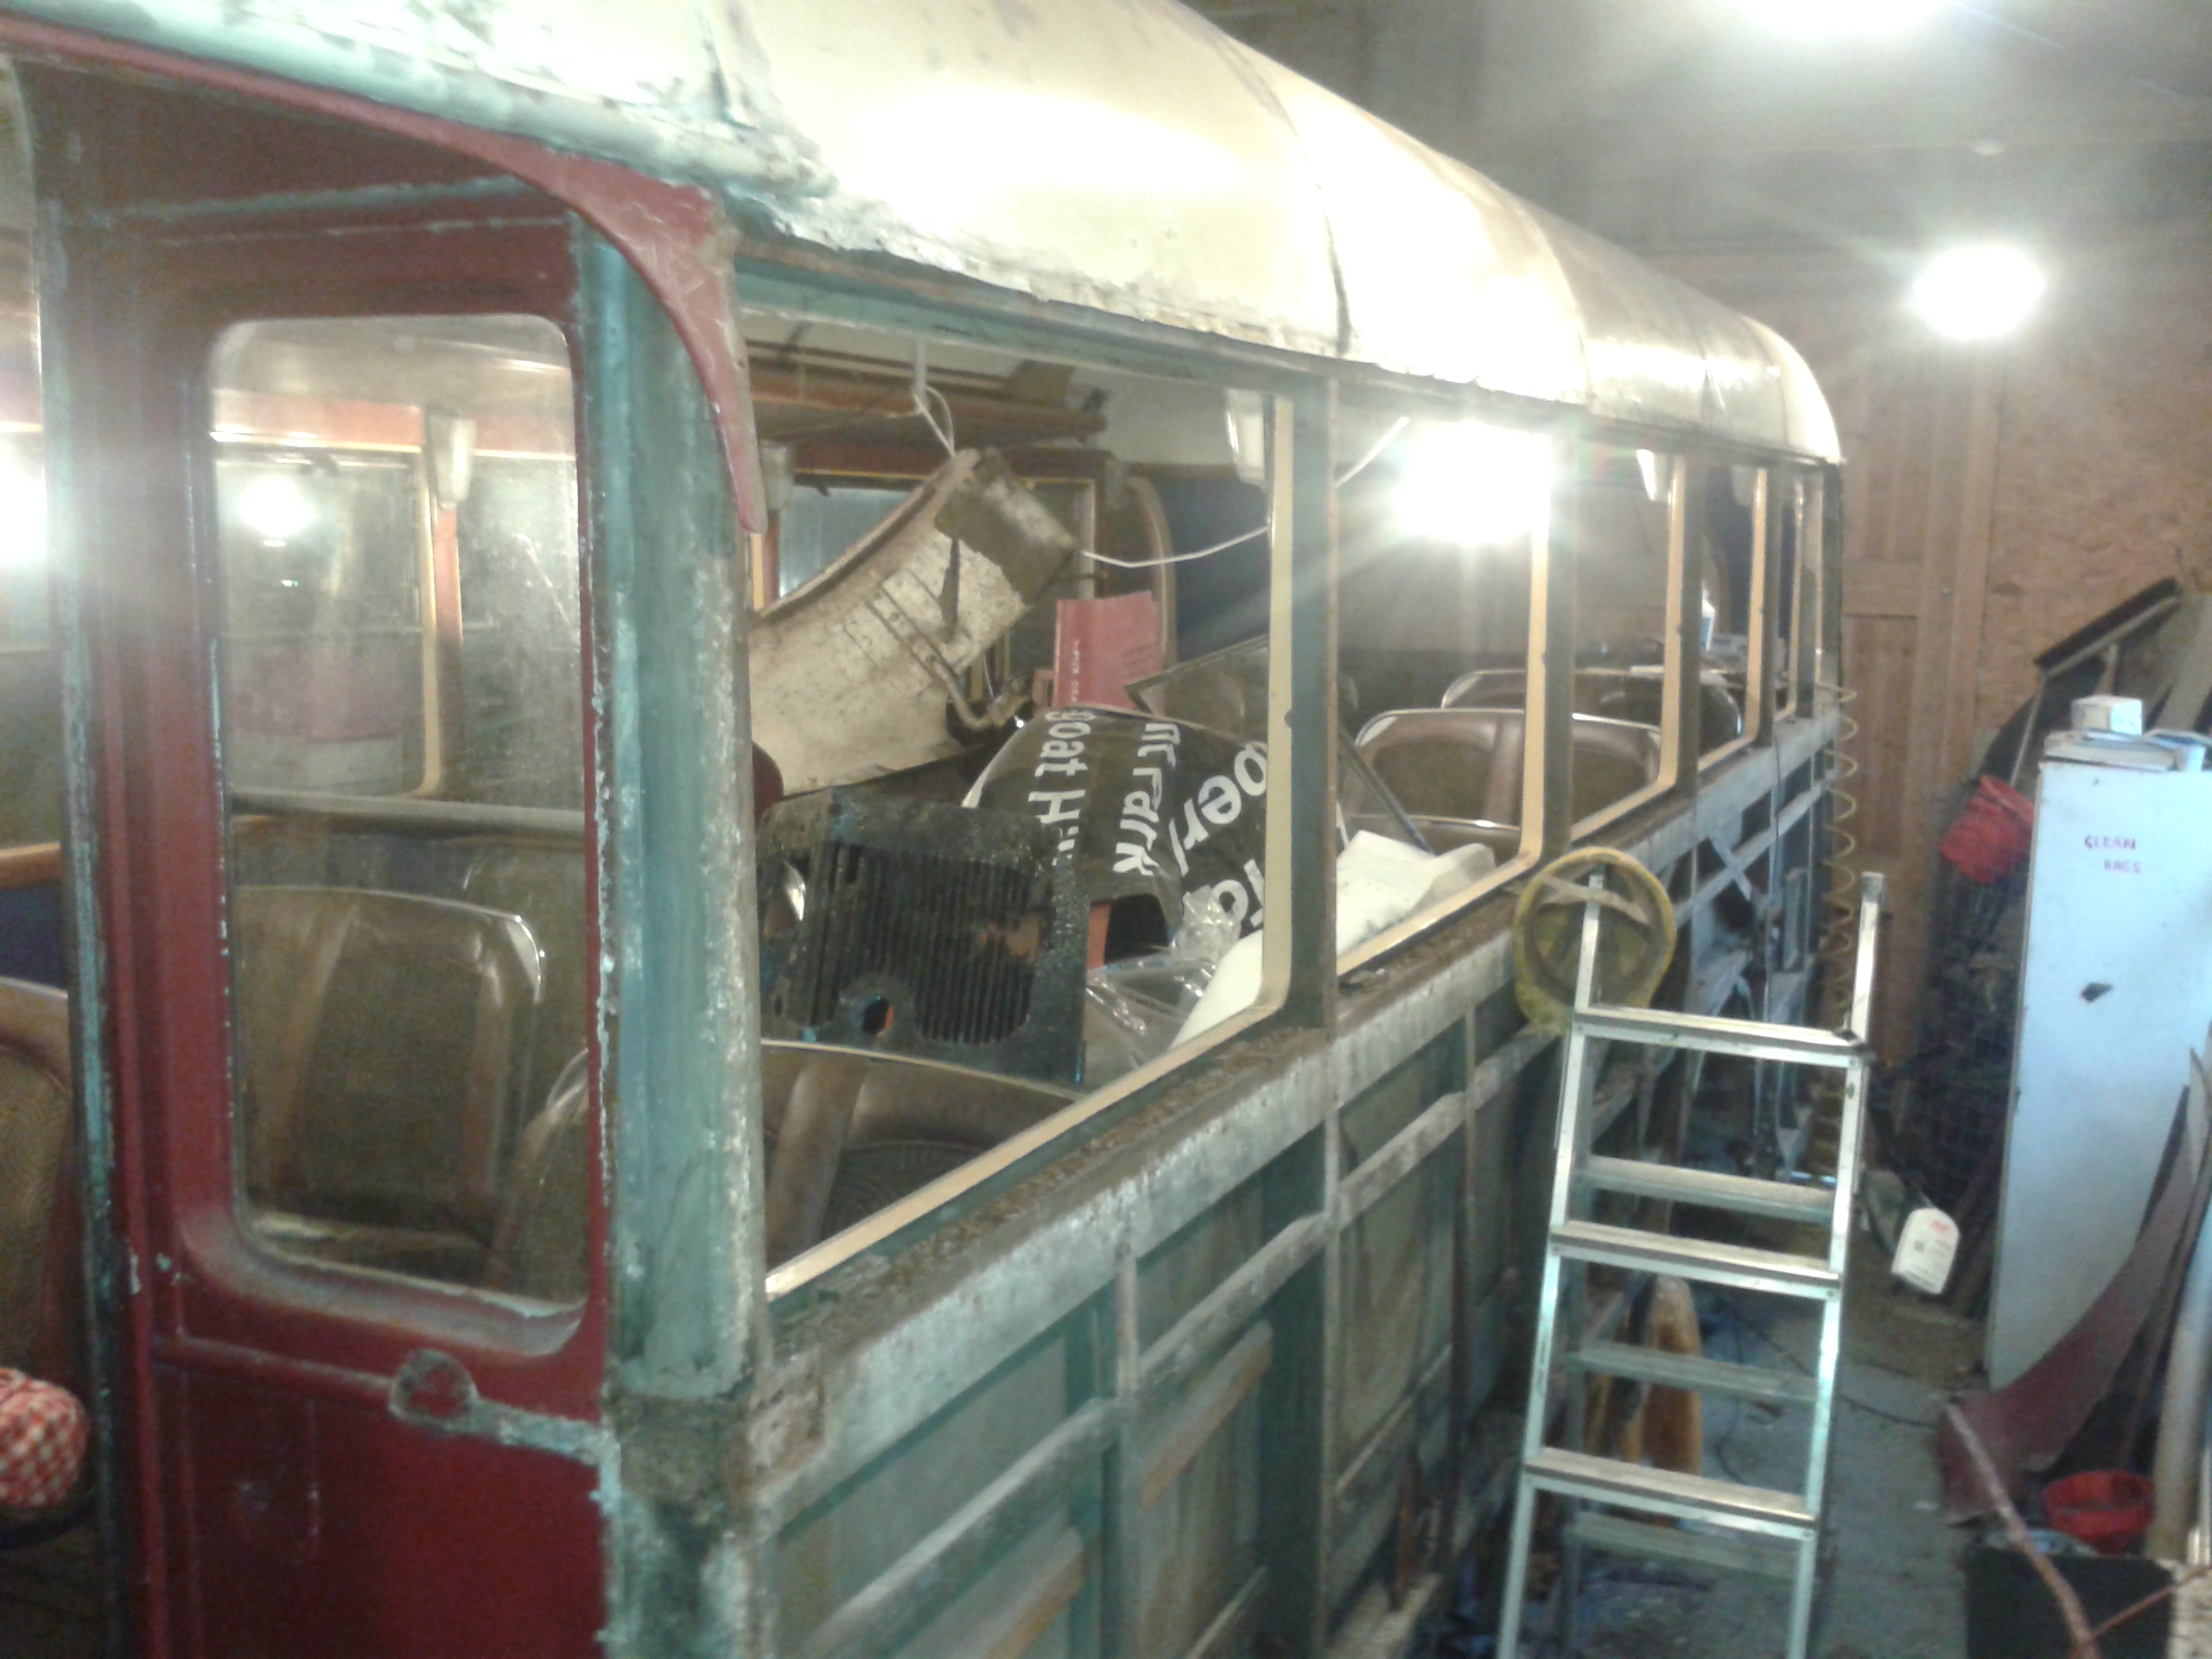
Looking down the nearside with the windows removed
Insert repair section to replace superficial rot
New steelwork at the top of the rearward entrance pillar
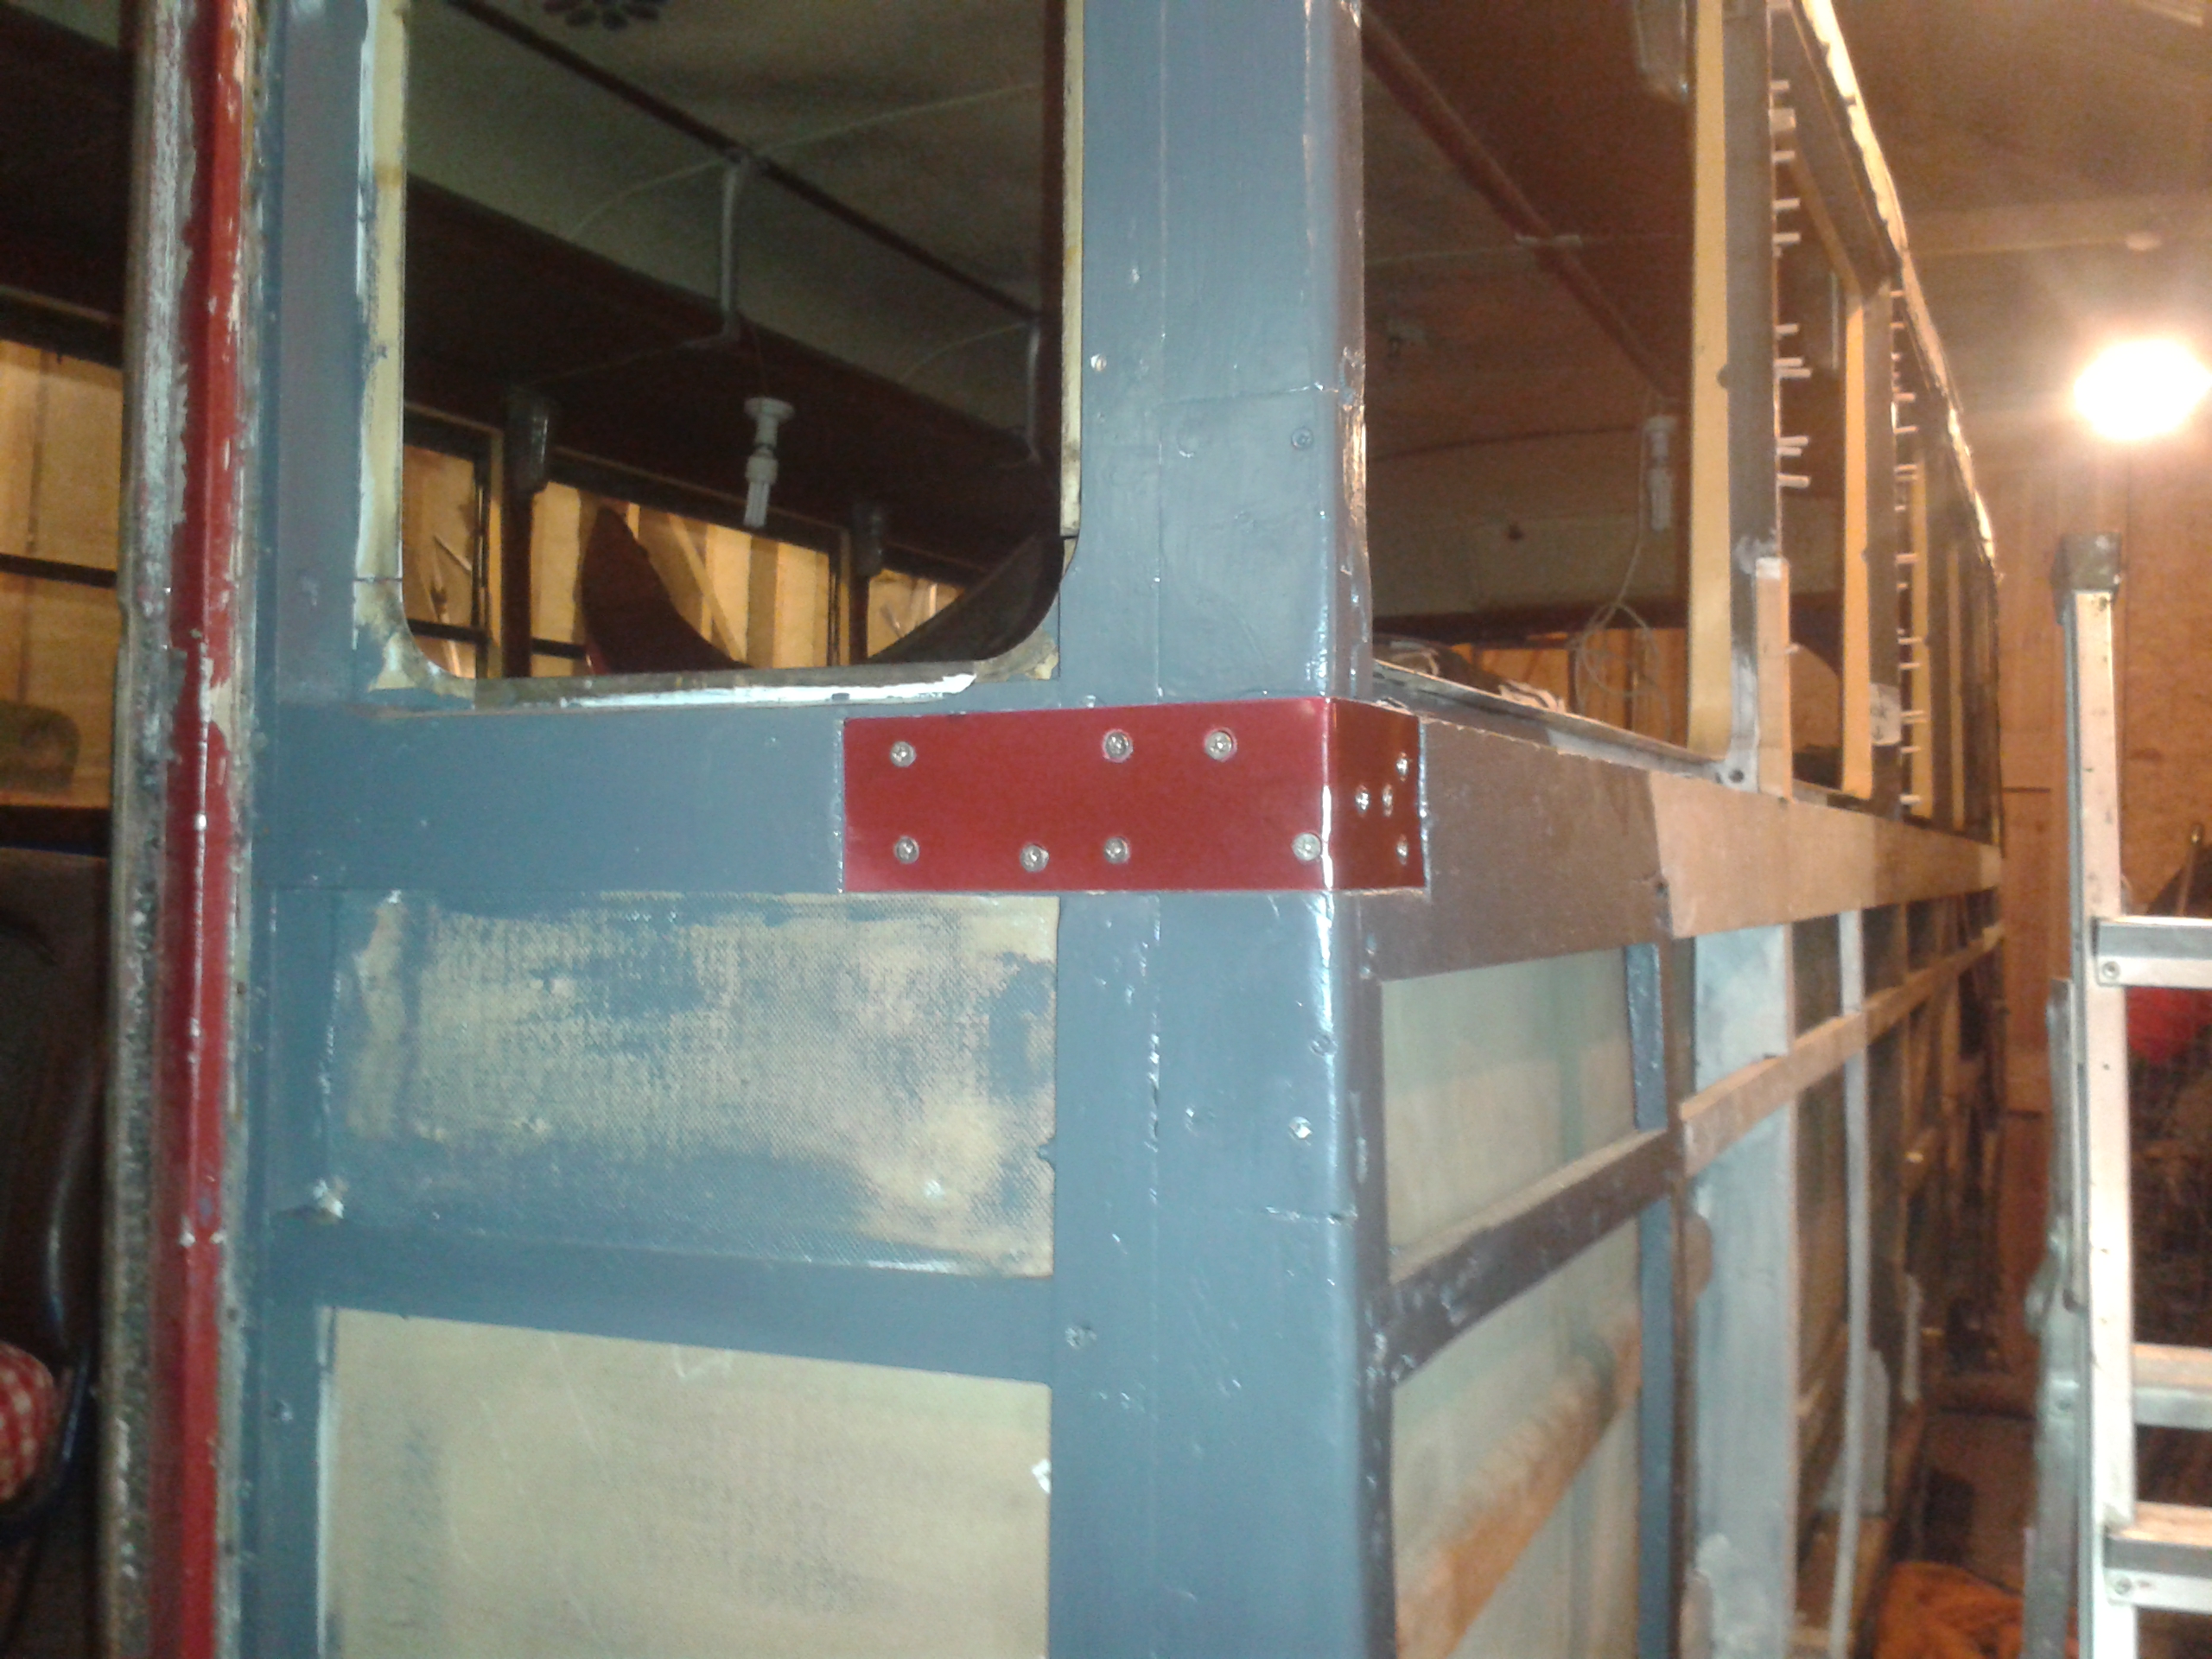
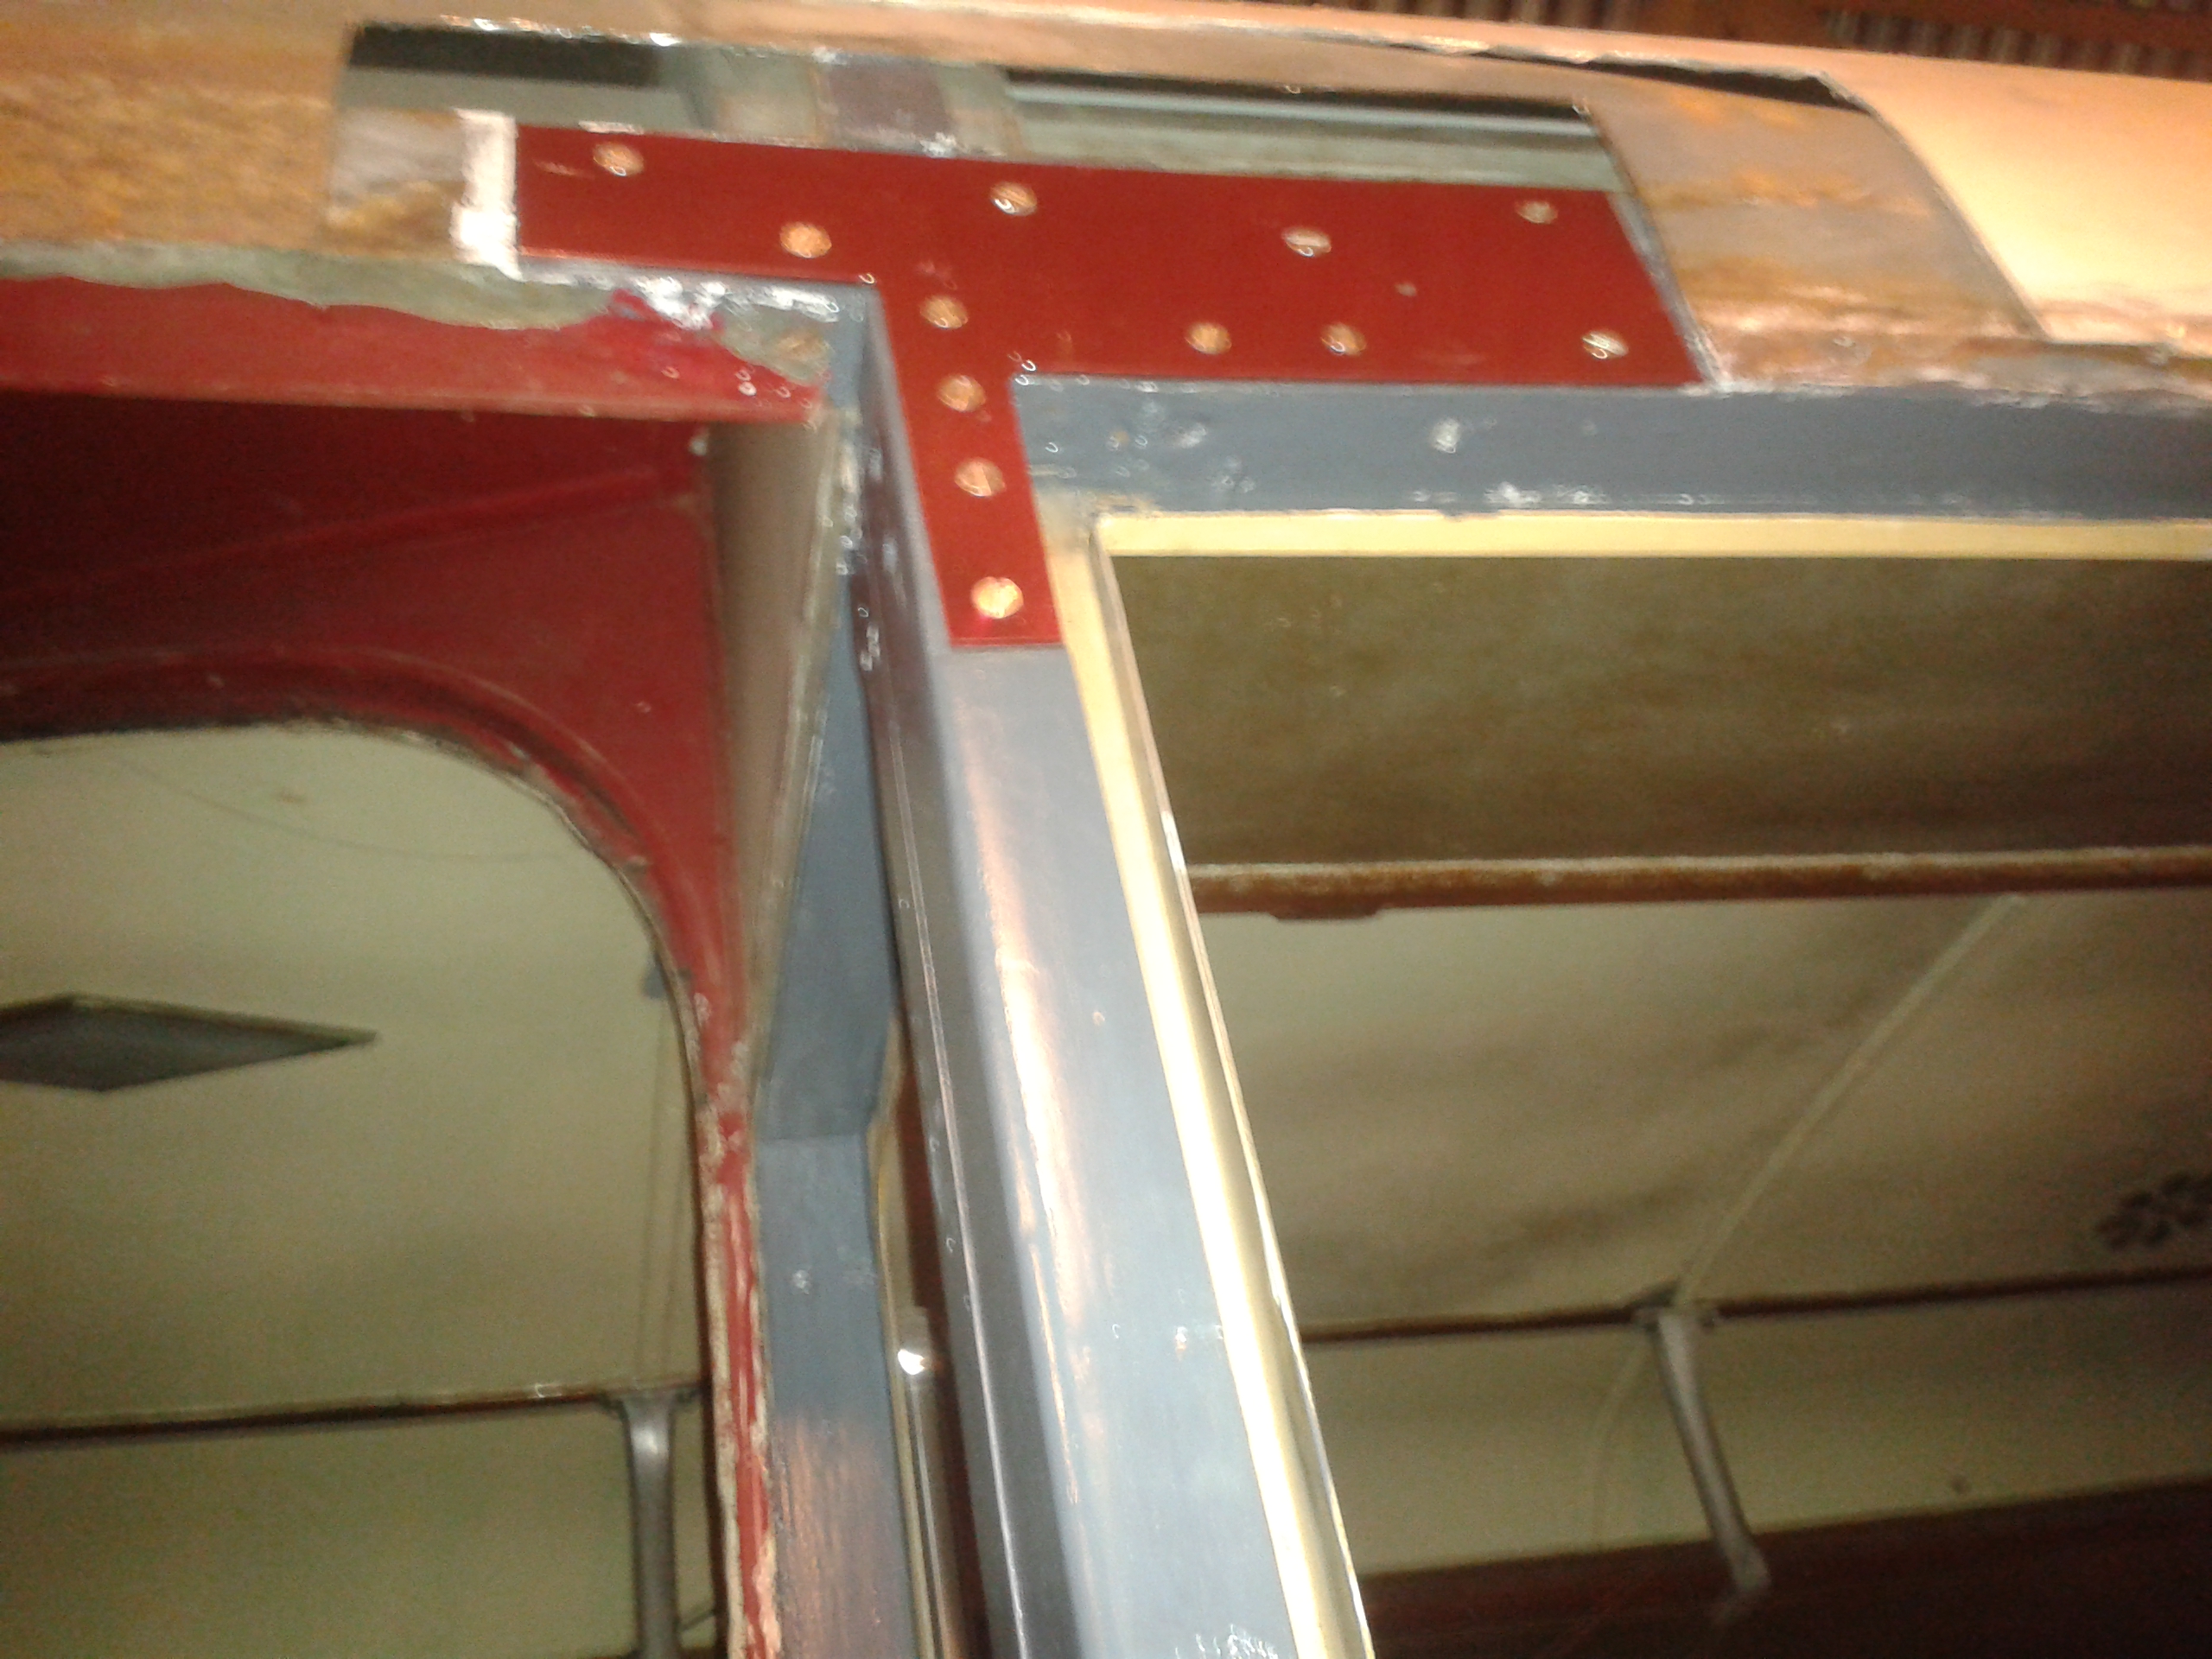
New steelwork on the waistrail/door pillar joint
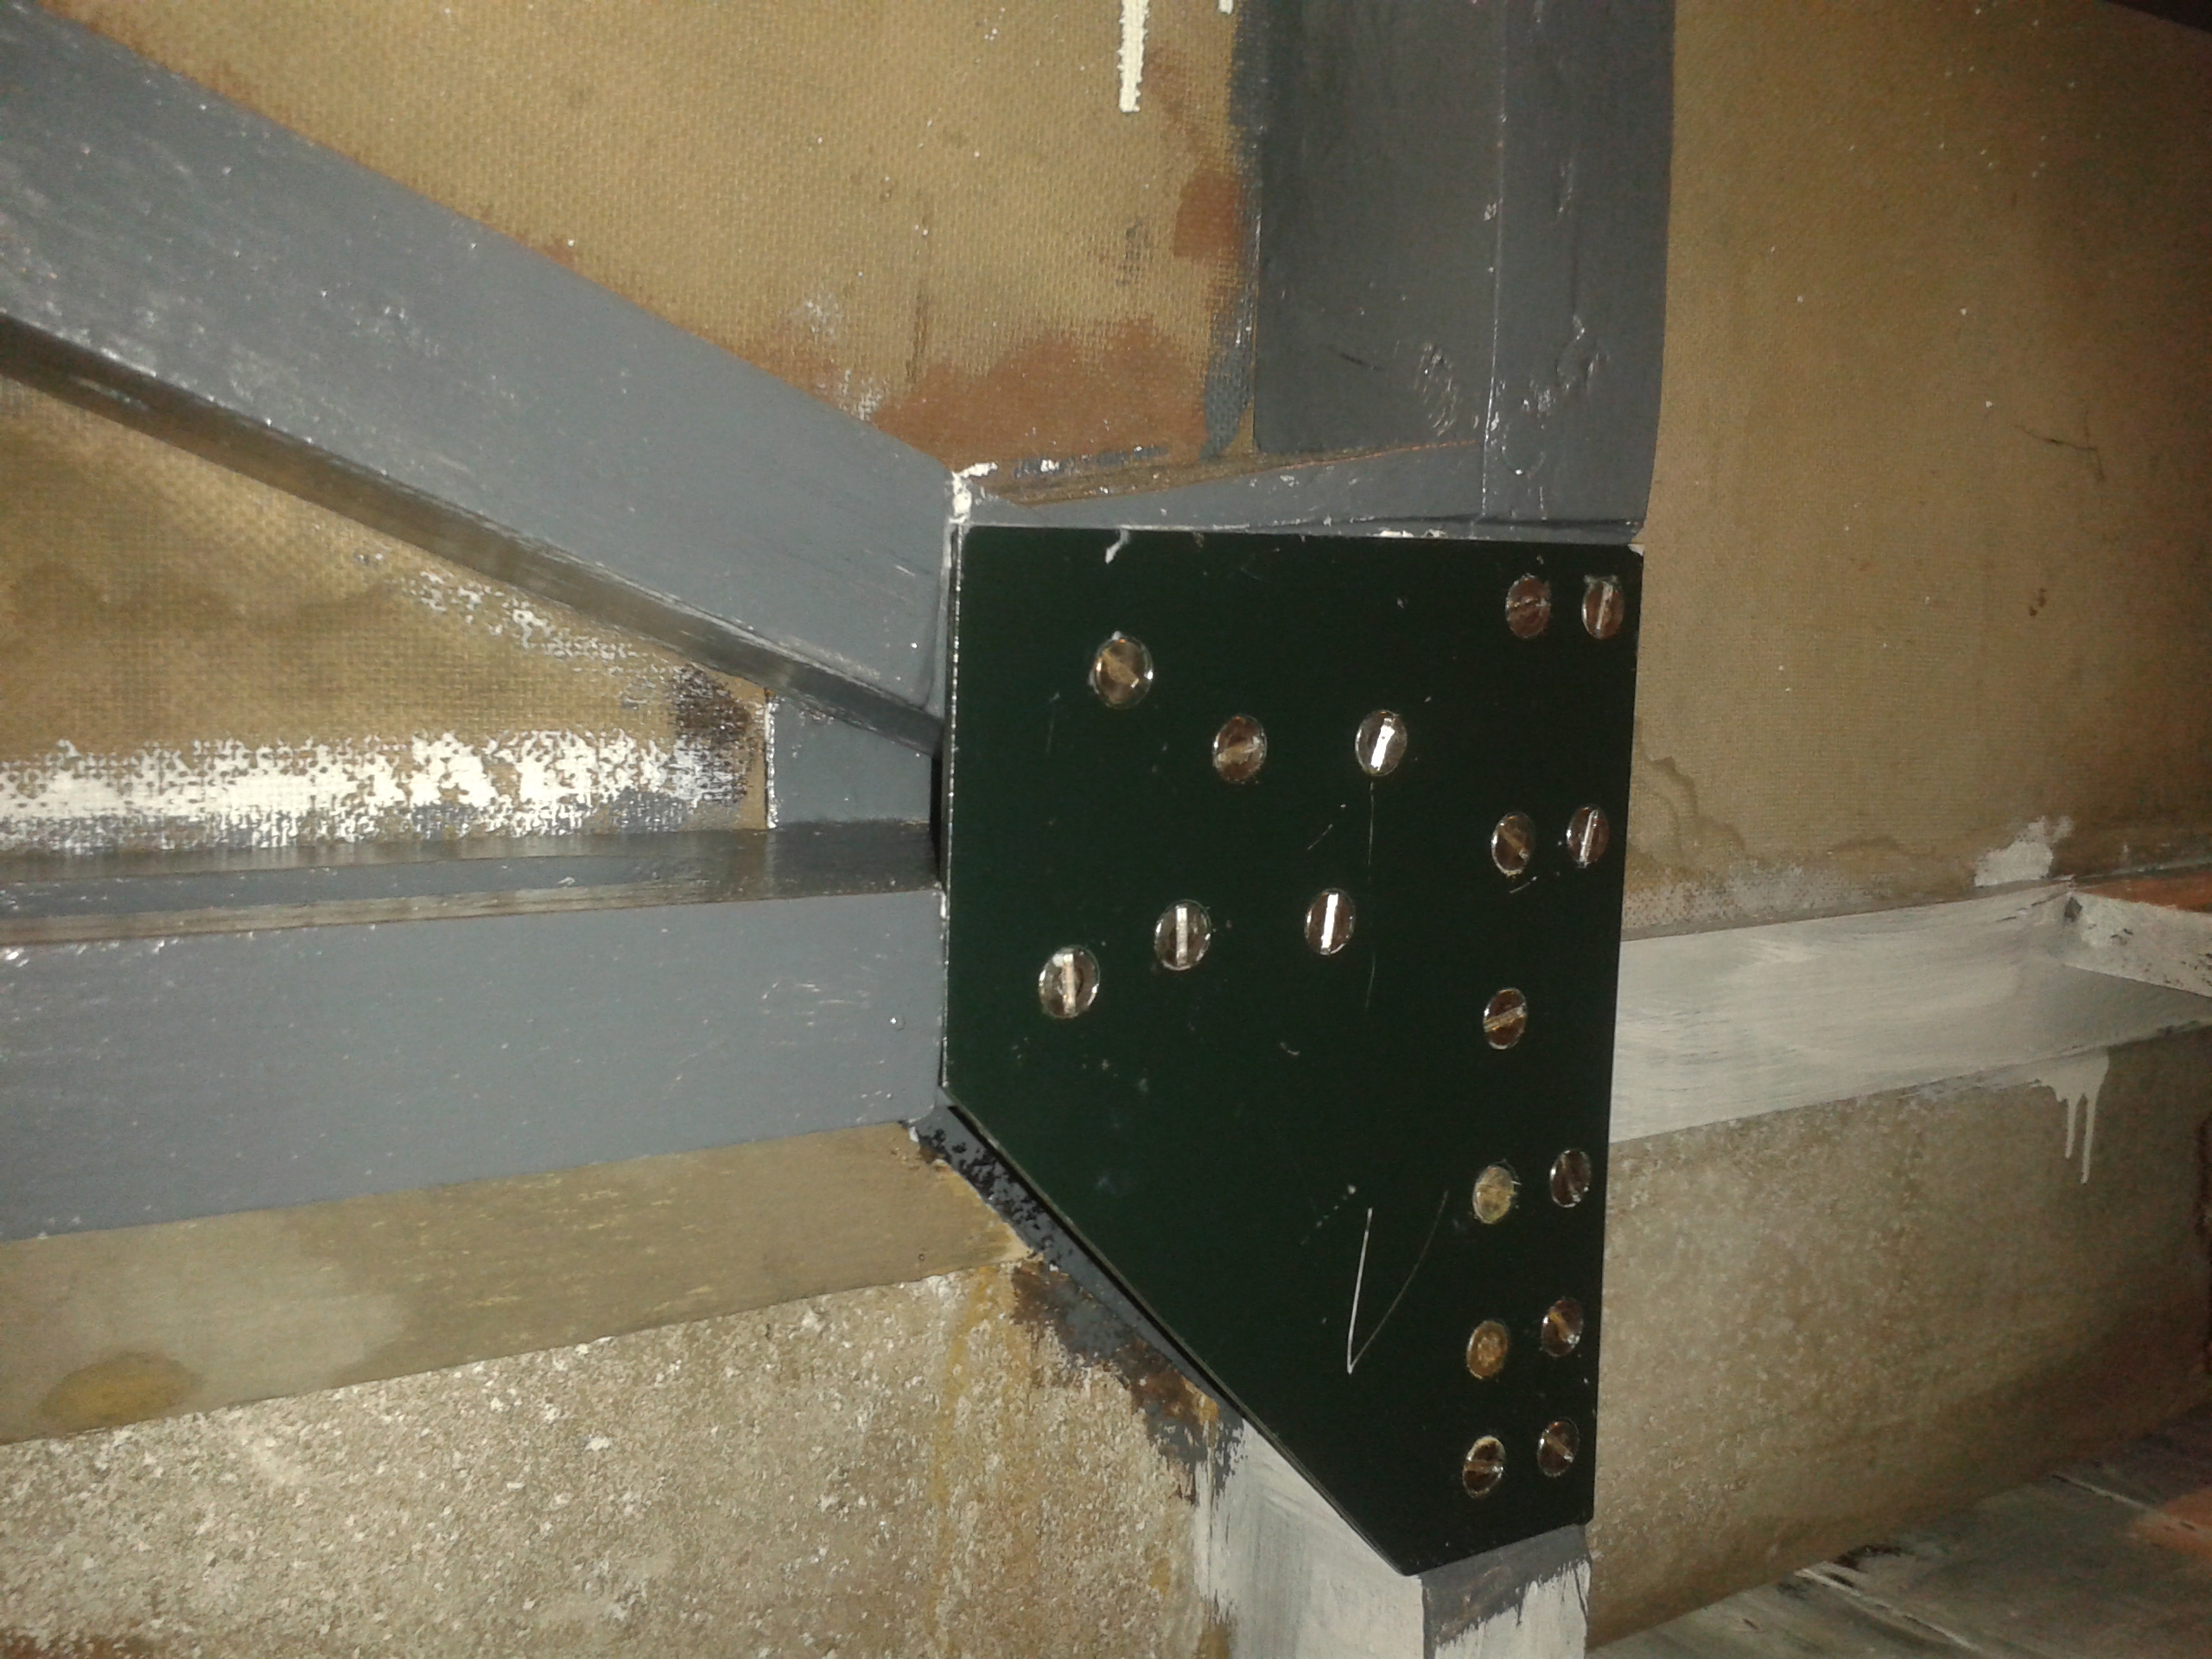
new steelwork, middle of nearside
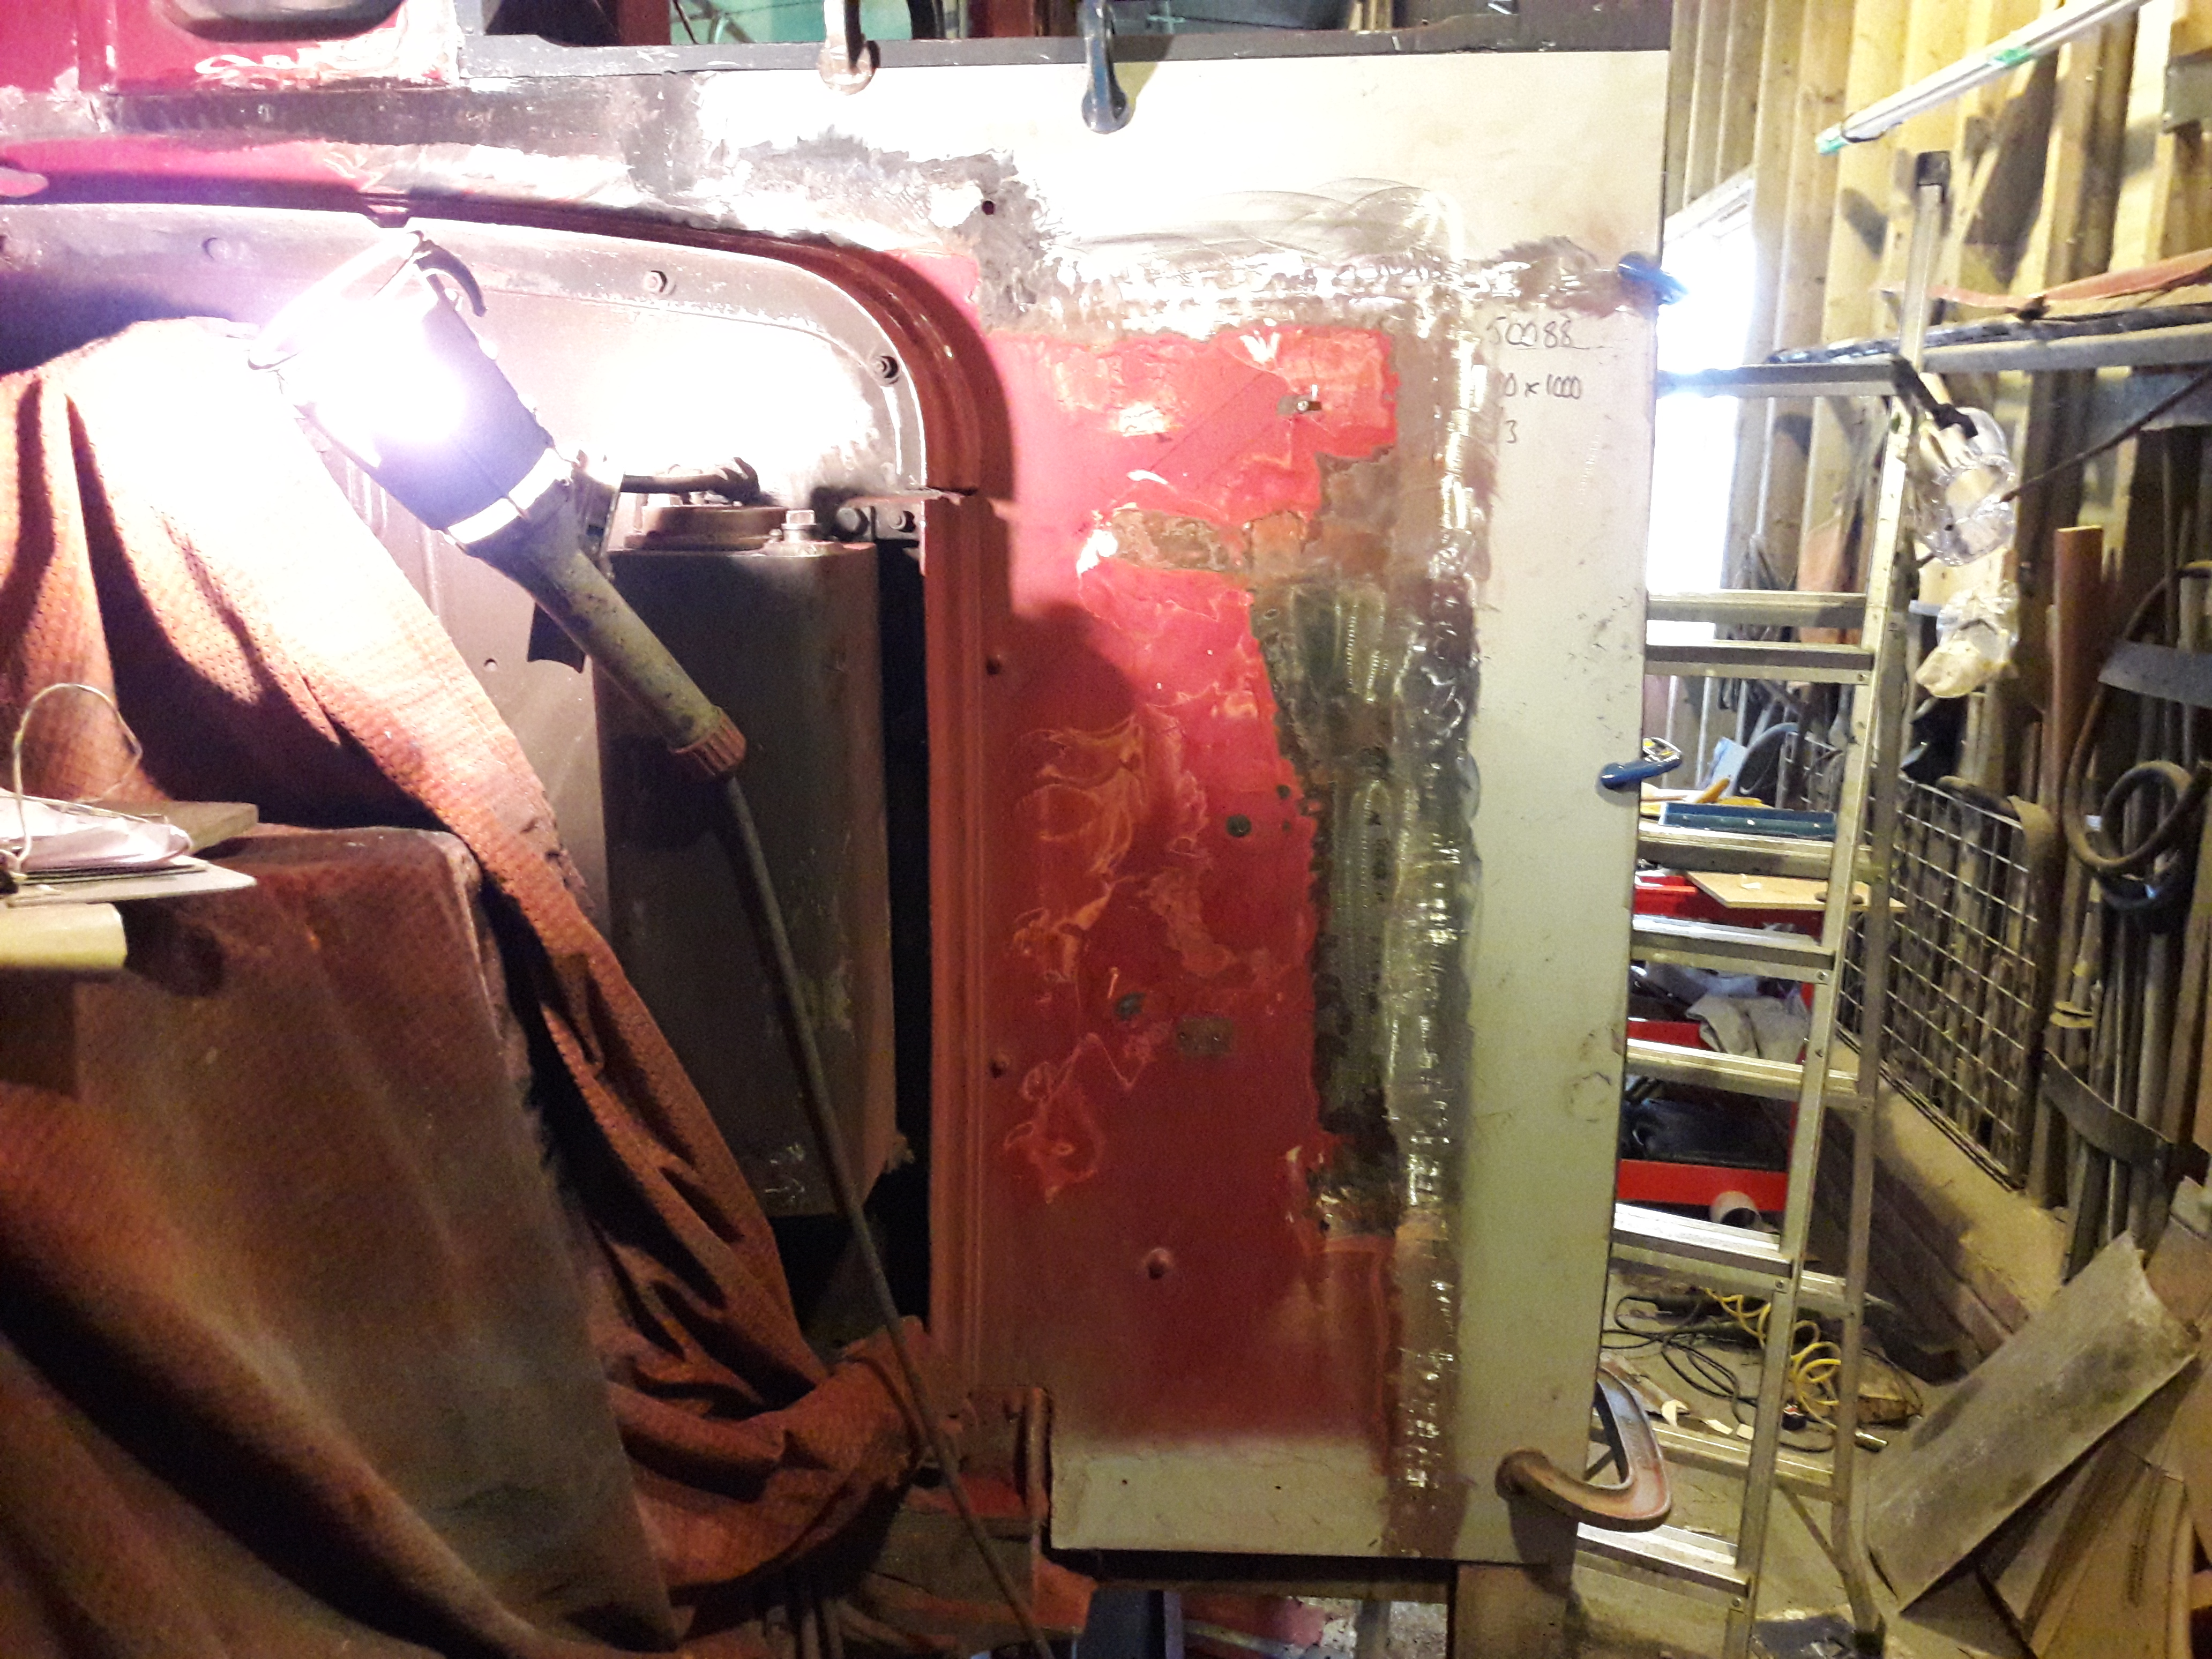
Letting new steel into the front bulkhead
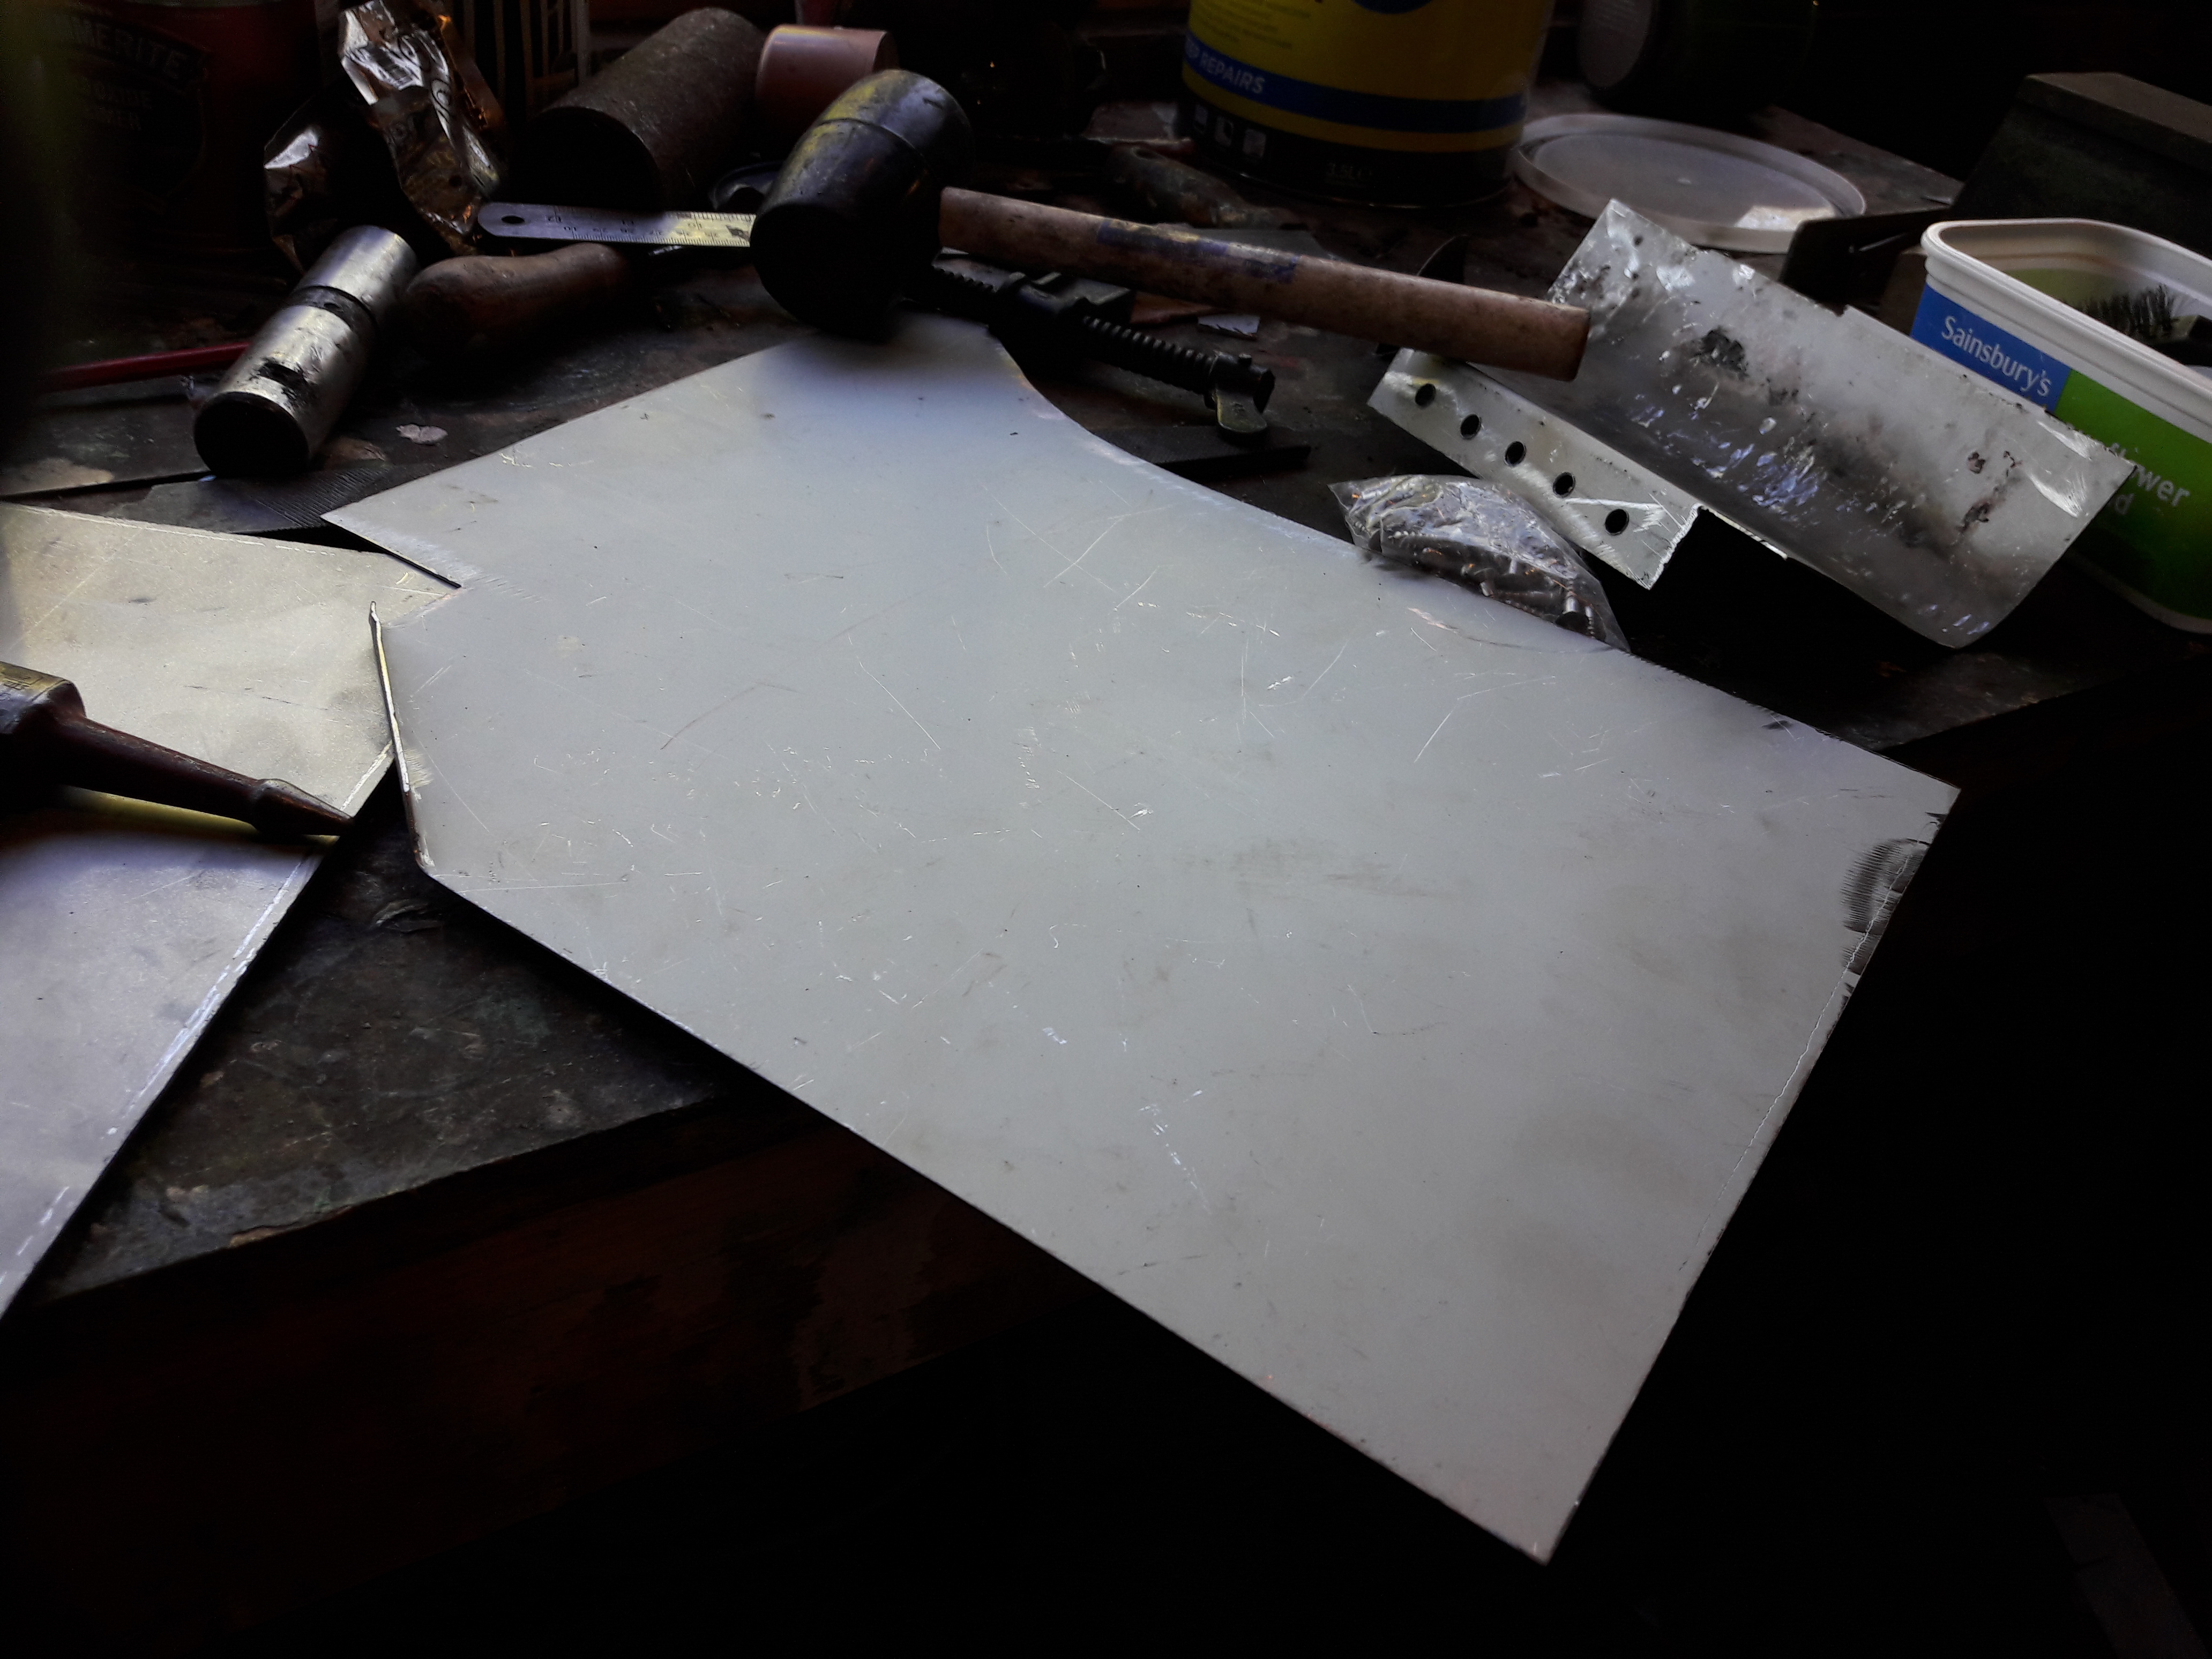
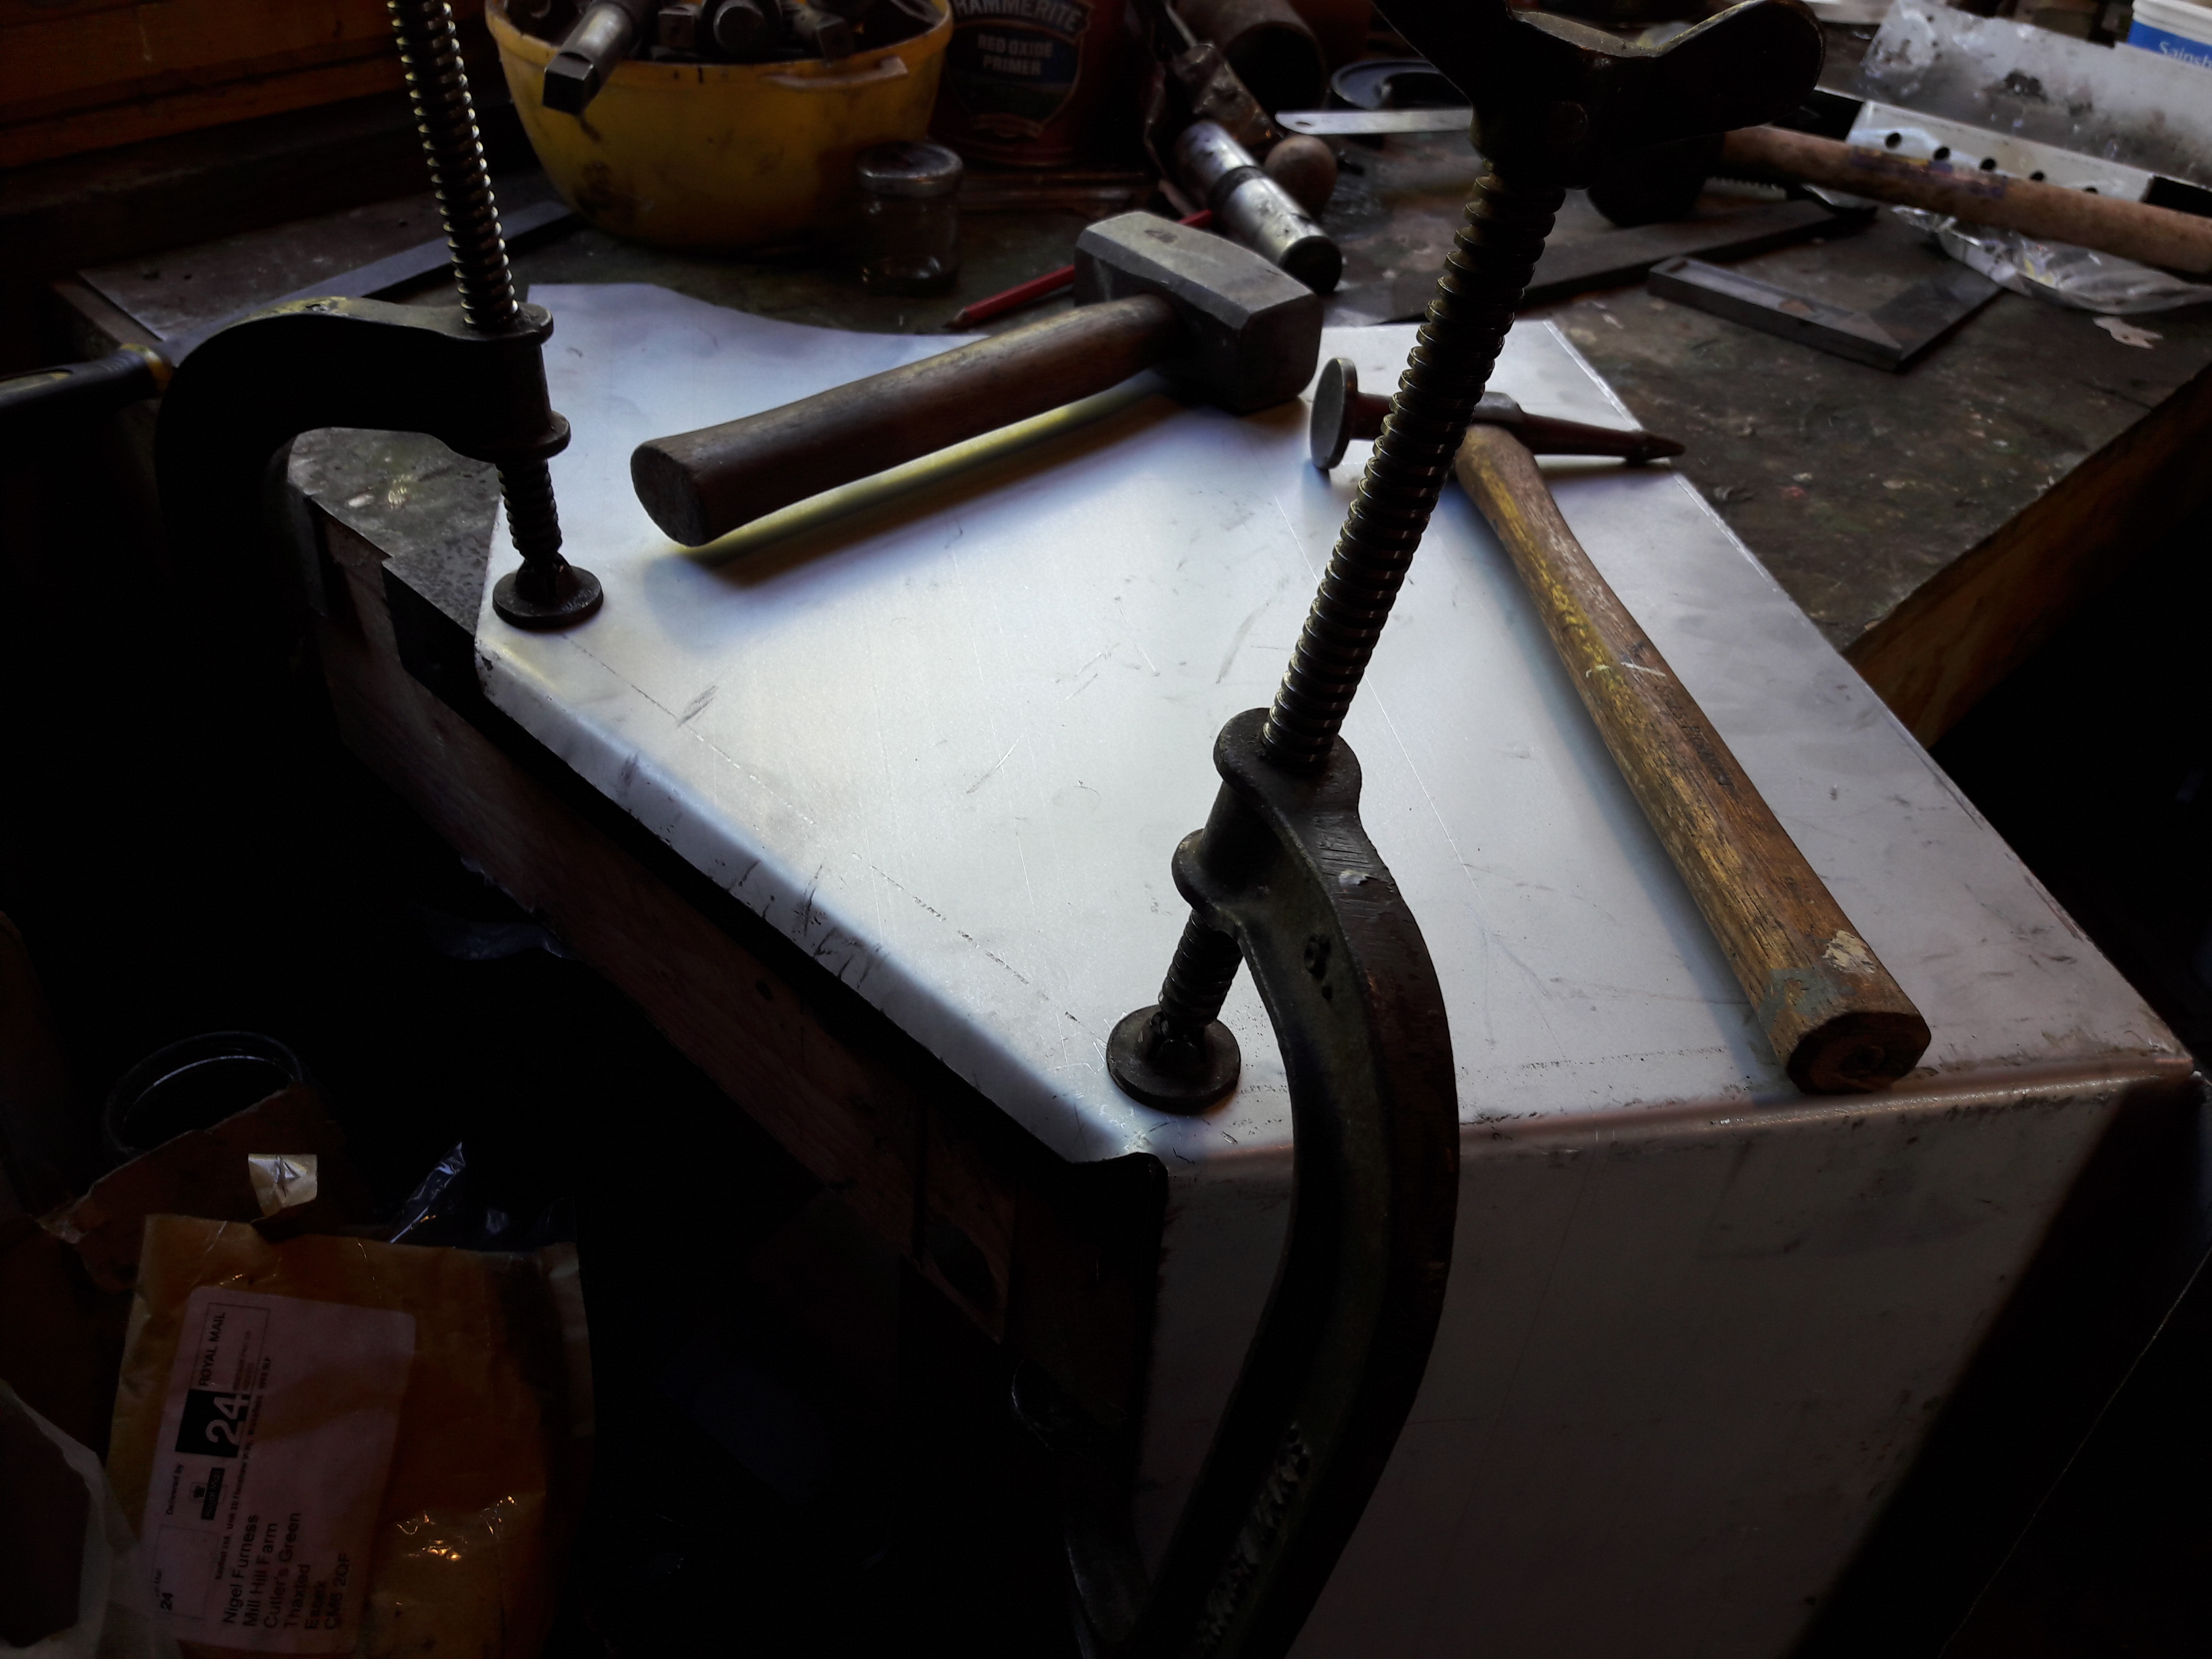
First stage of manufacturing the replacement entrance step bay. Forward side piece.
Rearward end and back.
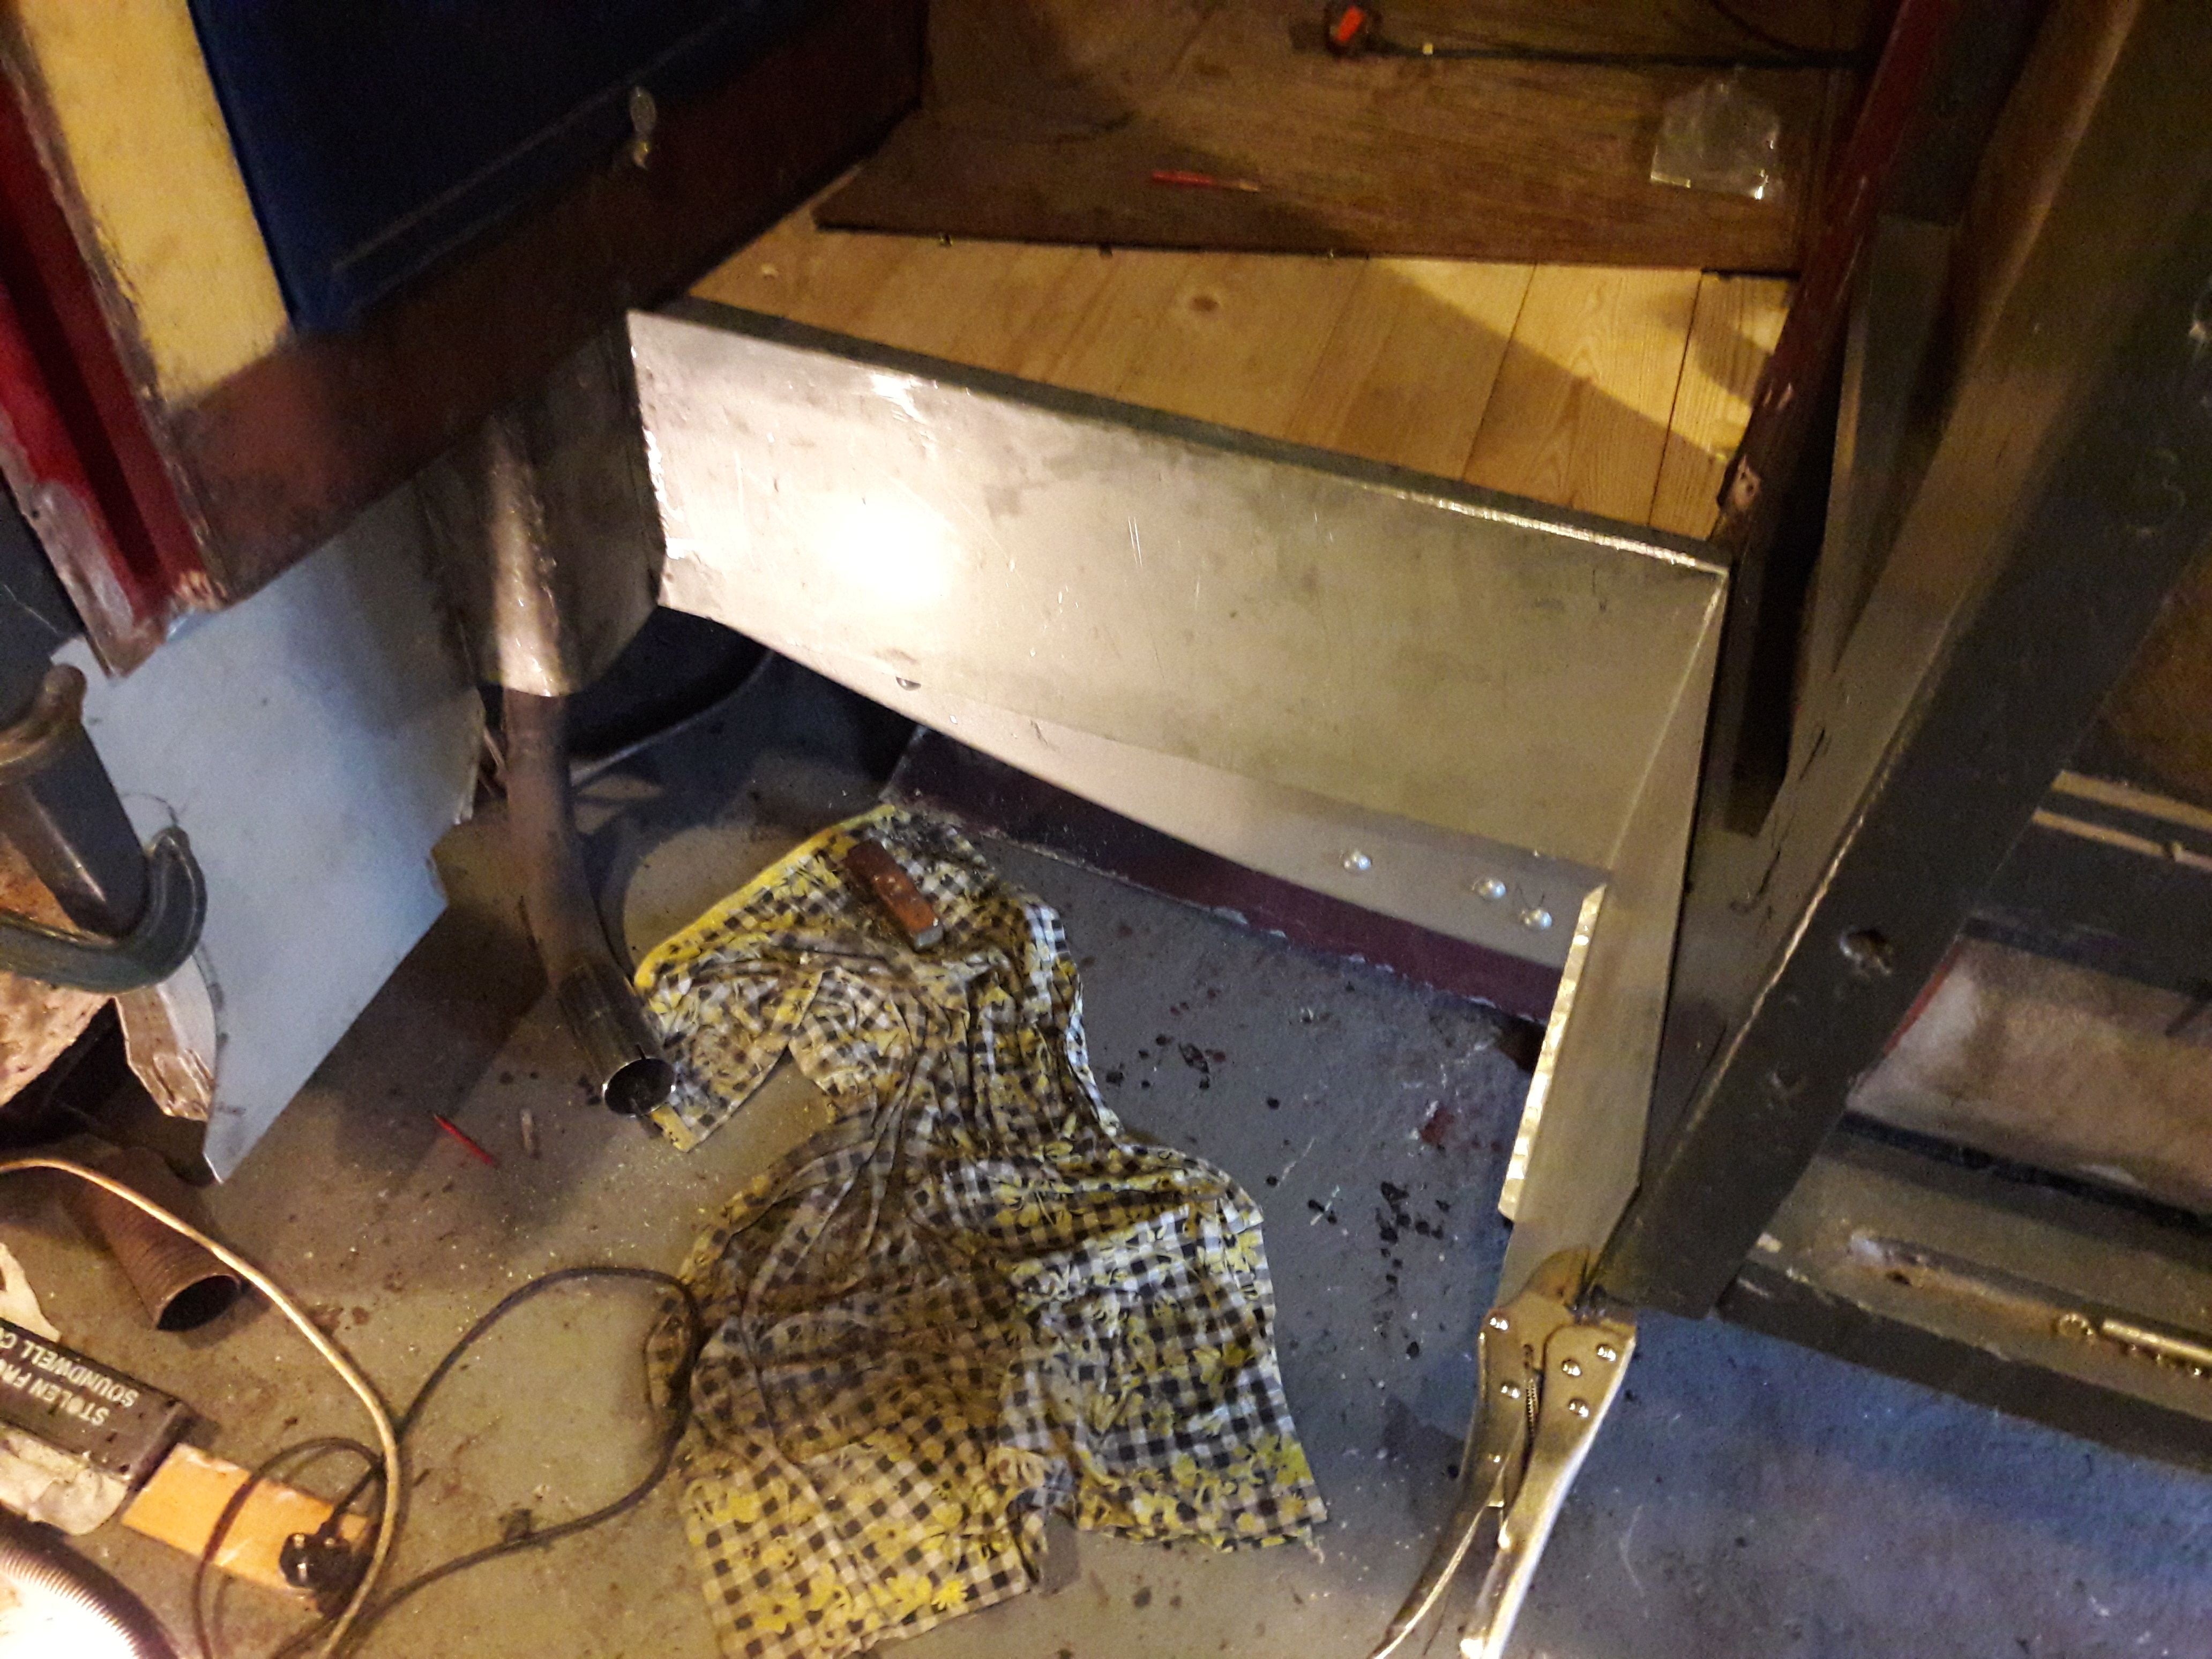
Step bay sheet metal in place for a trial fit, new floorboards also visible.
Metalwork for step bay attached to the body
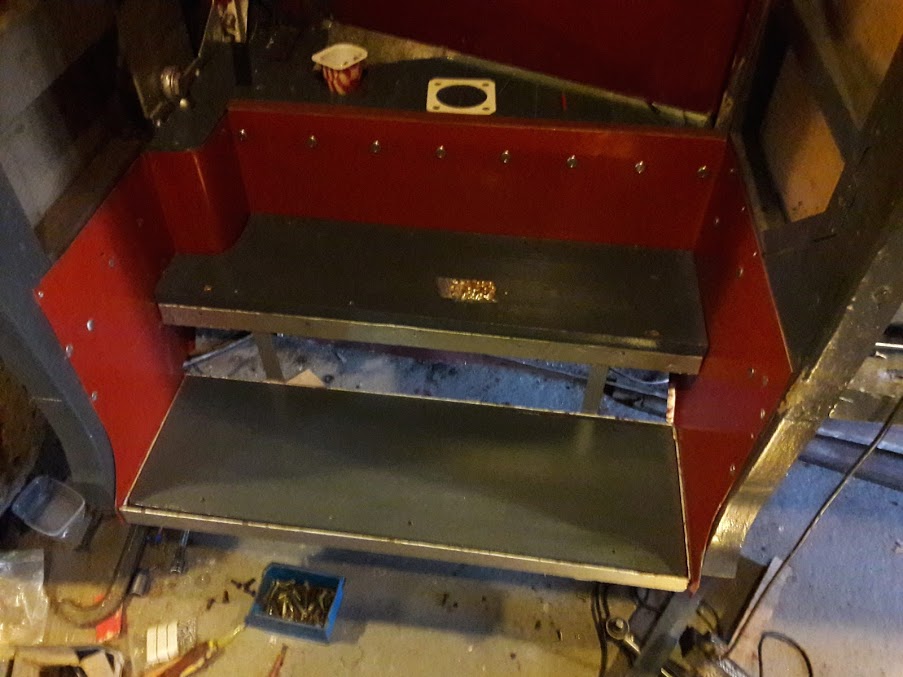
Riser panel fitted
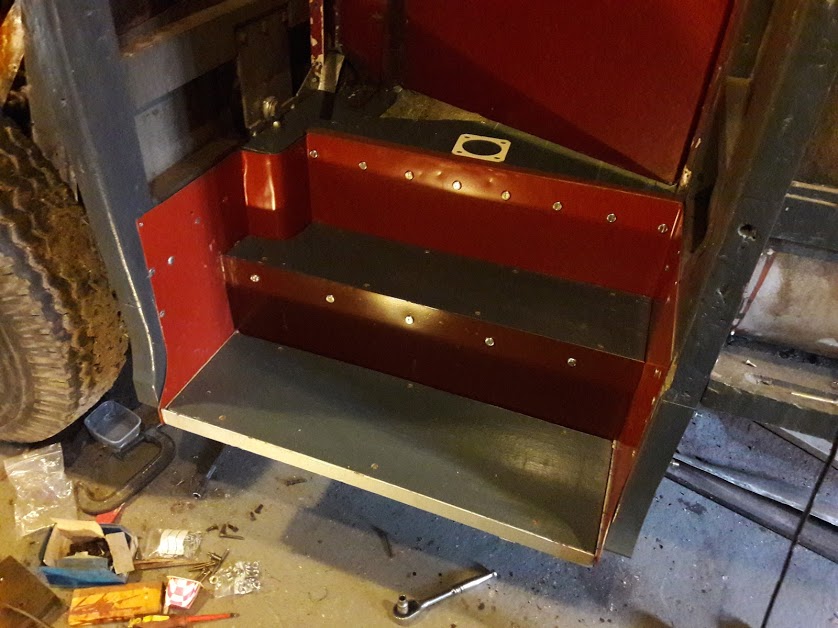
Looking from the right after spraying
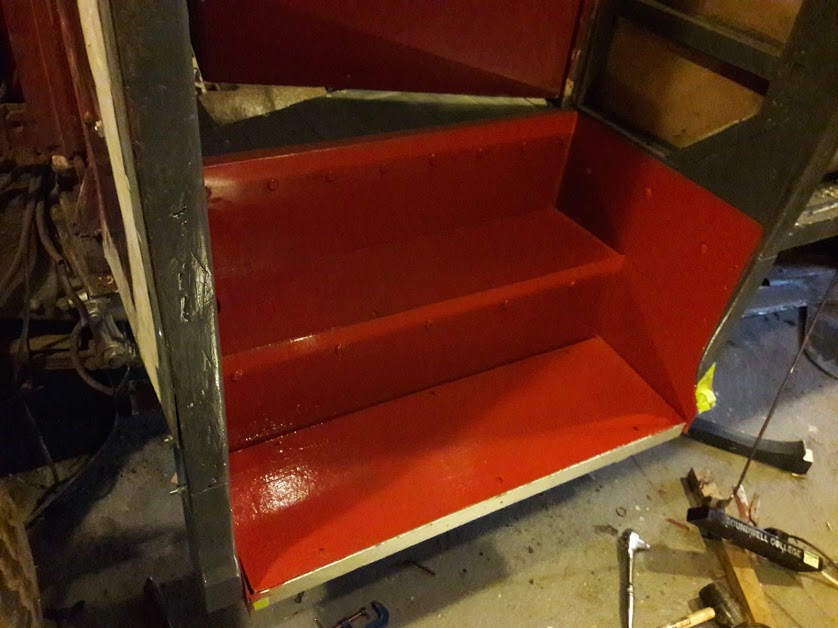
Looking from the left after spraying
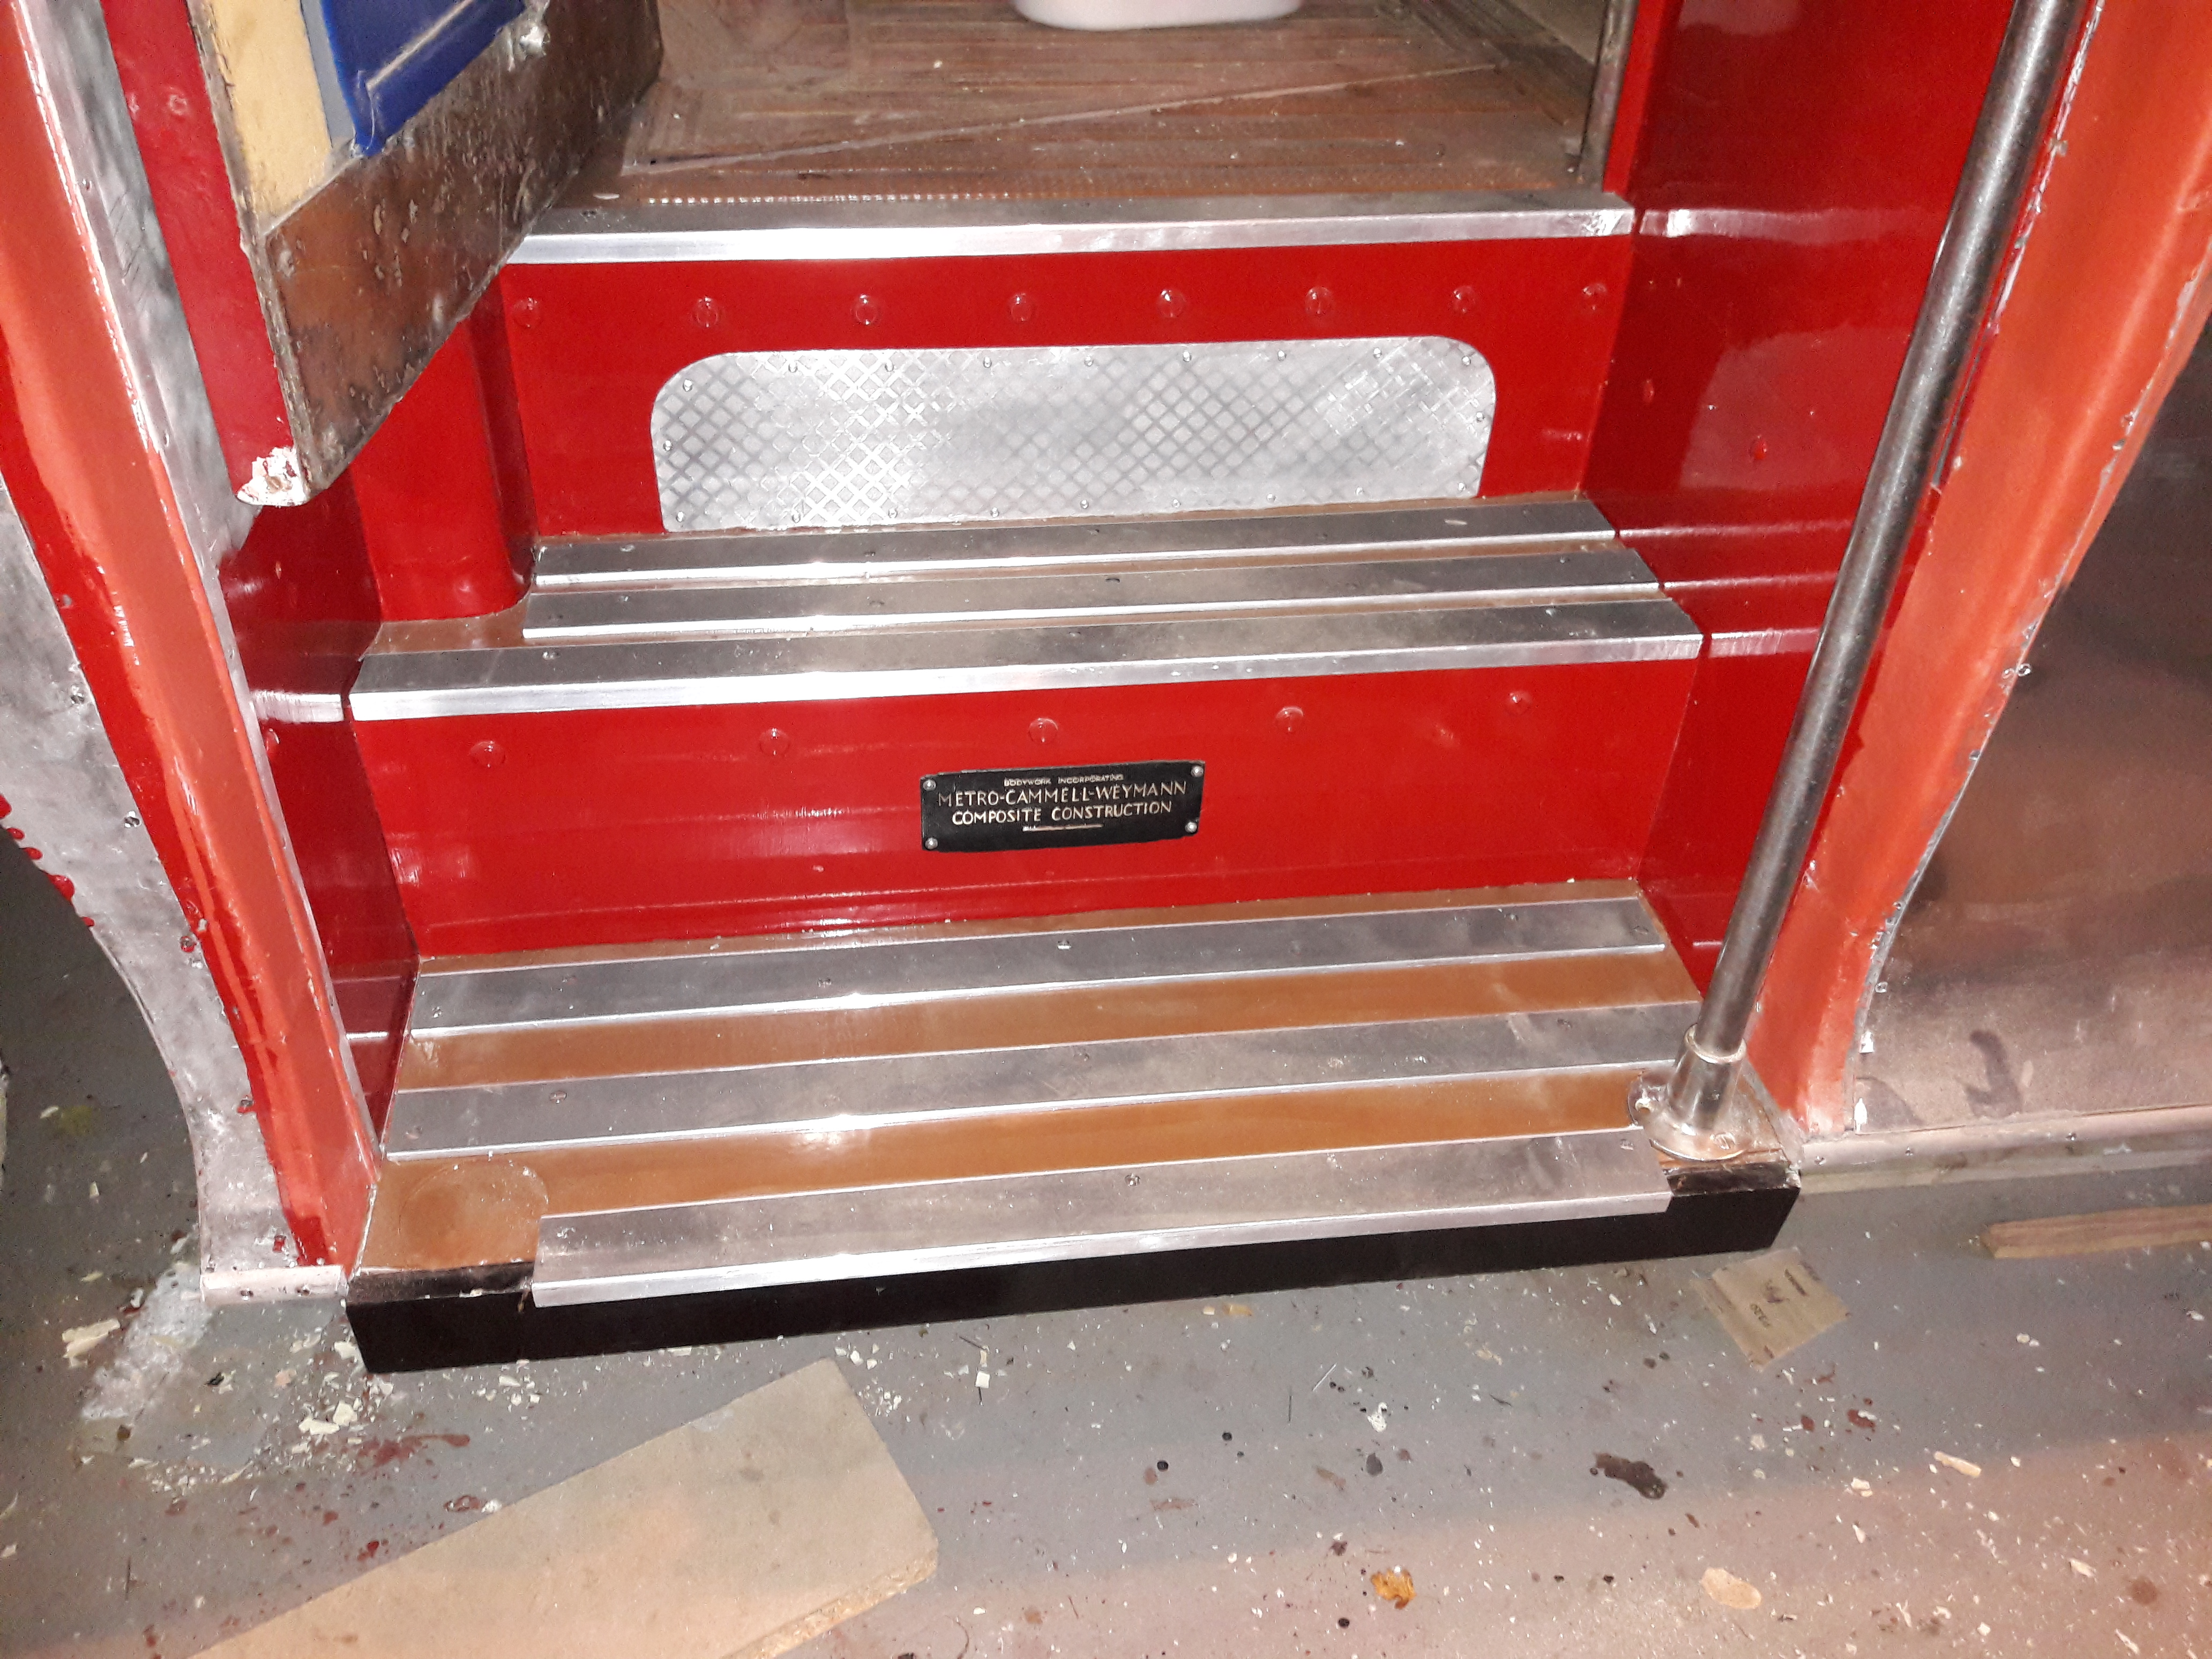
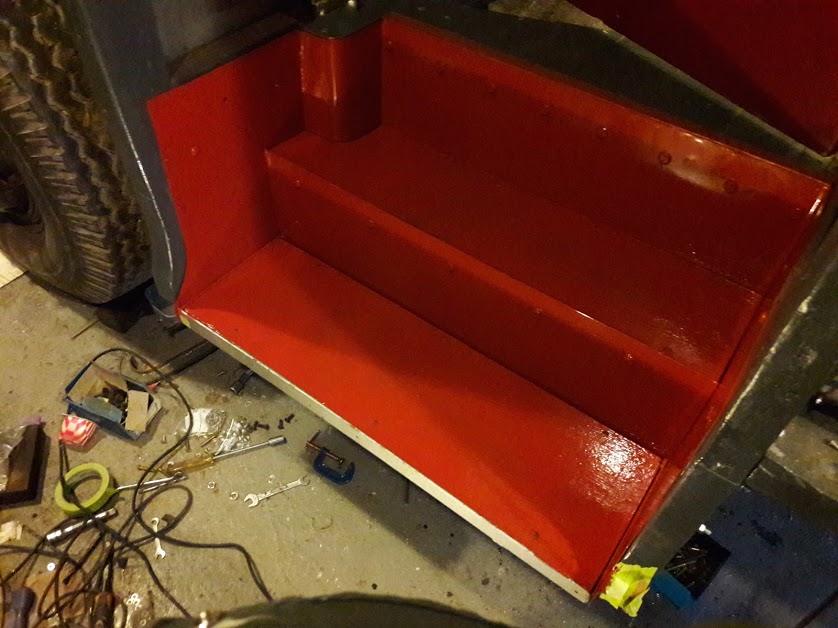
Steps completed and ready for customers!

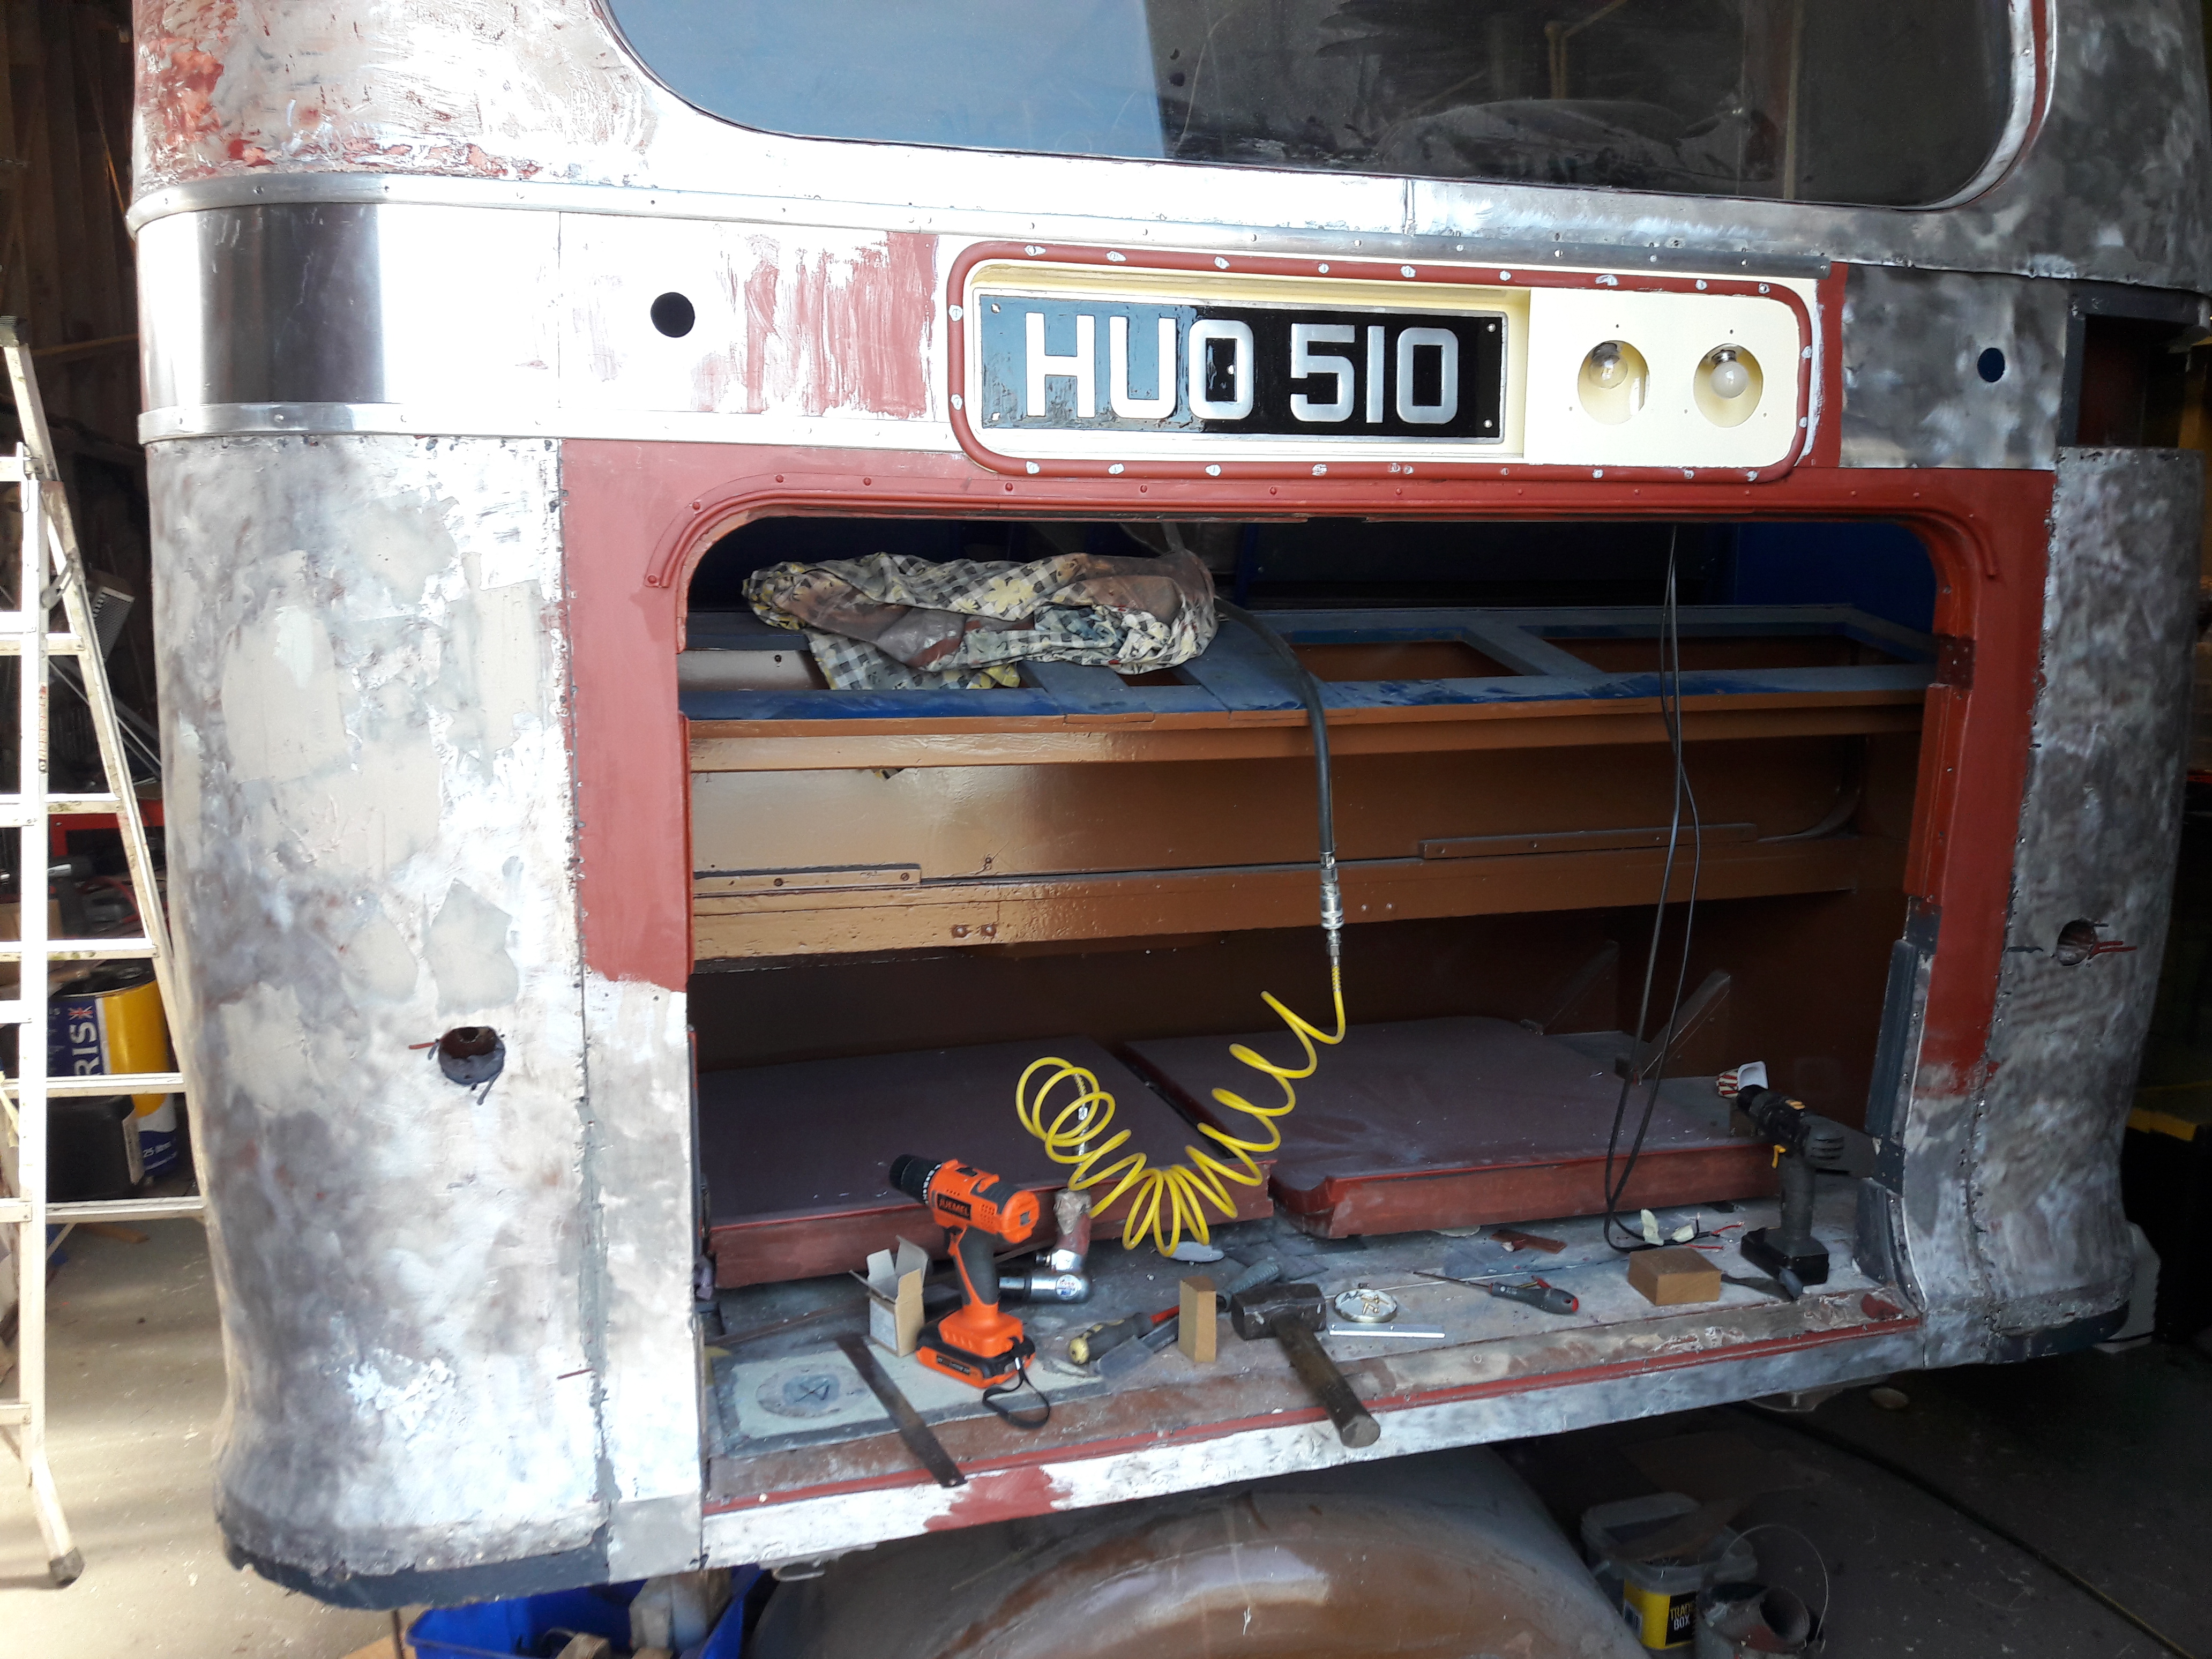
Front bulkhead primed and window refitted.
Entrance vestibule bulkhead panel – first new panel fitted.
Closeup of lower bulkhead showing that the repair is invisible.
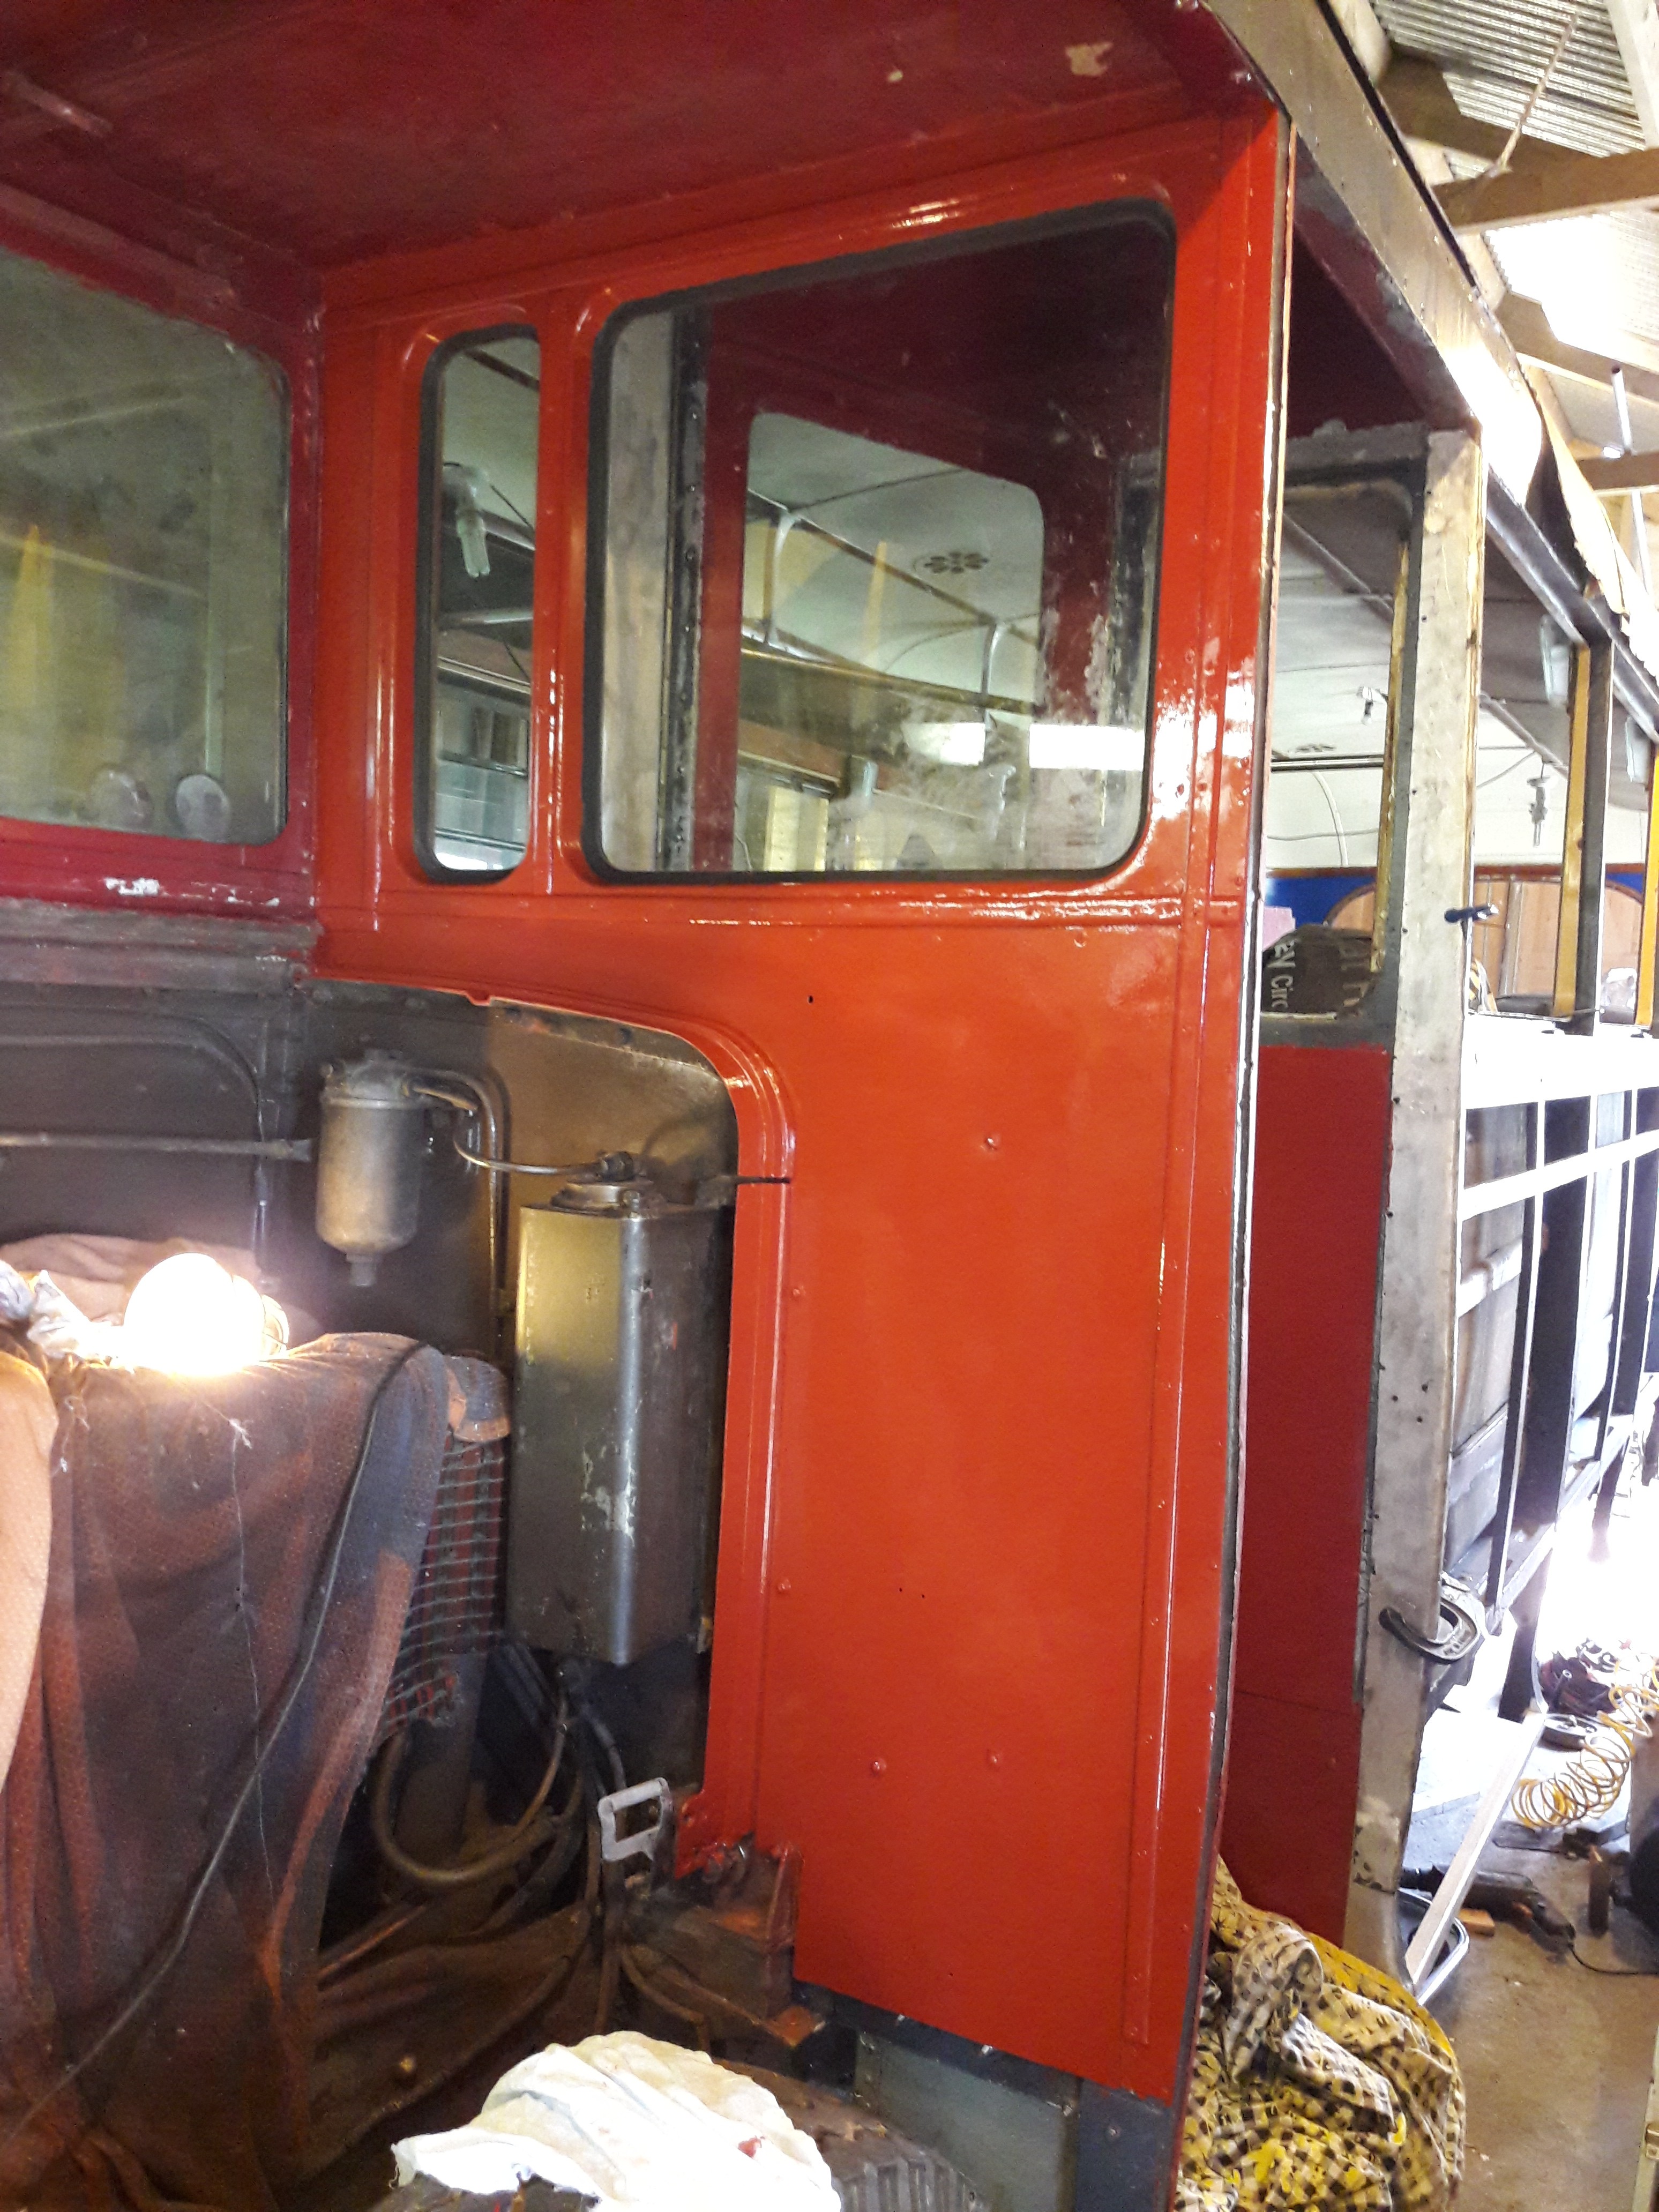
Front bulkhead in undercoat
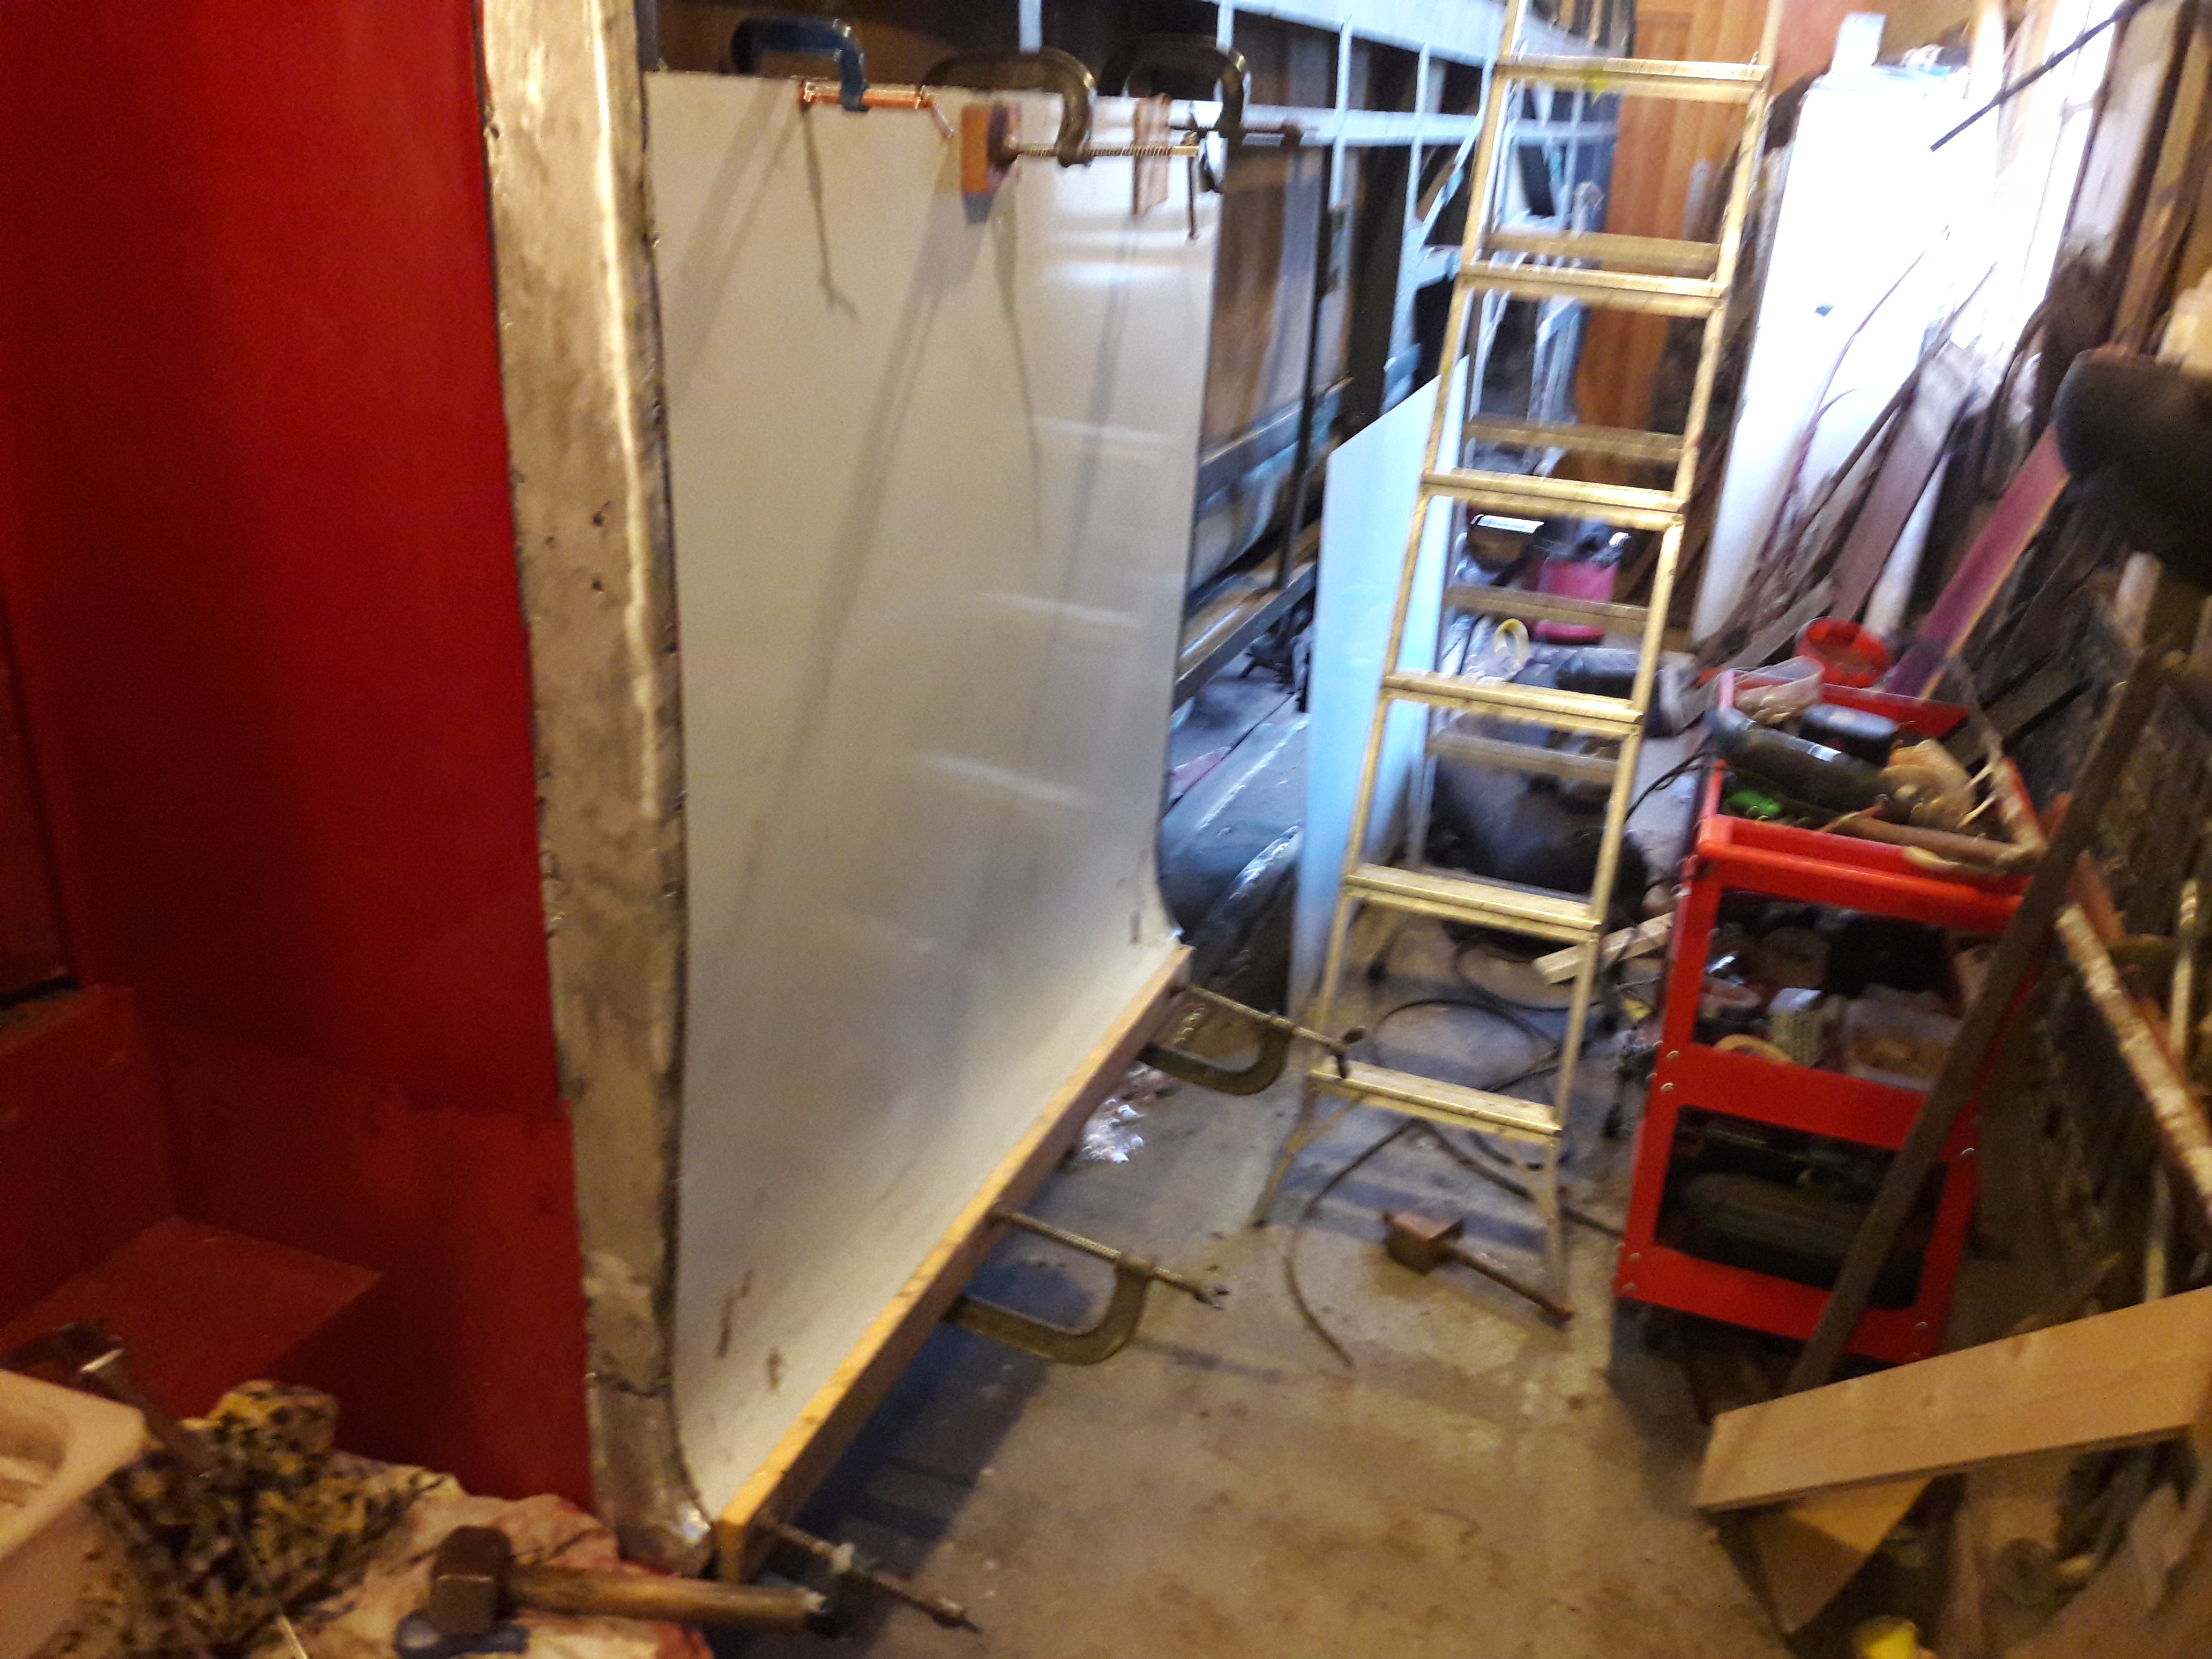
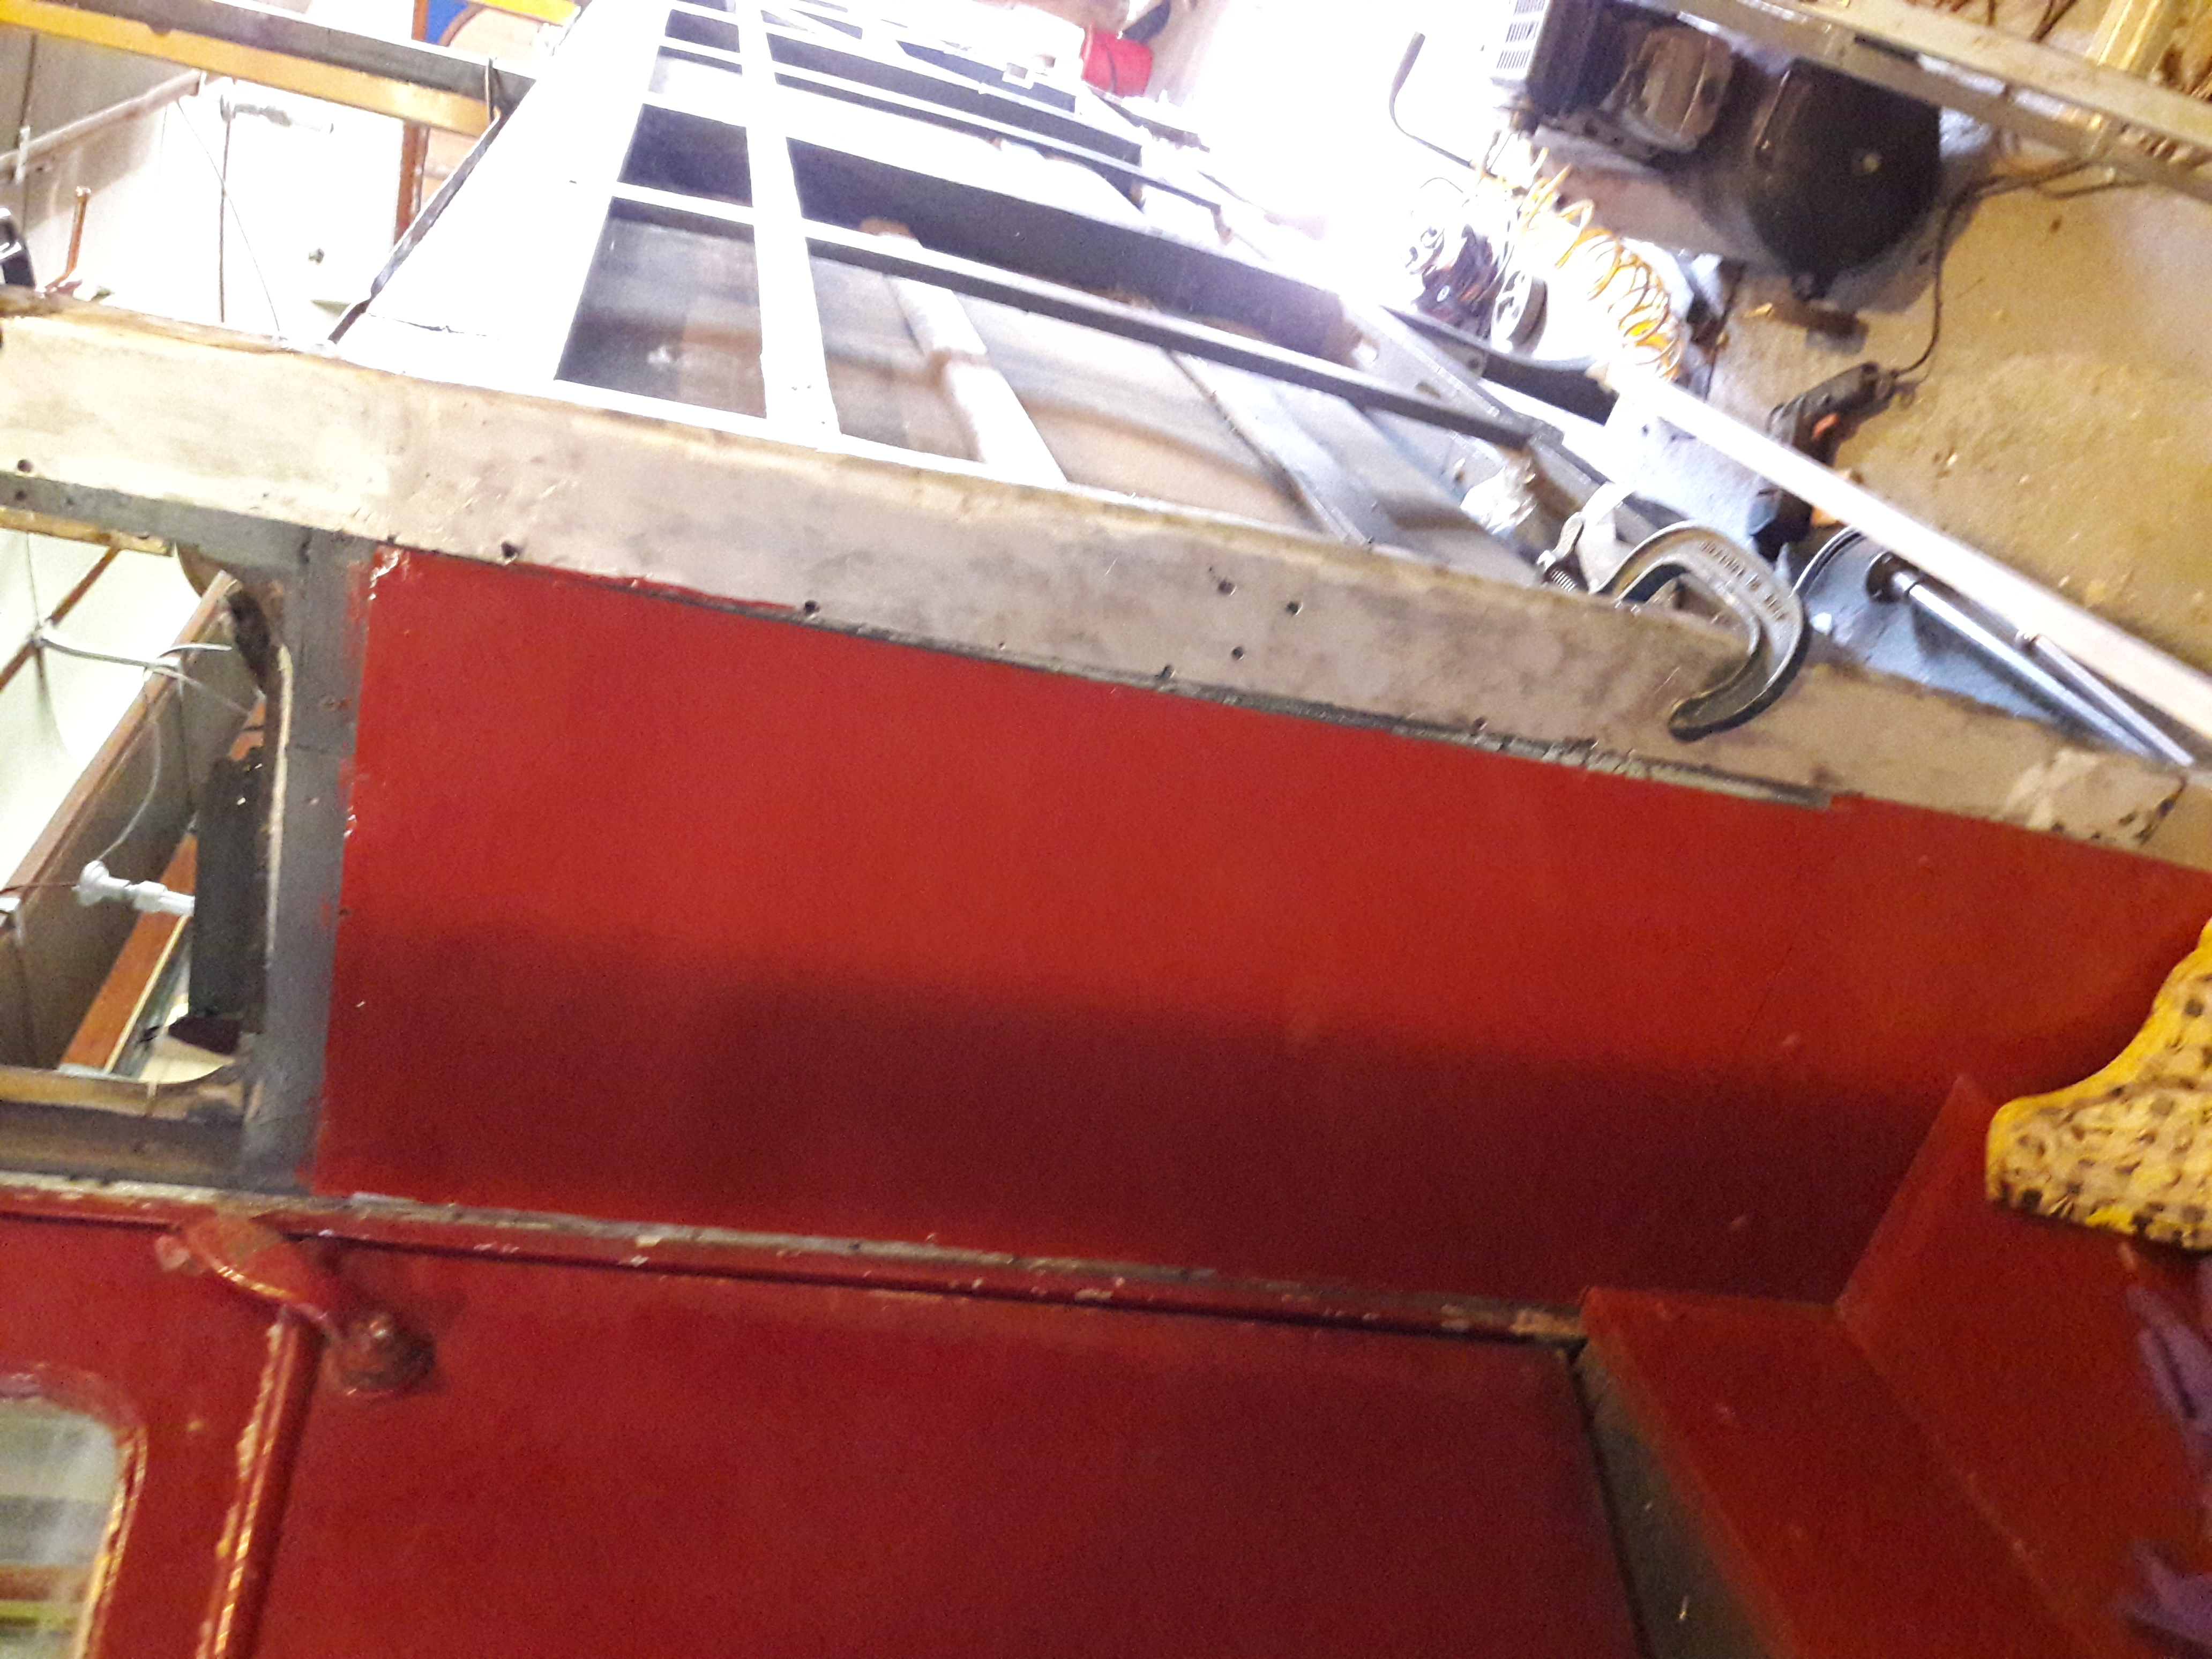
First new side panel!
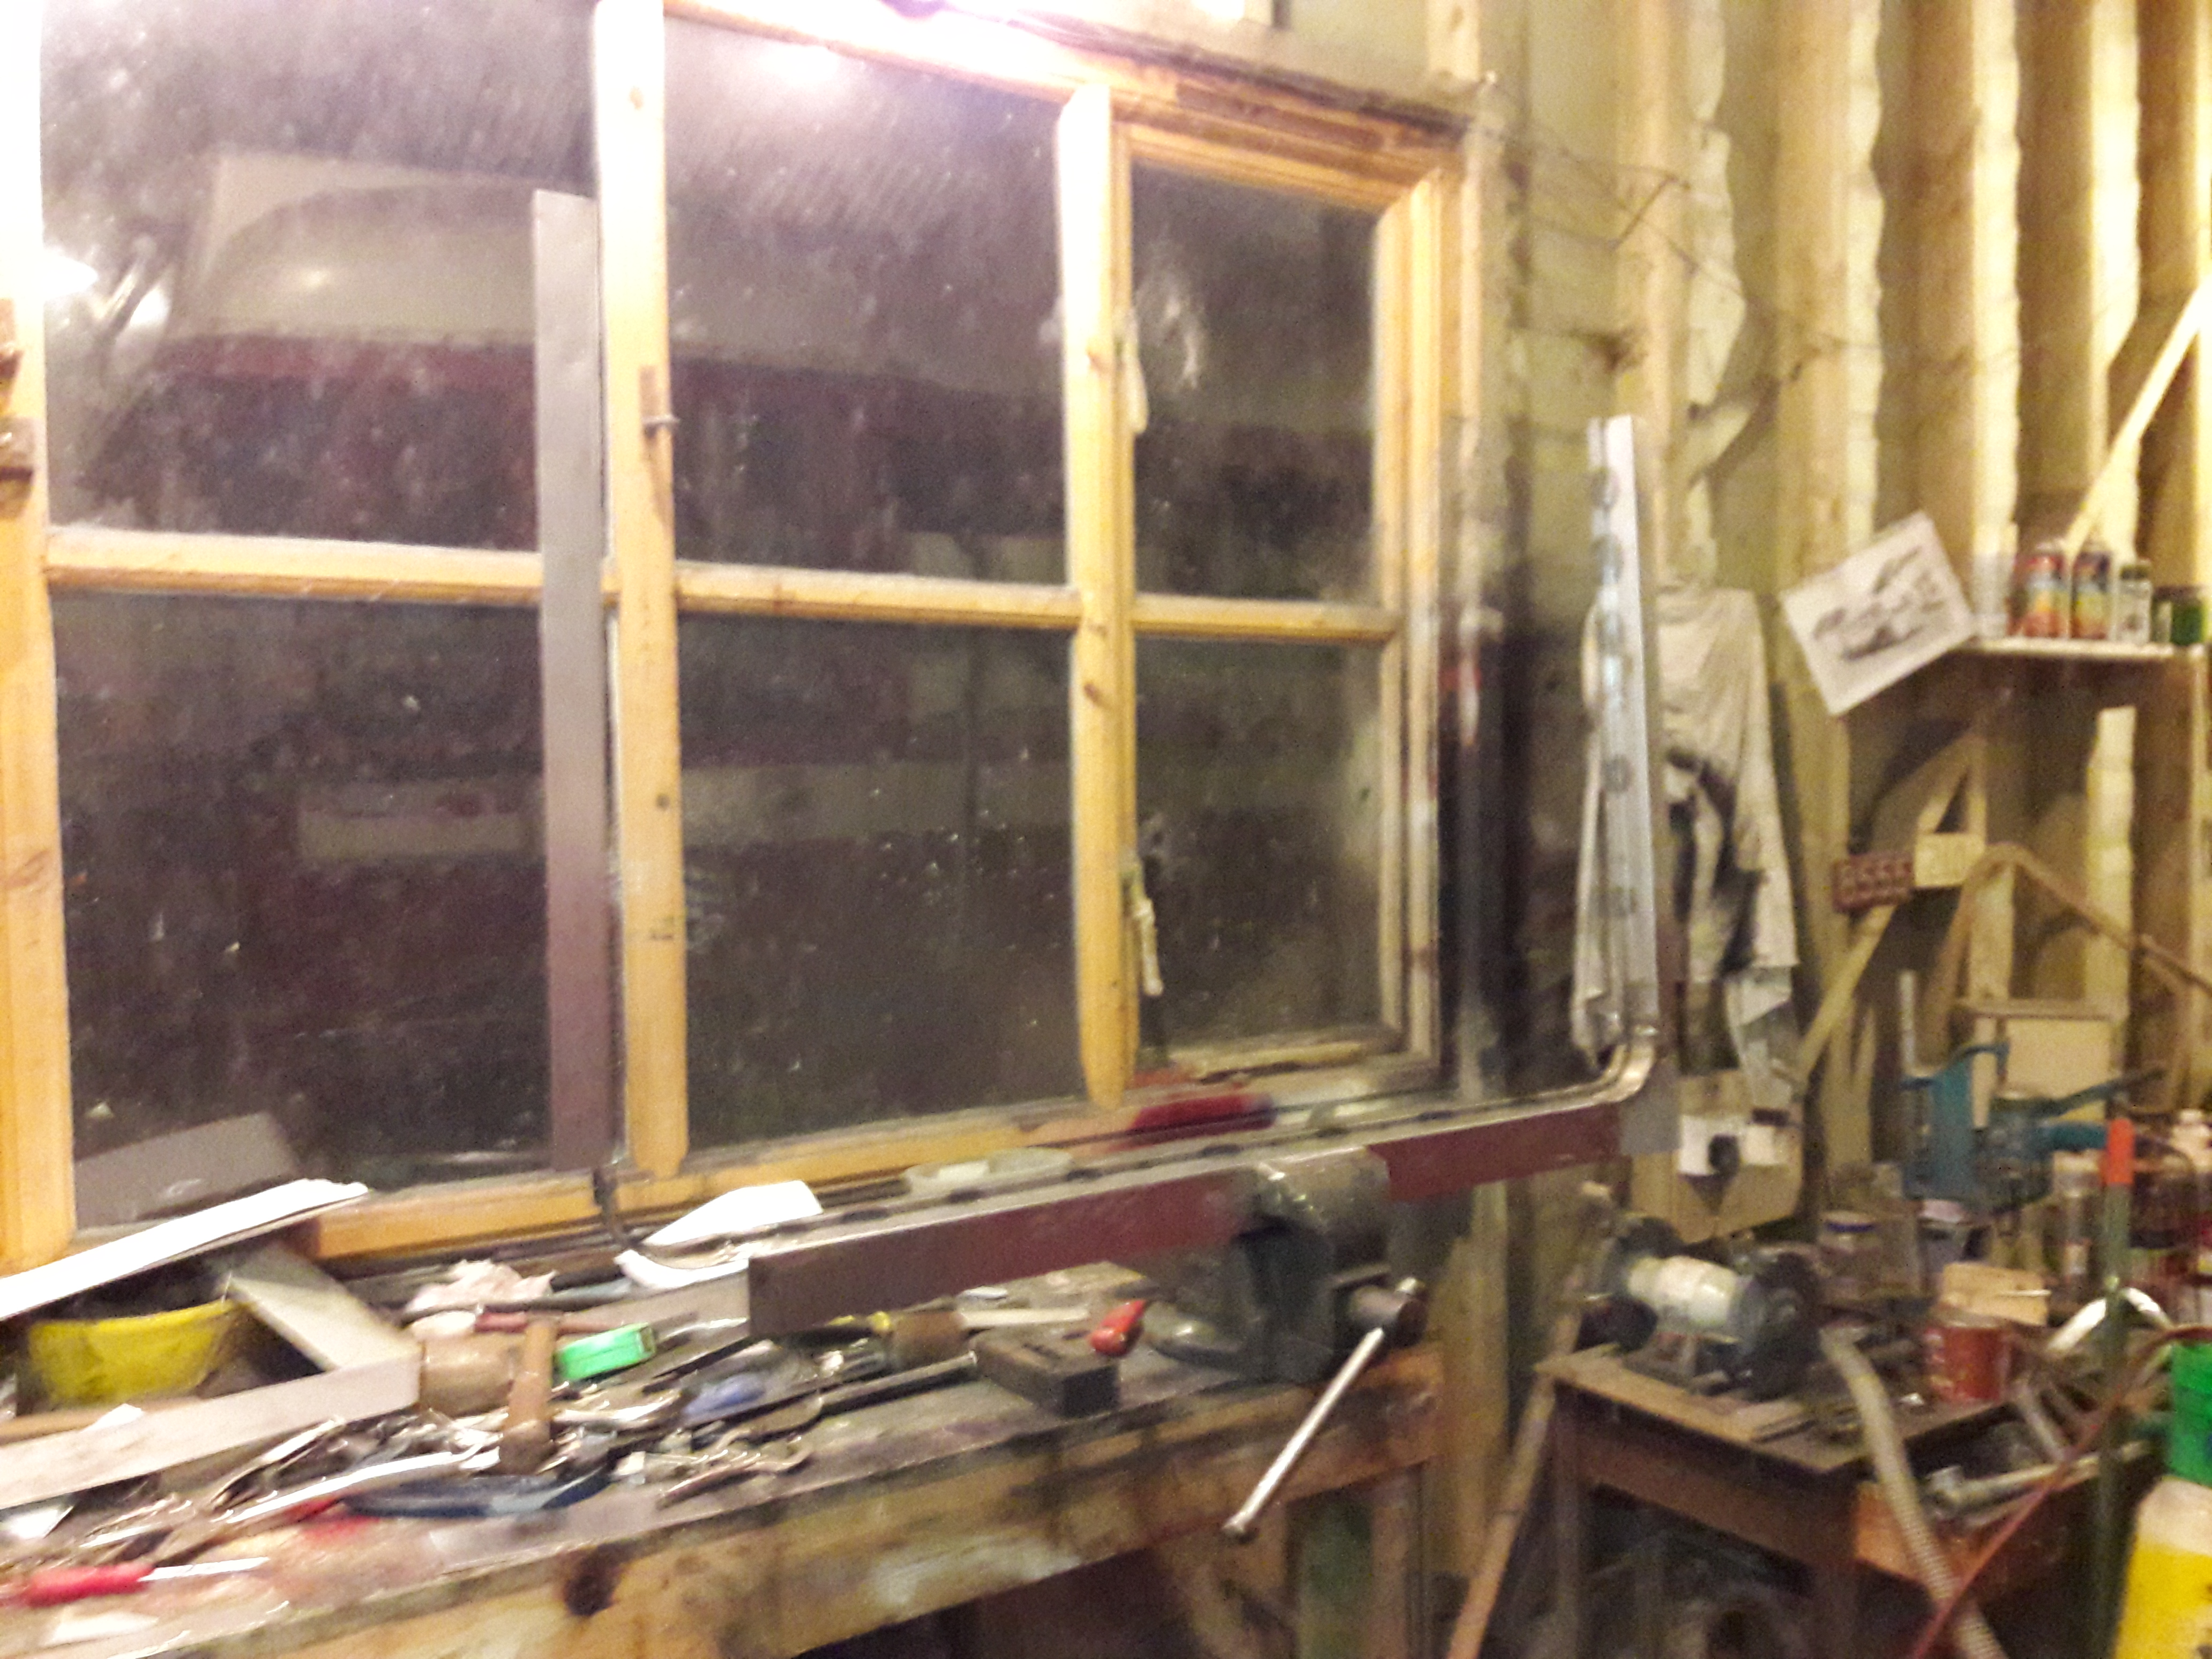
Window frame fabrication in progress
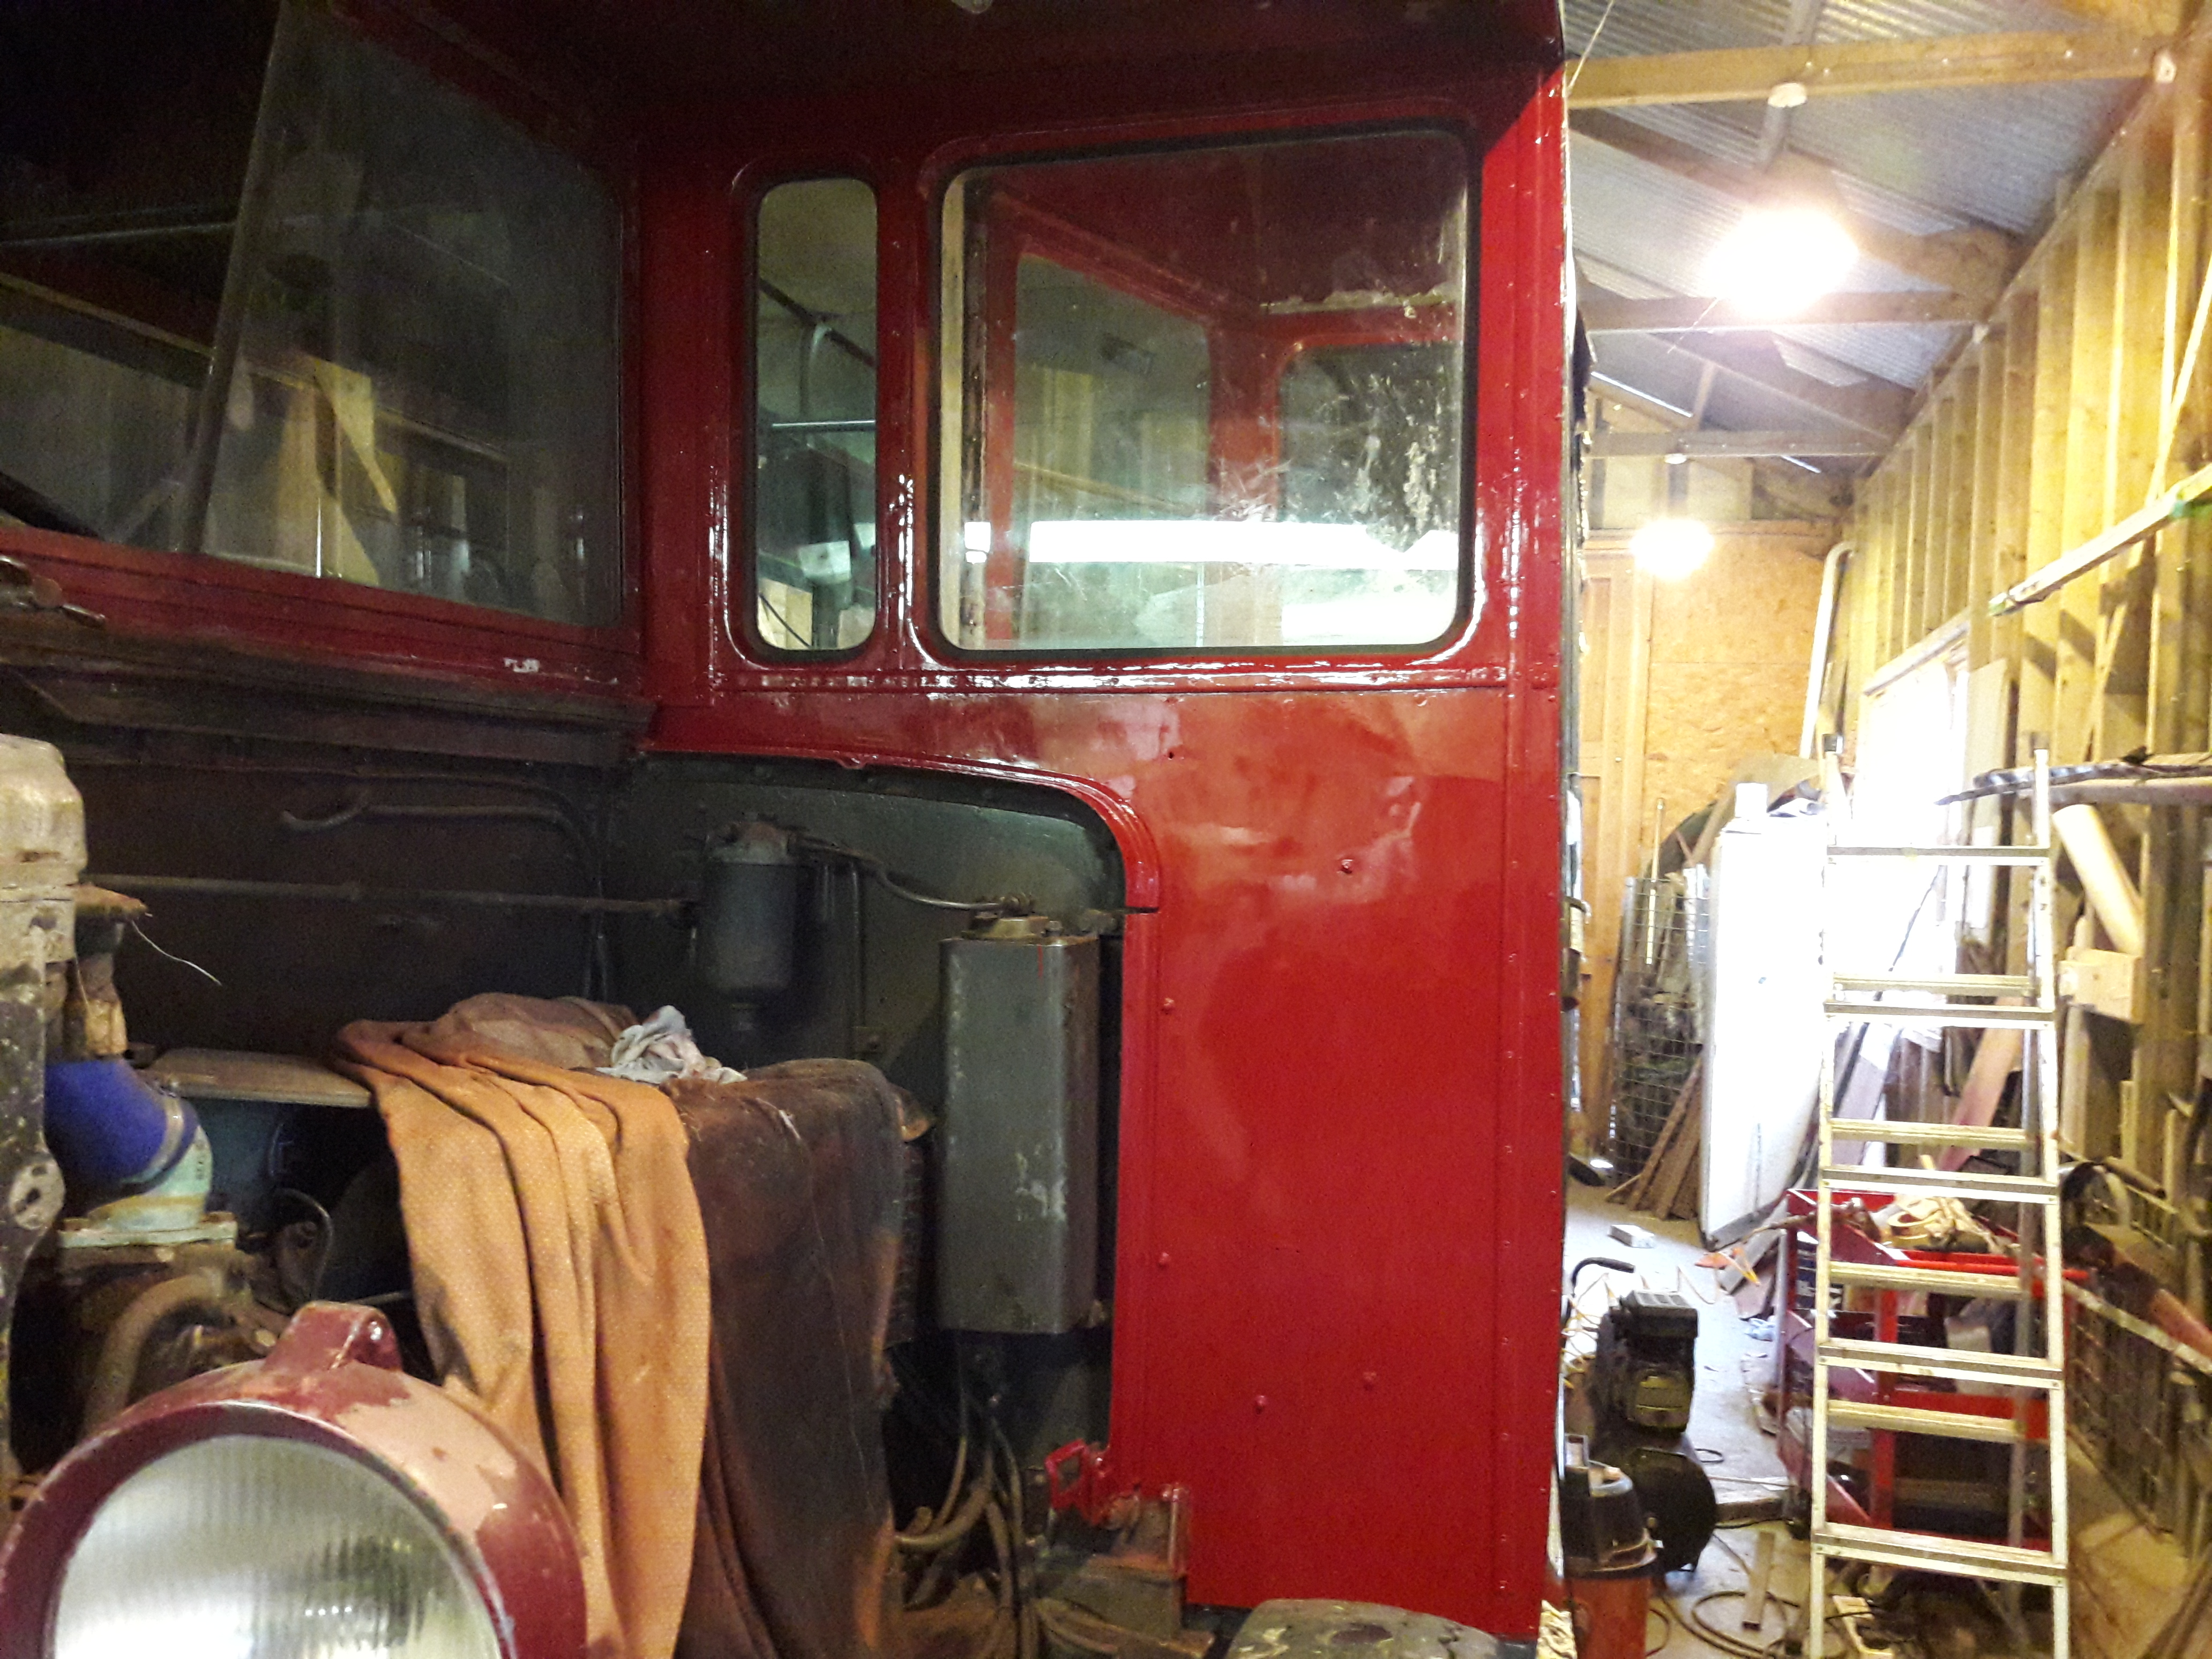
Bulkhead in final colour
First window frame
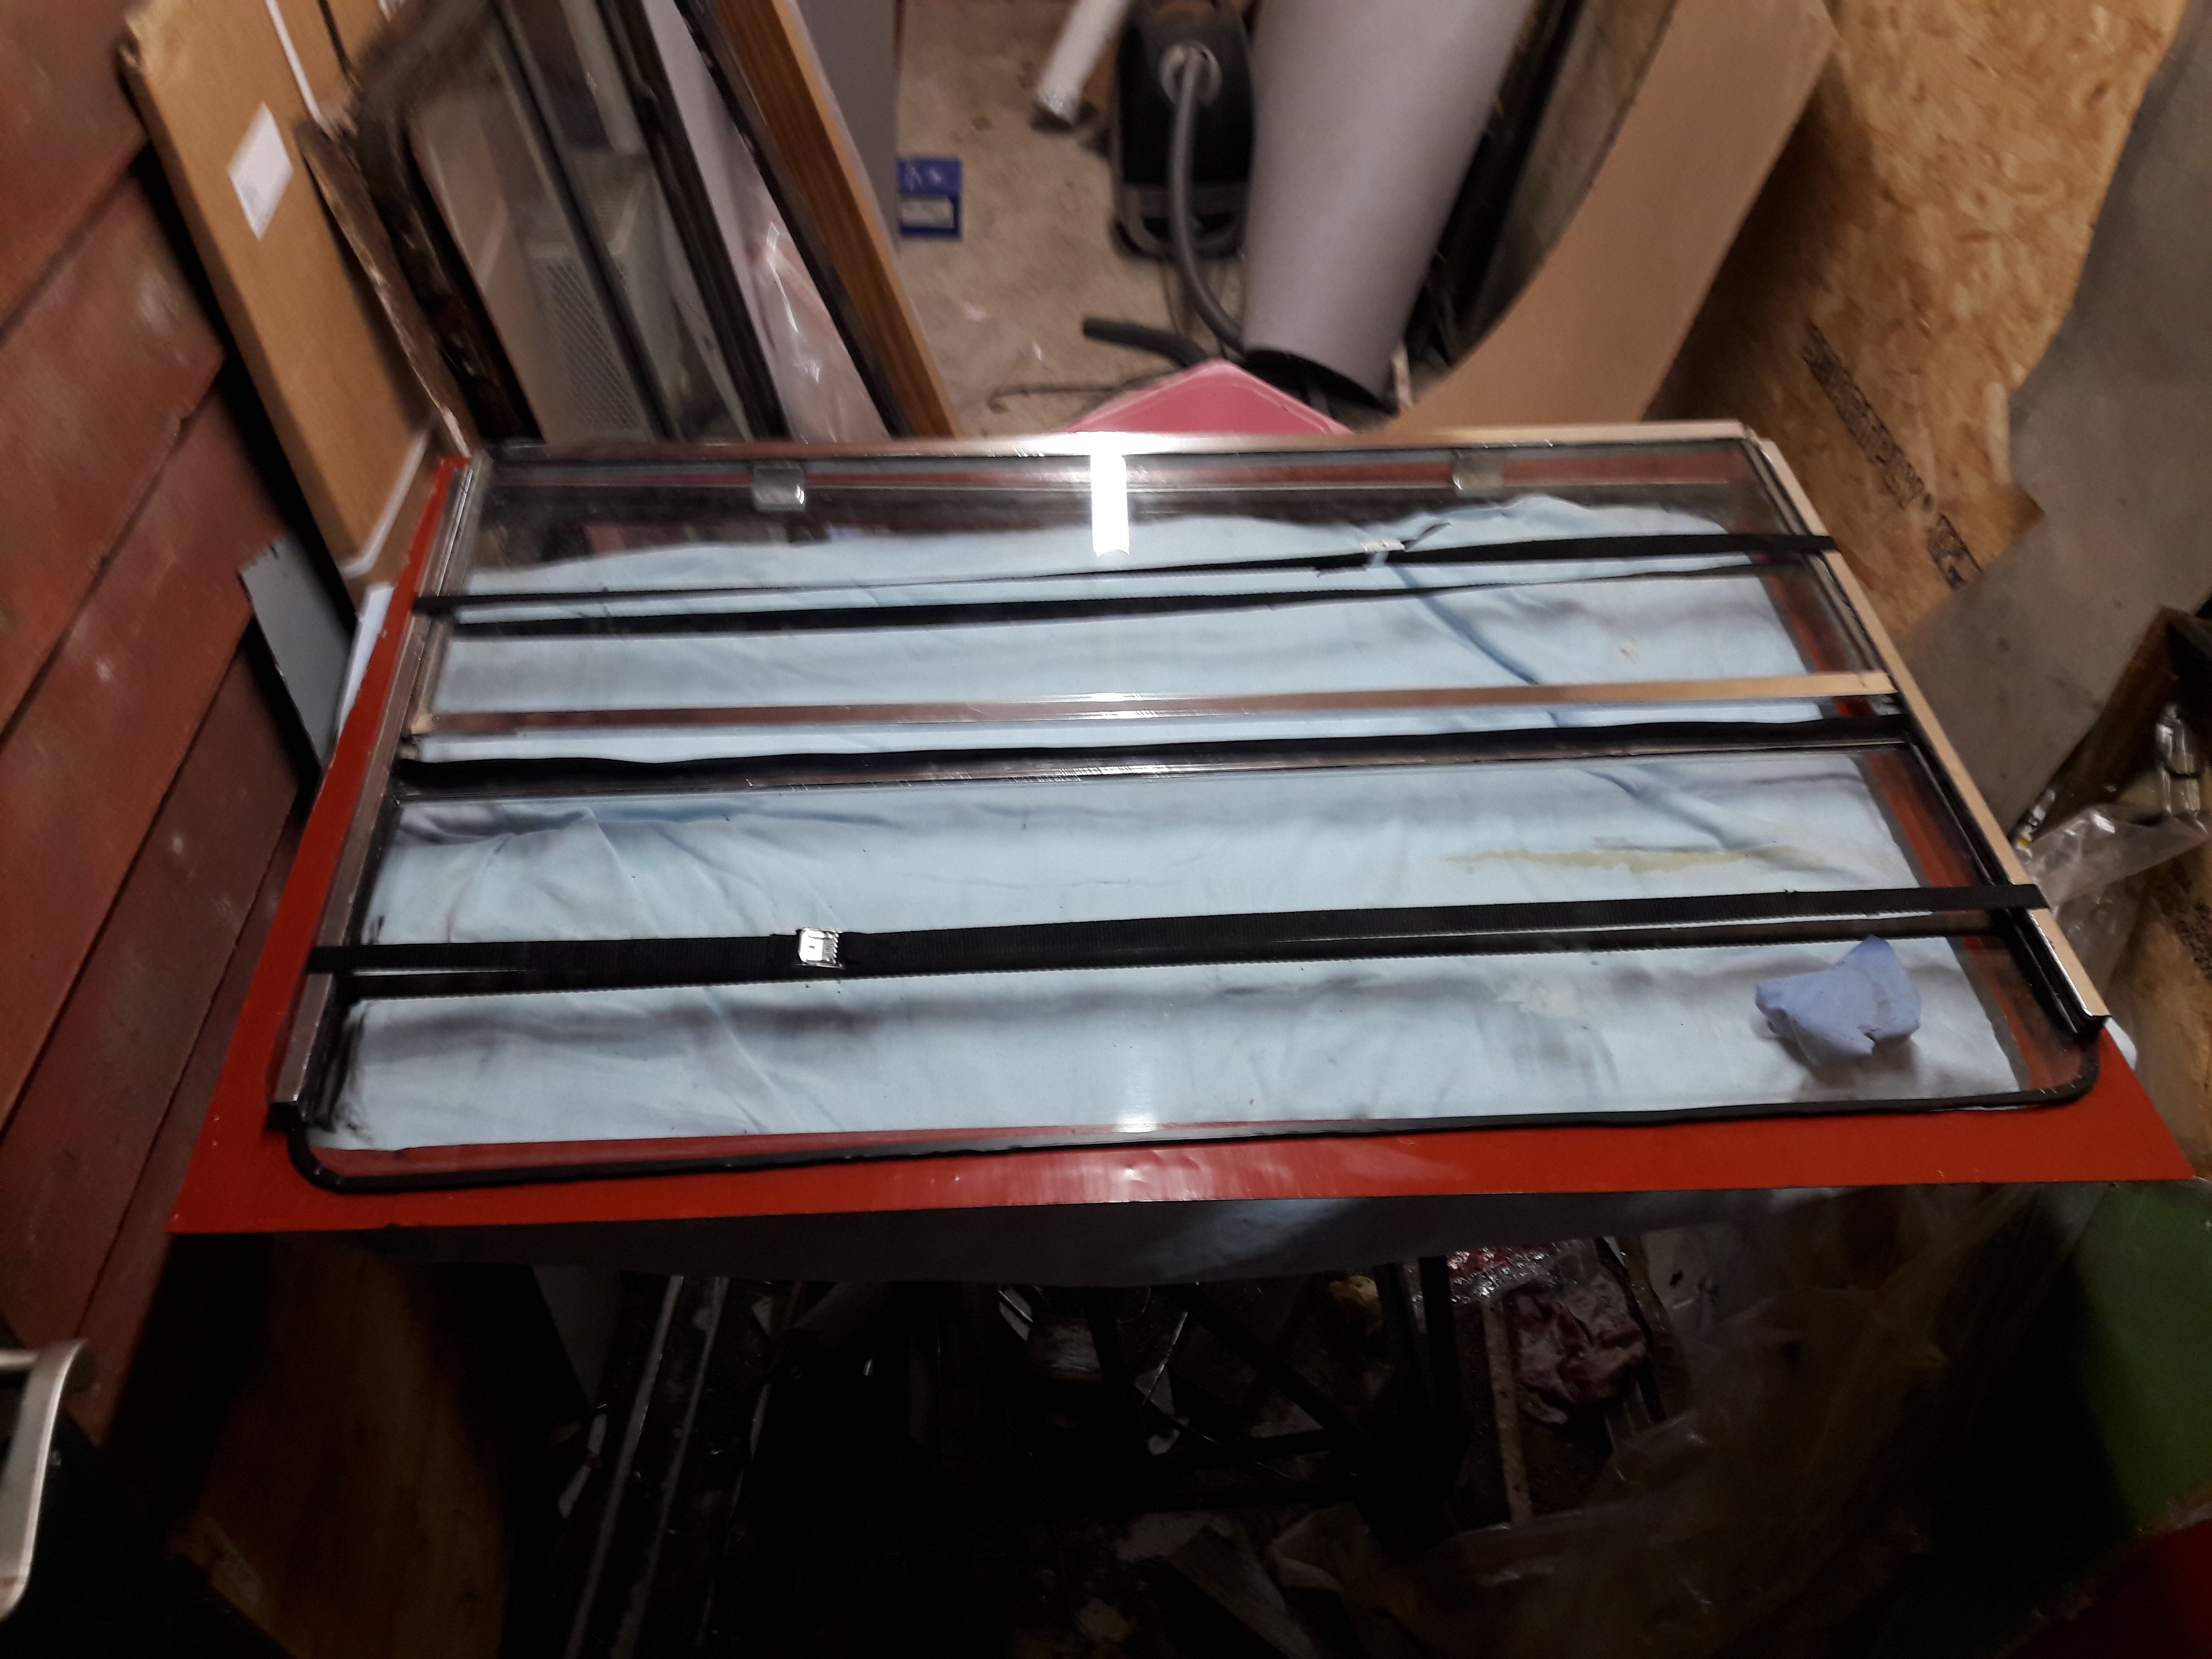
Glazing assembled ready for fitting in the frame.
Wheelarch timbers assembled and new flitch plate fitted.
Offside timbering alongside the boot
New timbers in place, completing the repair to the wheelarch
Boot door sill and floor with old lino removed.
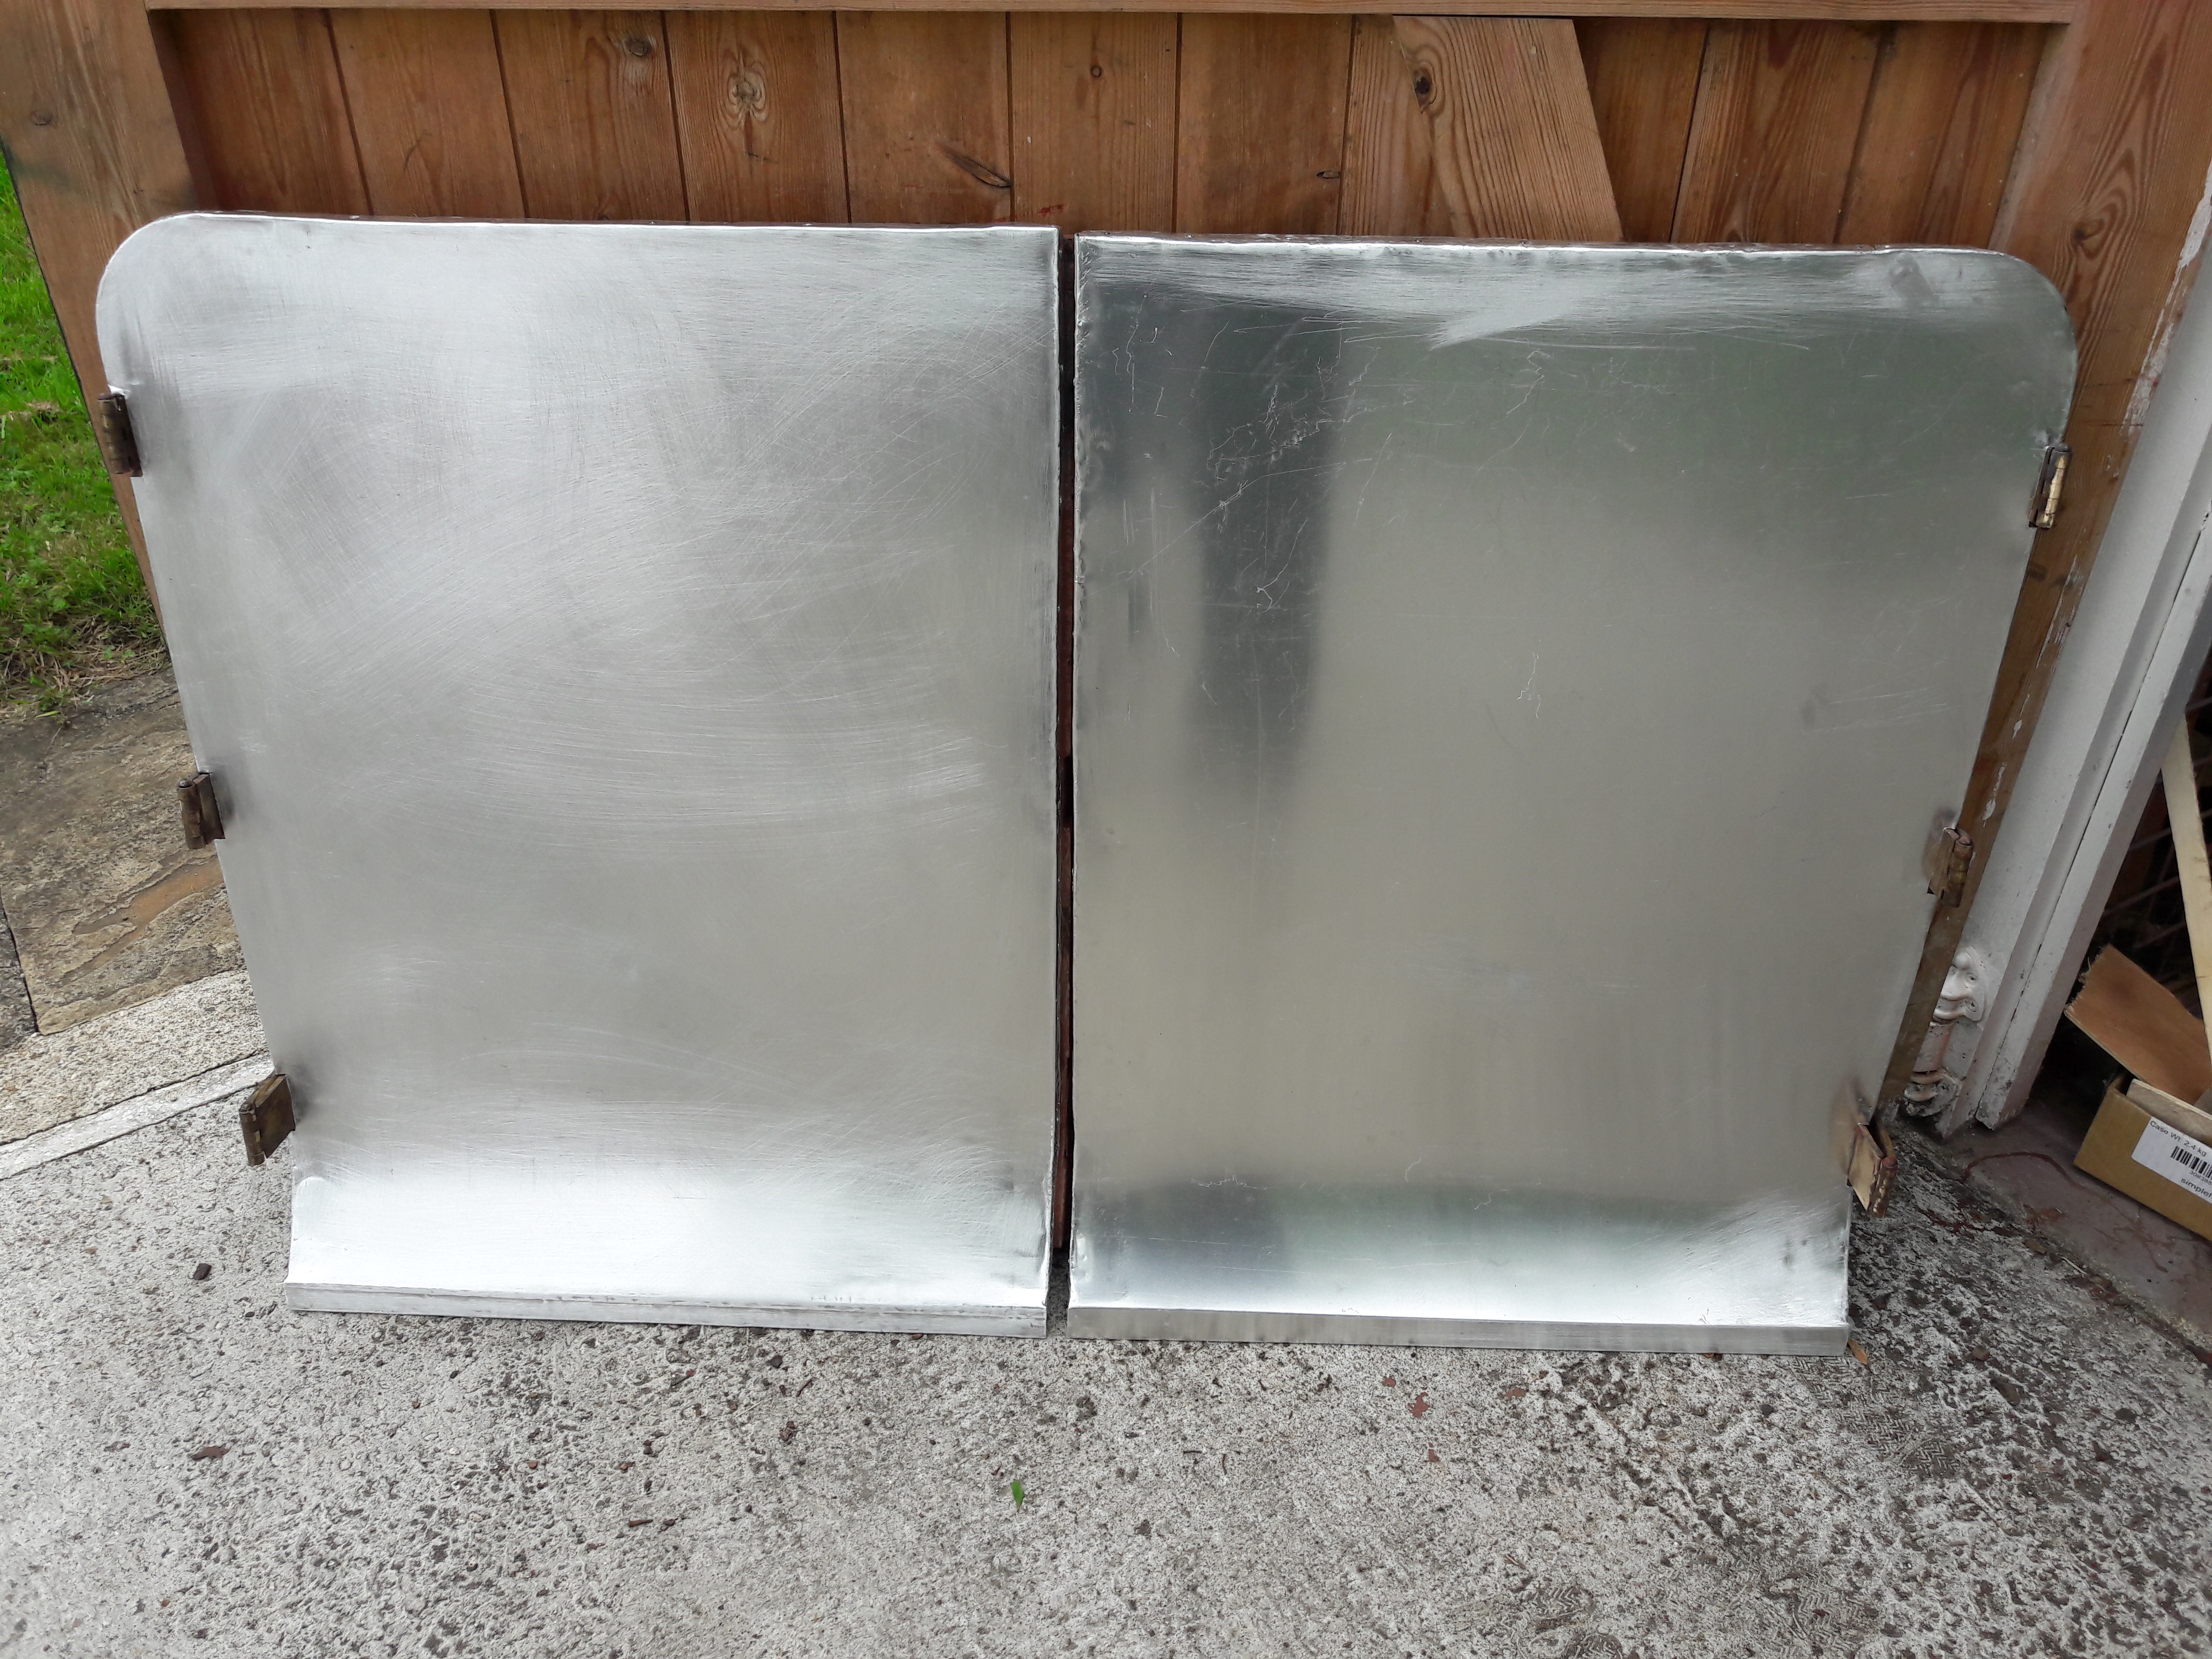
Both boot doors, frames repaired and re-skinned

Boot repairs completes and corner panels reinstated

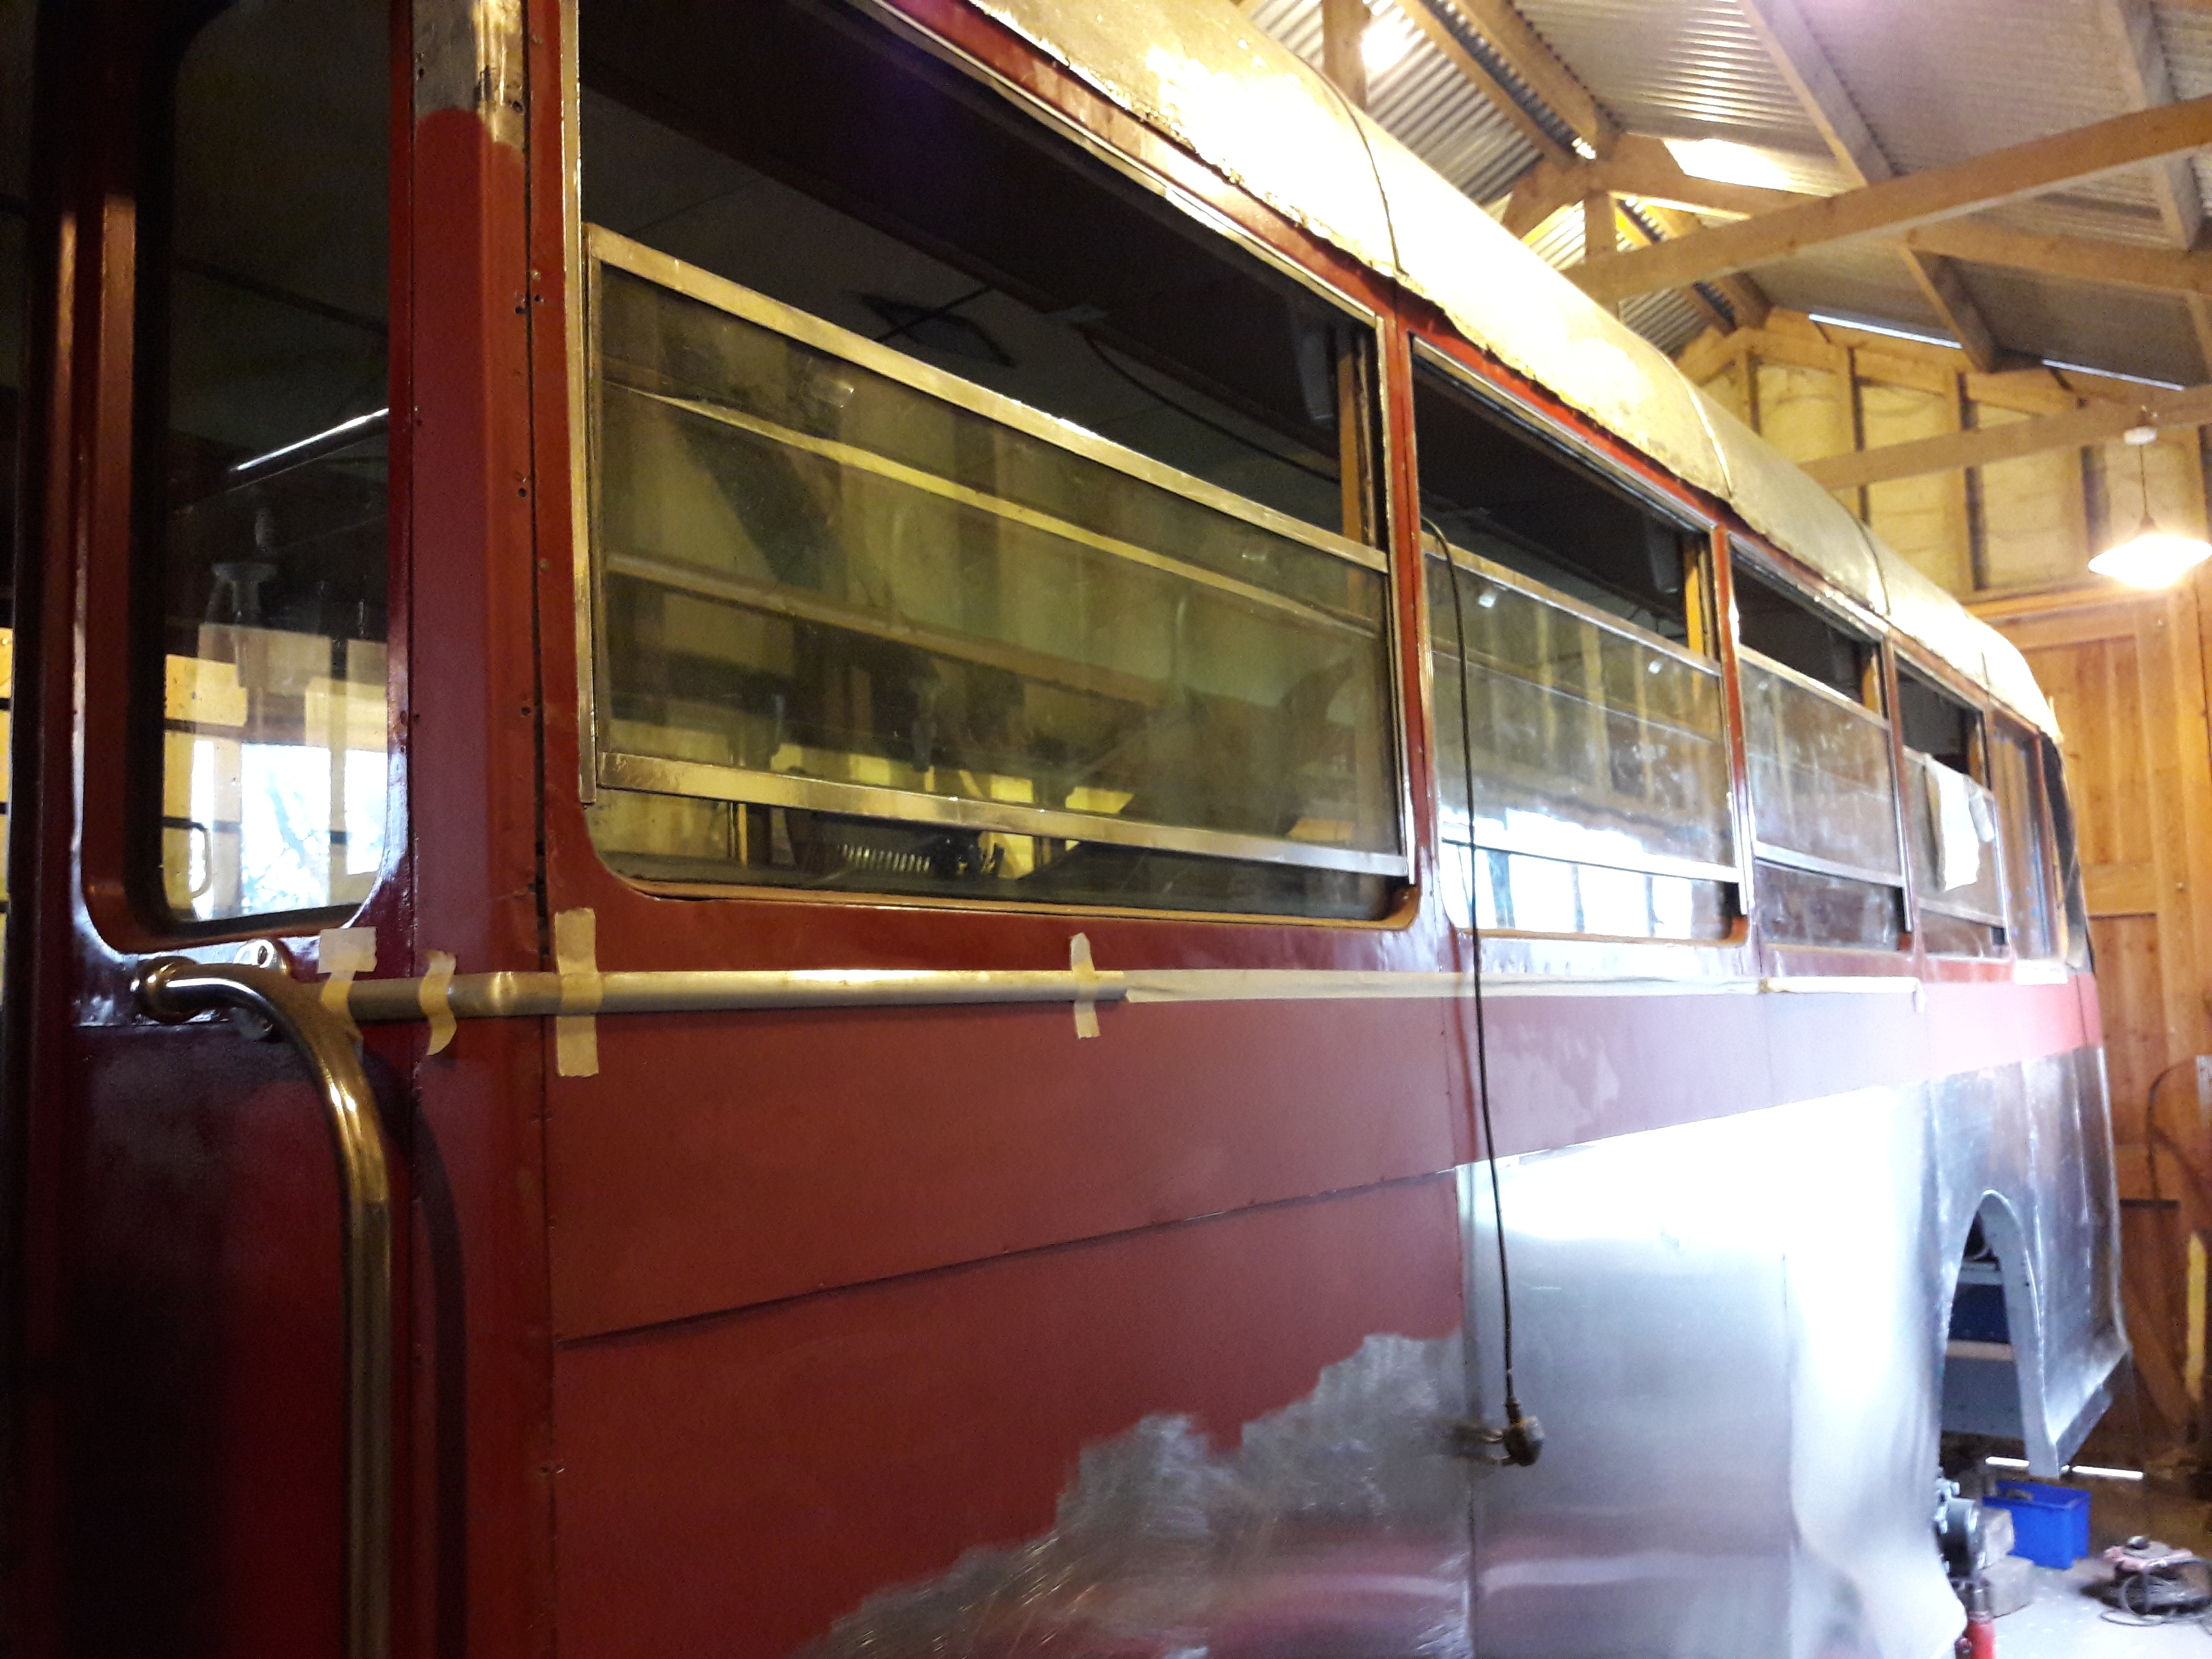
New aluminium cladding down the nearside
Half-drop windows all in.
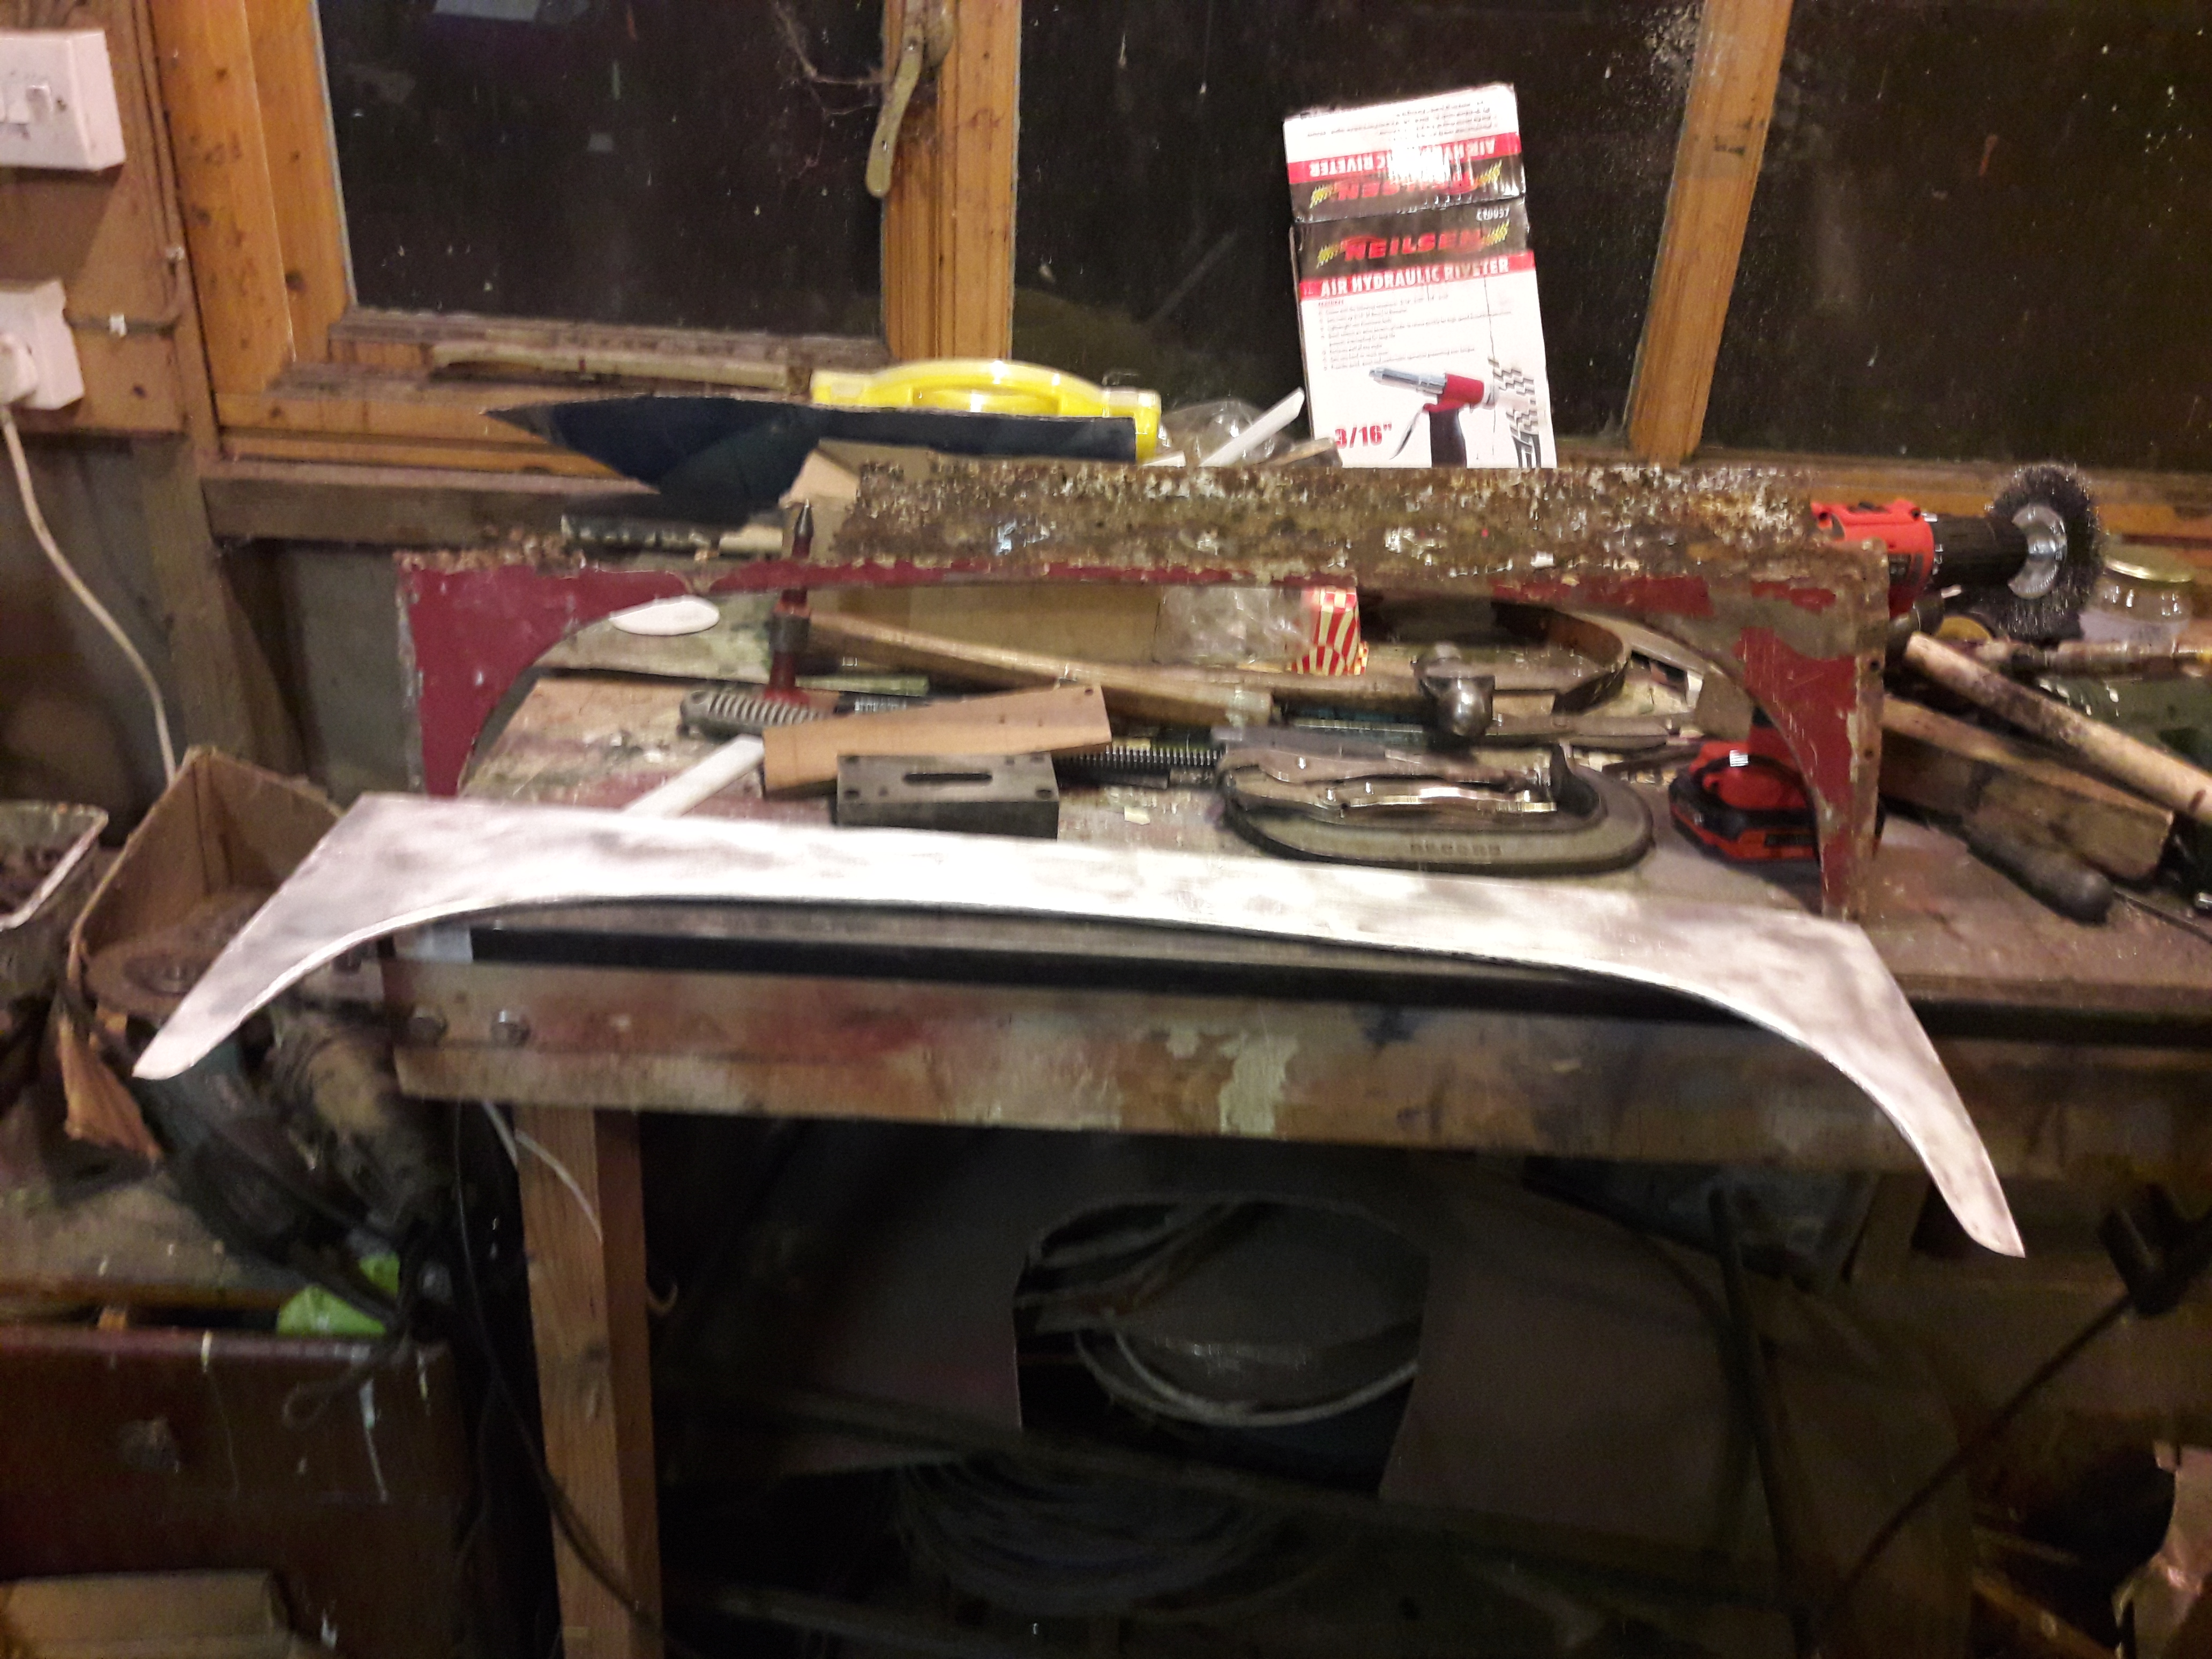
New fairing panel for trimming the entrance.
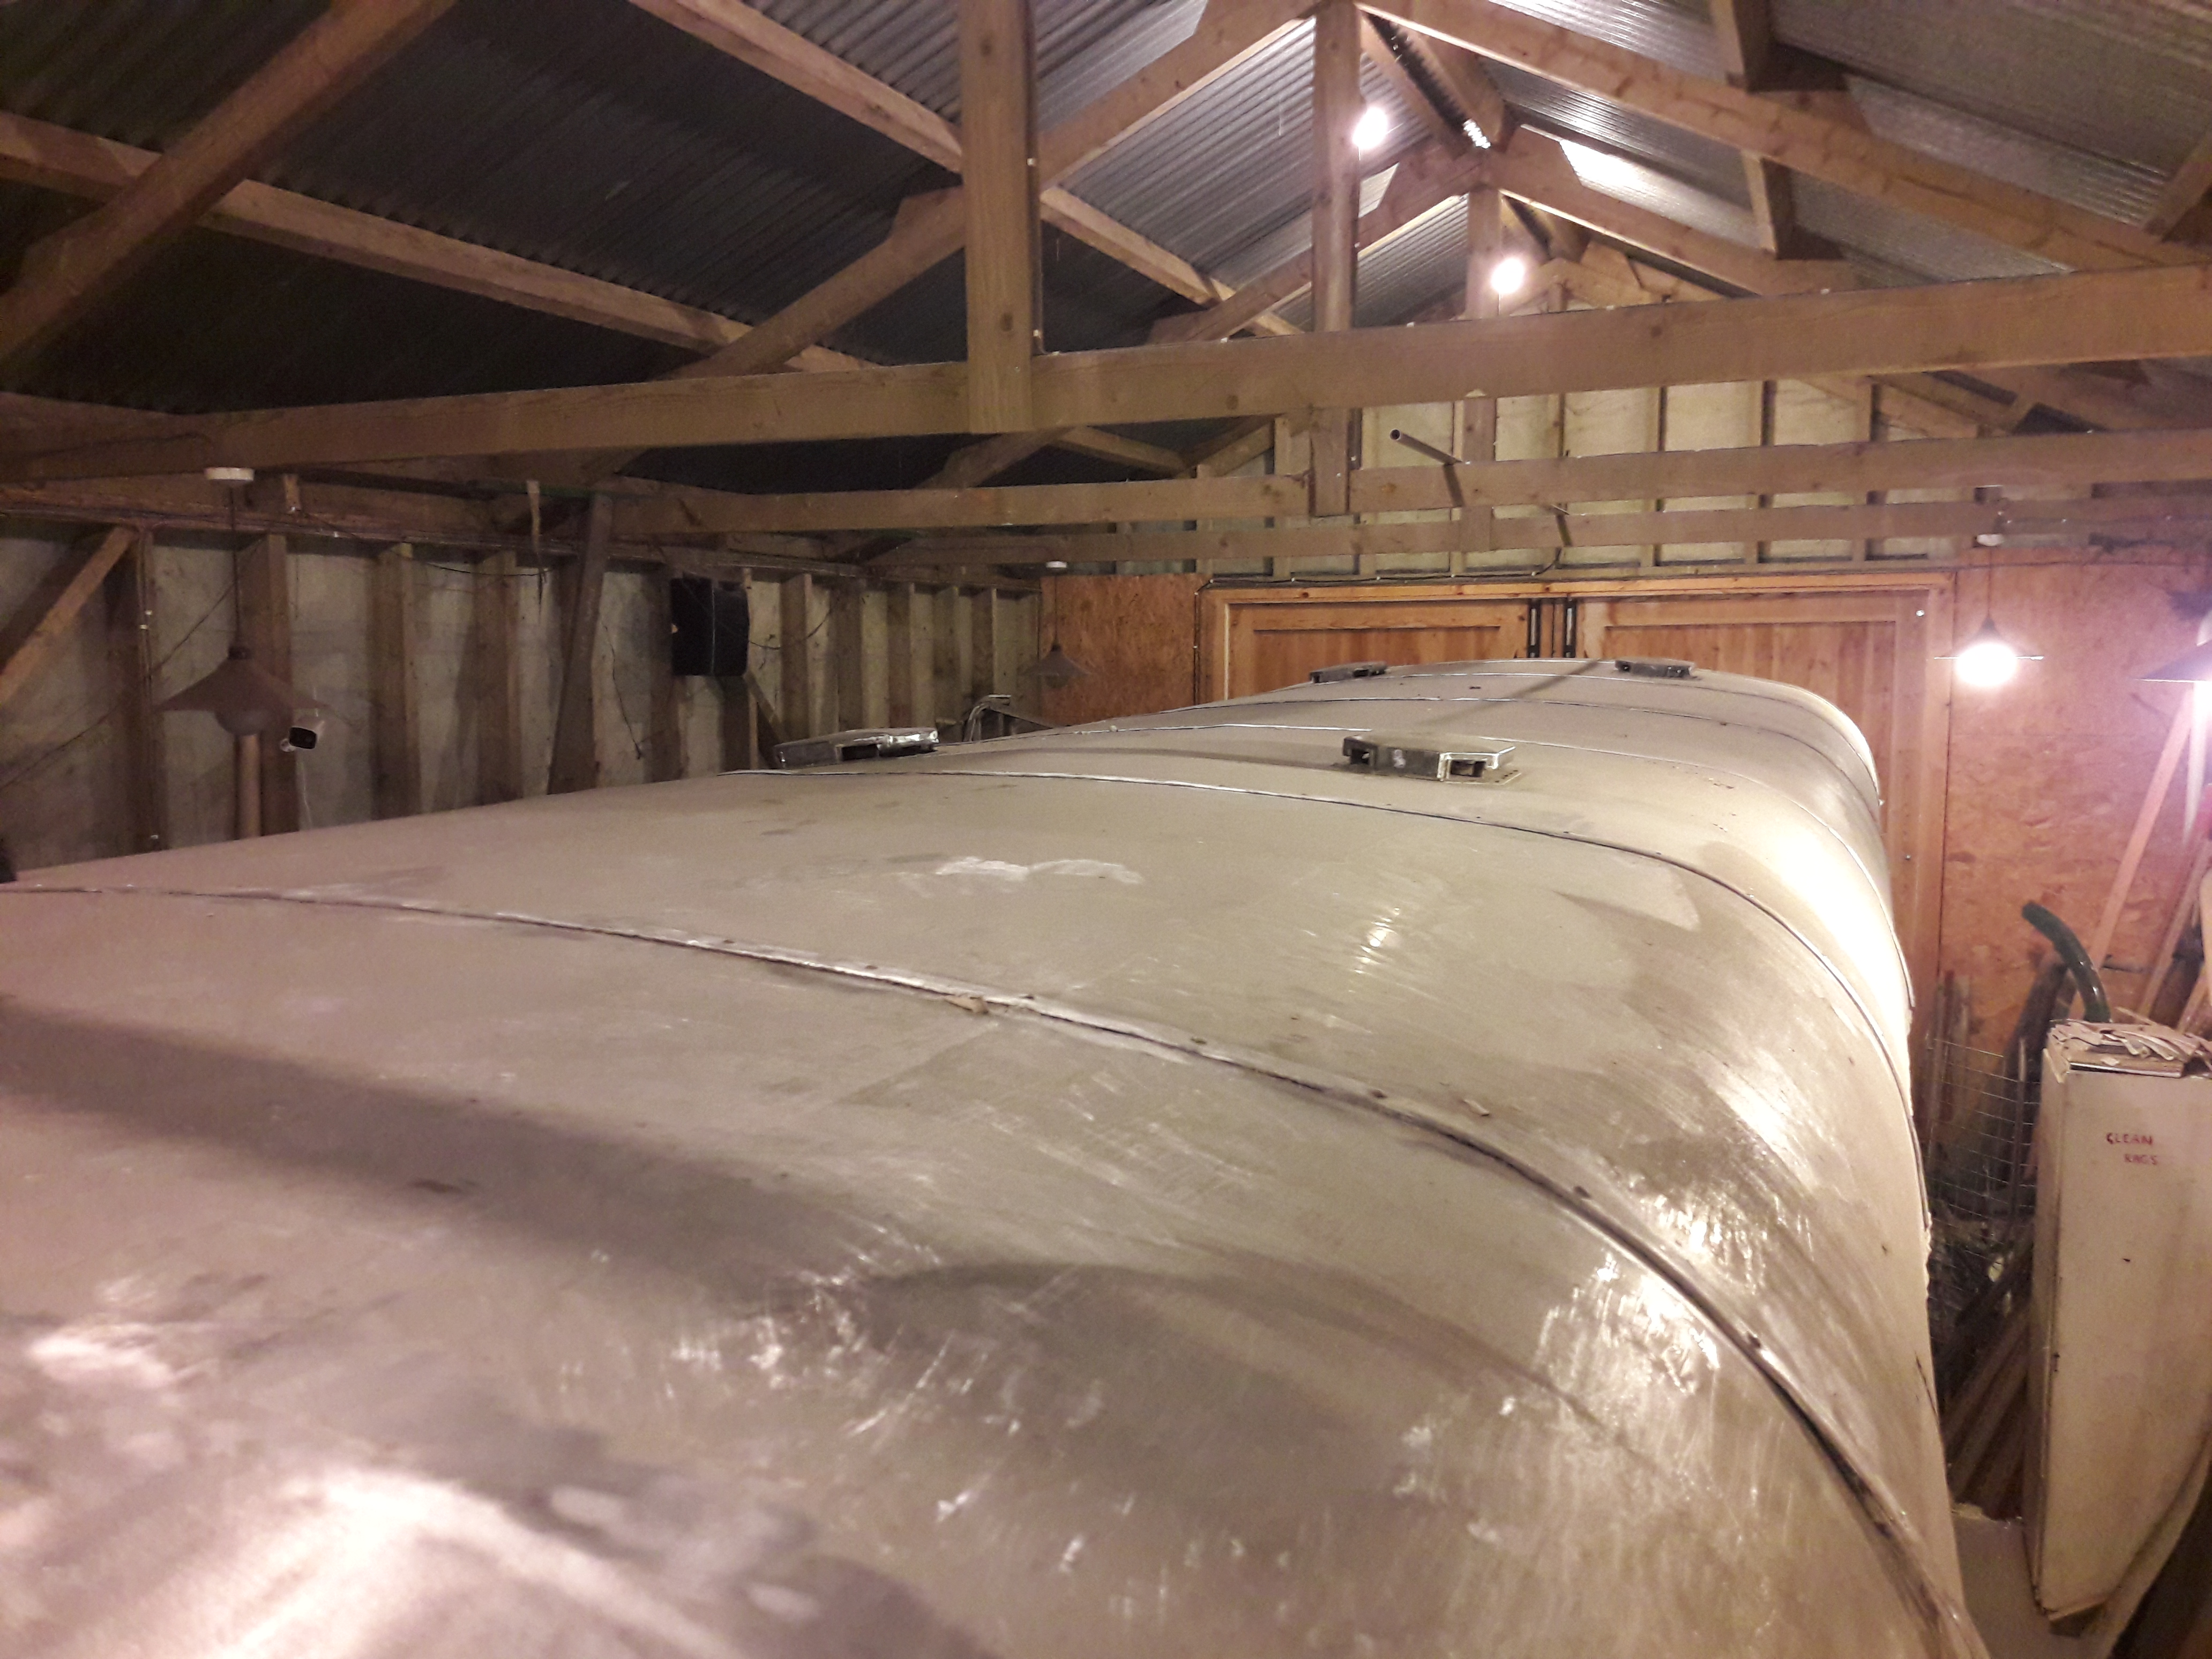
View of the roof in bare aluminium looking towards the rear from the front.
Rear end with beading and drip-rail above door opening.
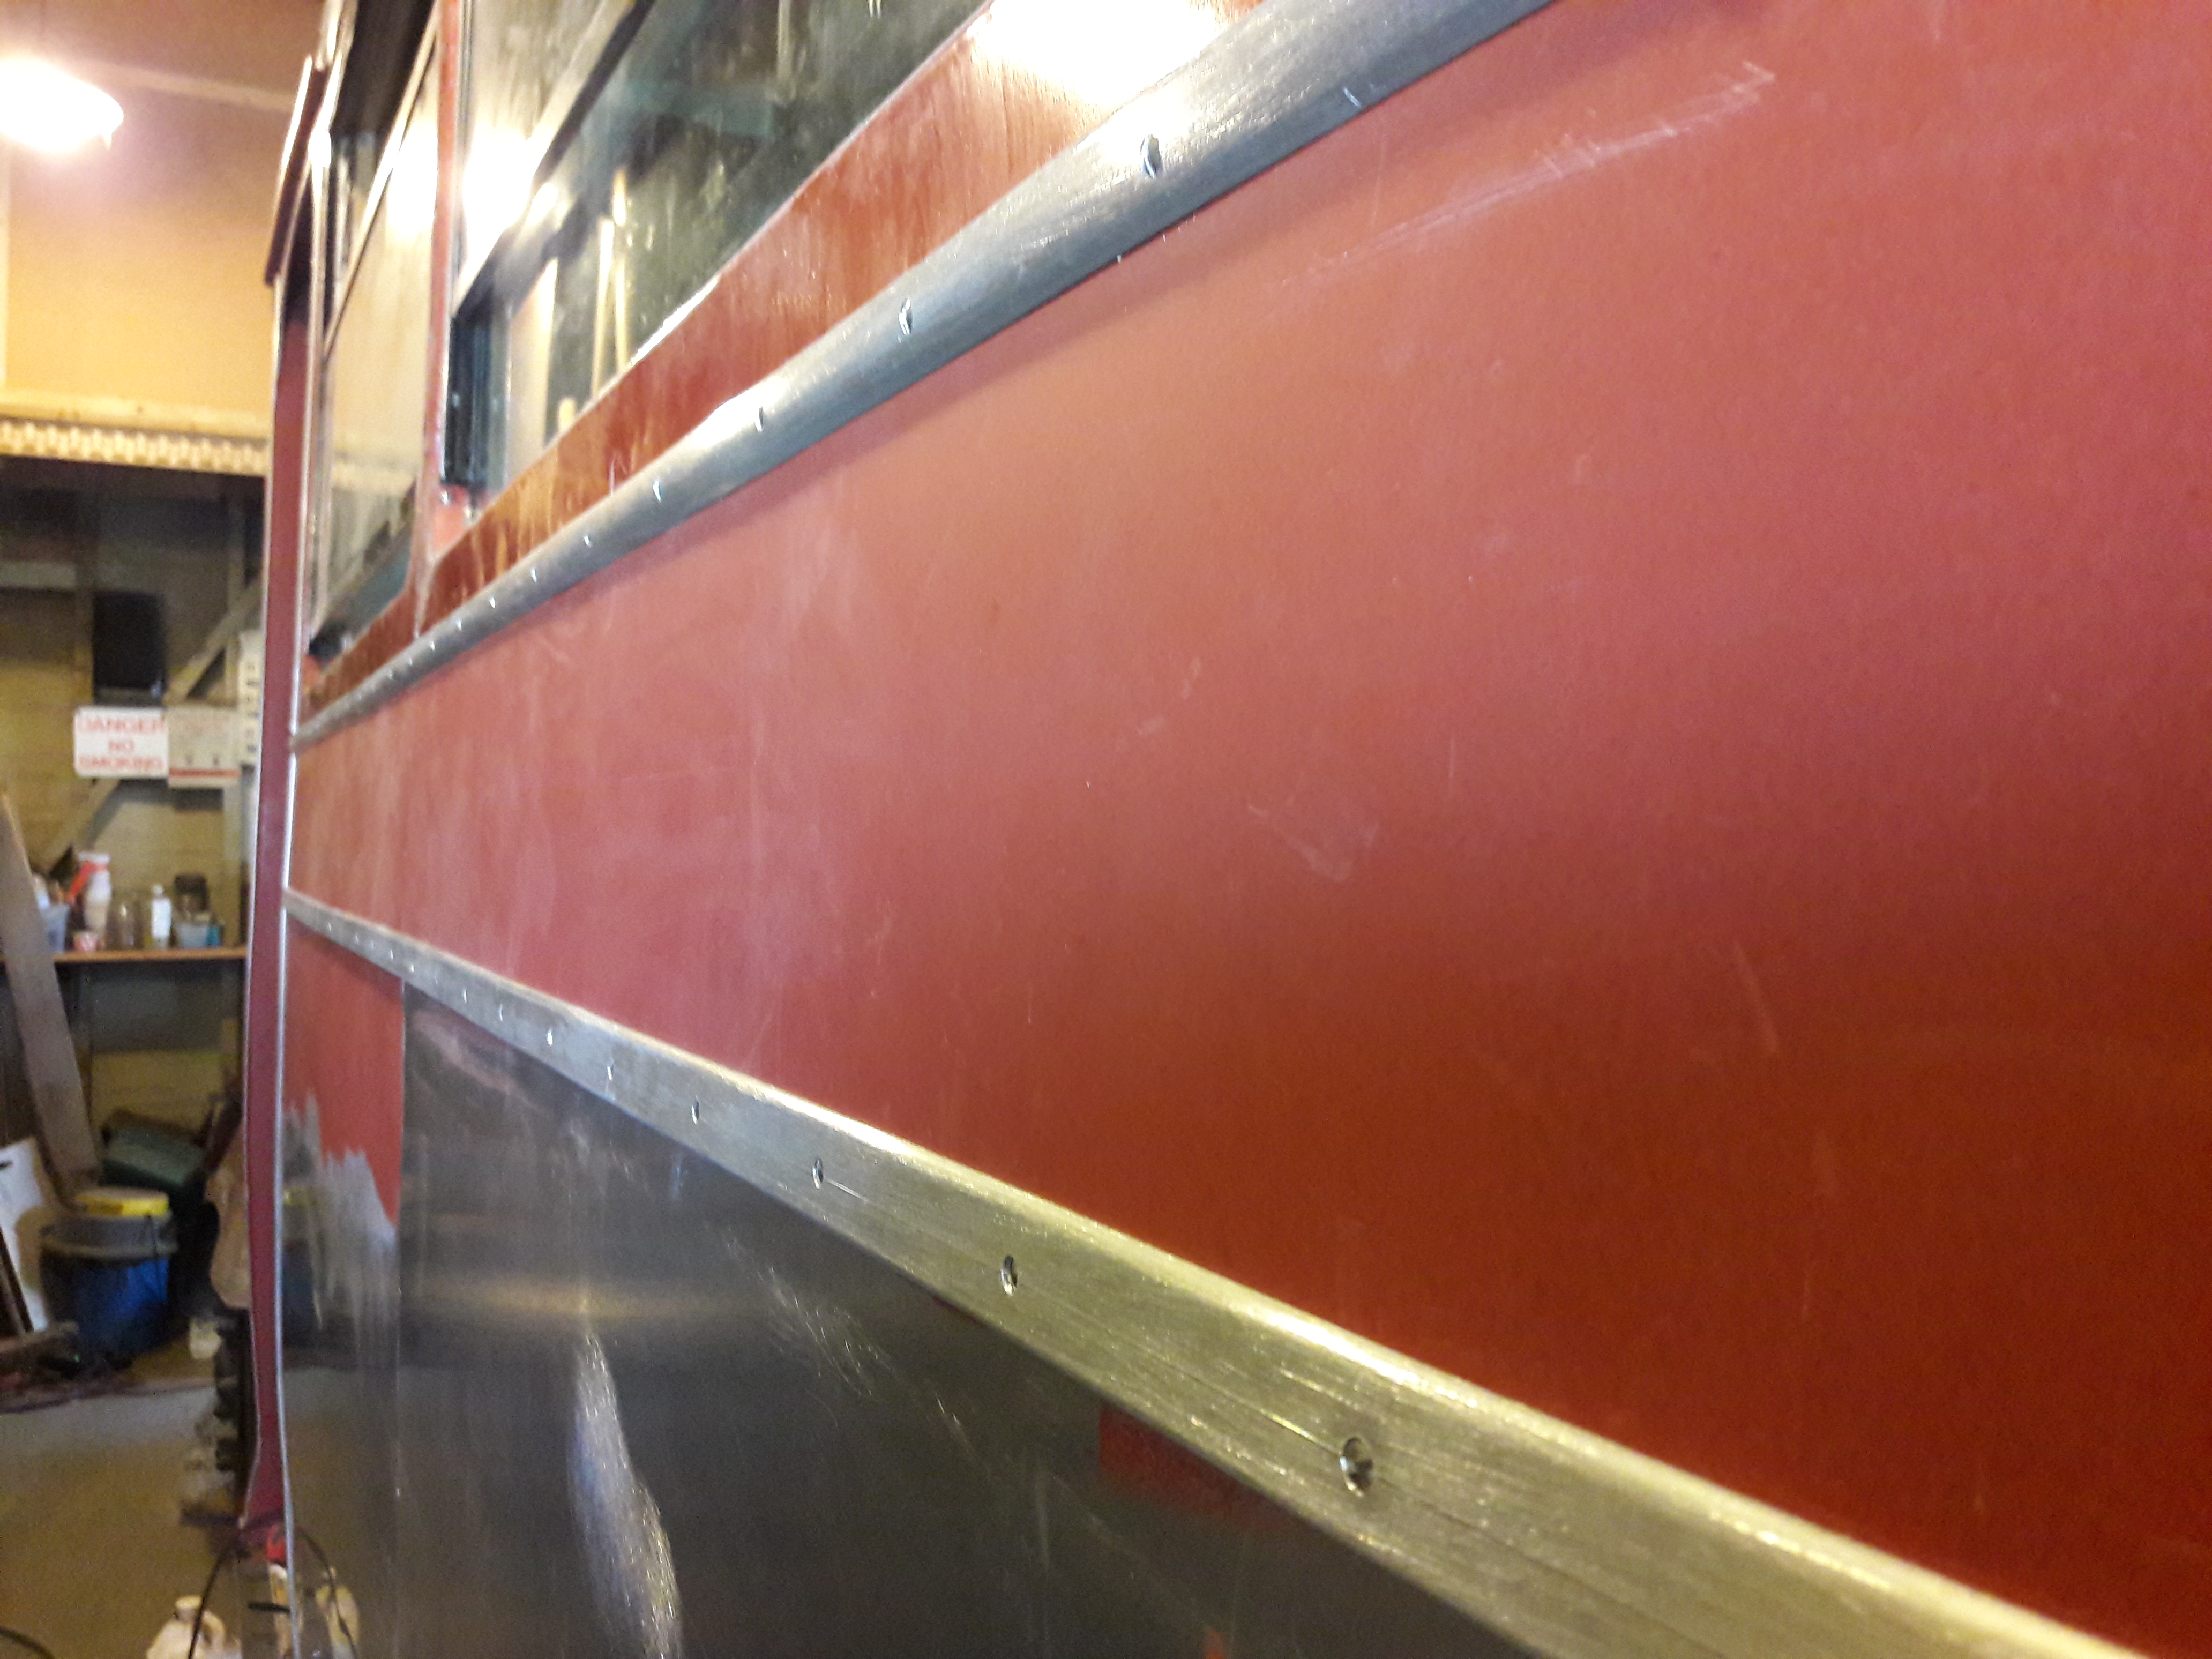
View of NS waistrail looking forwards.
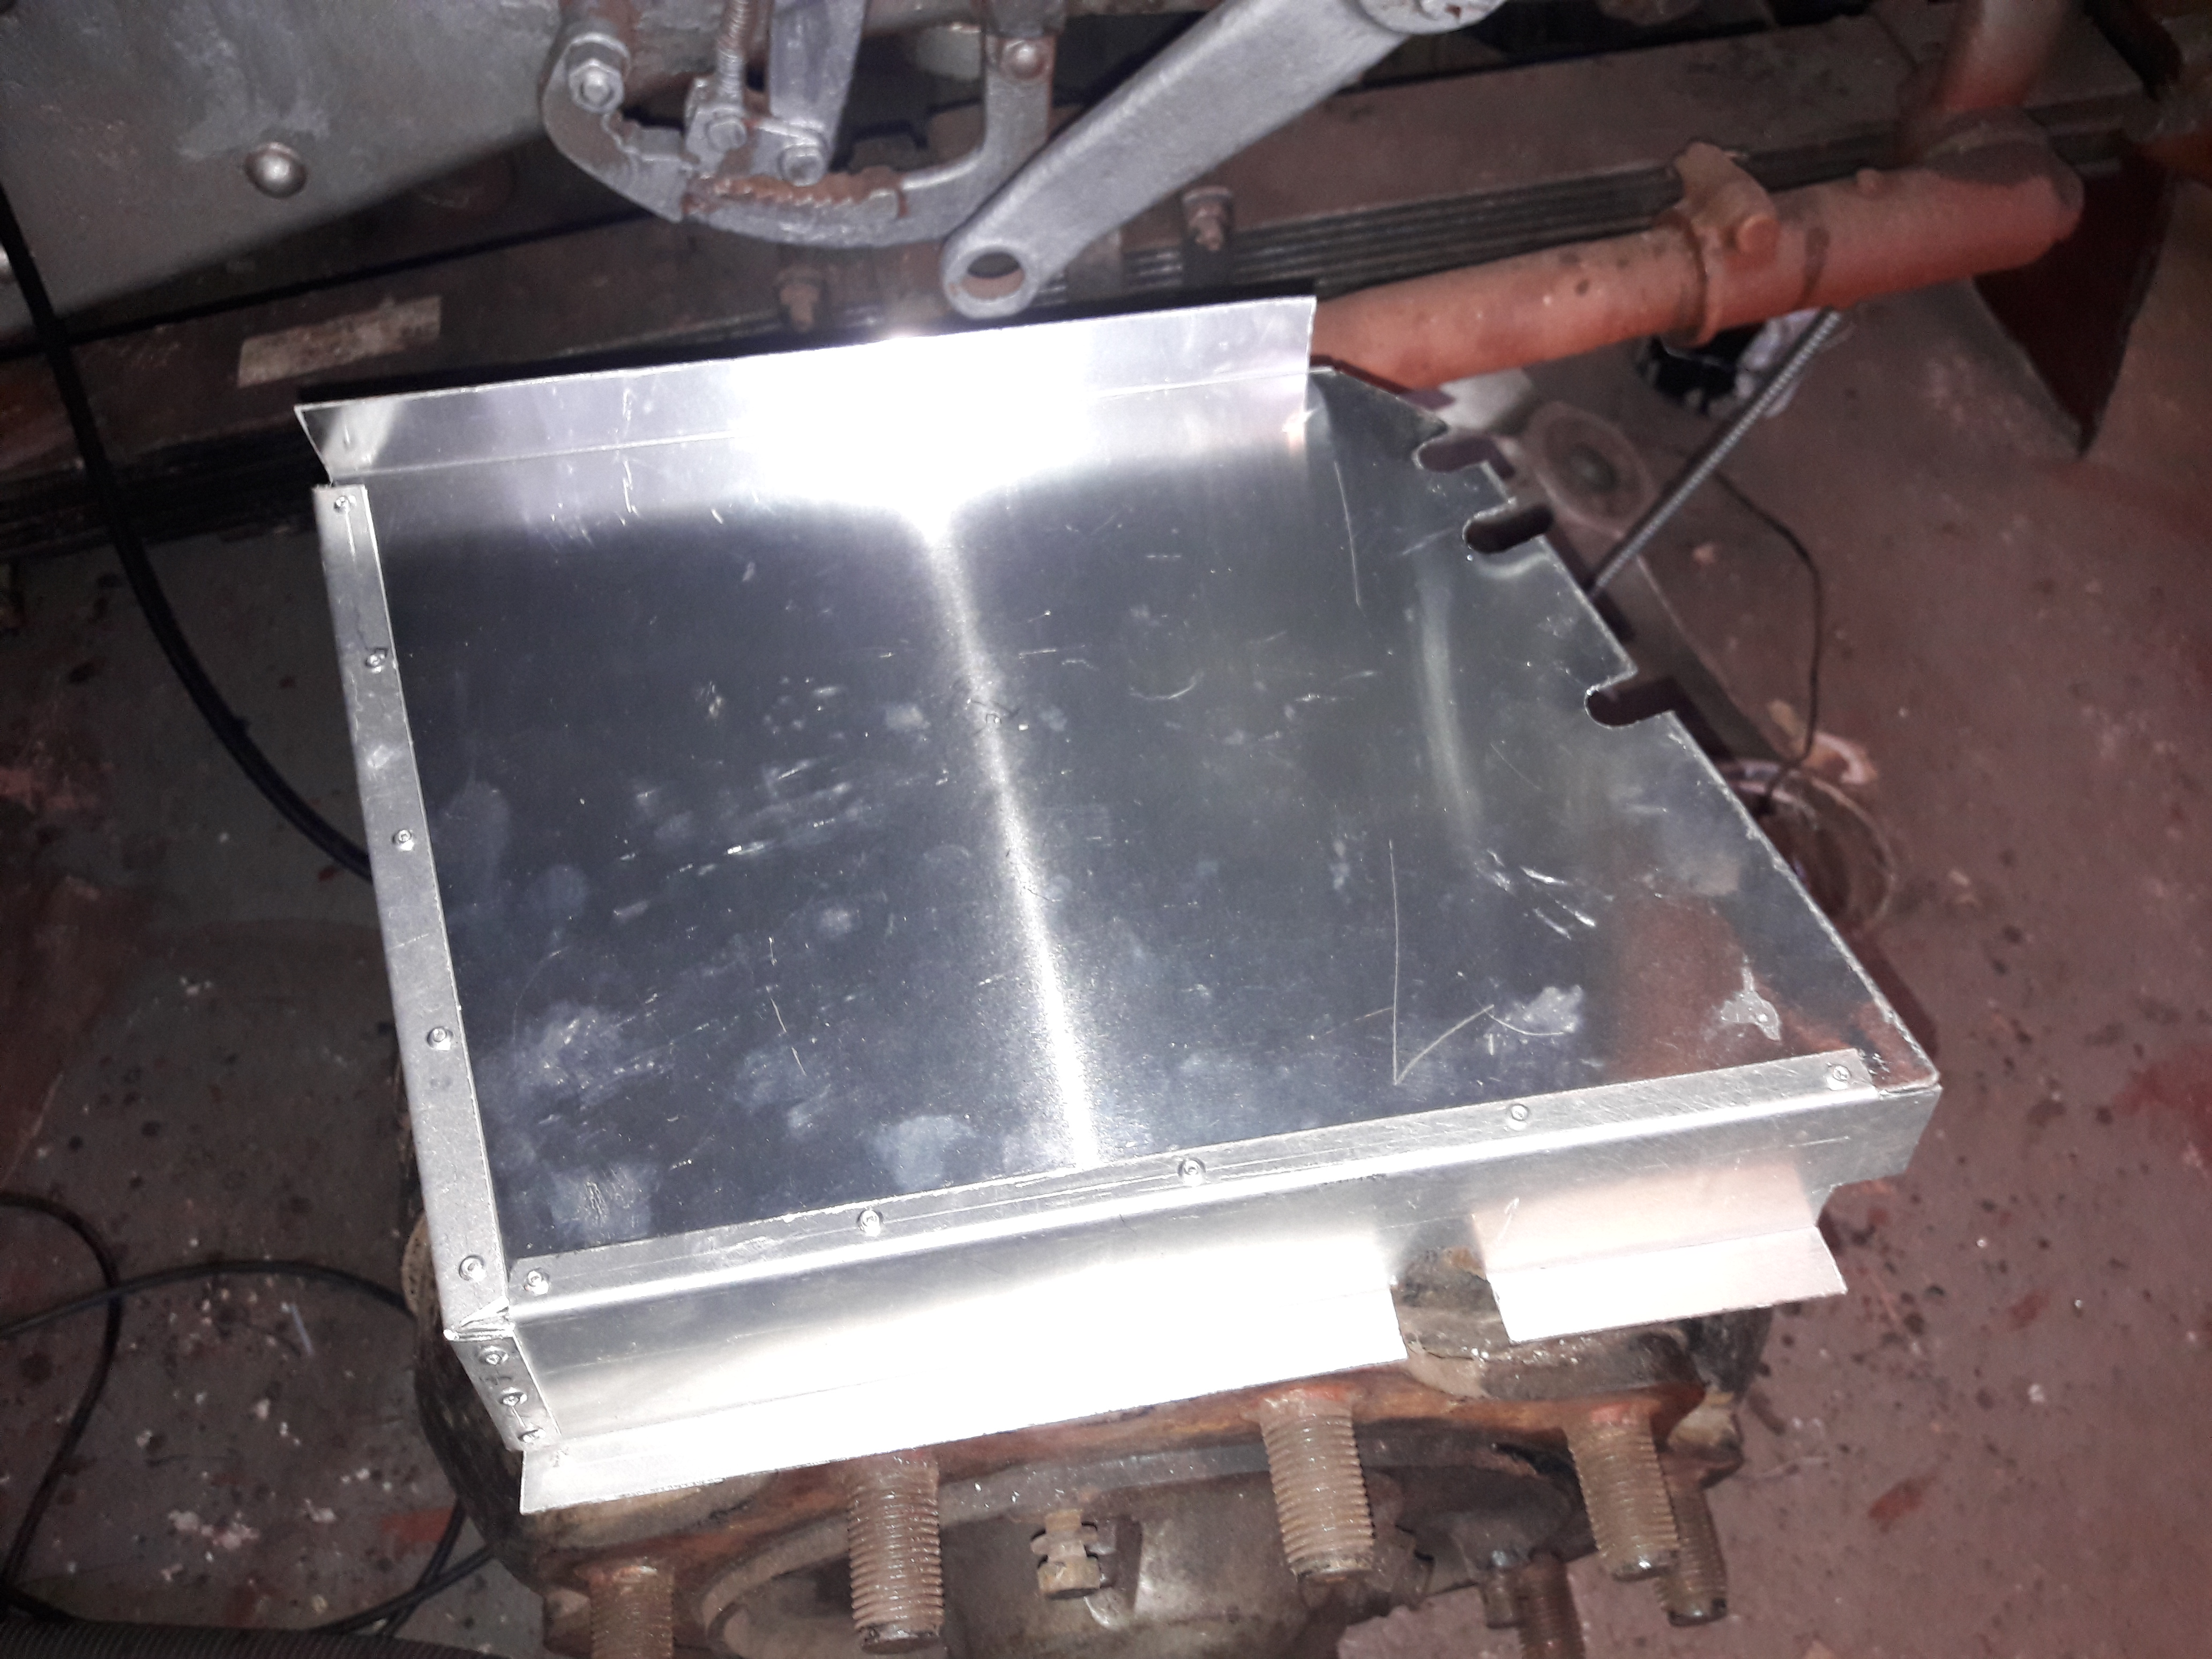
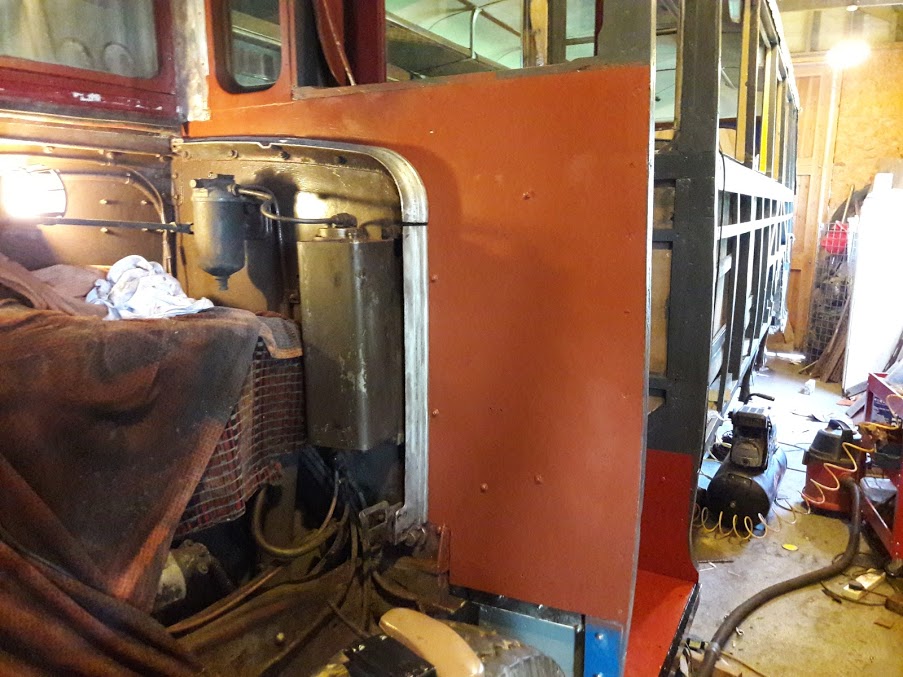
Cover for the electrics behind the front offside wheelarch.
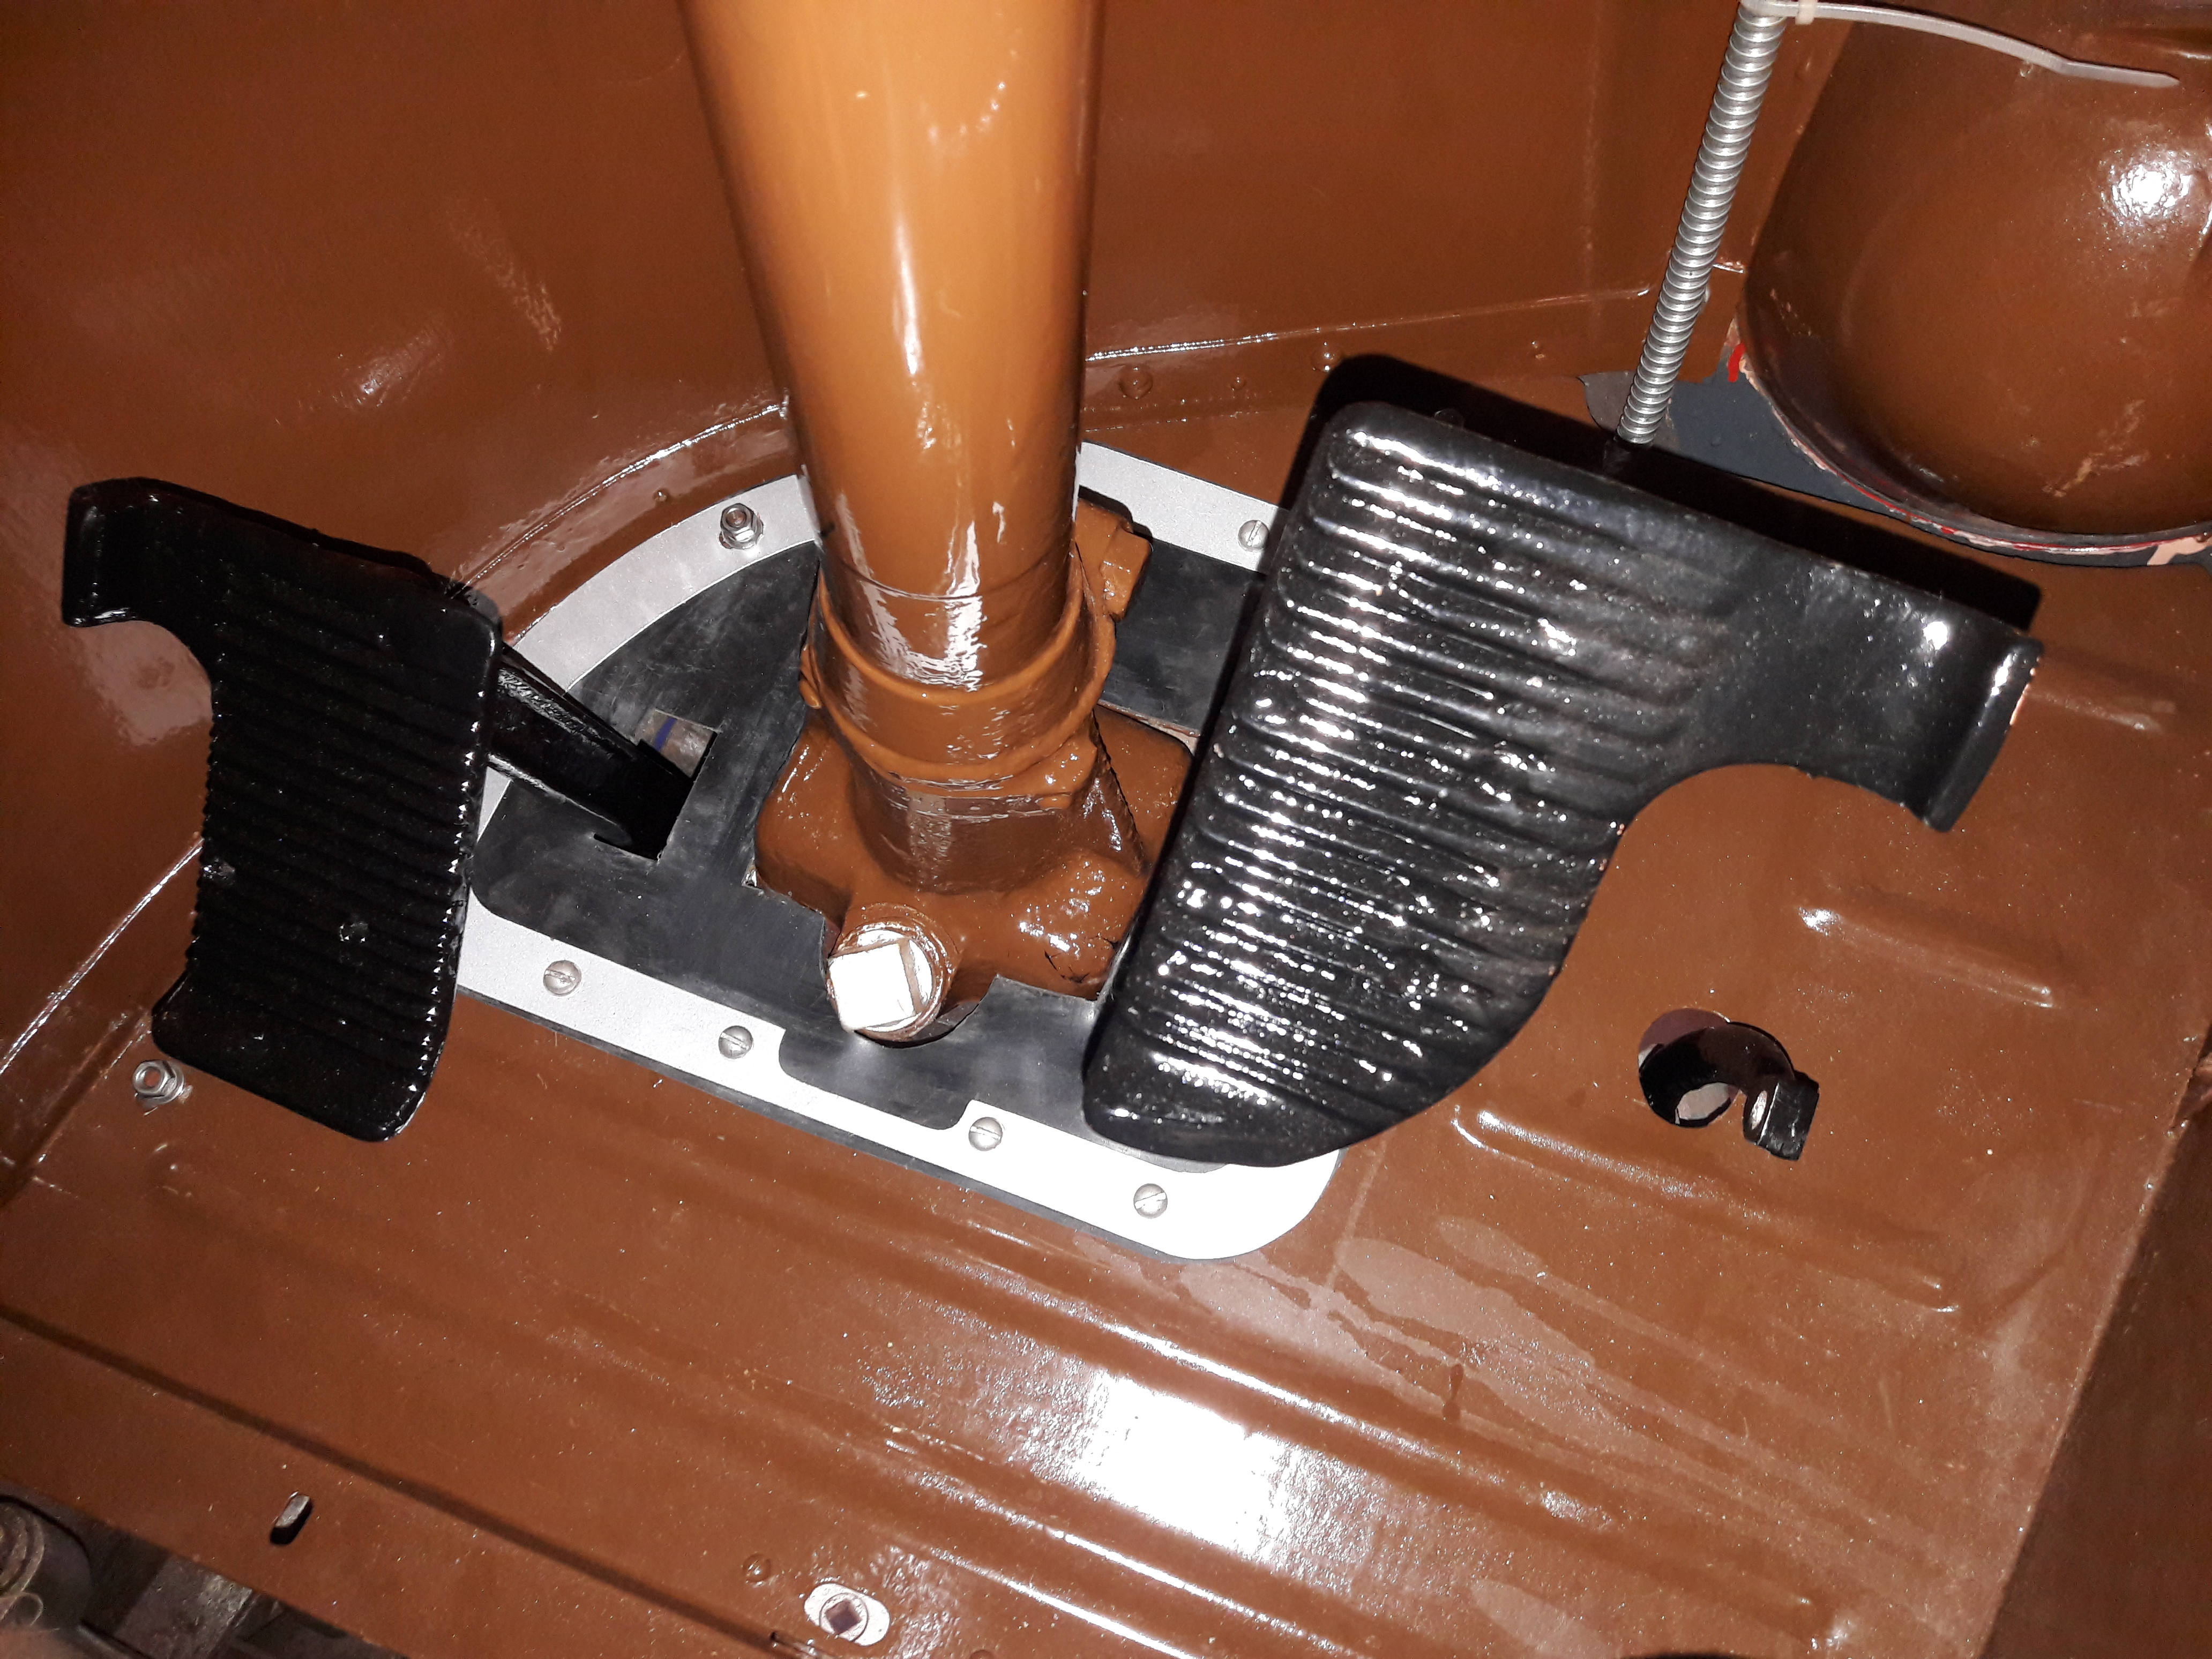
Draught seal and cab floor around the steering column.
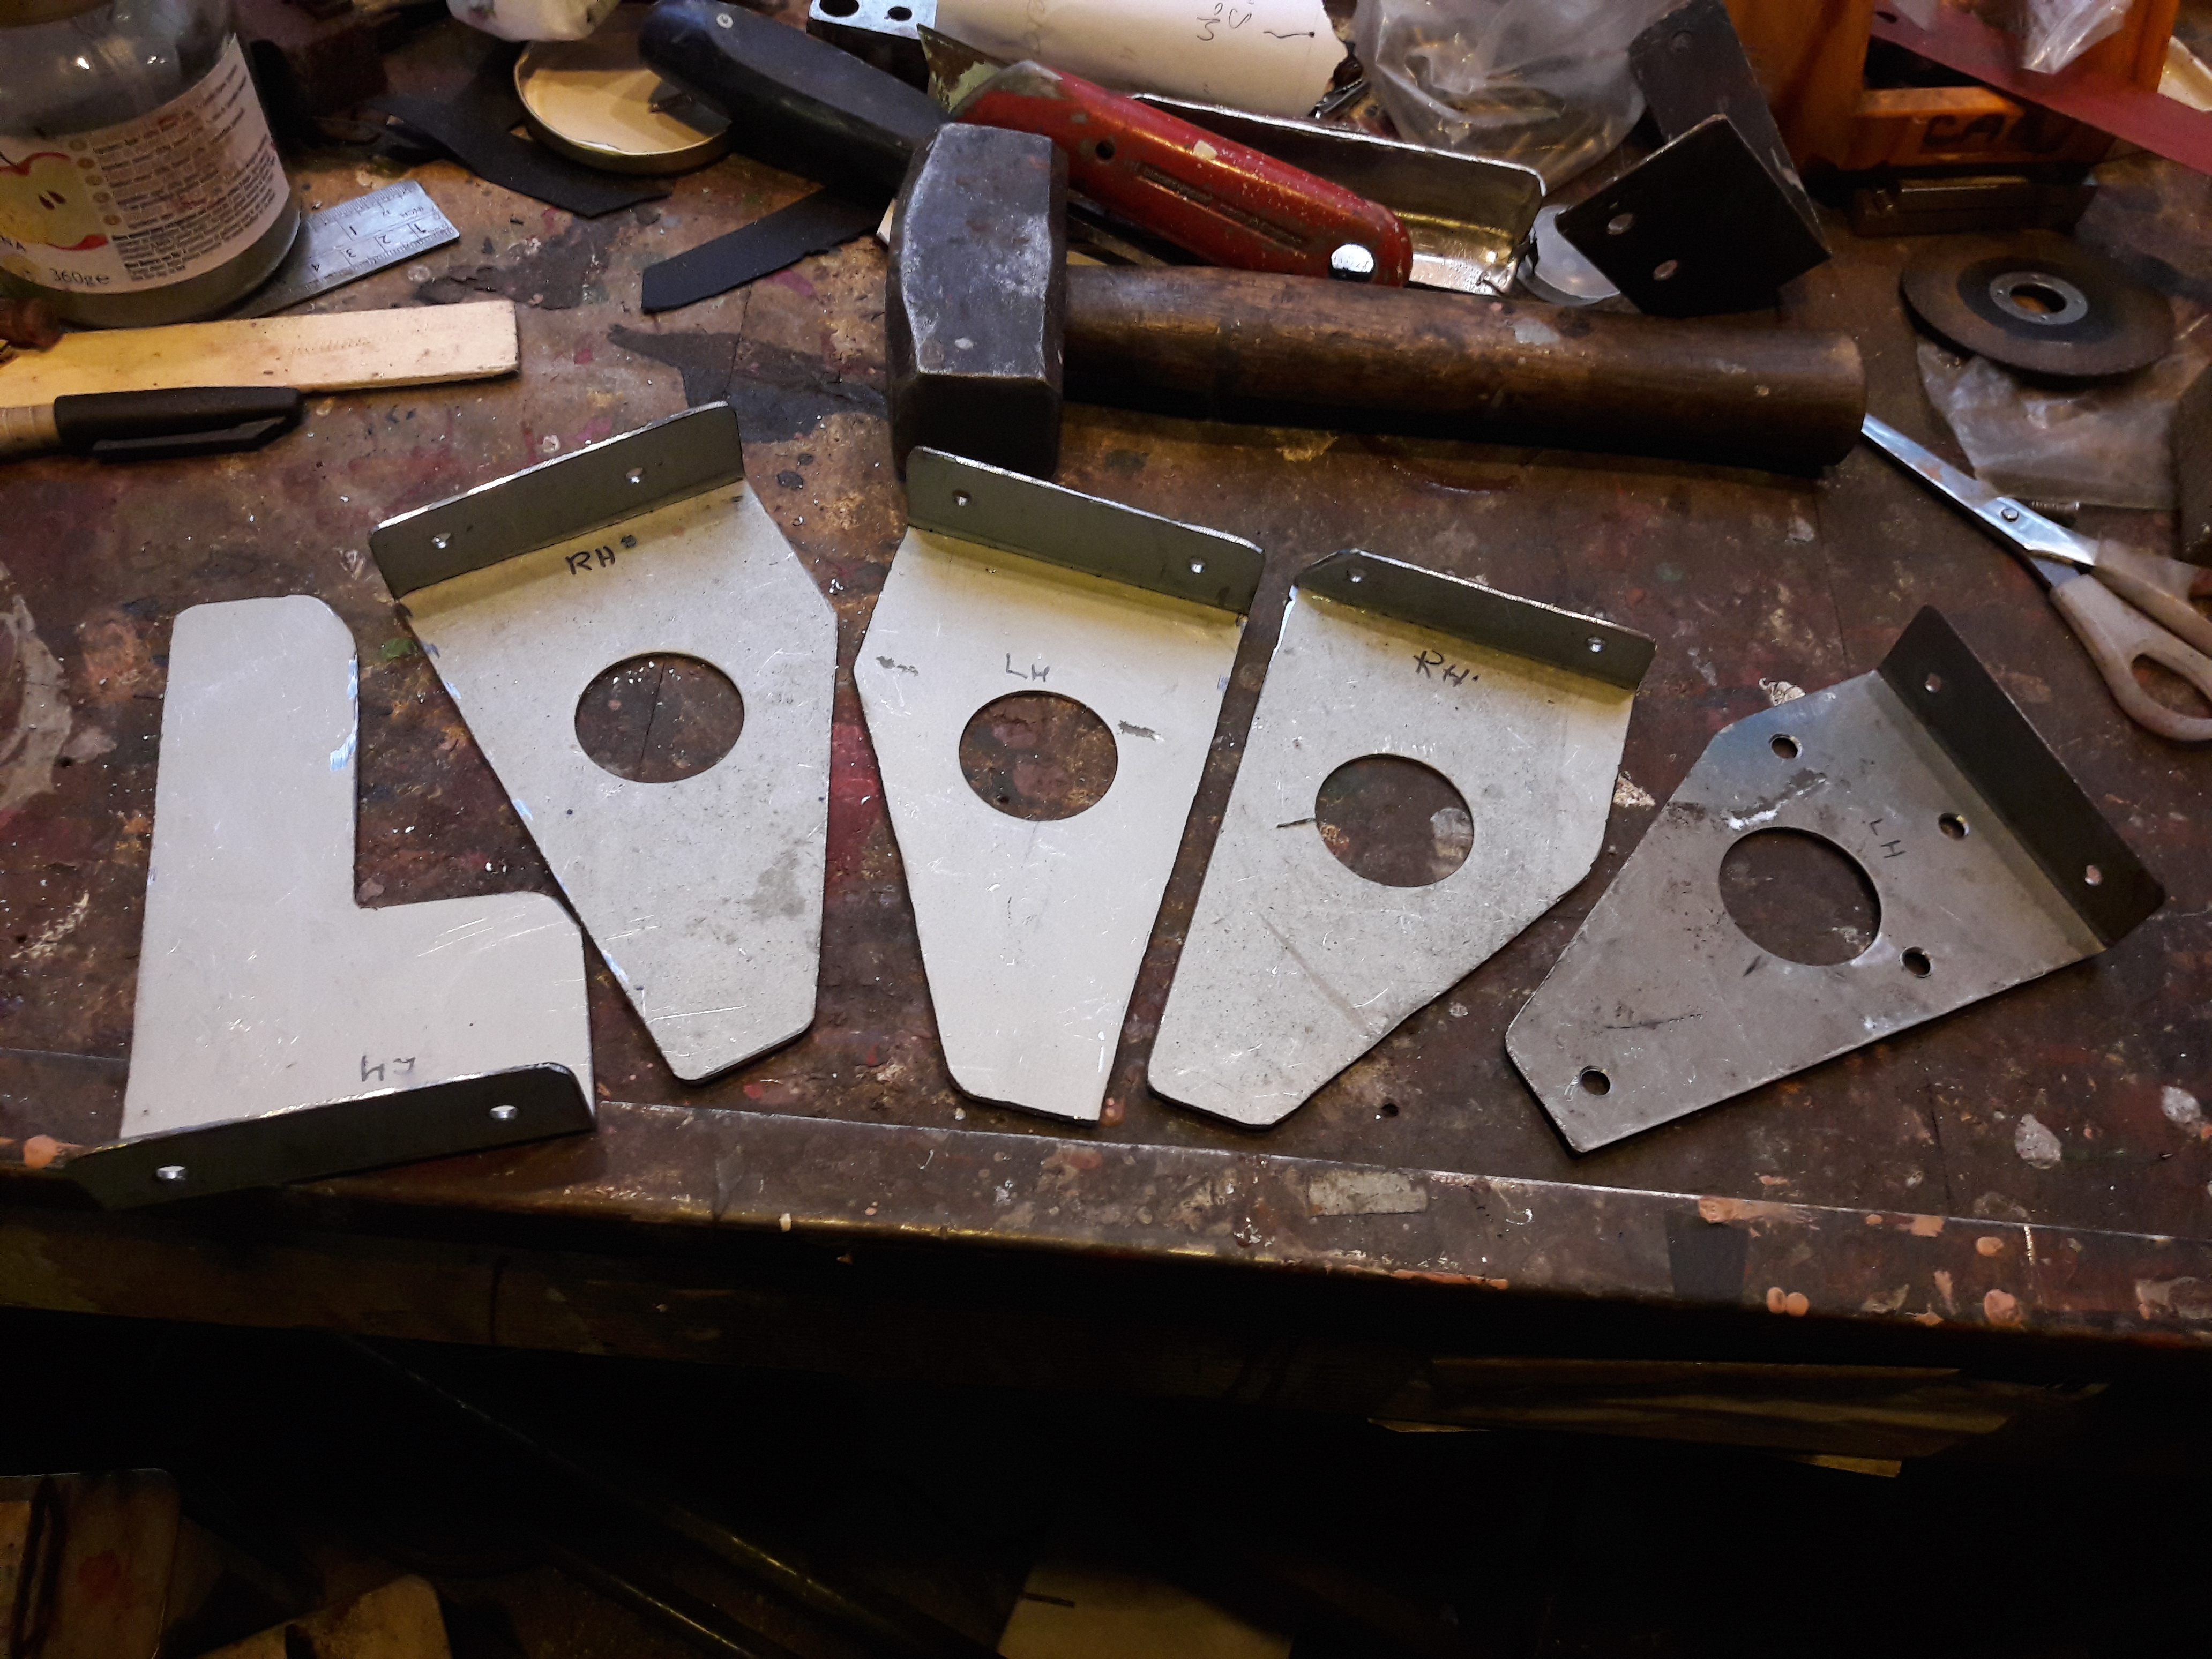
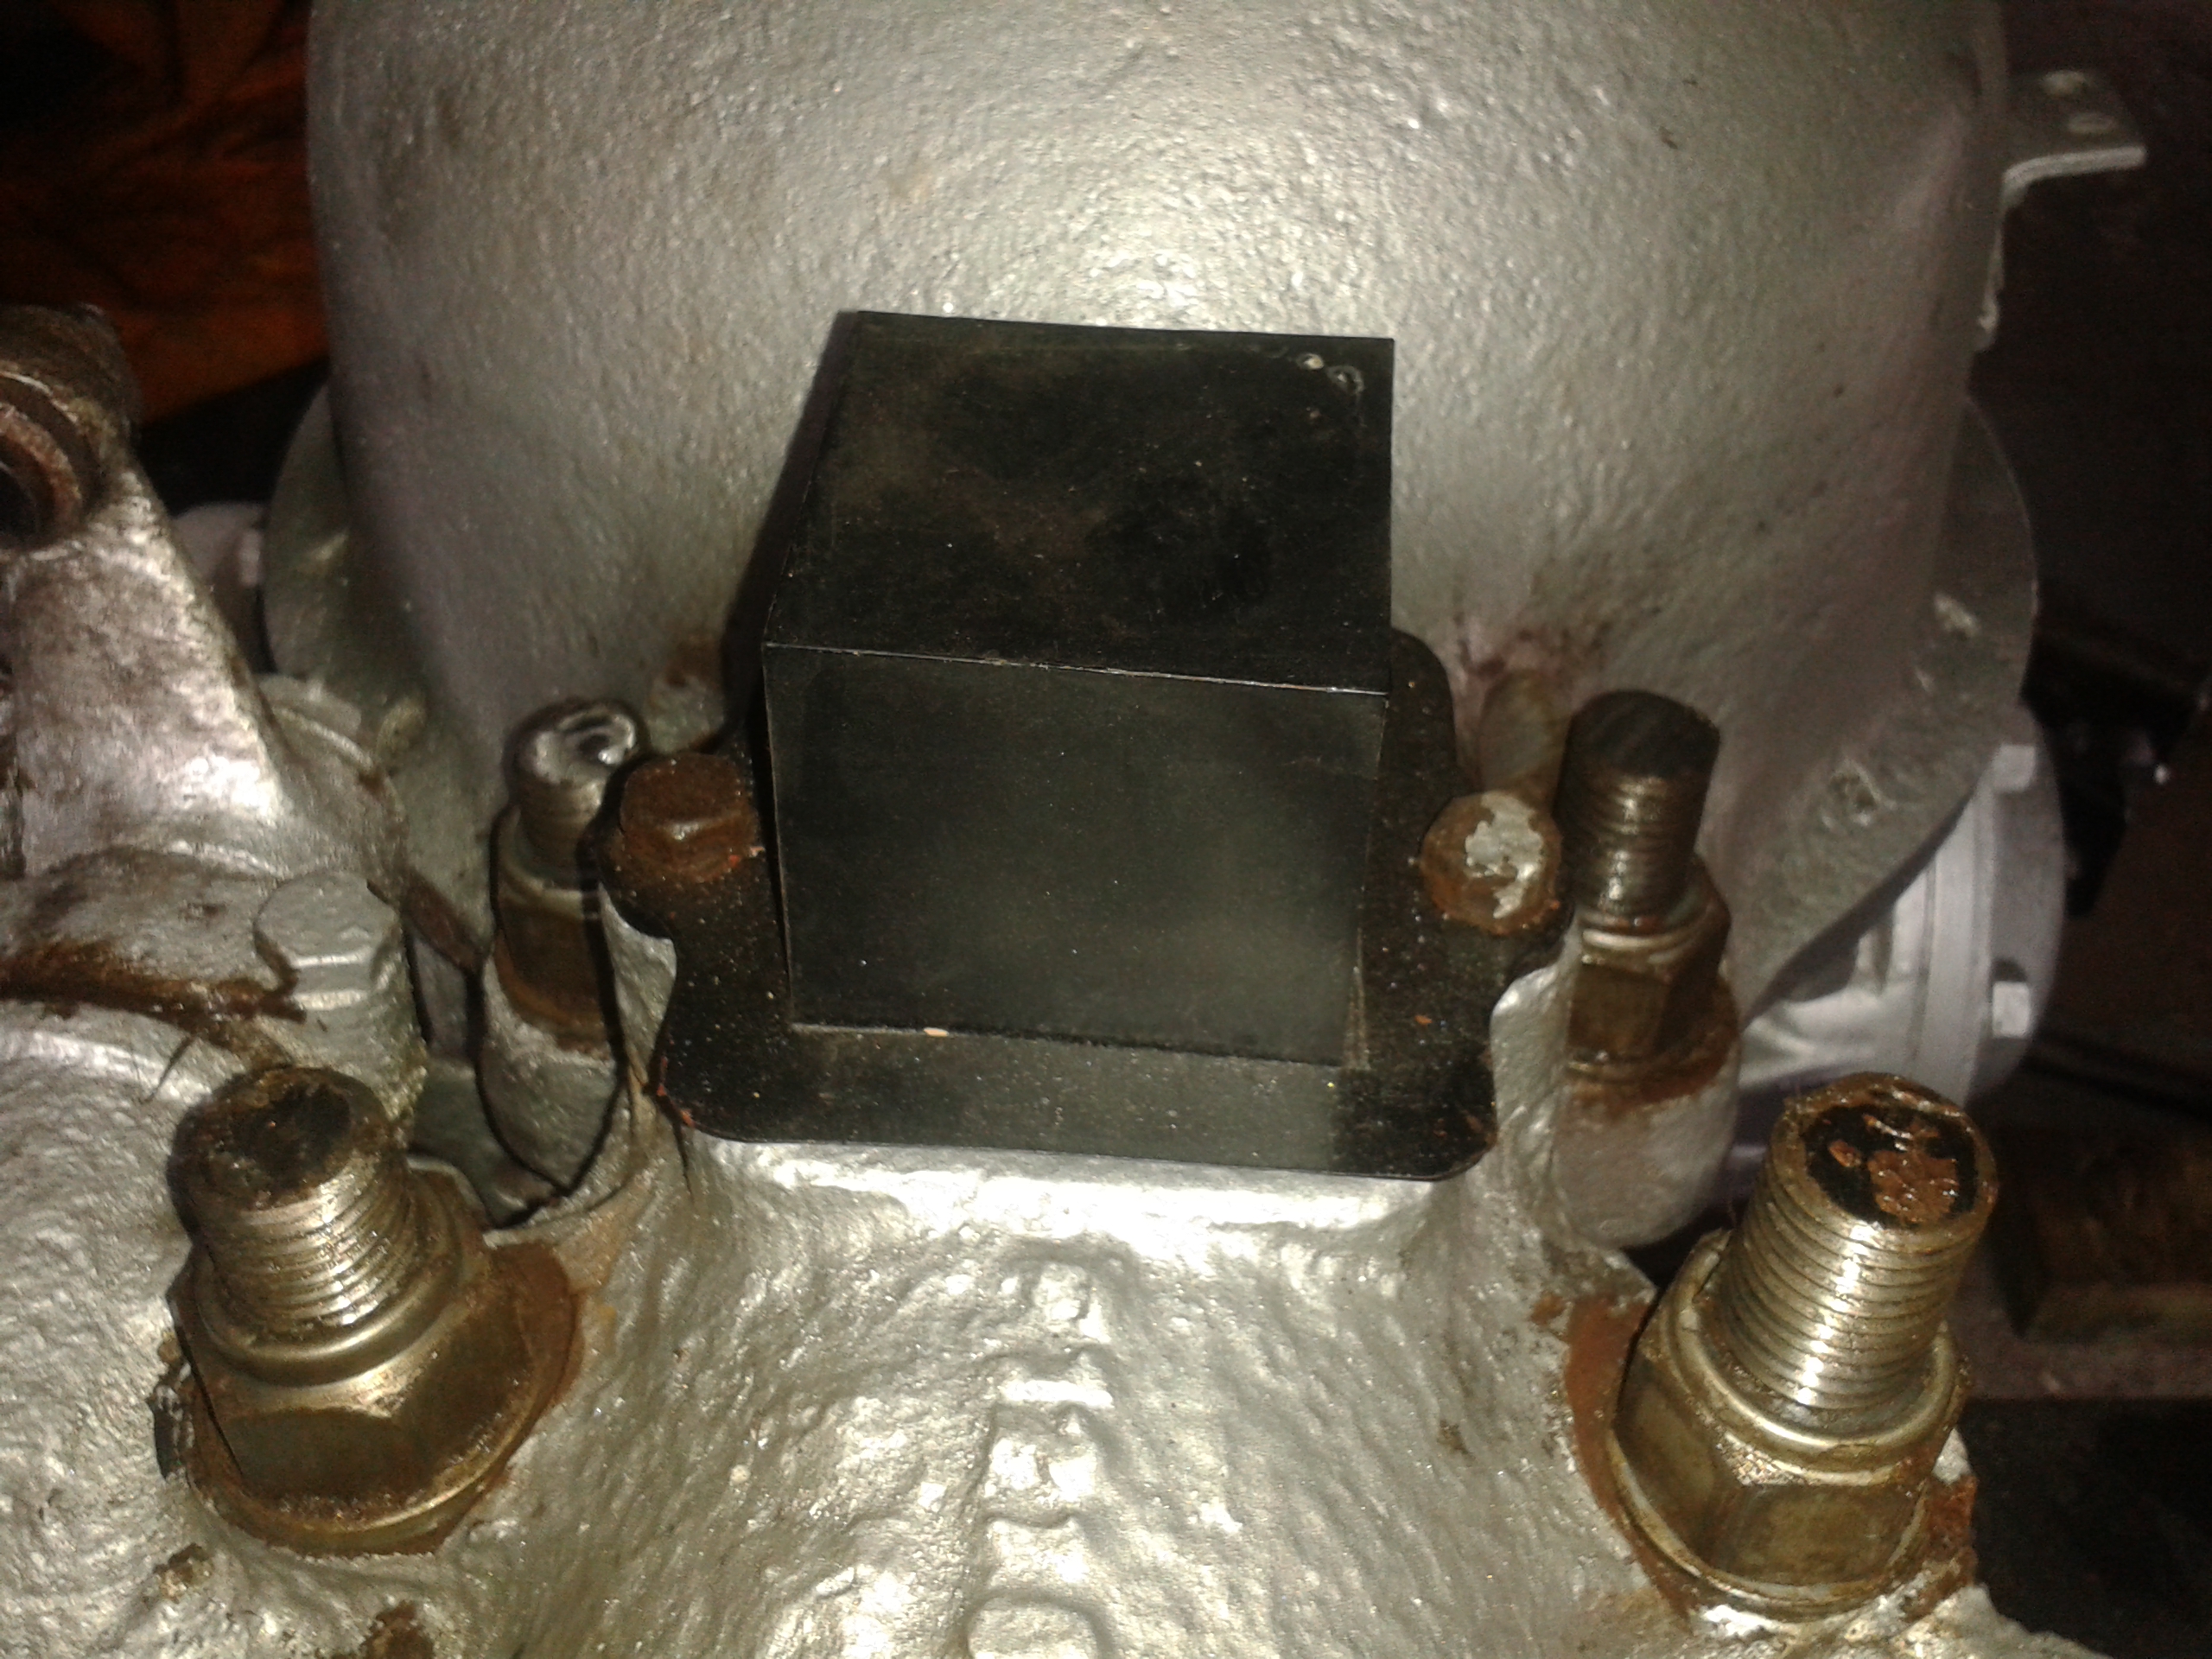
Side rod lower leg brackets for the offside, the odd one is necessary because the fuel tank is in the way.

Bottom rail of offside frame.
The above photos are roughly in chronological order, top to bottom.