Started the week by stripping the second steel panel for the rear seat back. However, the dust produced caused me a major chest problem, despite the fact I was using a dust mask so I had to stop. Luckily I needed to go and collect the emergency door glass from Dunmow Glass so I had a chance for a break. When I returned I set about providing an air supply for my pressurised hood mask, which proved to be very effective despite a leak from the the compressor water drain that required attention. However the second and third steel panels now have a coat of primer on the inside face. Whilst waiting for these to dry, I welded the channel to the vertical of the cab window; this however proved unsuccesful as the welds were unable to penetrate the channel. Worked stop then in favour of a deep clean of the shed and adjoining workshop.
Monthly Archives: September 2024
29/9/2024
Started the week by finishing stripping the old paint from the out part of the cab door window frame. I need to weld in the channels for the glass now. A break from the cab window was taken to give the emergency door handle mount casting a coat of cream gloss. The next job was to drill and prime the cab door window frame ready for plug welding for the new long channel section. Whilst waiting for the primer to cure, stripped and primed one side of one of the three steel reinforcement panels for the back seat. These appear to be stainless steel, like the interior wheelarches, with only odd spots of corrosion.
15/9/2024
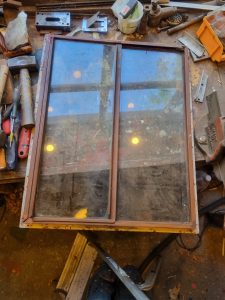
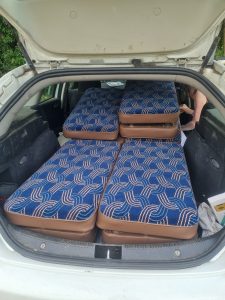
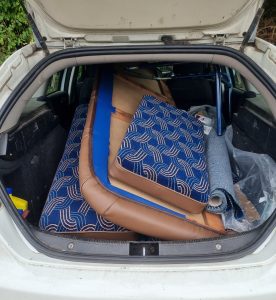
First job this week was to fit the new interior panel to the cab door and check that the the slam lock fitted. Next, I gave the slam lock a final coat of paint. I have been using Simoniz black engine enamel aerosols for small black parts, it appears to be very good. I also stripped as much of the remaining paint as I could from the emergency door casting that encases the handle for opening. I next turned my attention to the cab door sliding window, which I removed by heating the stubborn screws with a paint stripping gun. The frame needs some repair in places, due to rot, so I needed to remove the glass, which I achieved by finding two hidden screws in the bottom rail at each corner. I finished stripping the emergency door casting and gave it two coats of primer then started the complex job of repairing the cab door window frame by first making a strip of steel with a beaded edge to match the inner flange of the window. I then cut out the first section of rot and welded the newly-made piece in place. The seat backs and the back seat cushions were collected from Ifor’s on Wednesday, they look very good. Work then continued on the cab door frame, carefully welding a jigsaw of small pieces of steel in place to replace the rot, which was more extensive then I thought. This took some time to complete and was difficult to grind back the welds due to the thinness of the metal. I had to remake part of the bead on the lower horizontal as it had separated at the fold, this was important as it was the slide rail for the opening part of the cab door window.


