(24/5)
Today was spent cleaning and derusting the shock absorber drop link bush housings. I burnt the remains of the rubber out yesterday with the welding torch. The bush housing were sanded and wire-brushed then coated with Vactan ready for painting and replacement rubber. The pins that connect the drop links to the spring and the shock absorber are badly corroded. Initially I decided to make a new one out of stainless steel because I had some, but gave up on that idea when the lathe tool wore out. The pins are all reclaimable though I regret rethreading one of them 5/8″ BSW instead of restoring the 5/8″ BSF thread. However it will live, I think.
I also applied Vactan to the cast spring saddles.
(25/5)
Applied red oxide to the shock absorber drop links and the spring saddles.
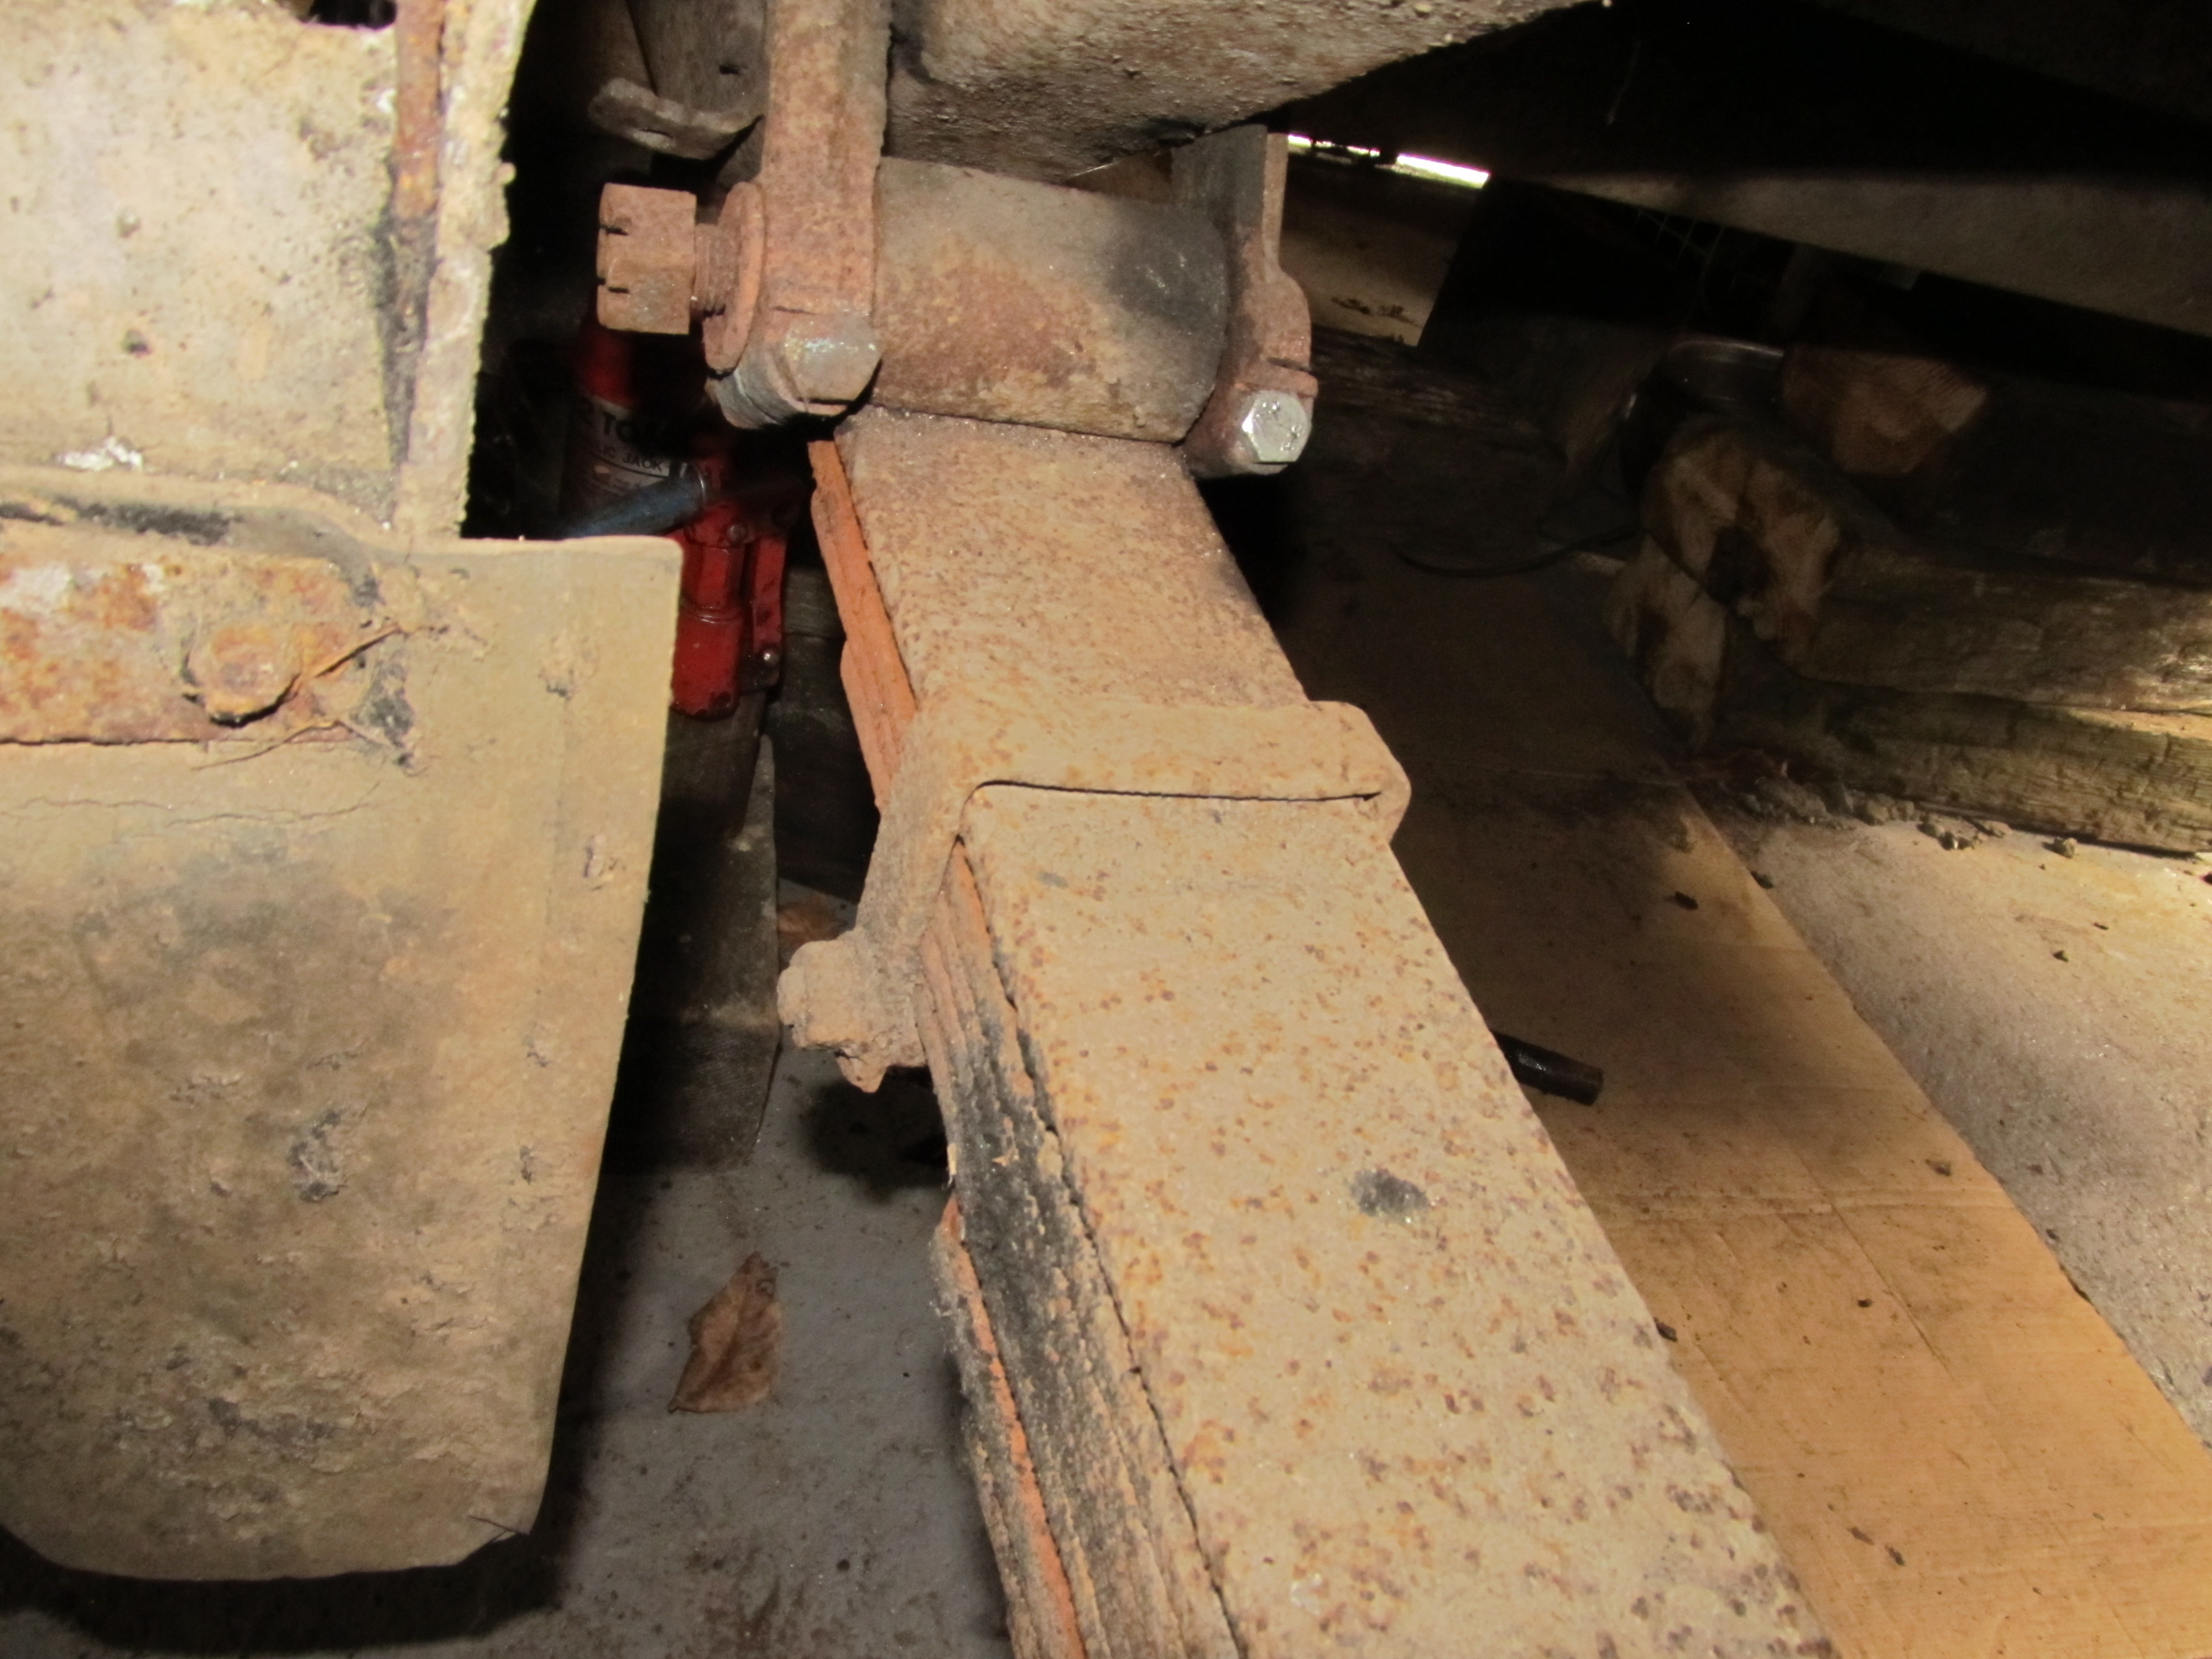
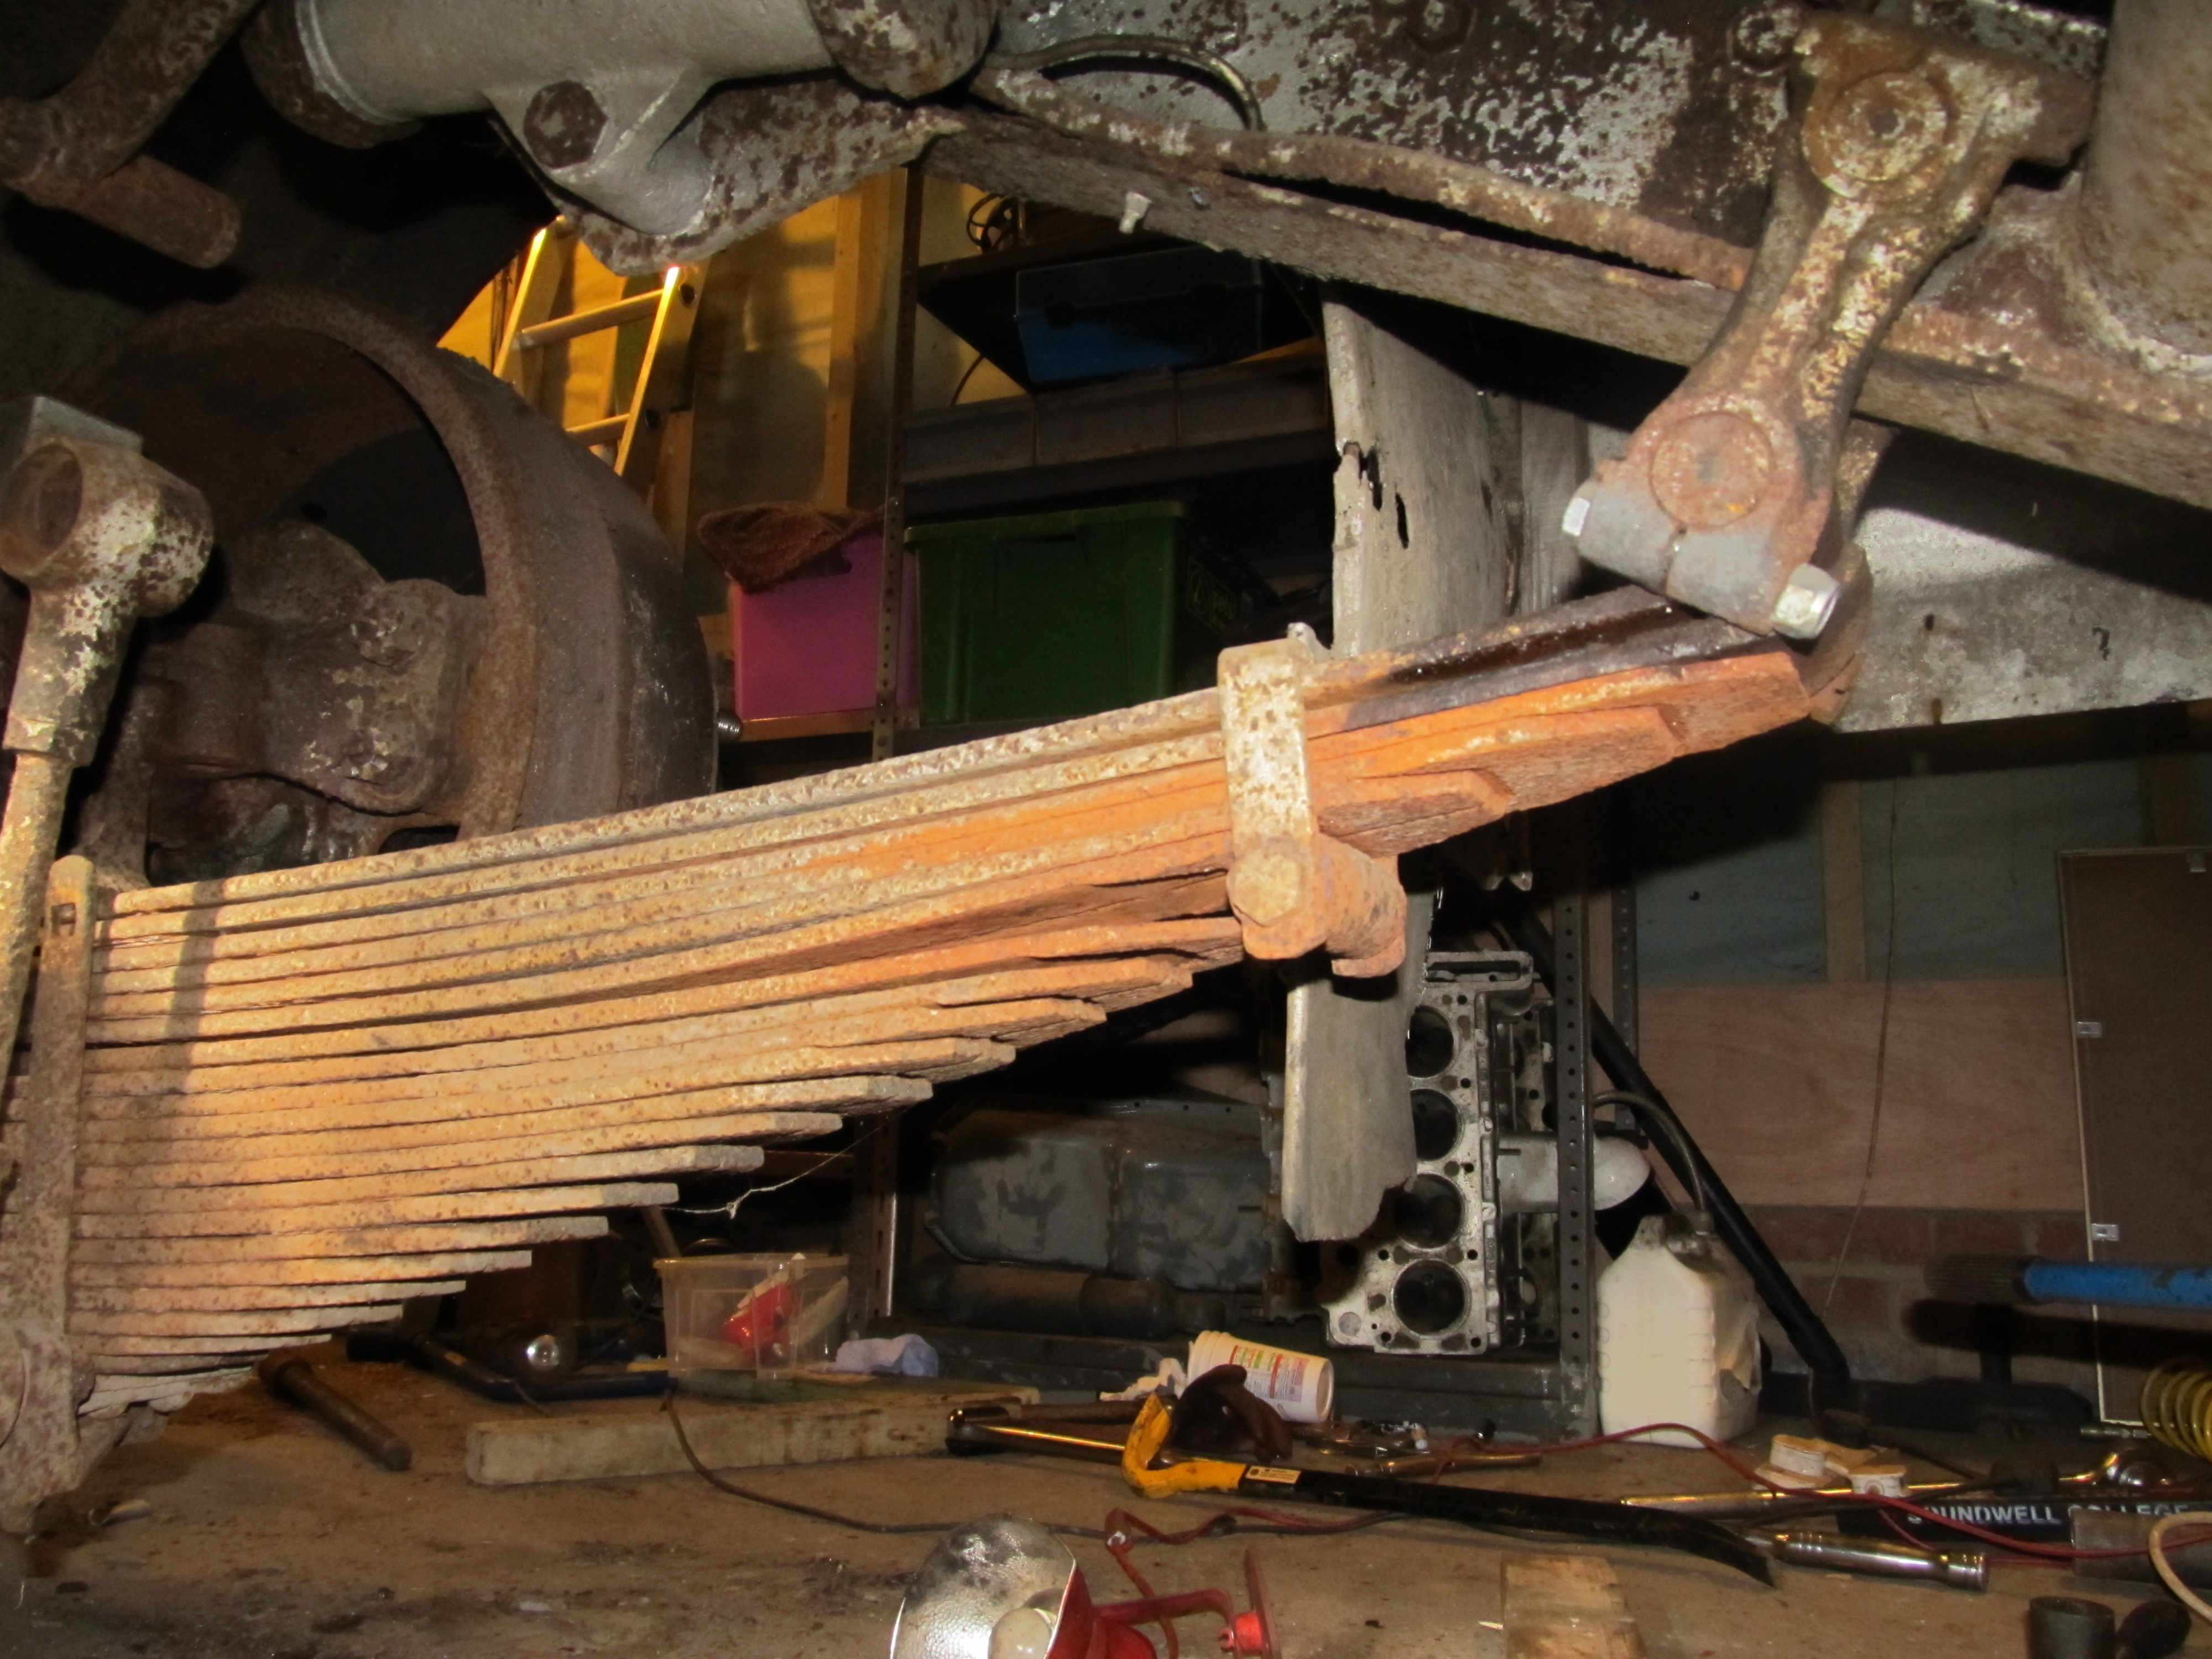
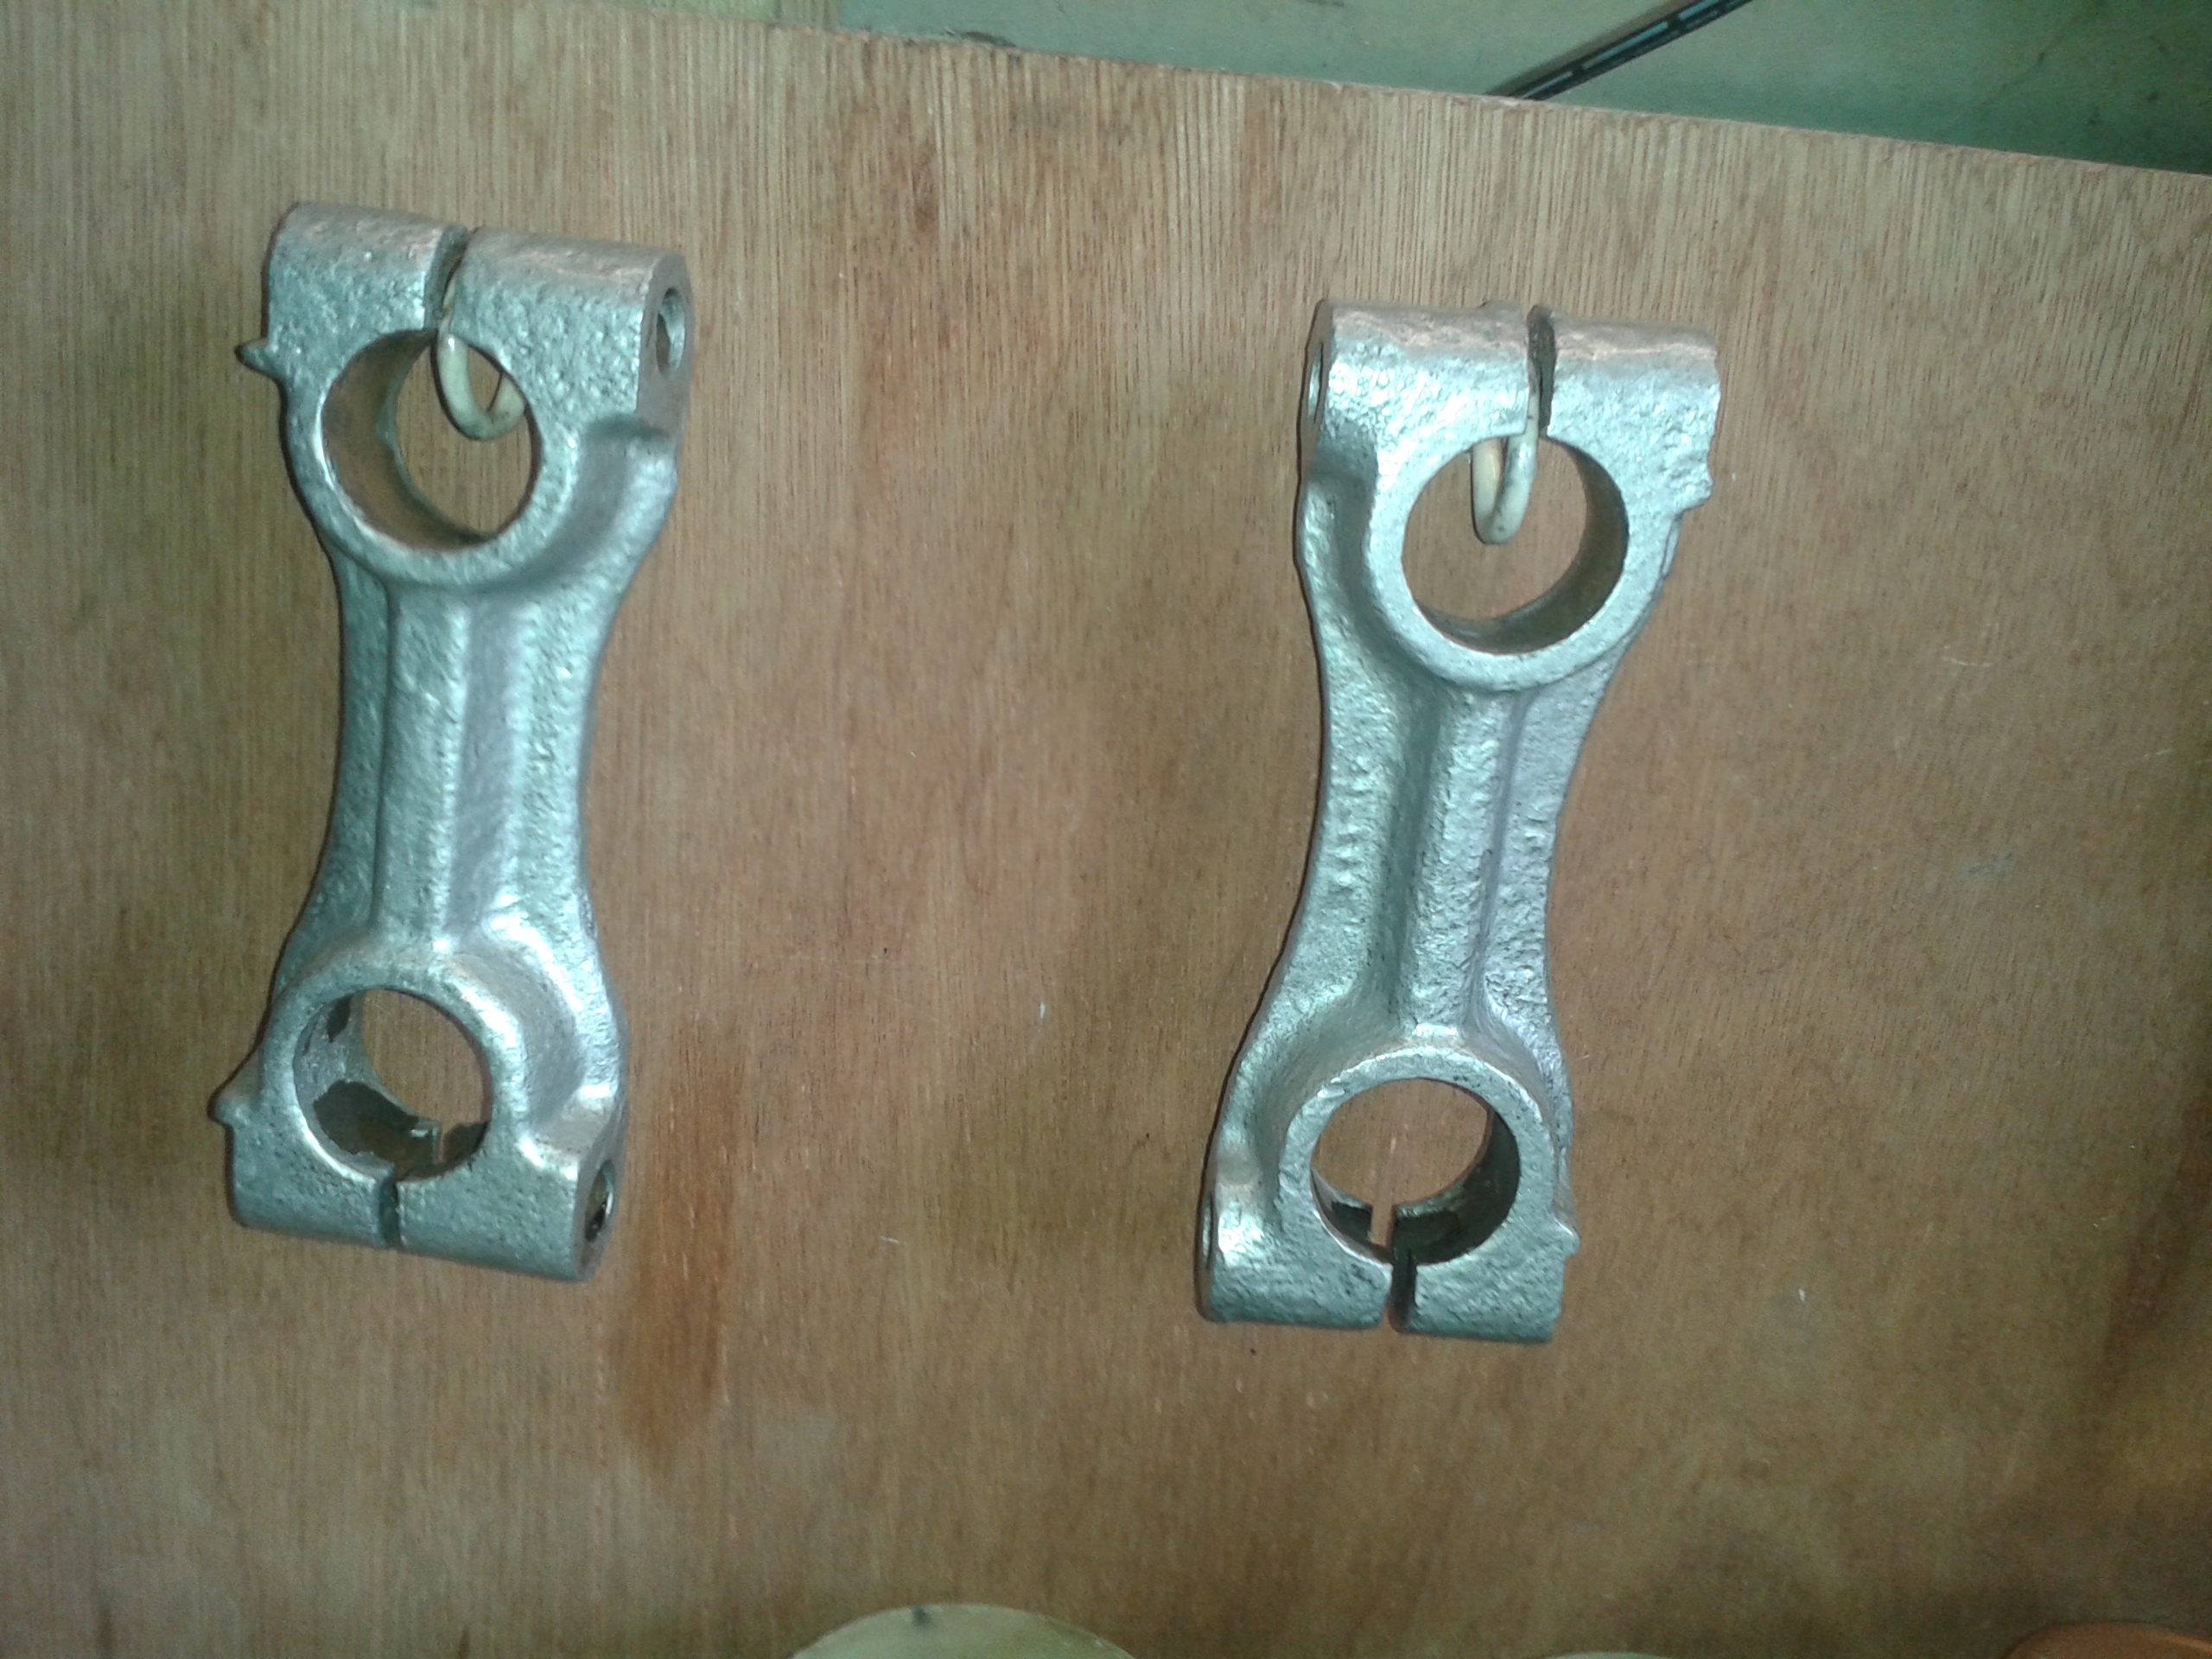
Removed both O/S and N/S swinging links for the rear springs. The O/S one was very tight because the shackle pin had corroded and had to be driven out. The same problem had afflicted all four of the spring shackle pins and the bushes in the spring eyes were largely destroyed in the process of removal because of the corrosion of the pins. The N/S swinging link pin is fine, looks like new and slid out easily with finger pressure. Checking the N/S pin in the O/S bush revealed that the bush was fine and the O/S pin was the problem. I have five new pins and the remaining one form the N/S swinging link is as new so can be used again. So apart from a few new nuts and bolts and a pair of springs, it should all go back together nicely.
(26/5)
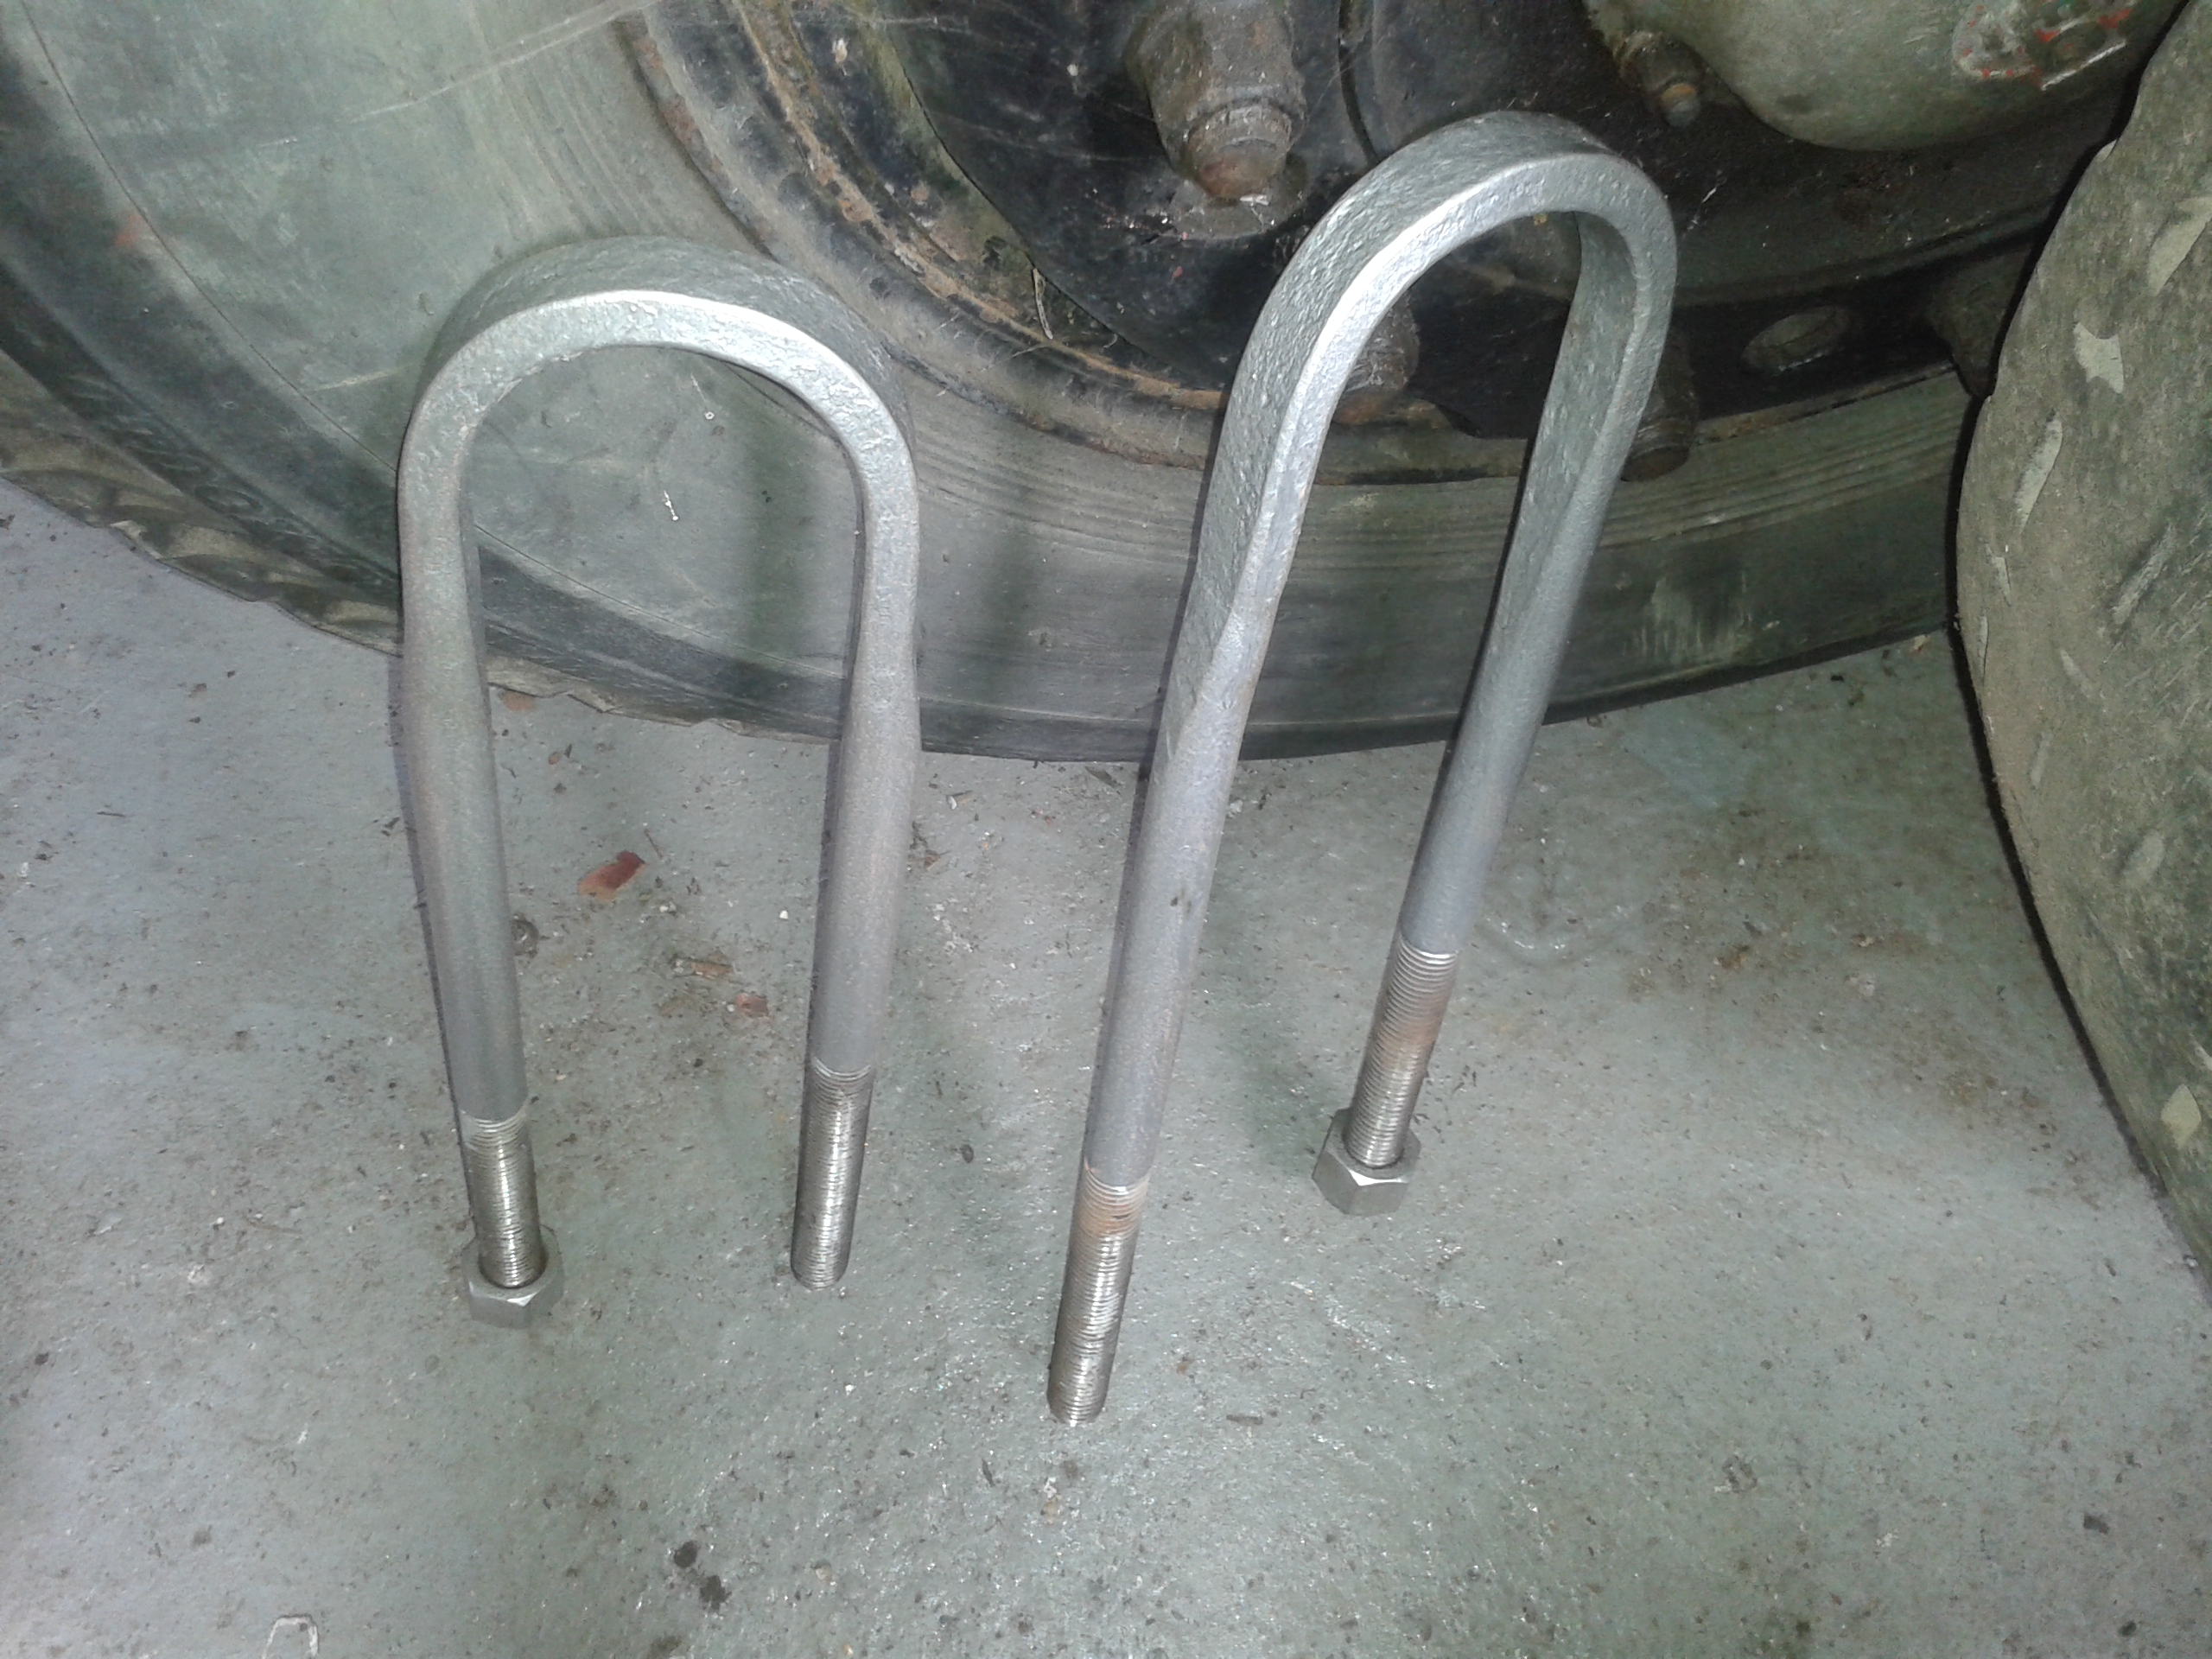
Painted the spring saddles, shock absorber links and N/S spring U-bolts with silver Hammerite because I had some, I hate that stuff and won’t buy any more when I’ve used it up.
Separated the two swinging links from the shackle pins, nuts had be heated red hot to get them shifted but I note that the newest one (N/S) has two lock nuts rather than a single large castle nut. This might be a better (cheaper) solution for the rest of the shackle pins, apart from the two Mandator ones which have UNF threads instead of BSF. Maybe use Nylocs for those.
(27/5)
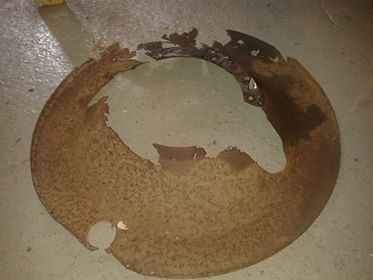
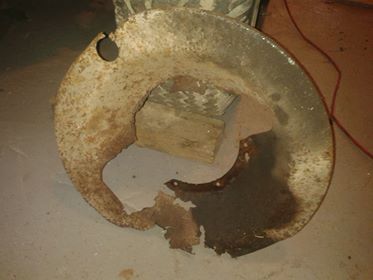
Hammerited the spring U-bolts and two of the swinging links today. Removed the last of the fixing bolts for the redundant automatic oilers and pulled out the remains of the pipes. Noted that many of the coach bolts holding the body frame together look badly corroded at first sight, however a quick brush reveals that they are mostly ok just growing corrosion on the heads which can be treated. Vactan’d the two scissor adjuster screws. I need to make new hardened pins for these before the brakes can be reassembled. The brake dust shields offered to me on Facebook turned out to be the wrong dimensions so back to square one and considering how best to make new ones. Fabrication out of mild steel is my favourite option but will be very time consuming.
Hammerited the other pair of swinging links and second-coated the first pair from yesterday. Started wire brushing the chassis from the fuel tank rearwards with a view to painting the chassis rails and rear axle next week, hopefully, ready for the reinstallation of the rear springs when they arrive. Noted that the flitch plates on the floor bearers extend into the boot and raised rear floor area so removal of the external panels behind the emergency door is next on the plan (what plan?) Removed the wiring to the rear lights and indicators from the boot and rear half of the chassis also the remnants of the original grip lock. The plan here is to run new wiring in new griplock attached to the chassis as per original, but a larger diameter. Very hot day today.
Finished wirebrushing the chassis from the rear brake cross-shaft backwards. Remove blocks from under diff and supported axle on axle stands under the spring seats, Need to degrease underside of diff then axle and rear half of chassis can be sprayed with Vactan.