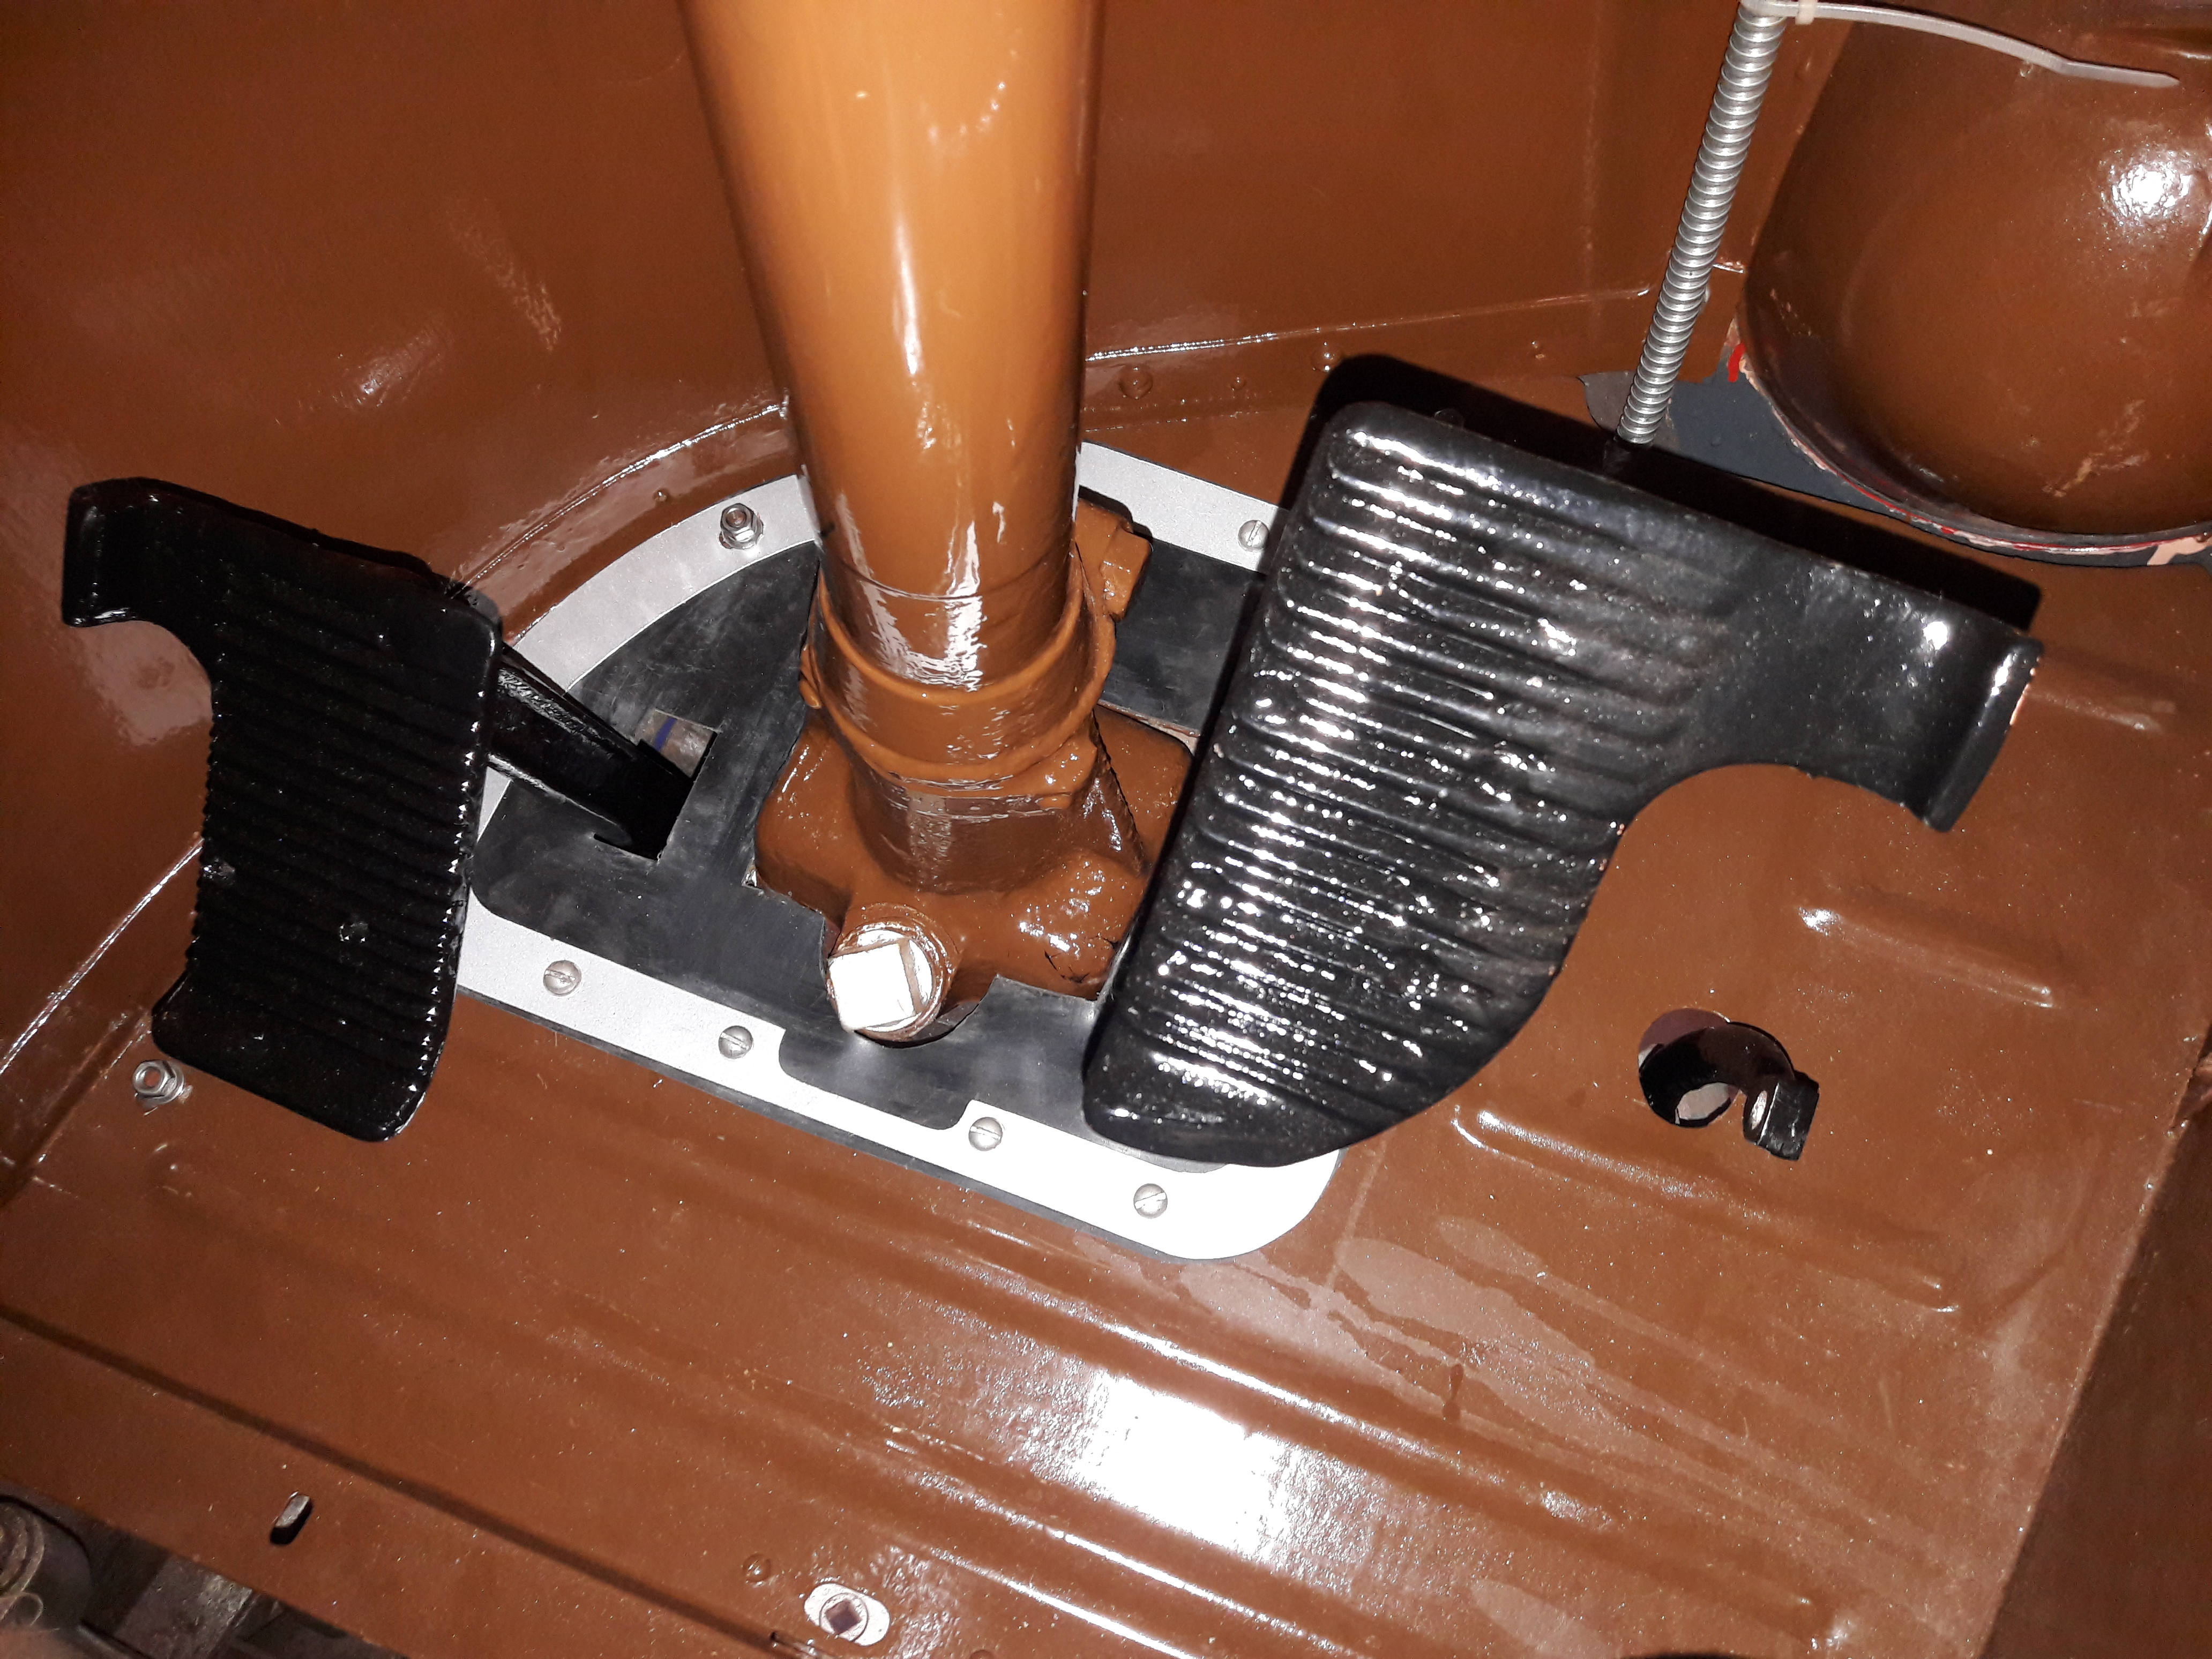
Work started this week with reinstallation of the wooden section of the cab floor and the steel sections around the gear stick and handbrake, along with the reinforcing bar angle that fits underneath and adds to the rigidity of the cab and strangth of the floor. Also an addendum to the testing was the panel light wiring and the bulb holder itself which needed attention to the connections to make it work. It has a new bulb fitted. Screws for fitting it have been acquired, 6-32 UNC for the fitting and 4BA for the cable clips along with the missing 1/4″ screws for the cab floor. The aluminium sheet needed for the remaining O/S outer panels arrived at the beginning of the week.
The woodwork for the bottom rail was cut, fitted and painted, the short section immediately under the first O/S window was made from the original long piece which was sufficiently good to use again with repair. This has been primed and painted wood grey ready for the outer panelling to be cut and fitted. This completes the repairs to the frame so a bit of a milestone this week.
Final job this week was preparing the wiring ready for the panel lamp to be installed.
Draught seal and cab floor around the steering column.
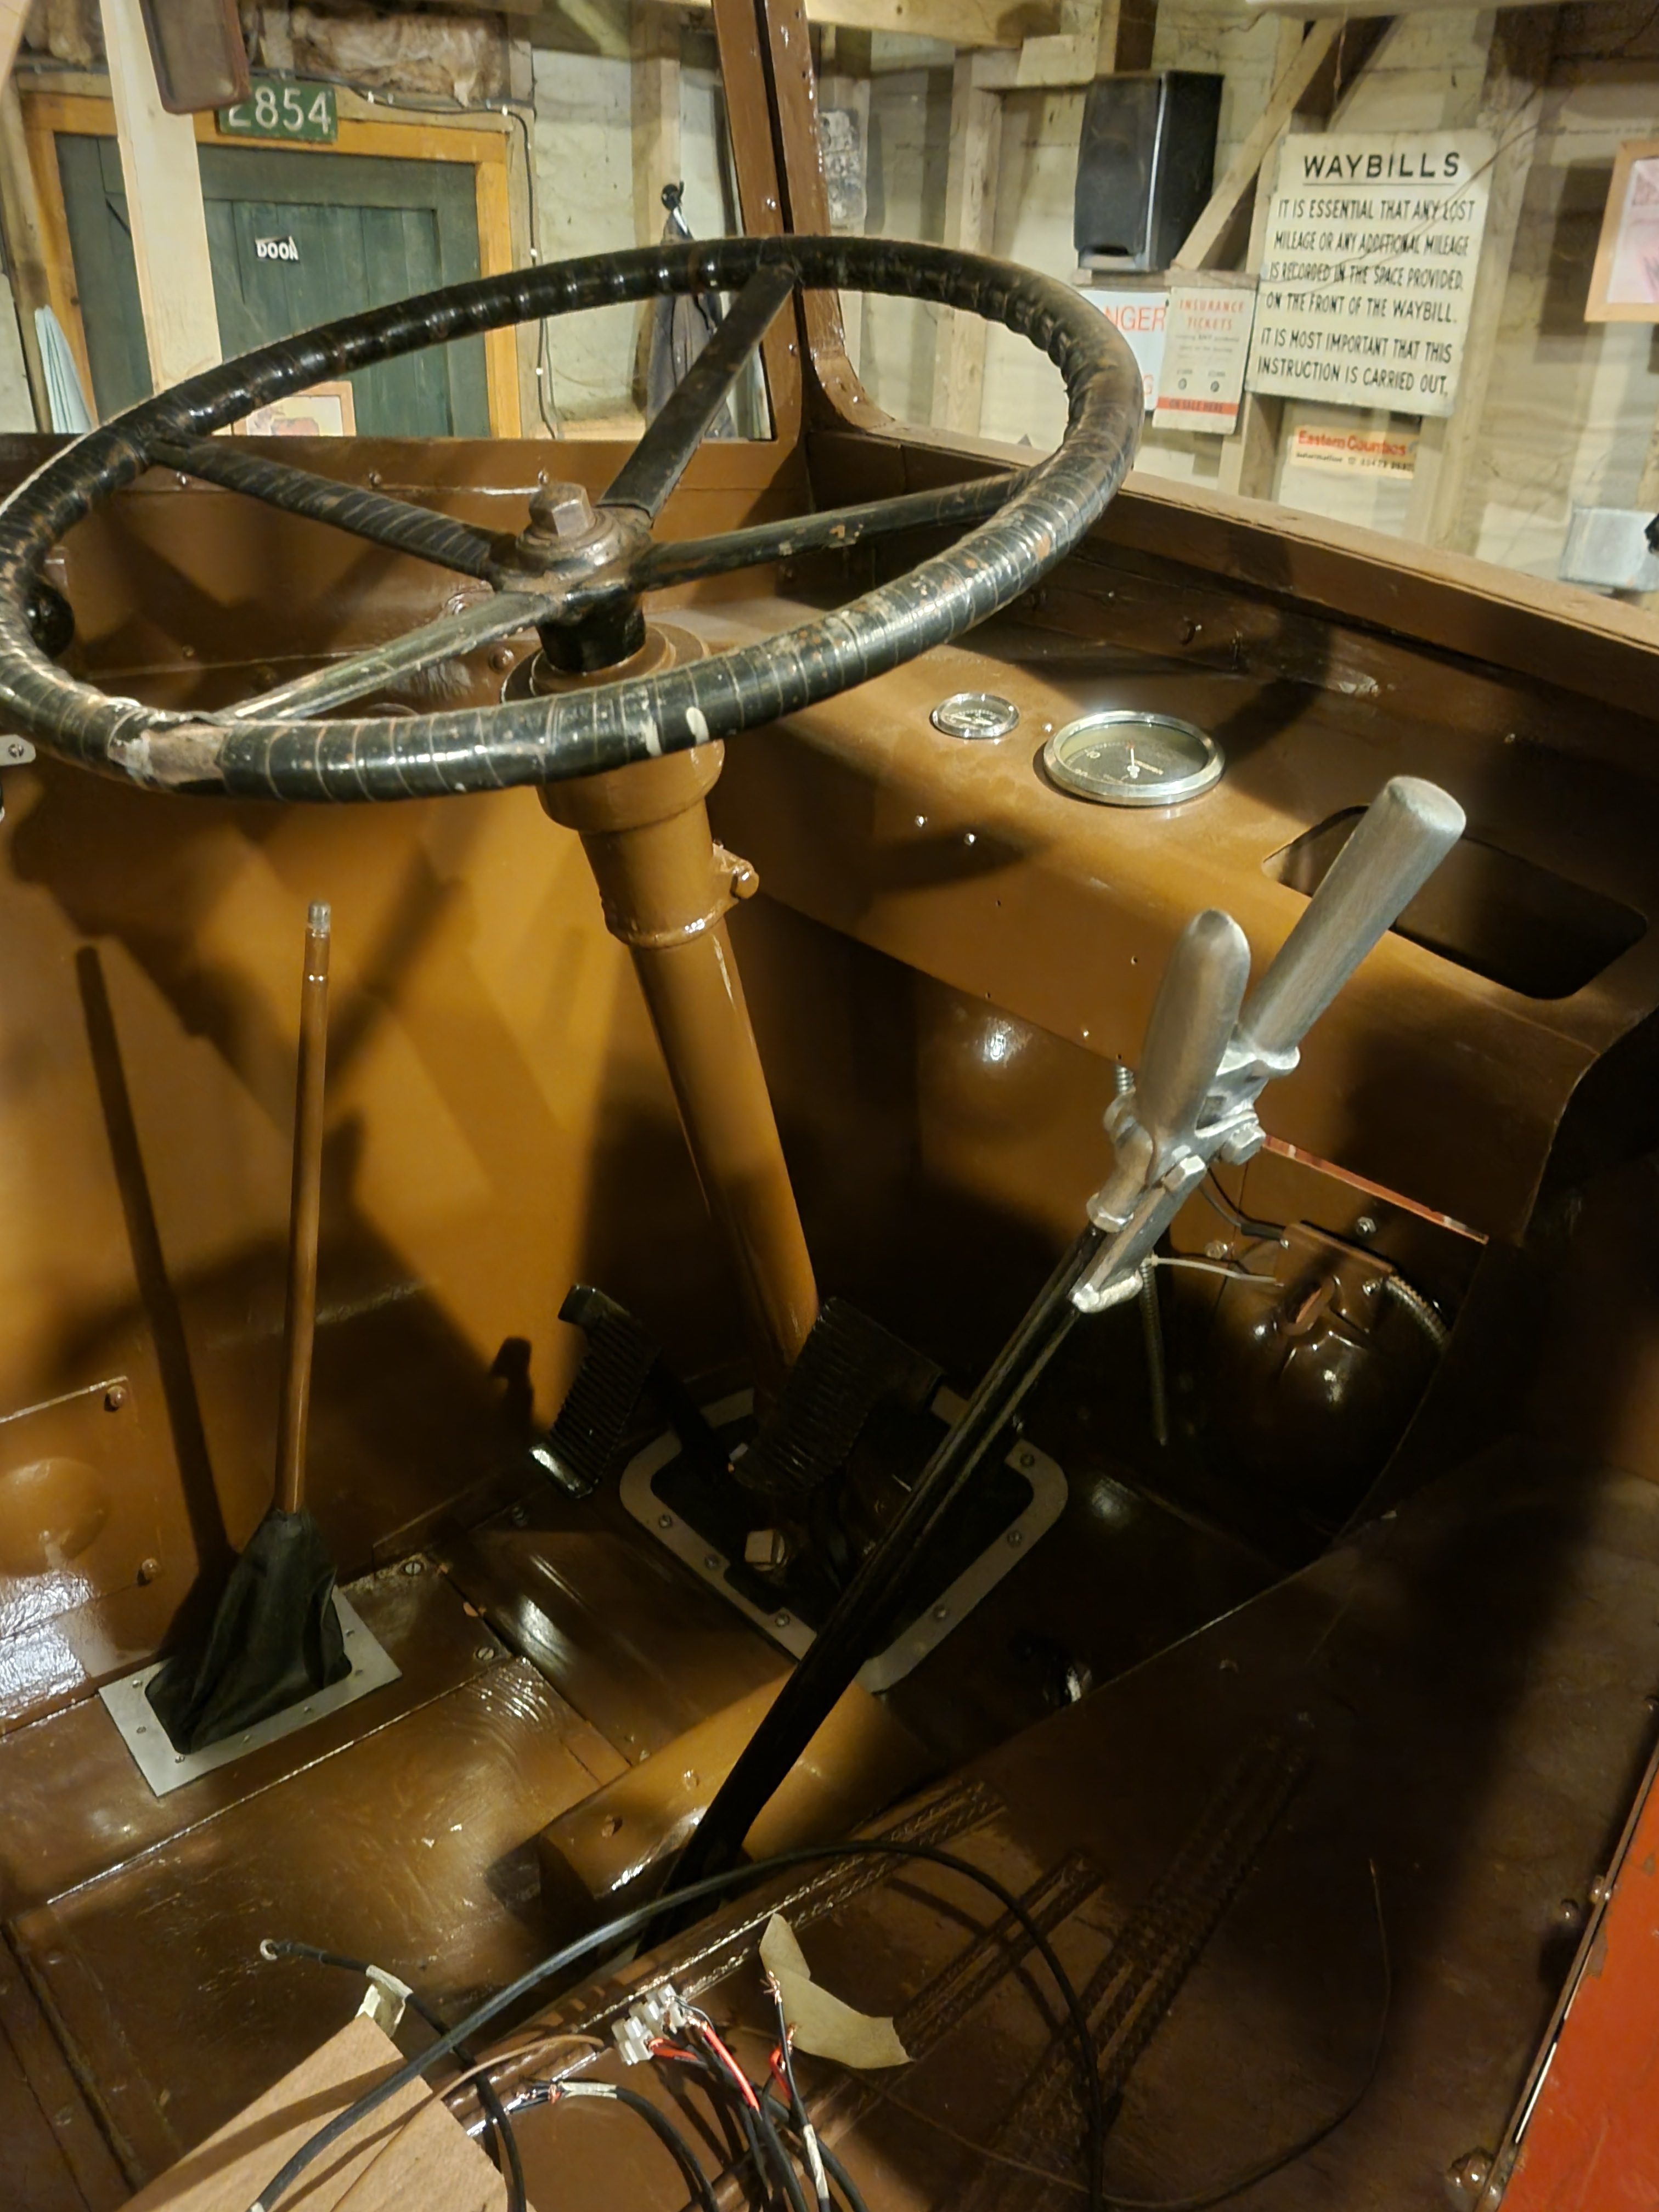
Handbrake lever painted and wooden section of cab floor installed.
I completed the replacement hinge assembly by adding a 3/16″ shim between the hinge and the base to position it correctly so that the control box will sit square on its base. After that, work has contentrated on wiring the lighting and 24v supply to the multicore cable terminal mounted on the cab rear bulkhead below the floor. Connections that need to be made in the cab-mounted control box havebeen sheathyed and routed into their correct positions ready for reinstallation of the control box. The control box itself has had attention: all the terminals and nuts have been cleaned, the 2BA terminals having new brass nuts. The main battery switch has had its shaft painted black.
All the wiring has now been tested, including the brake light switch, horn and button, and the panel light switch both at the cab end and in the boot where appropriate so I am happy now that its all correct. Also tested now are the starter motor cables, dynamo cables and the starter sloenoid cable.
Work on the electrics has continued this week with examination and the start of refurbishing the control box. I have worked out the connection system for external wiring (lights, horn etc) and how the switches on the top of the unit are connected and identified and cleaned all the terminal points for the external circuits and am in the process of replacing all the steel 2BA terminal nuts with brass. The p-clips for the griplock conduit that runs fromt he cab to the boot arrived on Wednesday and have been installed so the conduit is now fastened back properly to the chassis. As a consequence I have now trimmed the end of the multicore in the boot, soldered on the ring tags and attached to the terminal strip in the lid of the terminal box in the boot, including a link for an additional -ve return. After that I returned to work on the control box and repaired the broken hinge by making a new one out of 1/8″ galvanised steel plate, an intricate shape that required careful design. The whole alloy base of the control box needed to be removed in order to gain access to the hinge pins which were very stubborn to remove and required a lot of careful heating and attention from a small hammer and punches. I also needed to remove the base of the old hinge which I did succesfully with the angle grinder then dressed it flat with a file. The new hinge is attached with 2BA countersunk screws threaded into the hinge base and to which I will add locknuts in the final assembly. The hinge part has been drilled for its pin and just requires final shaping before the base of the control box can be reassembled. I turned a new pin to replace the old one which was unusuable after removal, this just requires final finishing, parting off and drilling for a split pin. The pin from the other side has been cleaned up and just needs drilling for a split pin.
Restoration diary of a 70-year old AEC single-deck bus and the trials, tribulations and adventures of our 1966 Bristol bus.