Effectively the last post of the year. Started the week by cleaning the advert panel and seeking Rebecca’s opinion on the way to proceed. I also painted the lower pipe connection for the rear brake servo with several coats of silver. Attention turned then to the chassis where the servo is mounted; the primer having cured for a few days, I able to apply two coats of silver paint. This job is now complete and ready for the servo to be reinstalled, the first job of the new year.
As this is the last entry of the year, a summary of work completed in the last twelve months is appropriate.
The wheels were painted in black.
The horizontal beading was fixed to the offside and the emergency door. Also the beading around the O/S front wheelarch and other small pieces of beading.
A new front mudwing was made for me by Geoff Brown, in several pieces, welded together by me, painted and fitted to the bus.
The cab door sliding window was completed, partially painted and installed.
Two battery boxes were made and installed, along with refurbished battery cables and an isolator switch.
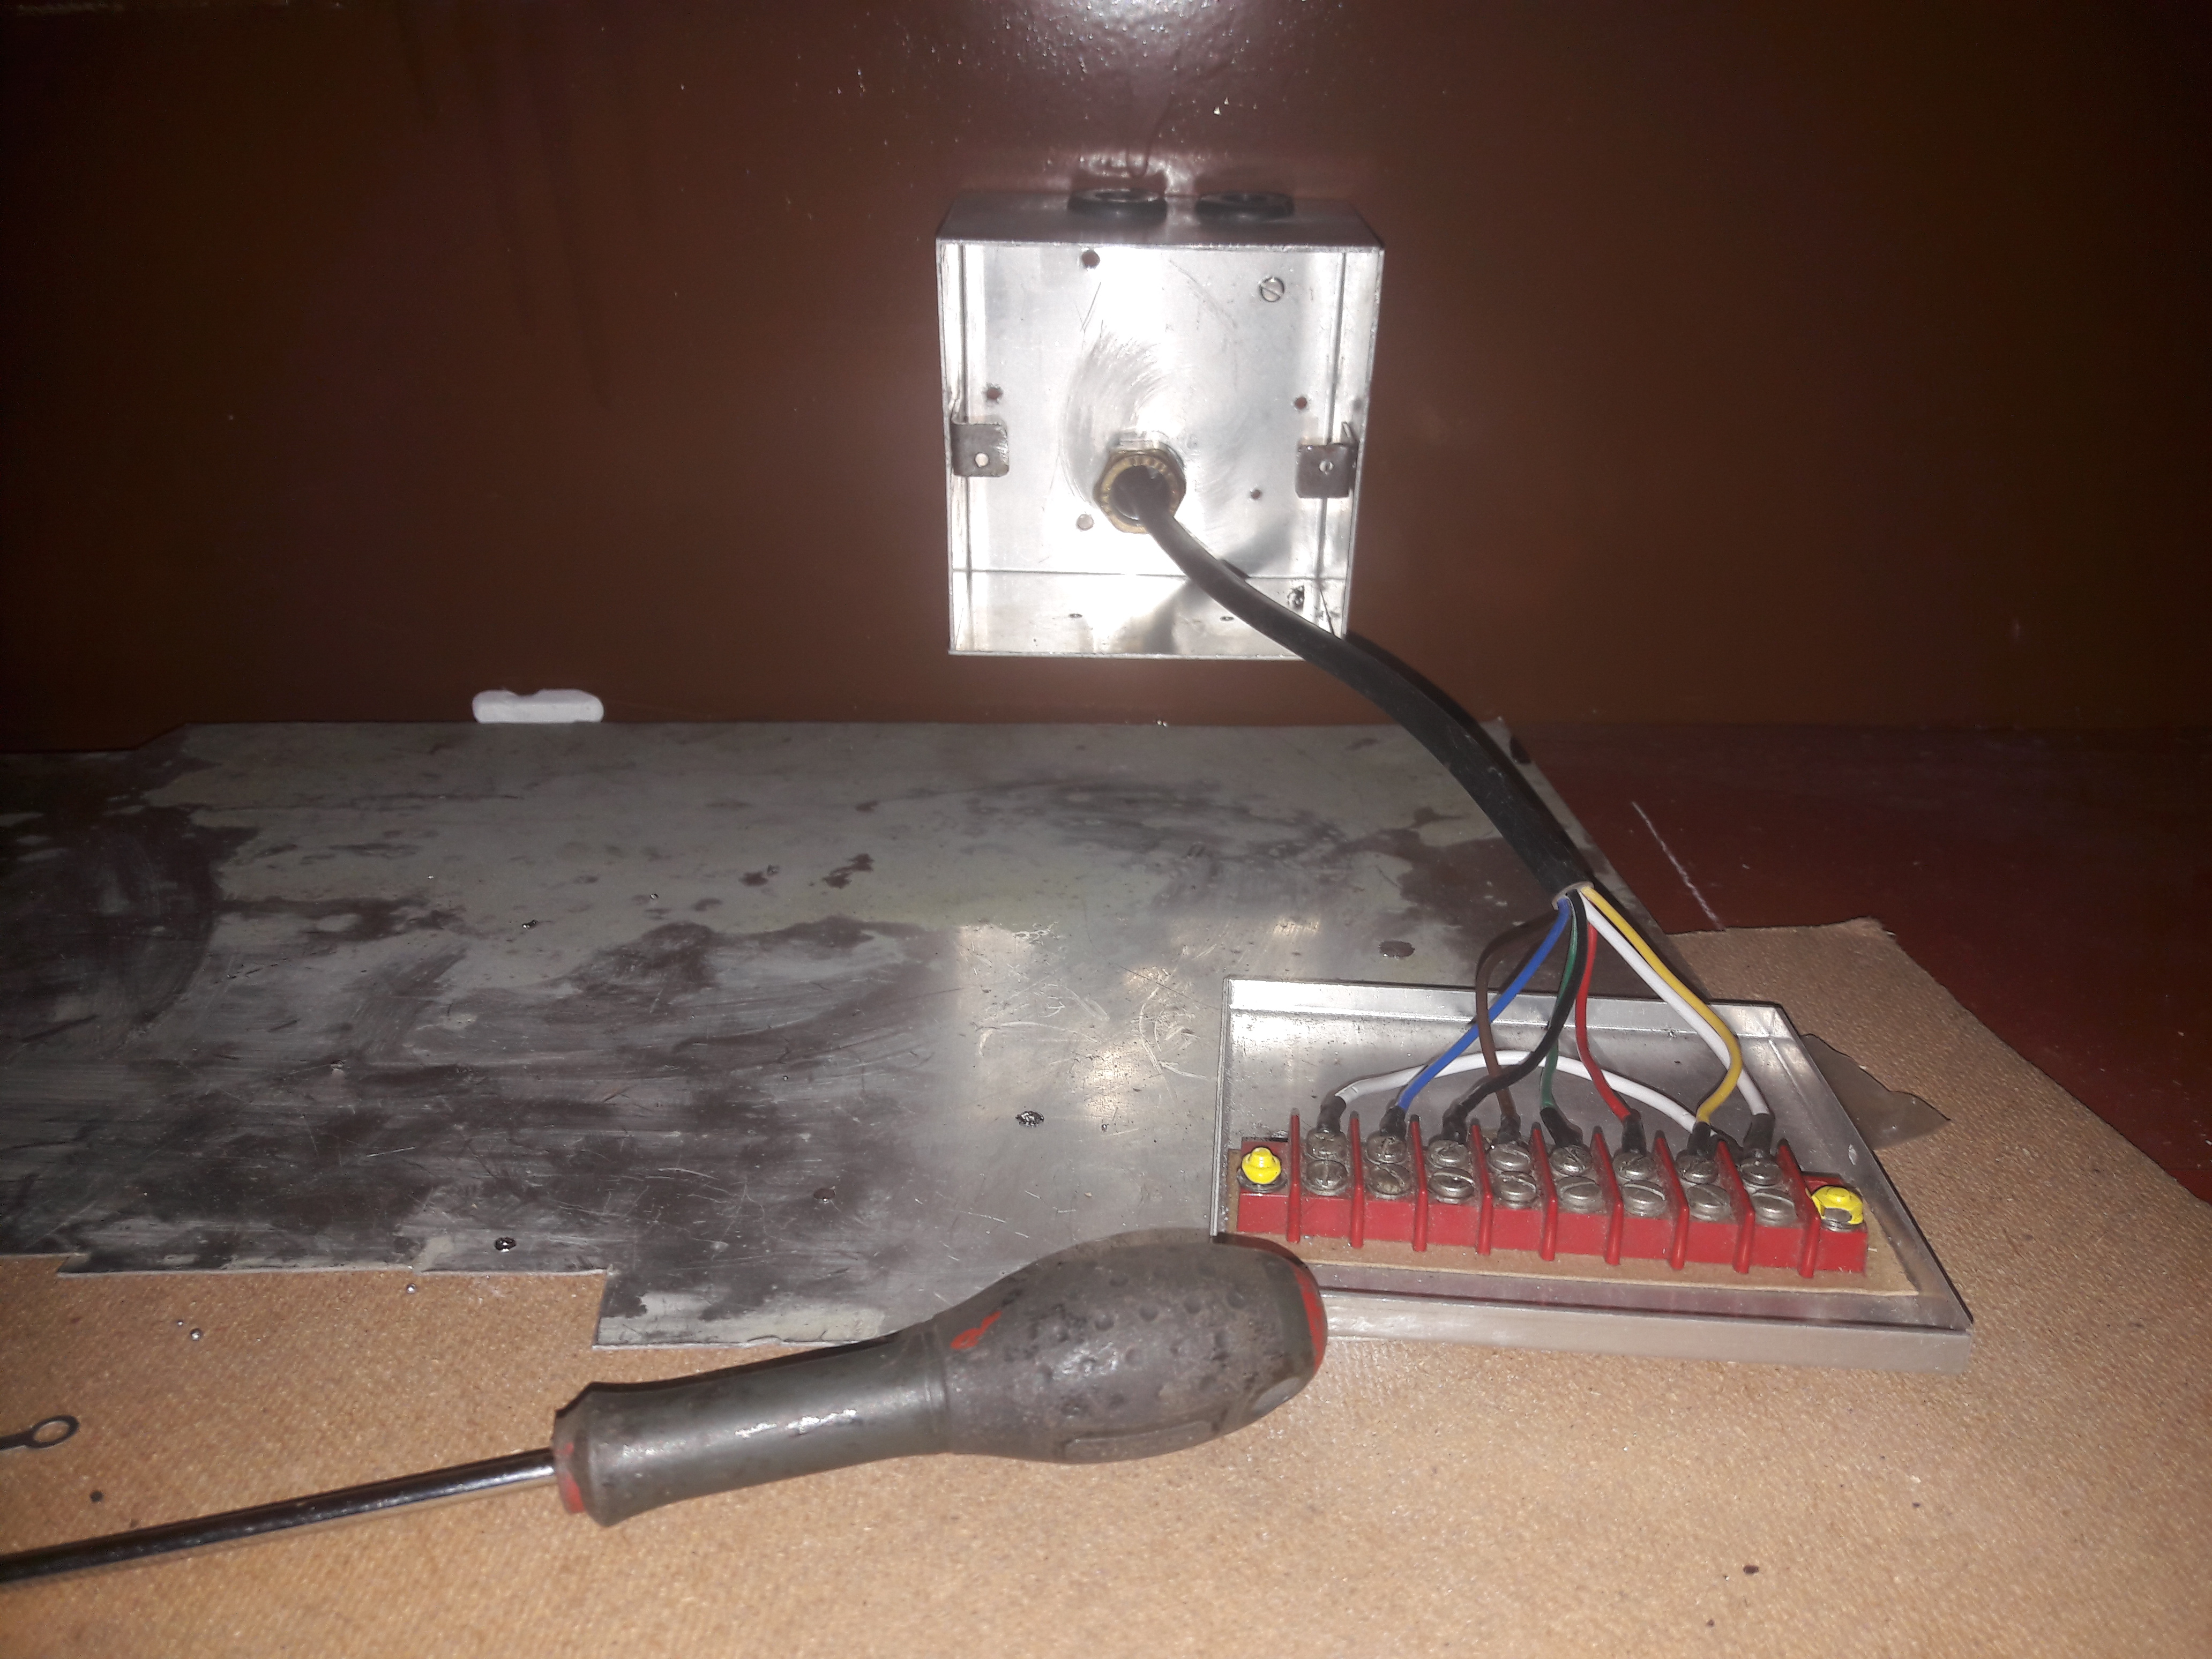
The electrical control box in the cab was refurbished and connected up to the new wiring.
The rear brakes were were attended to and the large servo removed and refurbished.