
Yesterday I finished screwing the boot floor OS perimeter rail in place. Today was spent finishing the joints to ensure the side pillars line up correctly for the cladding panels and packing any gaps in the joints. Late afternoon today I removed the rearmost boot floorboard as it is rotten all the way across. This gave me access to the top of the chassis at this point, where a lot of corrosion growth was evident between the insulator and the boot floor support. I removed the insulator and the corrosion growth and treated the chassis top surface with Vactan.
Tag Archives: chassis
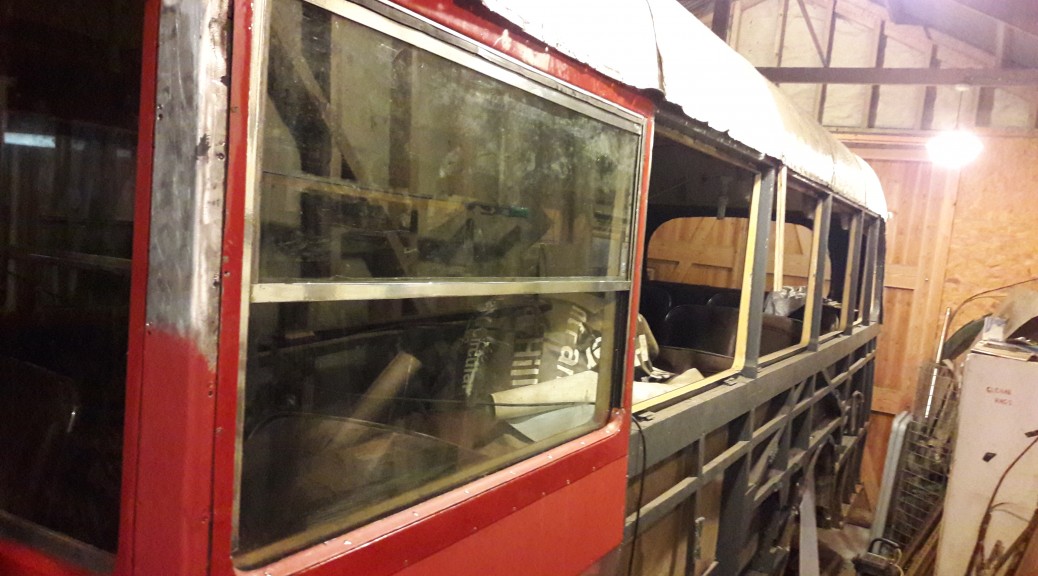
31/12/2019 and 2019 summary
Today was spent cutting the box section stock for the remaining window frames. This is almost complete and just requires cutting to length.
As it is the end of the year, a summary of work completed in the last twelve months is appropriate. 2019 has been the year of bodywork.
Starting at the front, the main steel bulkhead has has been fully repaired and painted.
New steel has been grafted into the roof structure above the entrance.
The complex shaped aluminium fairing immediately in front of the entrance was repaired by welding and refitted.
The entrance steps have been completely replaced with new steel and new mahogany treads. The floor around the entrance has been replaced.
The nearside chassis member outside face has been silvered from the rear wheels forward to the engine bay.
The nearside main body frame has been repaired, new steel flitch plates made and fitted and painted from the front rearwards to the rear wheel opening.
Two fixed-light window frames have been rebuilt and are awaiting glass. Five droplight frames have been manufactured and the remaining three are in progress.
The first bay rearwards from the entrance has been completed with new panels and the first half drop window completed and installed.
The plan for 2020 is to complete the nearside, rebuild the rear end and boot and progress to the offside starting with the emergency door.
5/6/2019
Started the month of with the following jobs. First, removed the remaining screws from the angle-iron floor support by the entrance. Removed as much corrosion as possible then checked that it was structurally sound. Gave all of the steelwork in this area a good coat of Vactan ready for oxiding. Last job of the day was to cut the top step to size from a piece of mahogany.
Next, I oxided the angle iron frame for the entrance floor, two good coats.
Silvered the N/S chassis member, two coats applied, one first thing and the other late afternoon using spray and a mix of smooth and hammered finish hammerite.
More painting , two coats of silver hammerite on the entrance floor support frame.
Next, I trimmed the lower step to fit the frame taking into account room for the riser panel and the csk screw heads to mount the riser. Ordered some 25mm No.8 screws for fitting the wooden step treads from underneath.
Exhaust clamps arrived but no sign of the tubing!
I primed the exposed woodwork in the entrance floor area then cut a small section of floor board to fill in to the left of the step well.
Painted a coat of grey onto the primed woodwork from yesterday, ready for installation of the new floor.
Cut the triangular floor plate out of galvanised 3.5mm steel. This will support the new floor in the entrance area. Primed it with some Hammerite “T-wash” that I’ve had for a very long time and came from Ashley Autos on Ashley Down Road!. Cut the first floorboard piece out of spruce tongue and groove.