I can’t believe it’s a month since I last recorded any progress. However, there has been progress; lots of rusty screws have been winkled out of the offside framing, several rust-eaten flitch plates have been removed and the first three replacements manufactured. The emergency door hinges have been freed up, de-rusted and prepared for painting. The frame around the emergency door opening has had all the rusty screw and nail remains removed and the holes dowelled. A new steel plate for the top right corner of the door opening has been manufactured and is ready for installation.
More lower side panels have been removed and the fuel tank exposed, this will need to be dropped and cleaned ready for treating any rust and repainting.
Most recent work (today and yesterday) has been cutting out rotten timber framing above windows 3 and 4 apertures. I cut some Iroko this afternoon in preparation for repairing this section.
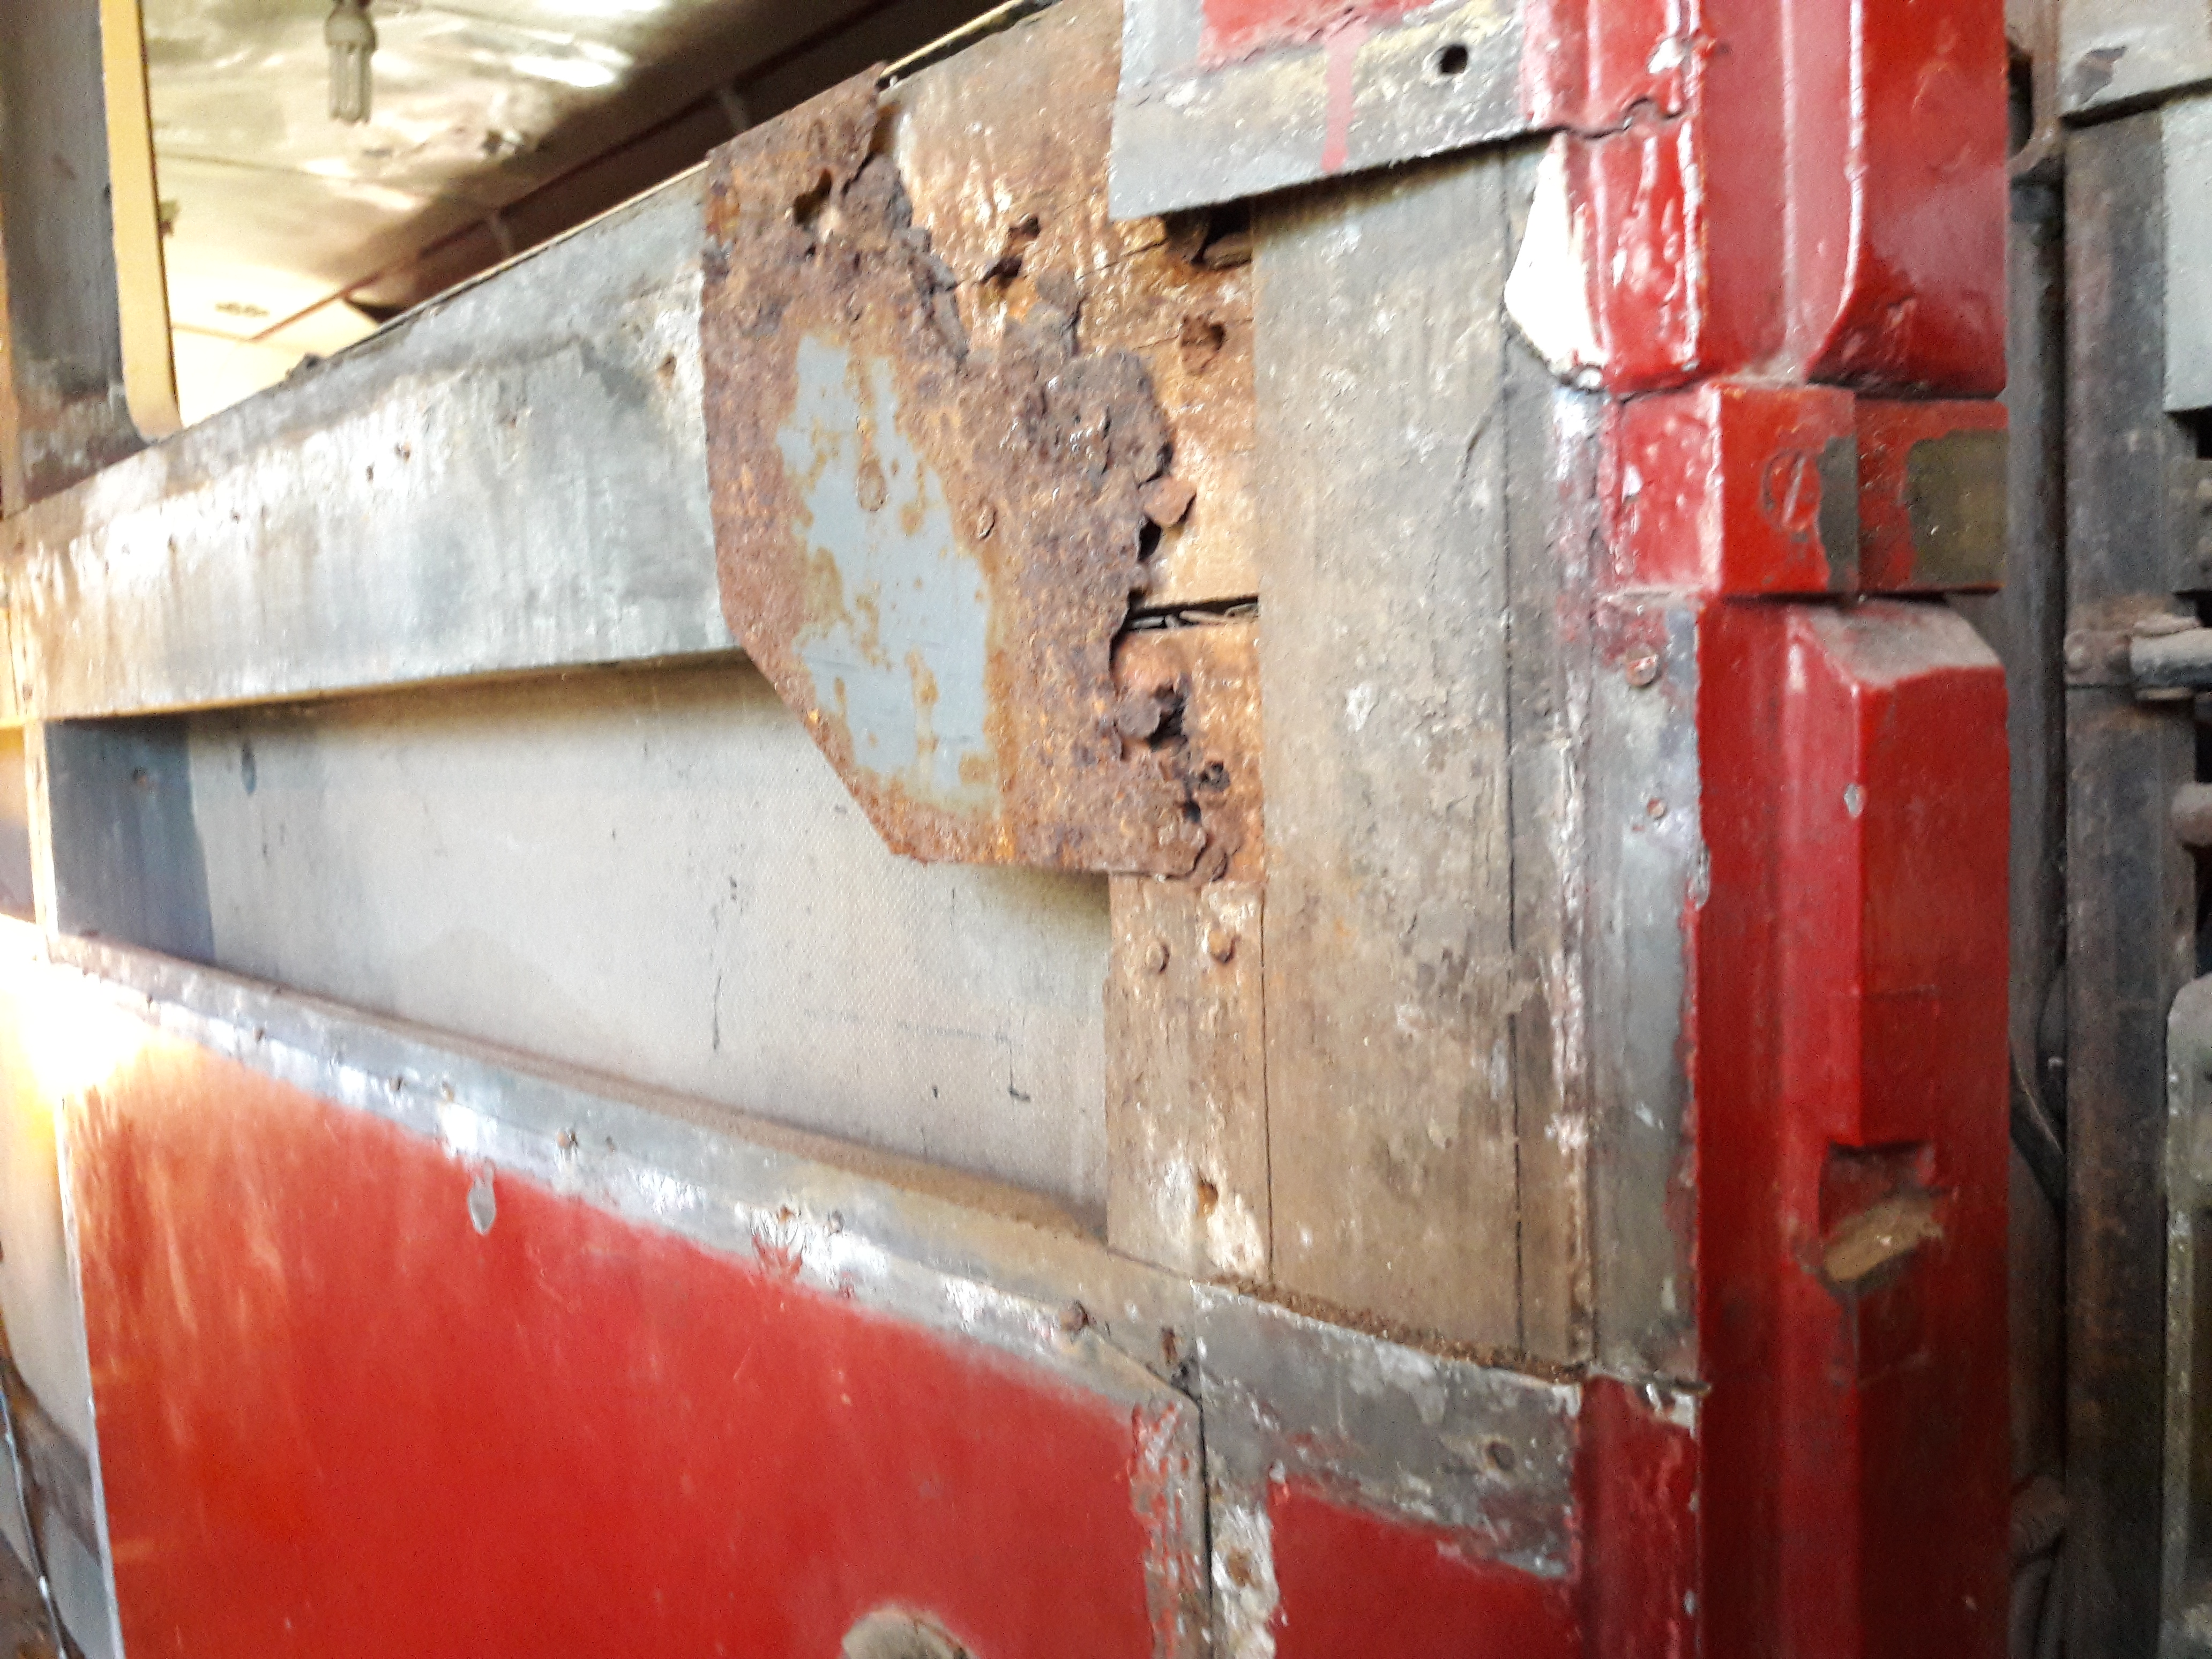
Heavily-corroded flitch plate at joint between wast rail and cab door frame vertical.
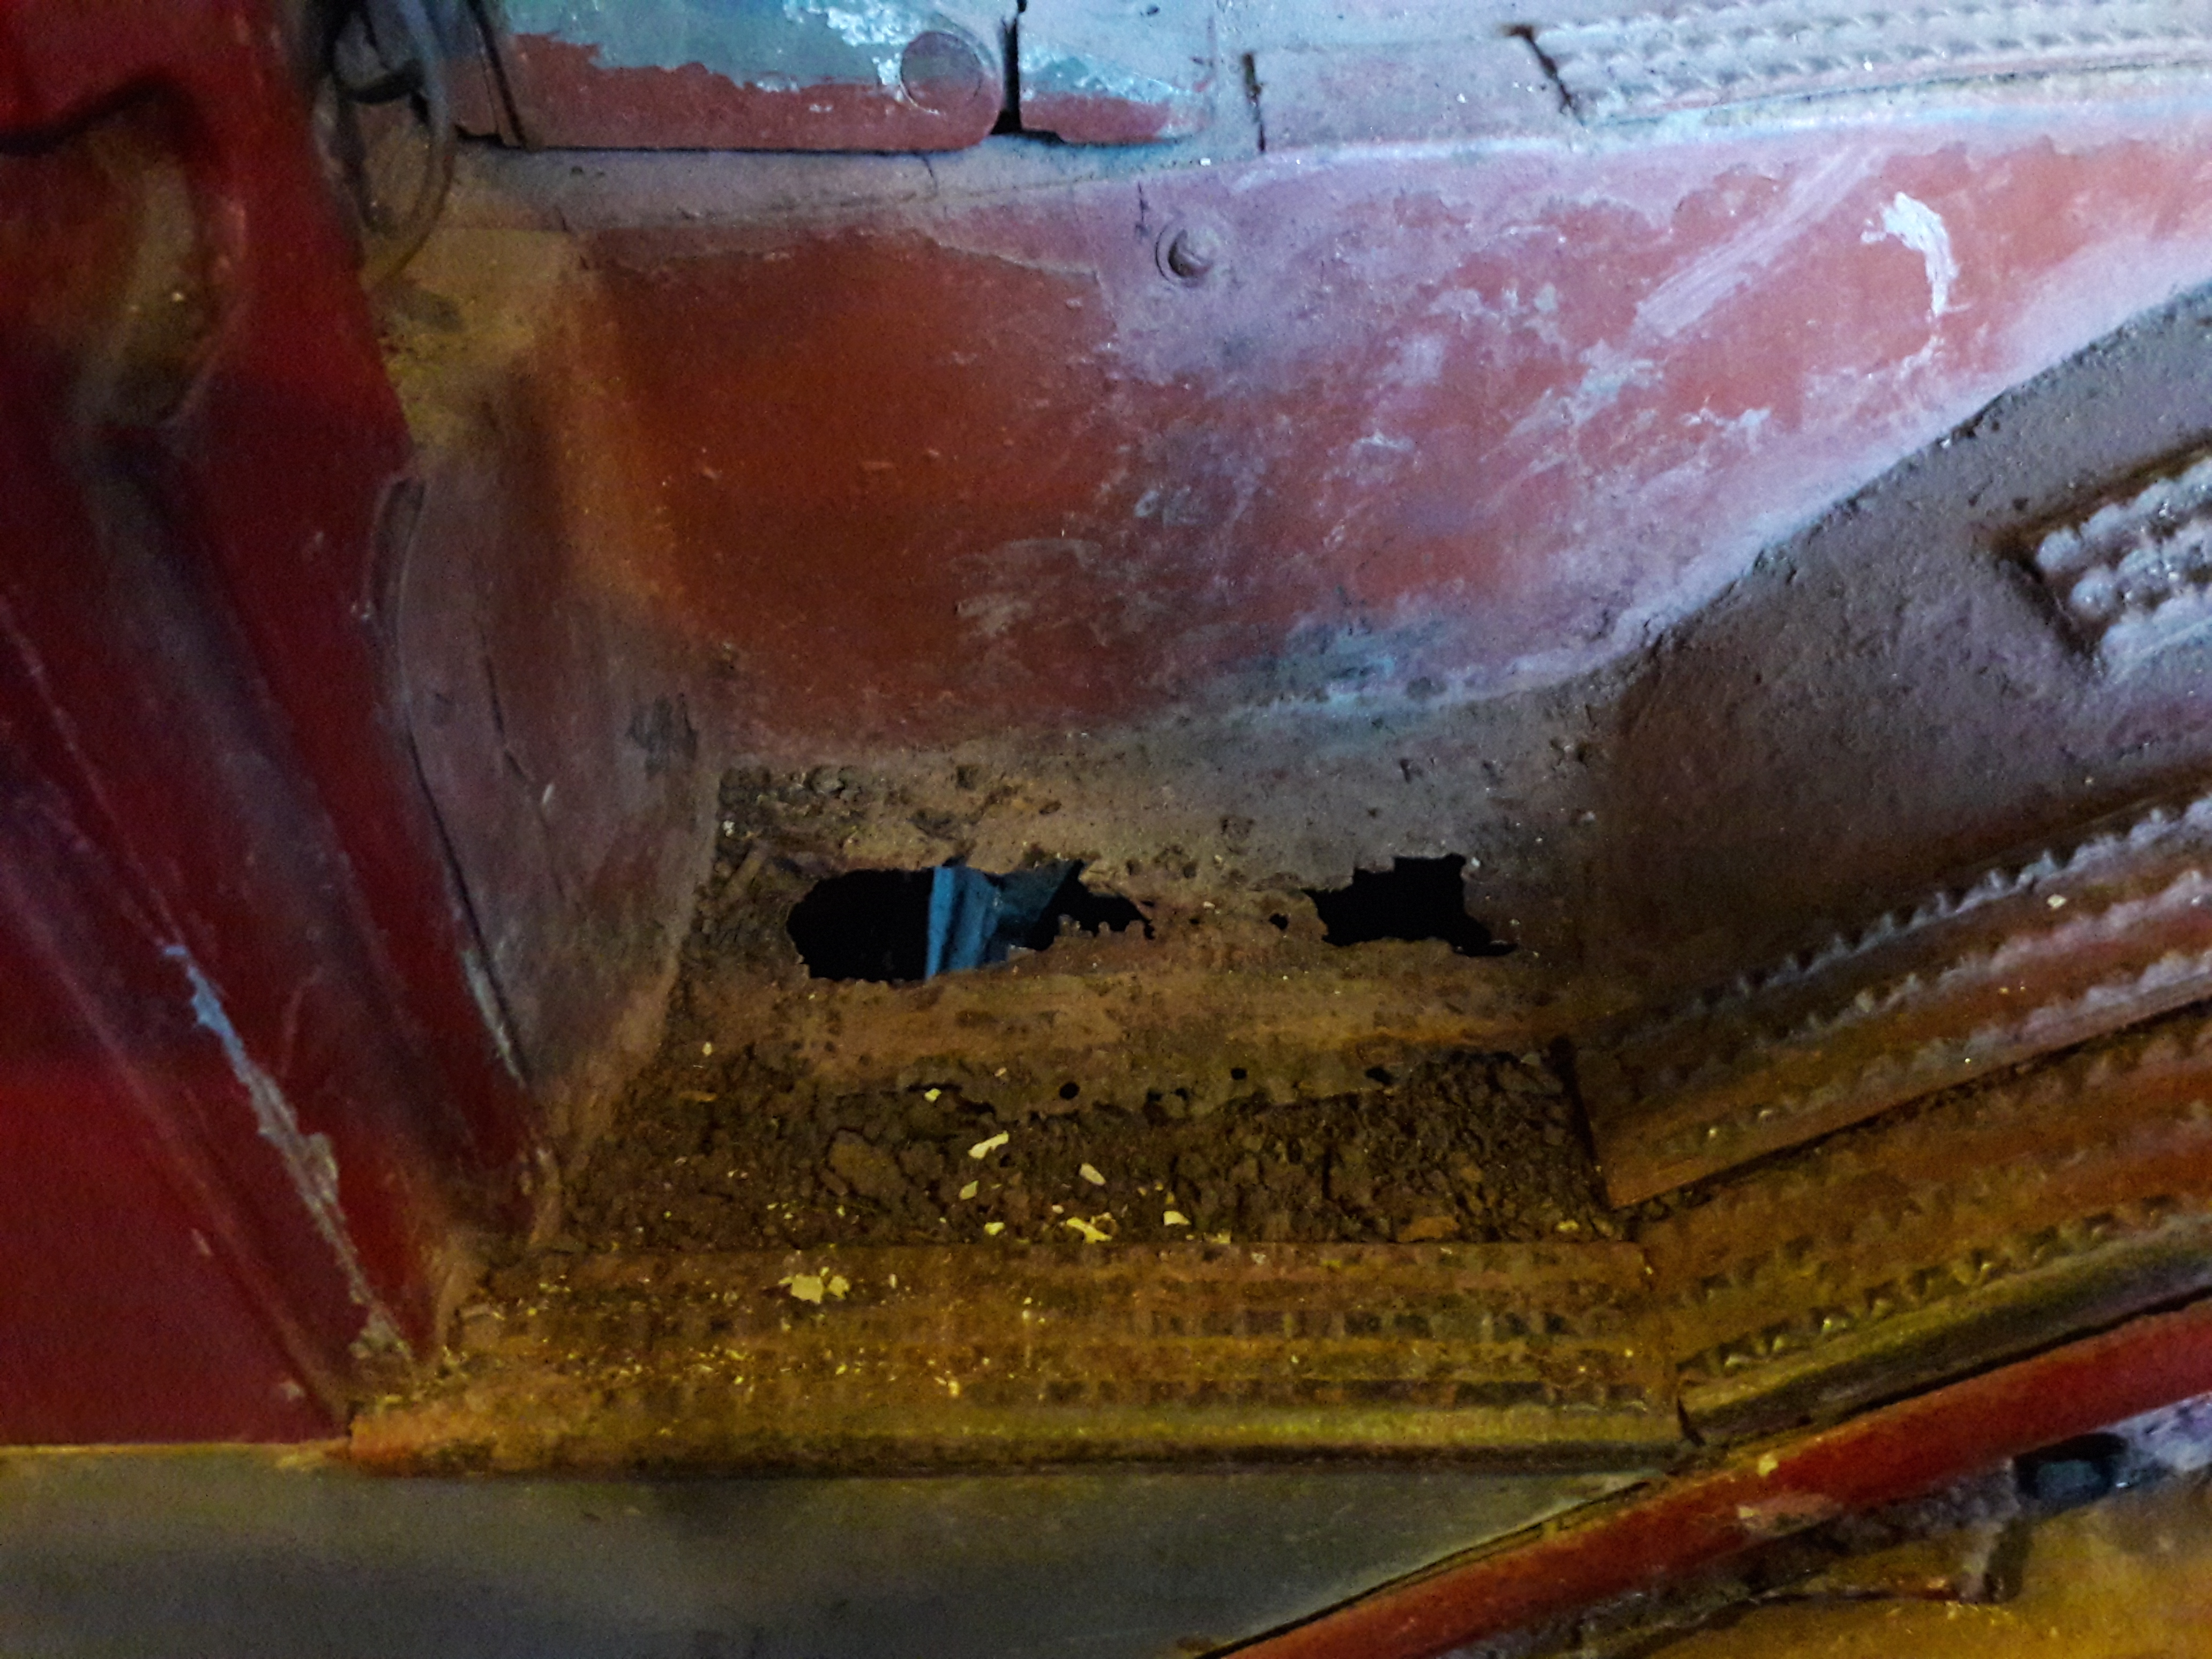
Corrosion in the cab step.