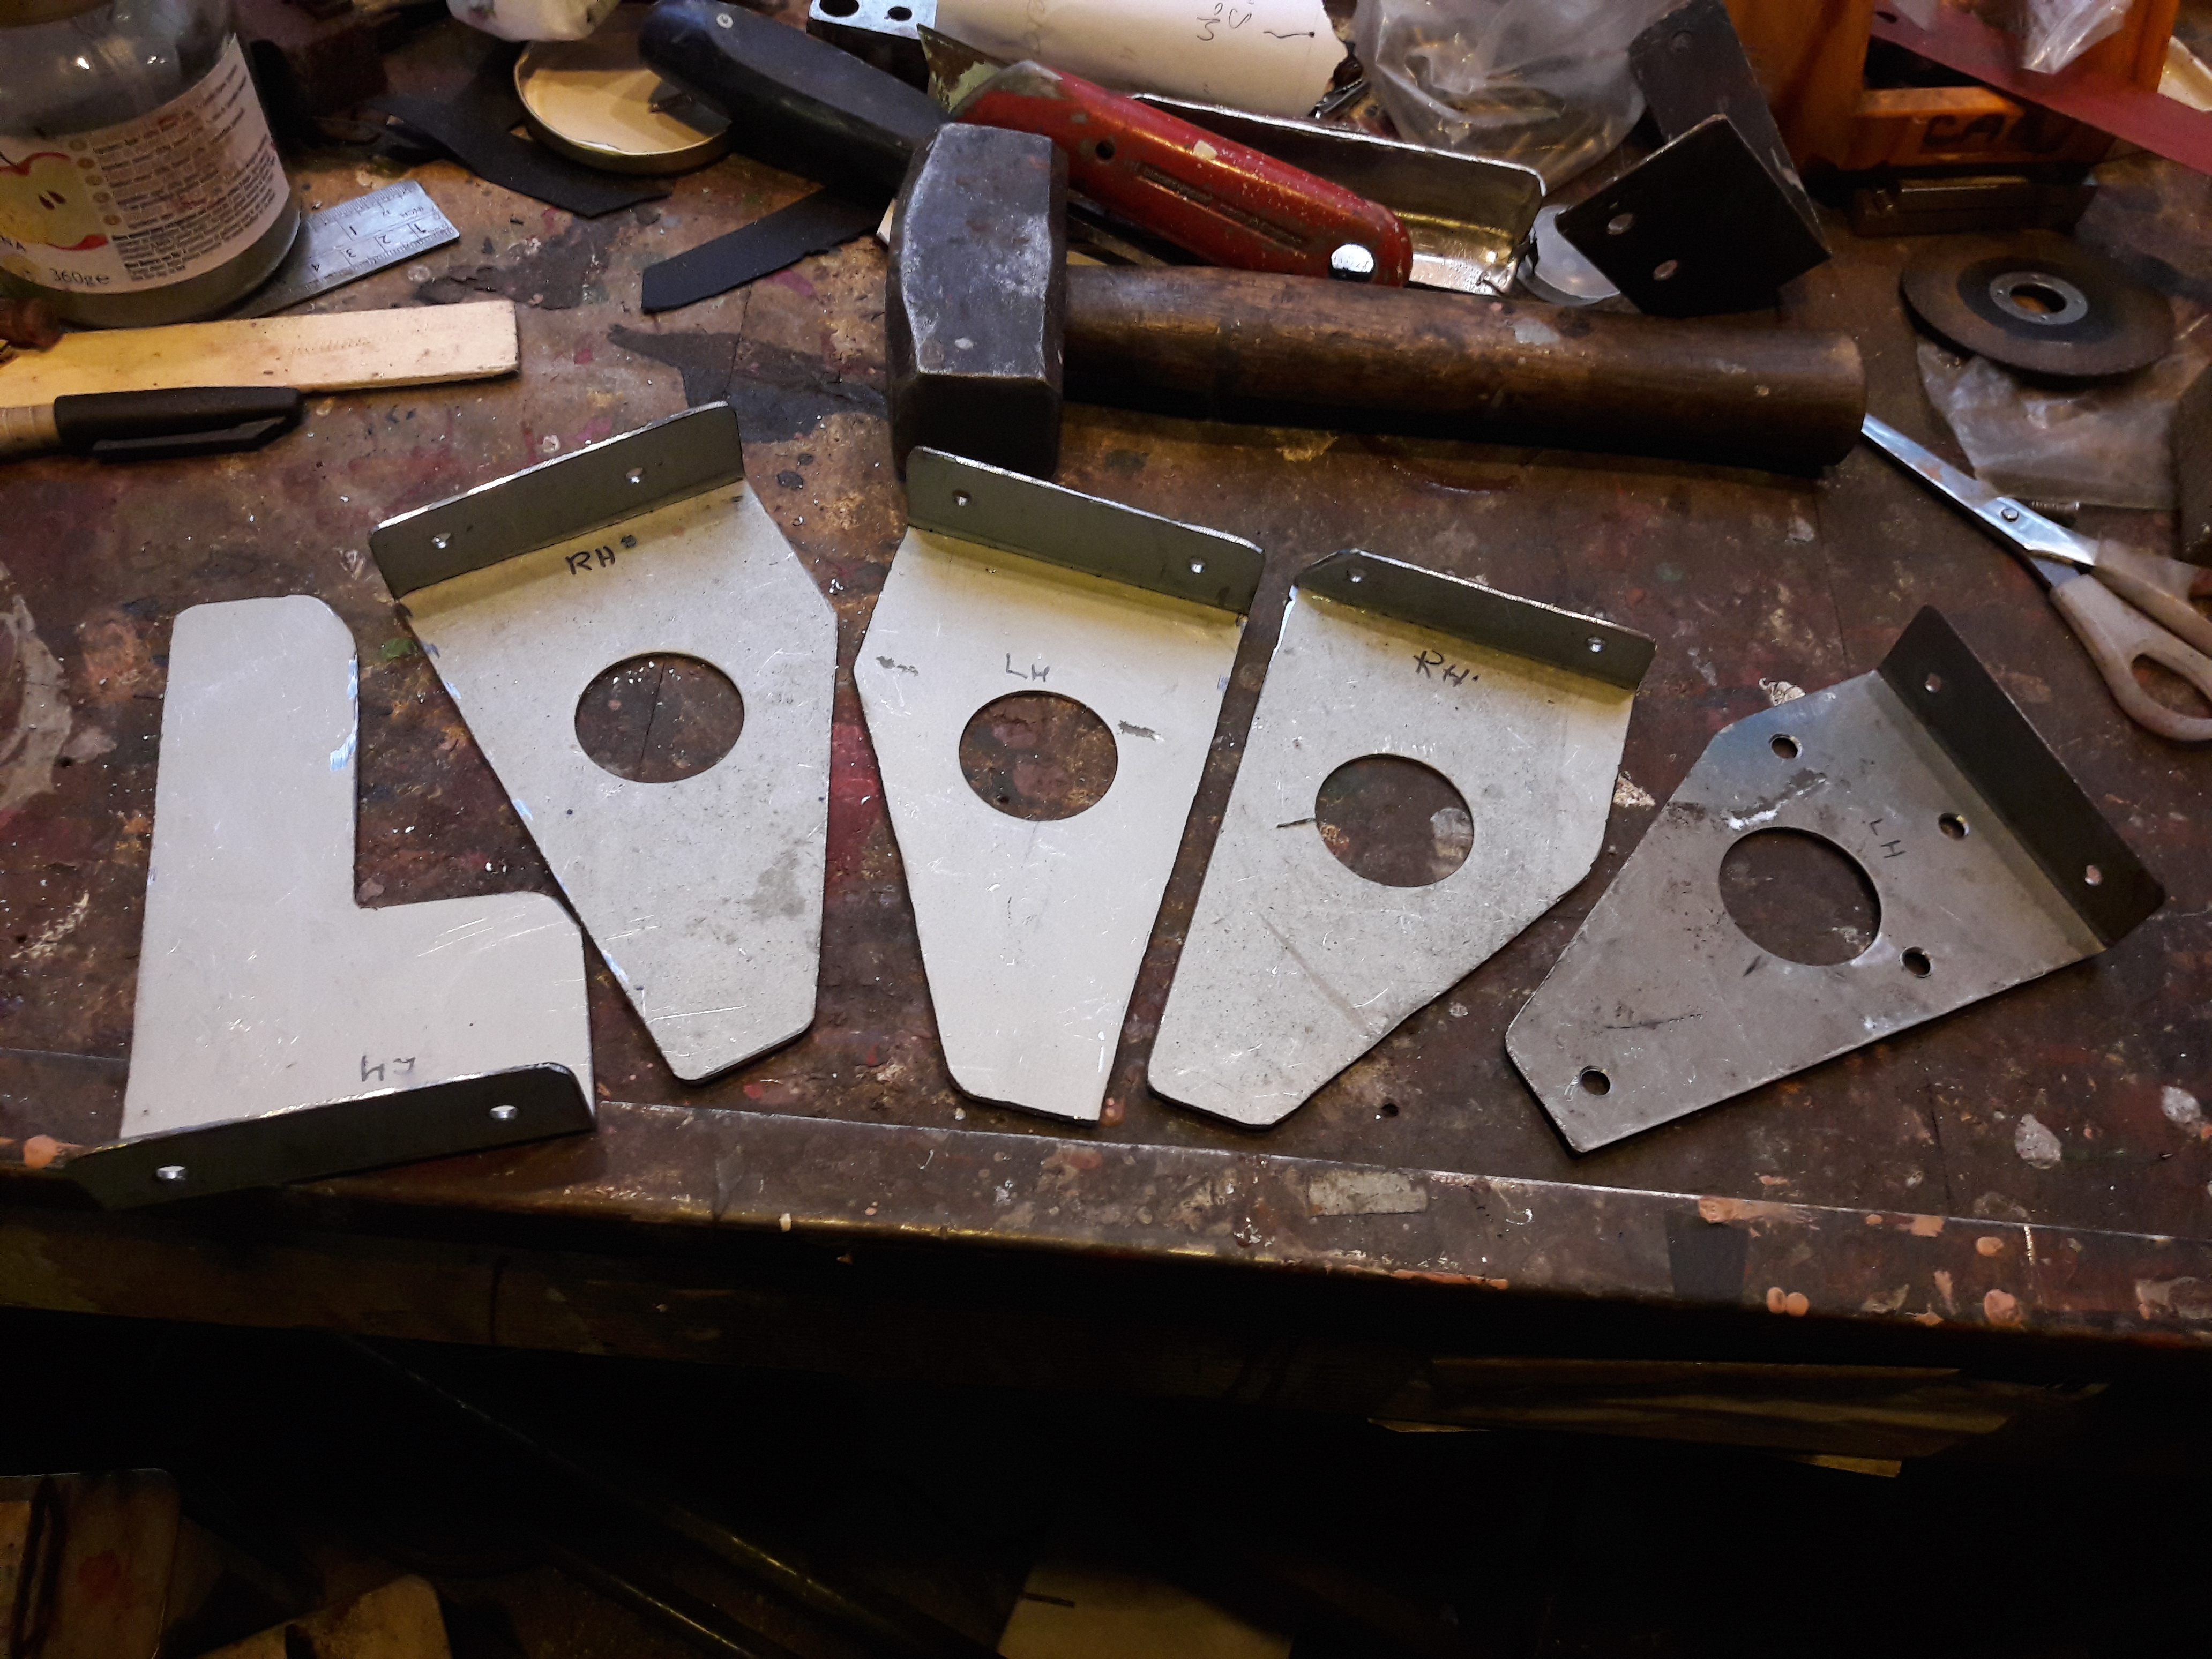
Work has continued this week on getting the siderod components ready to fit. All the woodwork has been cut and drilled and the metal brackets, including a special one by the fuel tank mount, have been fabricated and drilled and are in the process of being painted so they can be fitted.
Side rod lower leg brackets for the offside, the odd one is necessary because the fuel tank is in the way.
This week I have been tidying up the cab ready for reinstalling the floor. I painted the pedals and the handbrake lever and touched up the silver on the chassis to hide the drips from painting the cab. I made and fitted the rubber seal for the handbrake lever, one side to the metal section and the other to the hinged wooden floor section, using the replacement clamp plates I made previously. I fitted the gear lever gaiter to the floor section as well. I need to eliminate the horrid bracket that is holding the fuel pipes and also realign the starter motor cables so they will fit in the floor rebate and not stress the motor terminals. As a change of routine I made two of the remaining three vertical side rods for the offside frame.
Applying undercoat by spray turned out to be more trouble than it was worth and the finish was just as good from a roller. So I applied another coat to both the o/s rear corner panel and the mudwing. The mudwing will need a bit more flatting and another coat before its finished. This week I have been making starter motor cables and shortening the dynamo cables so they will fit the control box when it is reinstalled. I also applied filler to the bottom of the rearmost o/s panel where it meets the frame and is flat as it fitted poorly to the vertical beading just before the emergency door.
Restoration diary of a 70-year old AEC single-deck bus and the trials, tribulations and adventures of our 1966 Bristol bus.