
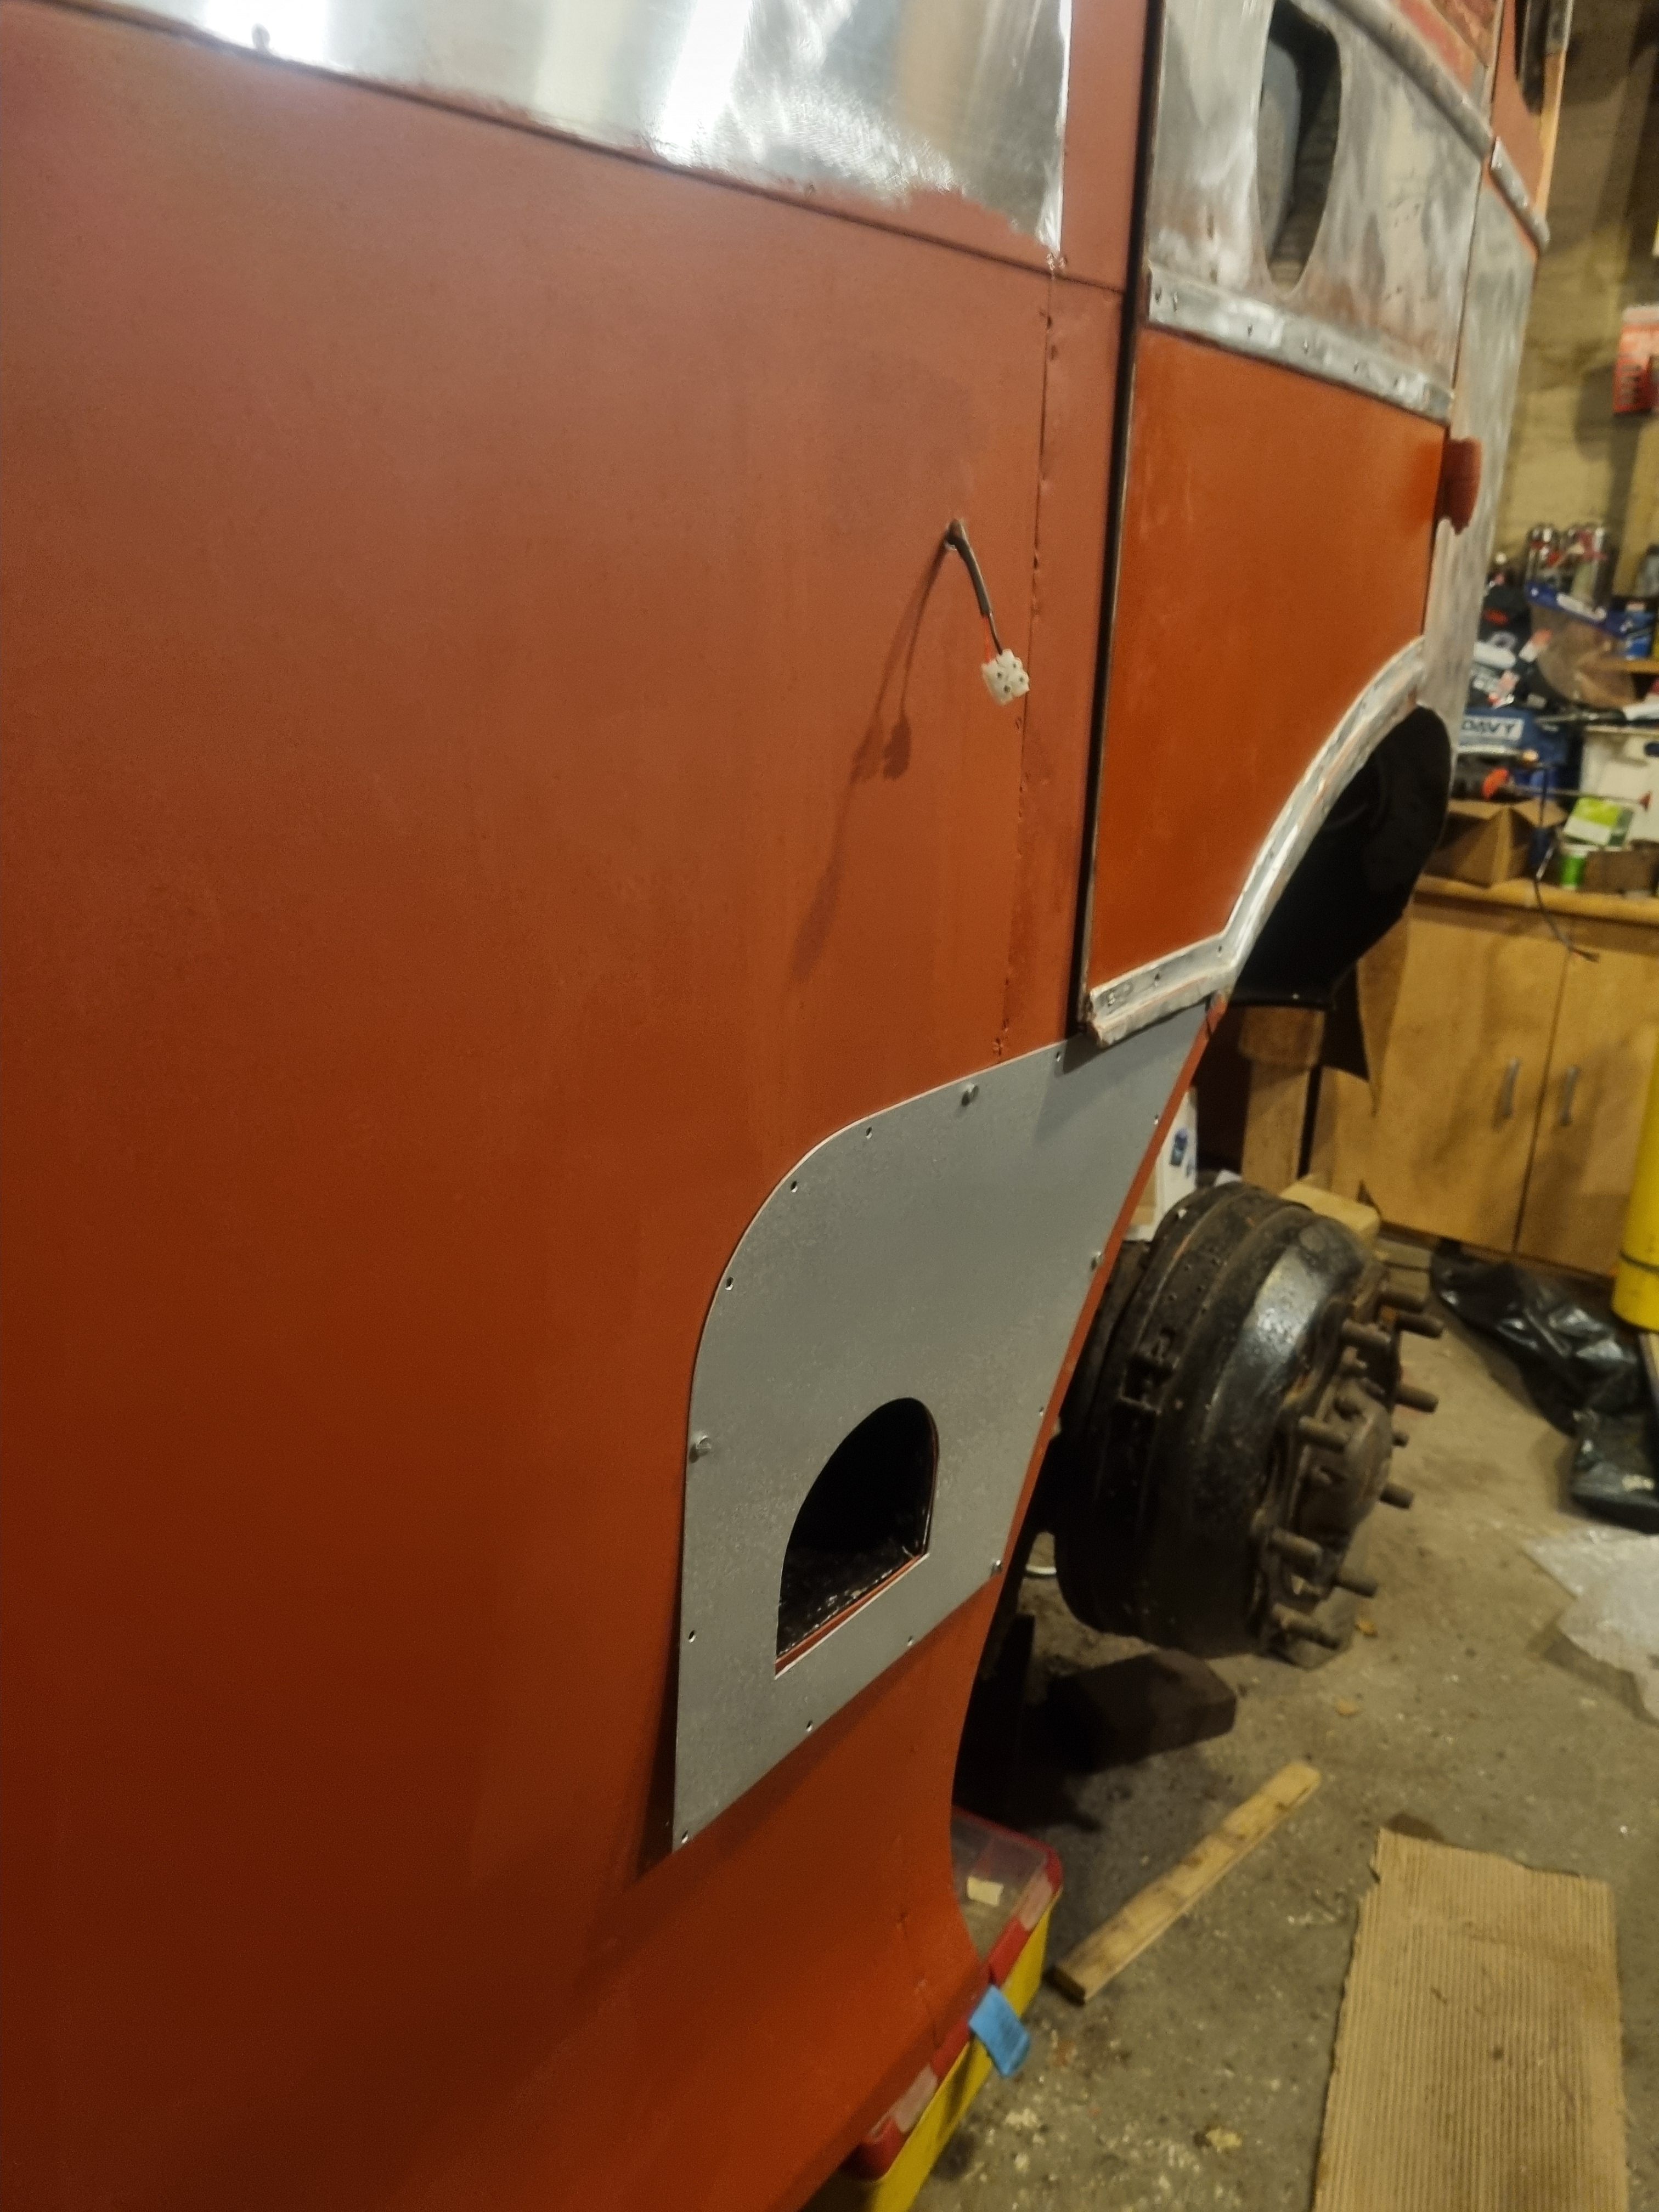
This week I only had a few days work as Christmas intervened, but I was able to prepare for prime all the lower panels on both sides of the bus. This included abrading the clean metal and then priming the O/S, this had to be done to allow fettling and fitting of the splash panel and protector around the the tank filler. Some filling and sanding was necessary on the N/S, the first panels fitted in November 2020. The nearside panels have now been primed, revealing more filling is required to the lower part of the first two panels from the entrance rearward. As P38 is very sluggish in cold weather some alternative filler has been ordered which will hopefully arrive soon. As a prelude to building the remaining window pans, I started fettleing the frame uprights in preparation for the chrome vinyl covering.
As this is the last entry of the year, a summary of work completed in the last twelve months is appropriate.
This year’s work did not start until February, due to my spell of ill health.
New metalwork for the cab was fabricated and fitted and the cab painted throughout, allowing the floor and some fittings to be reinstalled.
“Low Racks” signs were designed and made for the seat backs.
A correct cooling fan was obtained by Ian and fitted by me.
The destination box was painted throughout and is ready for electrics and blinds to be installed.
New fuel pipes were made up and connected to the tank and the existing piping that runs behind the engine.
A new speedometer cable outer was manufactured and the cable connected to the speedo.
All the chassis wiring has been renewed and a multicore cable laid in conduit along the chassis to the boot. A new cover was fabricated in aluminium for the wiring where it enters the control bux under the cab floor.
The O/S rear wheelarch was fabricated, fitted and prepared for paint.
The O/S rear corner panel was filled, sanded and painted and all the O/S panels fitted and primed.
Kick panel for driver’s step temporarily fitted
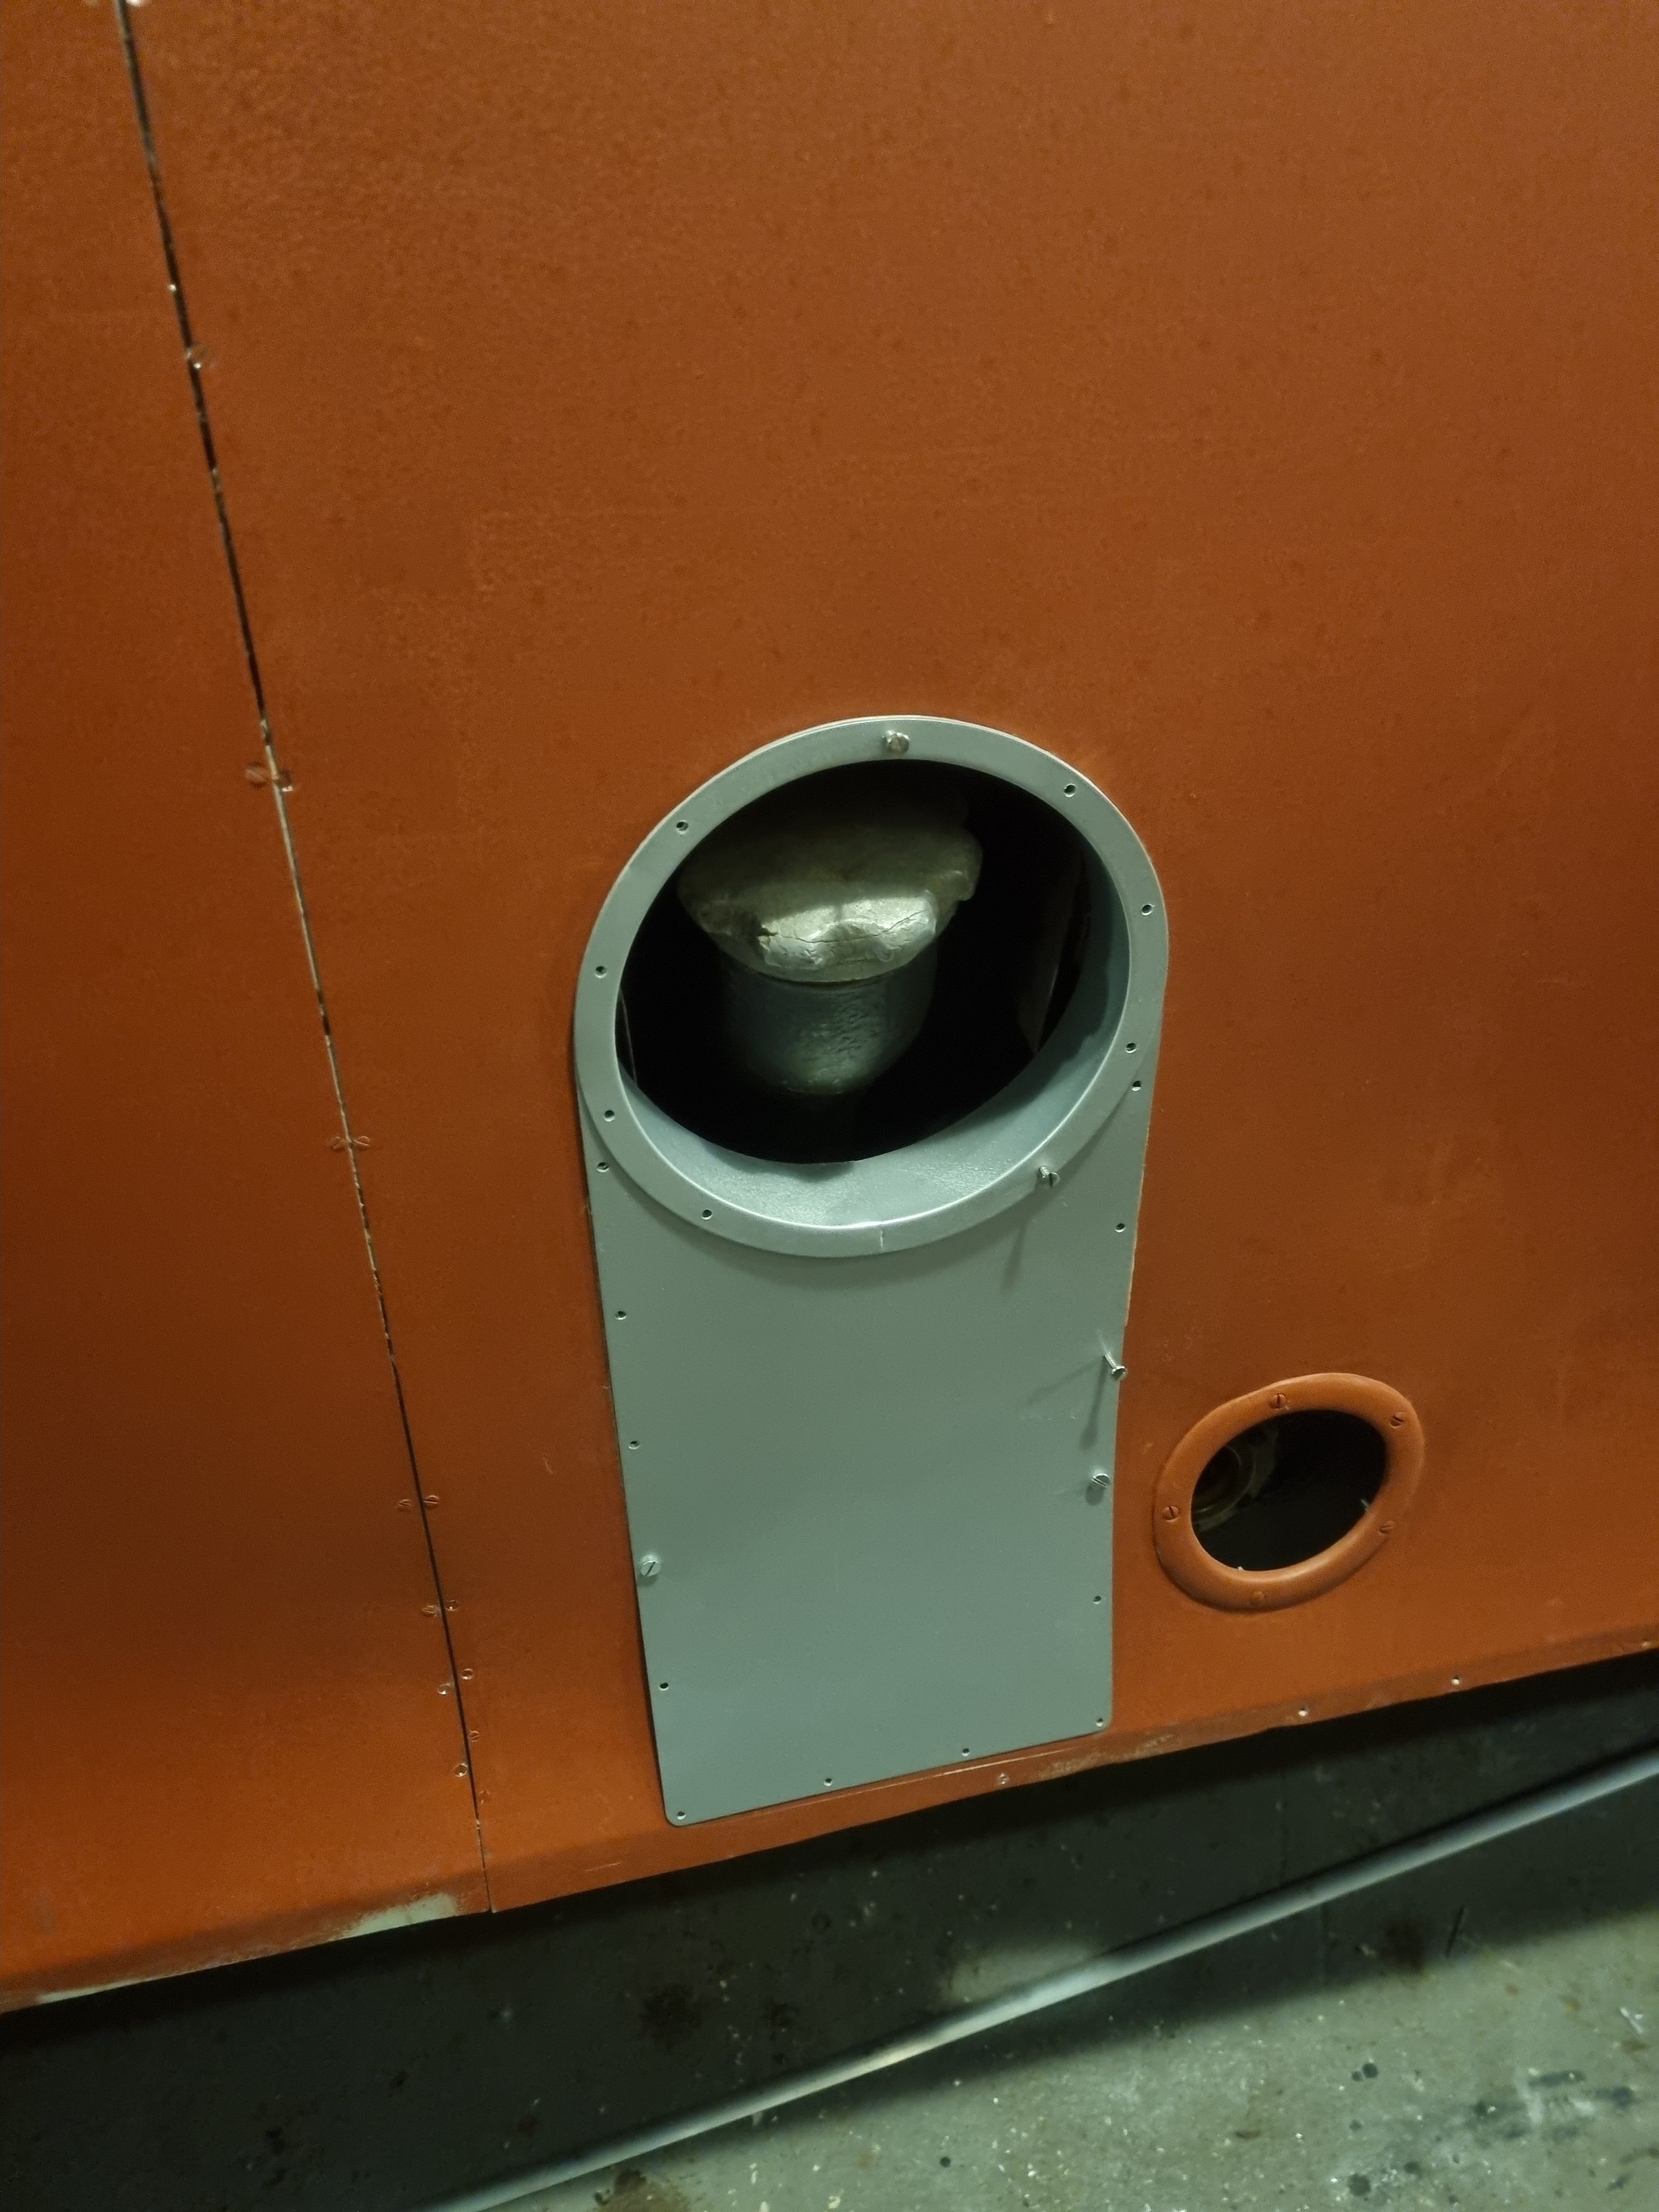
Splash panel for fuel filler temporarily fitted to check alignment