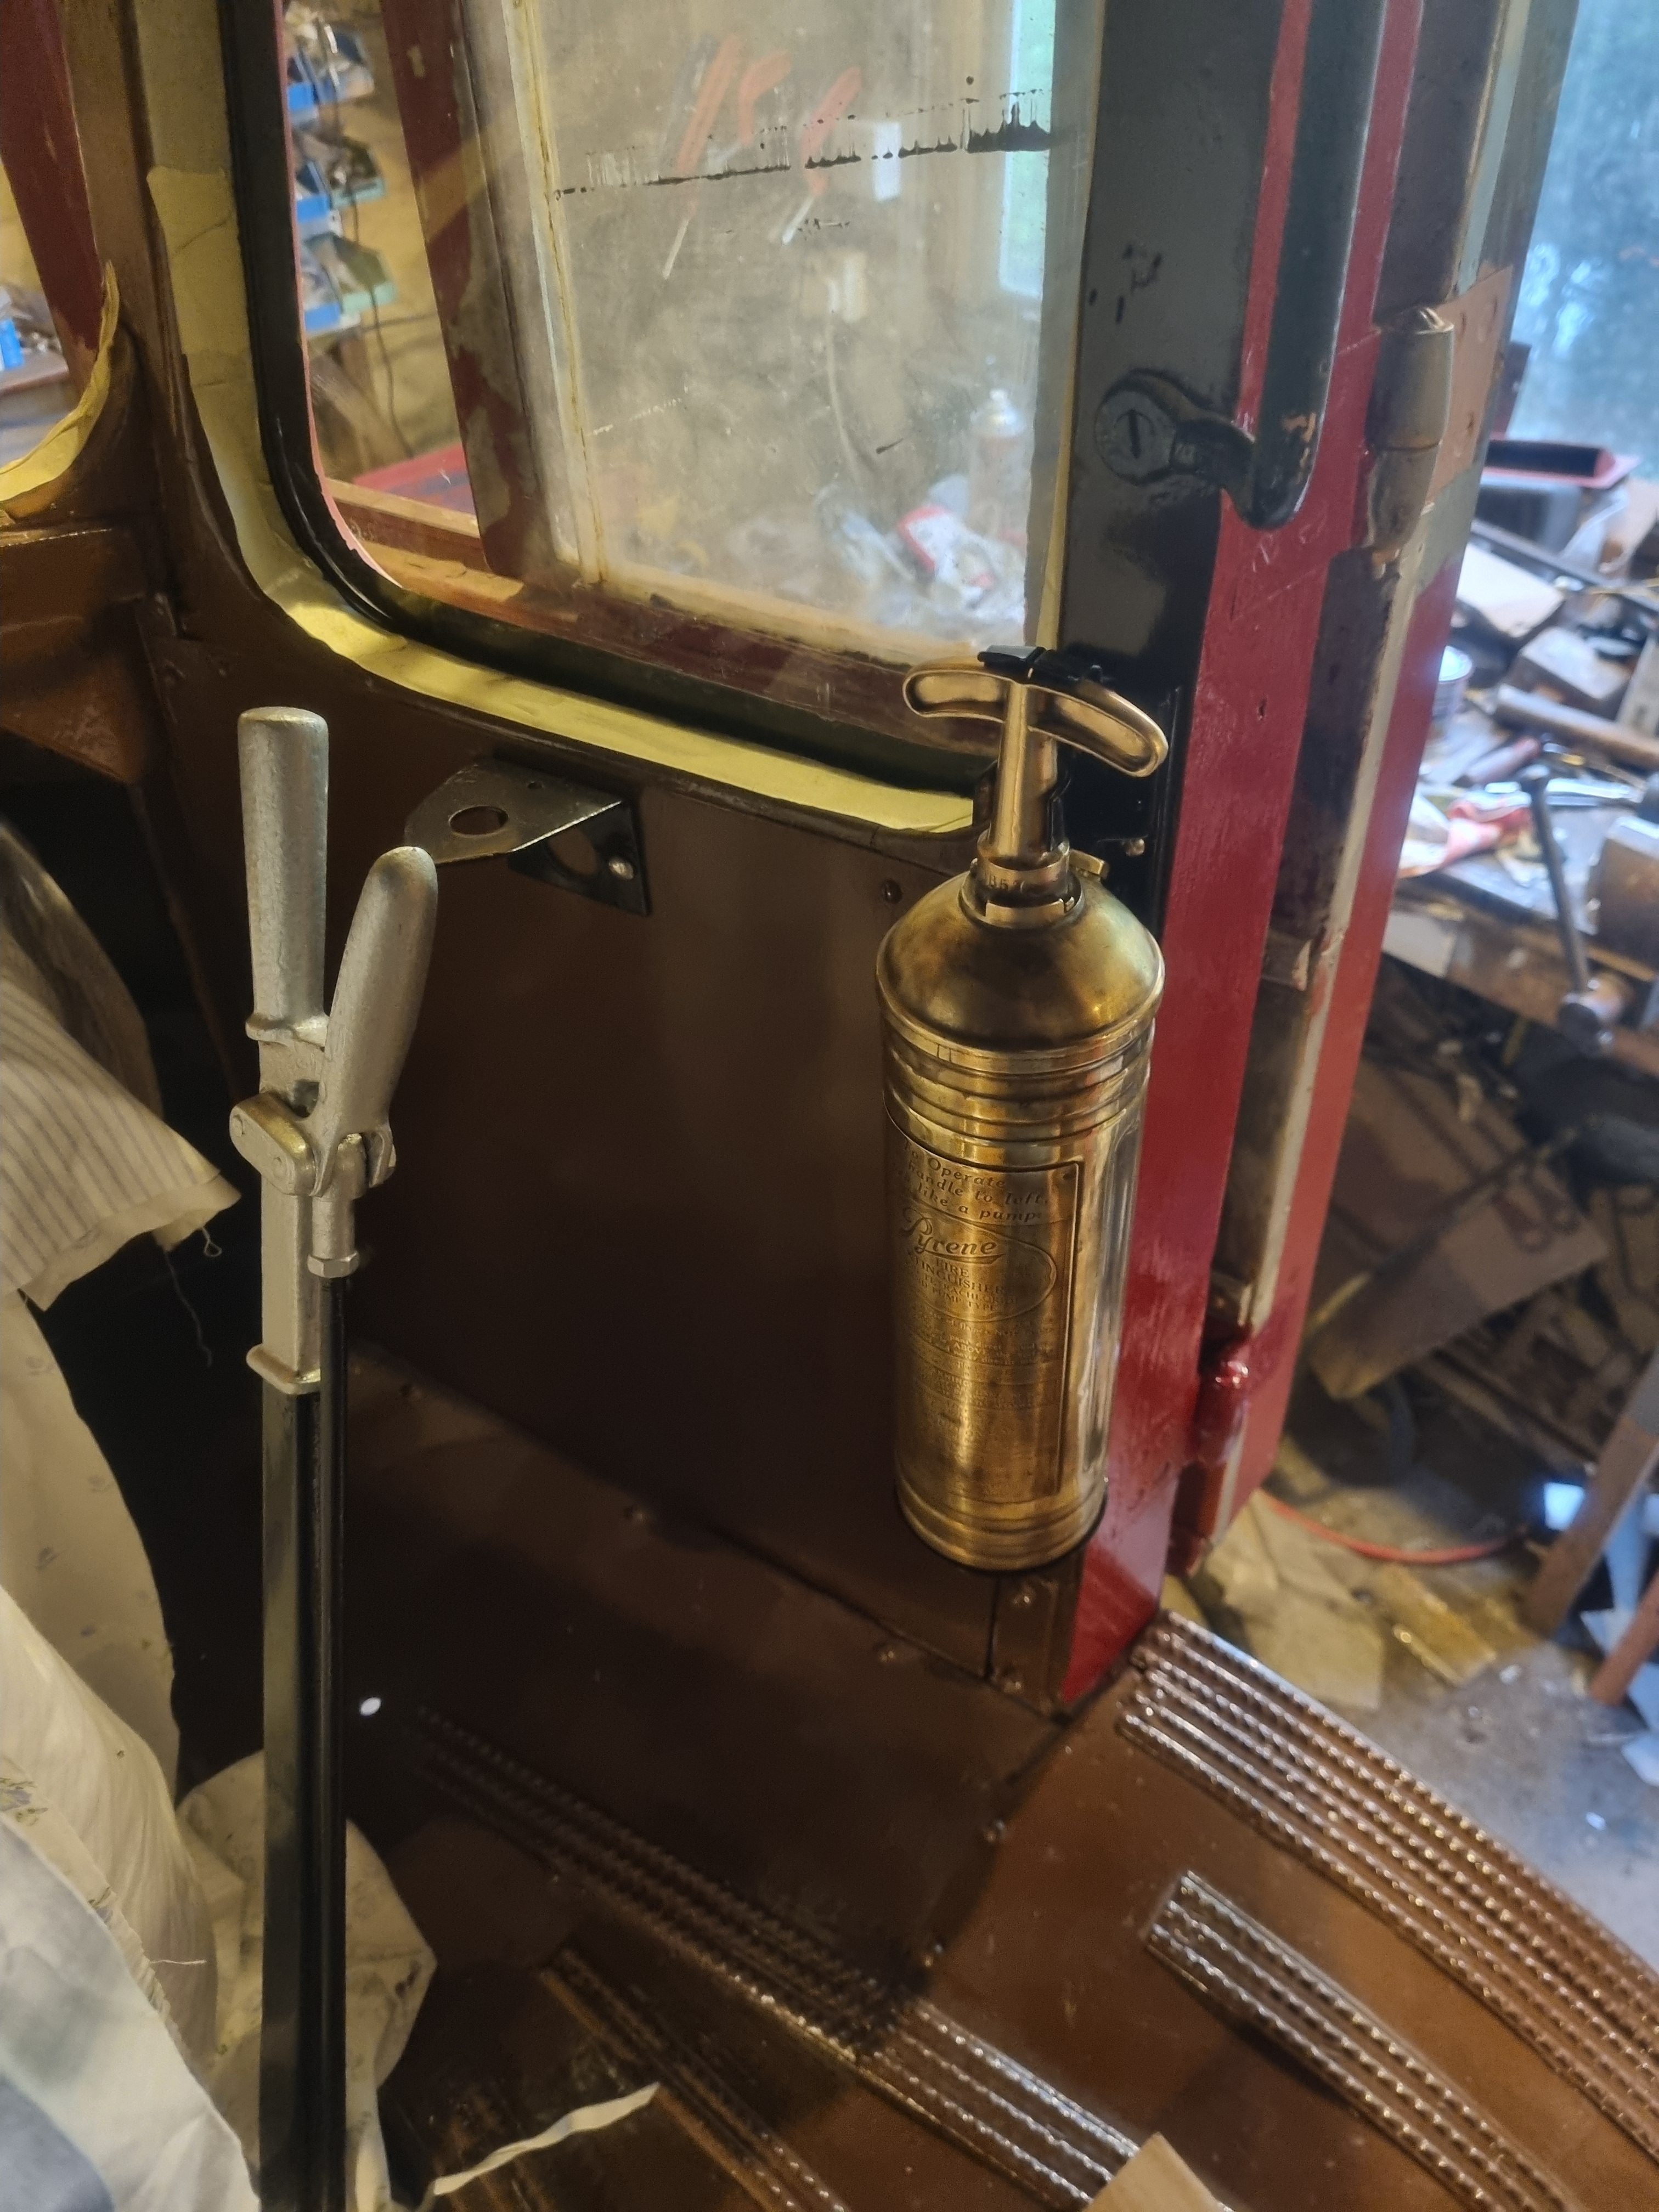
Started the week by painting the visible bit of the outer panel at the top of the cab side window opening and preparing the triangular window glass for installing in the cab. As I had some topcoat left over I painted the emergency door step and the top and leading upright of the cab door frame. Next I started work on refurbishing the interior light switch box, removing the labels and cleaning them by knocking the awkward, tiny steel rivets. A job to do in between others! Next I fitted the fire extinguisher holder in the cab and polished up a fire extinguisher and placed it in the holder. At the end of the week I started stripping the remaining original paint from under the front canopy, a difficult, slow job but i made good progress. The last job of the work was completion of removing the labels from the switch box cover, ready for paint now.
Fire extinguisher fitted in cab and side window glazed.
Started the week by priming the cab ventilator after stripping the old paint and smoothing as many dents out of it as possible. Did a little work on the two remaining window divider bars, fitting the rubber and the “QuickTho” name plates. Investigated how to wire the inicator switch in the cab and decided on the following: 5-core from the switch to a box (purchased but not yet arrived) on the top frame of the cab door, where two cores can go to the flasher unit and three down to the terminal strip under the cab door for the indicators. Fleetname transfers arrived on Tuesday from Dan Shears – they look very old but hopefully will be ok as long as I take care putting them on. In order to facilitate the installation of the wiring in the cab for the indicators, I prepared and painted the the fire extinguisher holder with black engine lacquer as per the original. I also repainted the cab step kick panel as it had reacted with the lacquer. The lacquer seemed fine this time, a little dull maybe. I cleaned and polished the cab side triangular window glass, which I’m pleased to see is actually triplex, though badly scratched. I prepared the aperture for it, removing the remains of the rubber and some white filler and stripped and painted the the aluminium surround that holds it in place. I also removed the paint from adjacent panels and attended to some dents with filler so that is all ready for priming now.
First job of the week was to refit the mouldings over the wheelarches, securing the piping I fitted last week. In between that I gave the kick panel and tank filler splash panel two coats of clear lacquer. I’m still in two minds about fitting these, at least until a coat of undercoat has been applied to the panels to which they are fitted. Work was interrupted by the digitisation of the of the tapes of the bus, received on Monday from John Corah. I started to chromewrap the uprights for the half-drop windows but it did not go well at first, the results best described as adequate. Dependent on material and time I may do them again. I also started to prepare the painted window frames for assembly by cutting the nylon material neccessary for receiving the screws that hold the window parts to the frames. I started to do the curved corner pieces for the frames, I bent four and fitted two.
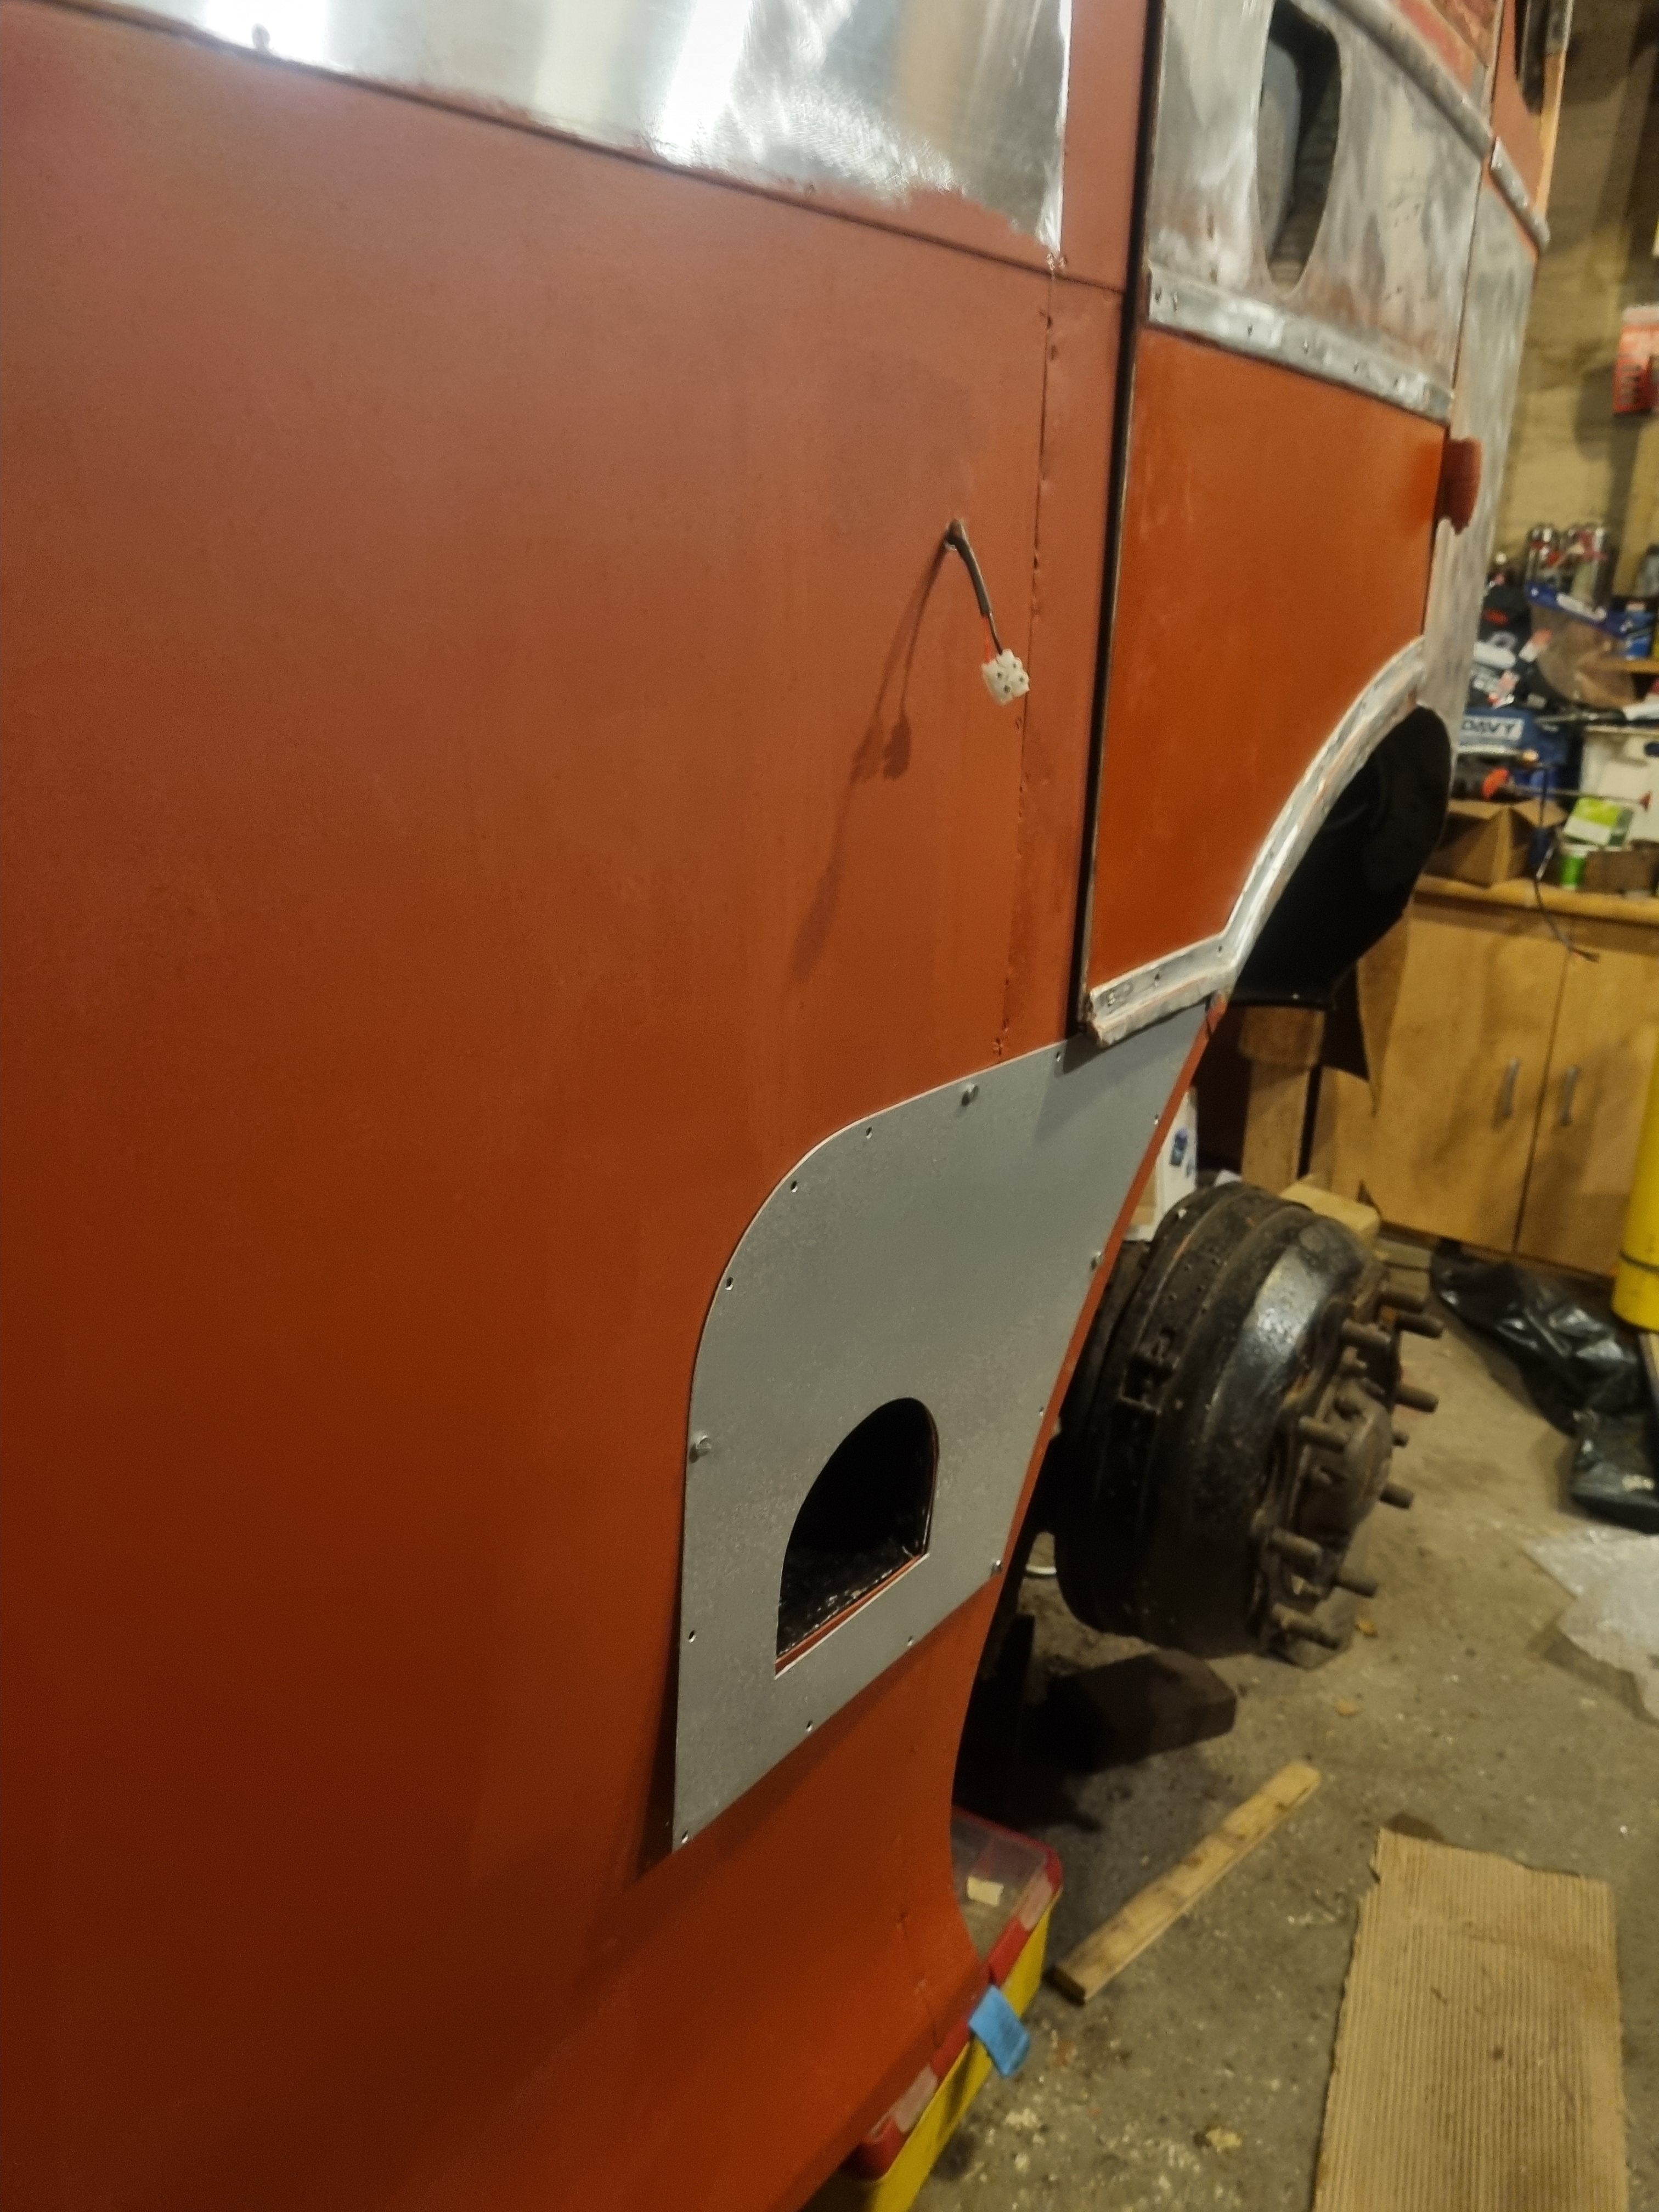
Trial fitting of silver kick panel around driver’s step.
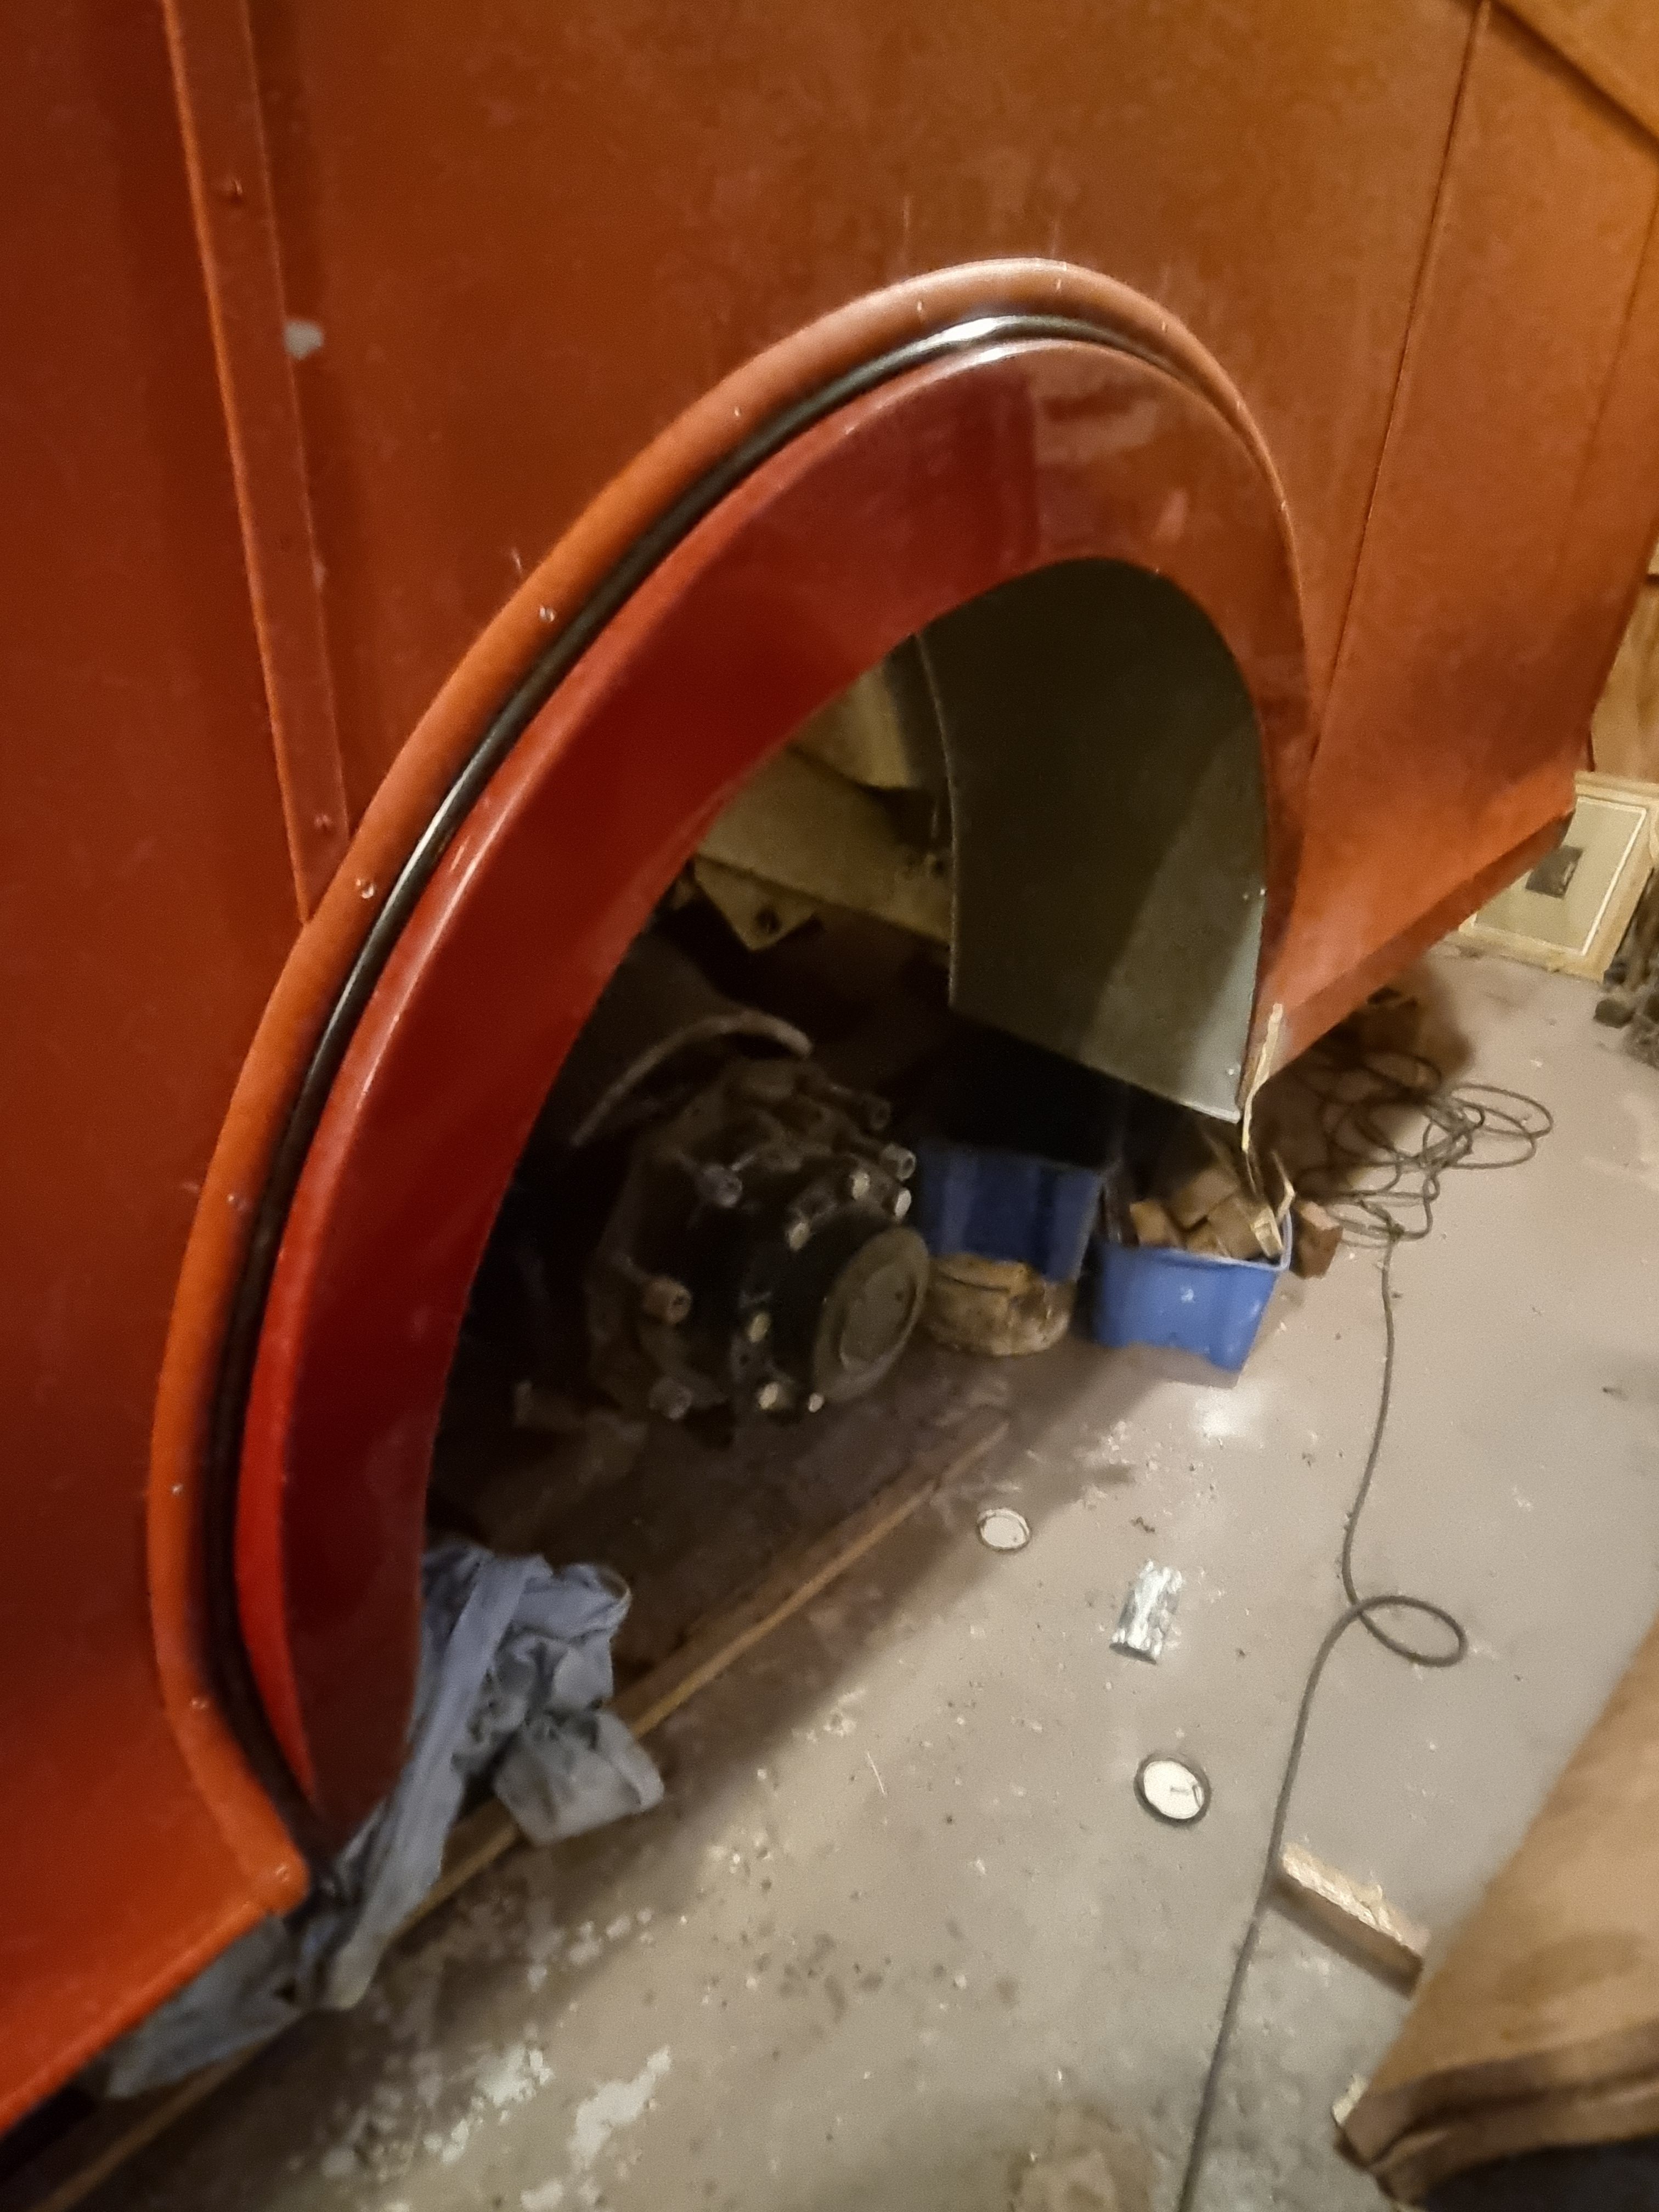
Offside rear wheelarch after filling and painting in undercoat.
Restoration diary of a 70-year old AEC single-deck bus and the trials, tribulations and adventures of our 1966 Bristol bus.